Tinned beans of all descriptions are a pantry staple of mine. And of those, chick peas and lentils are my favourites. I always make sure I have a few tins on hand for bulking up salads or curries, or blending up into a dip. They're also great for when I'm running late and leave the house without taking meat out to defrost...leaving us vegetarian for a night. One of my favourite vegetarian dishes to make is lentil patties. They take on flavours so well and make a lovely, filling dish. The patties can be eaten by themselves with just a side salad or turned into burgers or tacos. They're extremely versatile, not to mention pretty darn good for you.
Over the years I've ordered a lot of vegetarian burgers out at restaurants and generally fail to be impressed. (On a side note, ordering the vegetarian burger with added bacon tends to create utter confusion!). Working off this basic recipe, I've discovered a world of super tasty, not to mention easy and highly adaptable patties. Just change up the bulk, or the herbs. Or even substitute the ricotta for natural yoghurt. This particular version is fresh and bright tasting with the ginger and grapefruit, but has a lightness that pairs well with this fish. If you don't have the burghul, just some panko would be fine.
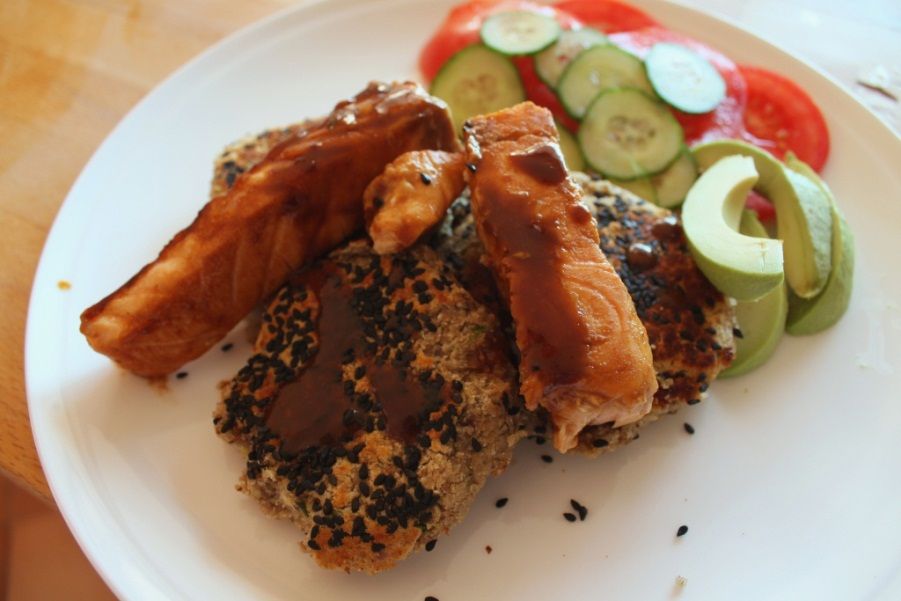
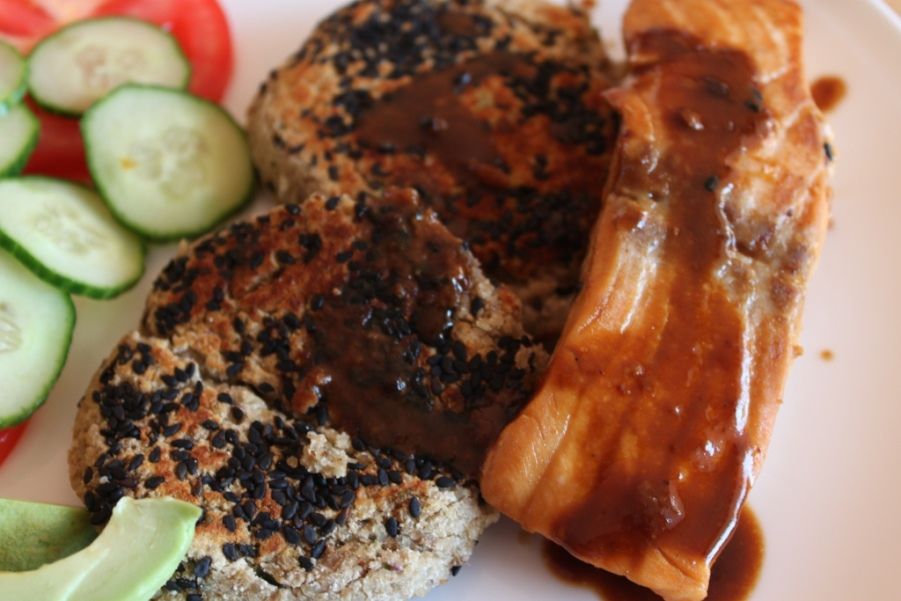
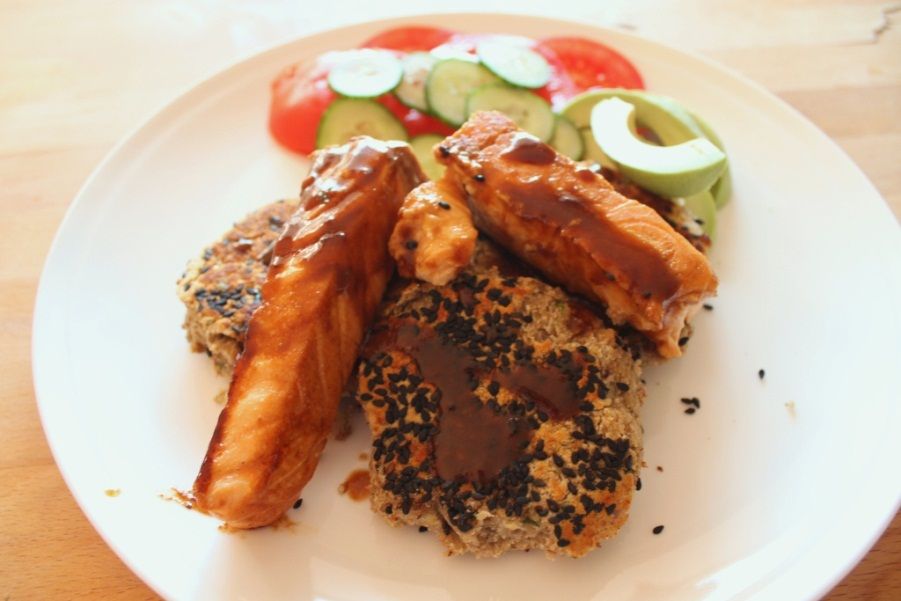
I've served it here with a simple salad and some glazed salmon, just because I was feeling fancy. The next night I had the same patties as burgers without the salmon.

1 tin lentils, rinsed and drained
¾ cup ricotta
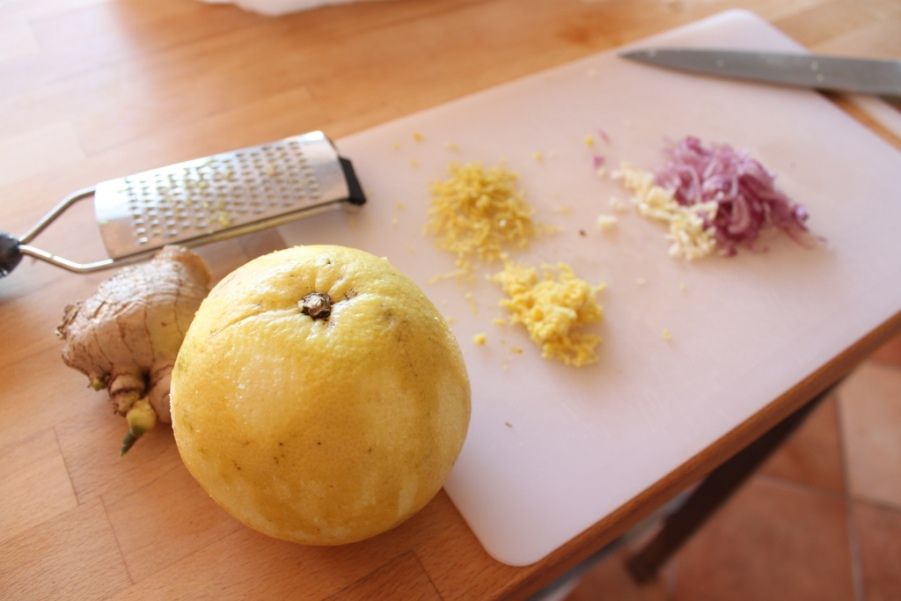
1 shallot, diced
2 cloves garlic, minced
1 tbsp grated ginger
Zest from one grapefruit
Small handful coriander and basil
1 egg
½ cup fine grit burghul
4 tbsp coconut flour
pinch salt and pepper
Black sesame seeds (optional – to roll the patties in)
Coconut oil for frying
Maple Grapefruit Salmon
2 portions salmon
Juice from one
grapefruit (approx. 1/3 cup)1 tbsp tamari
1 tbsp maple syrup
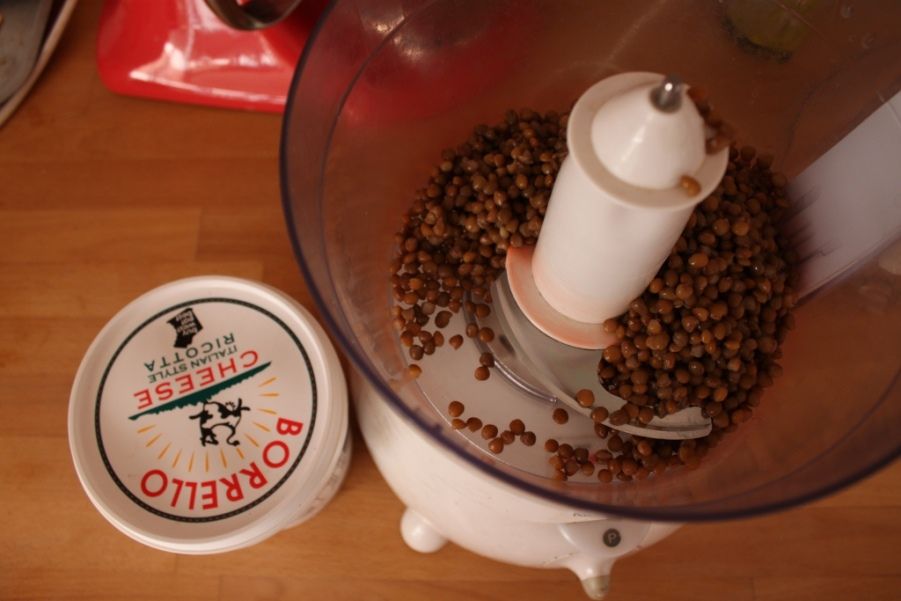
Add the lentils,
ricotta, shallot, garlic, ginger and grapefruit zest into the blender and pulse
to chop roughly. Add the egg and process to thoroughly combine. It will be a
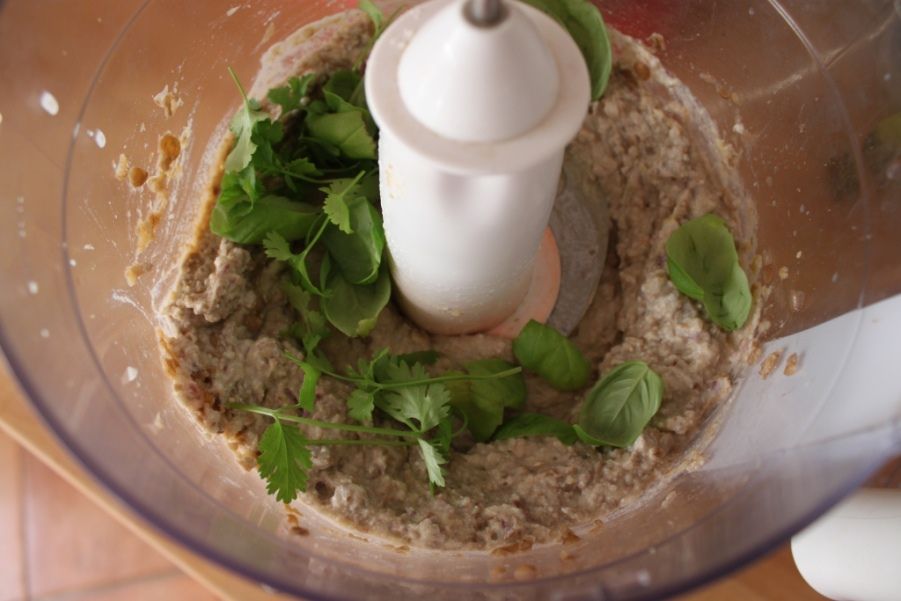
pretty wet mix at this stage. Add the burgul, coconut flour, herbs and salt and
pepper, and process again to mix properly. It should now be about the
consistency of a normal ‘beef’ pattie. If it looks too dry, add another egg. If
it’s too wet, add a tablespoon more burghul.
Wet your hands, then
roll the mixture into patties. Press into sesame seeds (if desired), then place
them on a lined baking tray, cover loosely and refrigerate for half an hour or
so to ‘set’.
Meanwhile, mix together
the marinade ingredients and pour over the salmon. Cover and set aside.
In a medium high
frypan, add a thin layer of coconut oil and gently place a few patties in,
making sure not to crowd the pan. Cook for 10 minutes until golden, then flip
and cook for another 5-10 minutes. Remove to a plate and keep warm whilst you
do the rest of the mixture.
In a separate frypan, heat a little oil until shimmering and place the salmon in. Cook 2 minutes, then turn over. Add the marinade to the pan and cook another two minutes until almost cooked through and the sauce has reduced to a sticky glaze. Serve on top of the lentil patties with avocado, some fresh salad and the glaze drizzled over the top