Showing posts with label gluten free. Show all posts

Tuesday, February 10, 2015

Sweets for your Sweet - Buttermilk Pudding with Sangria Jelly and Nut Wafers

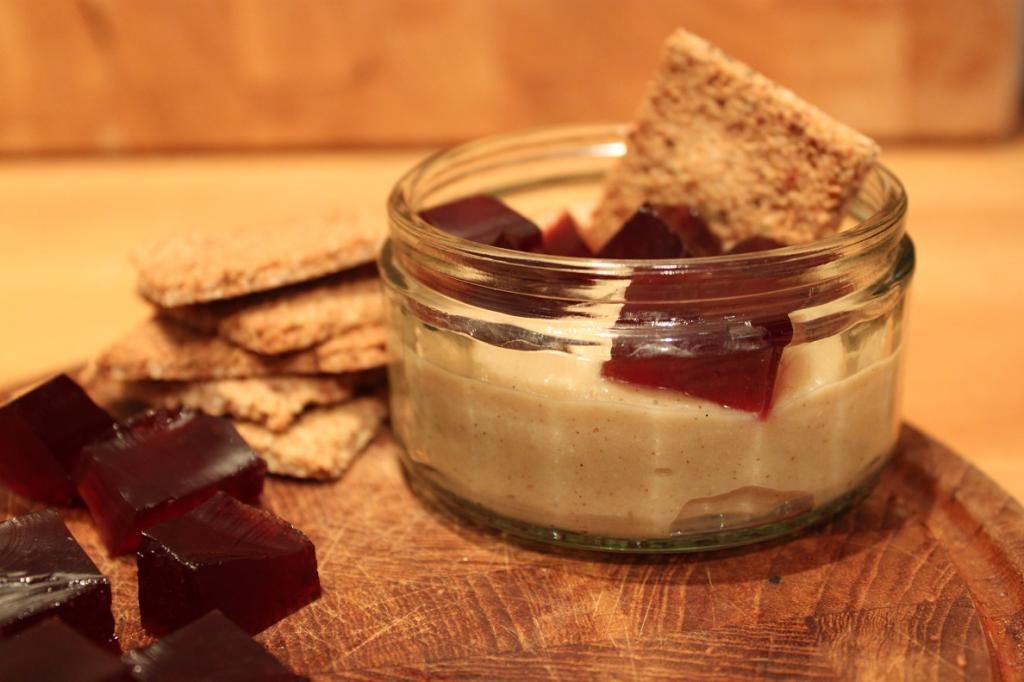
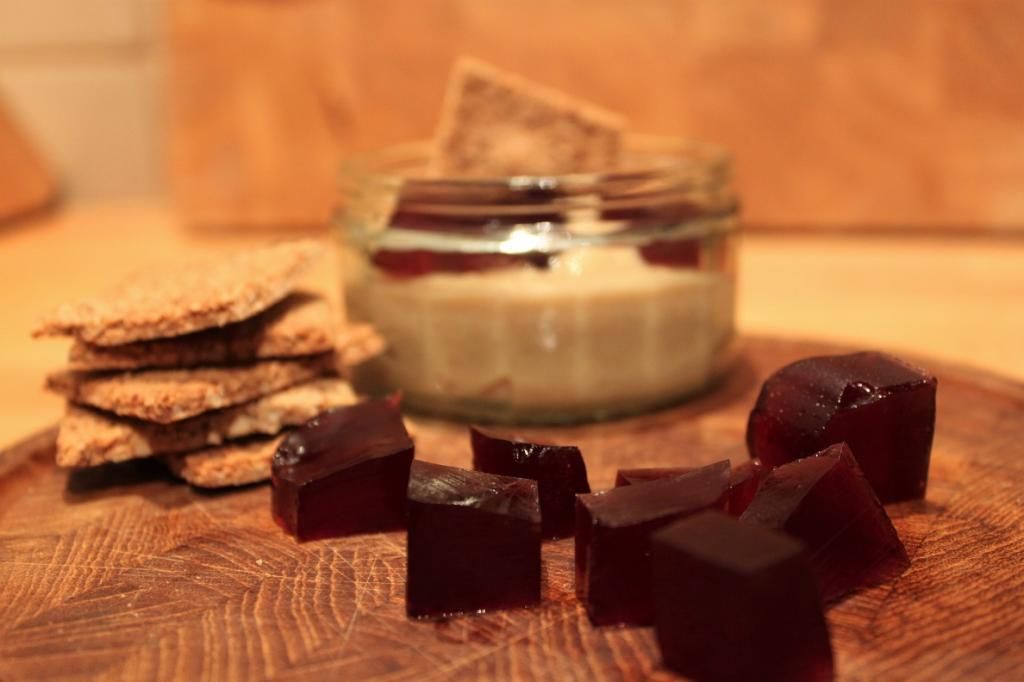
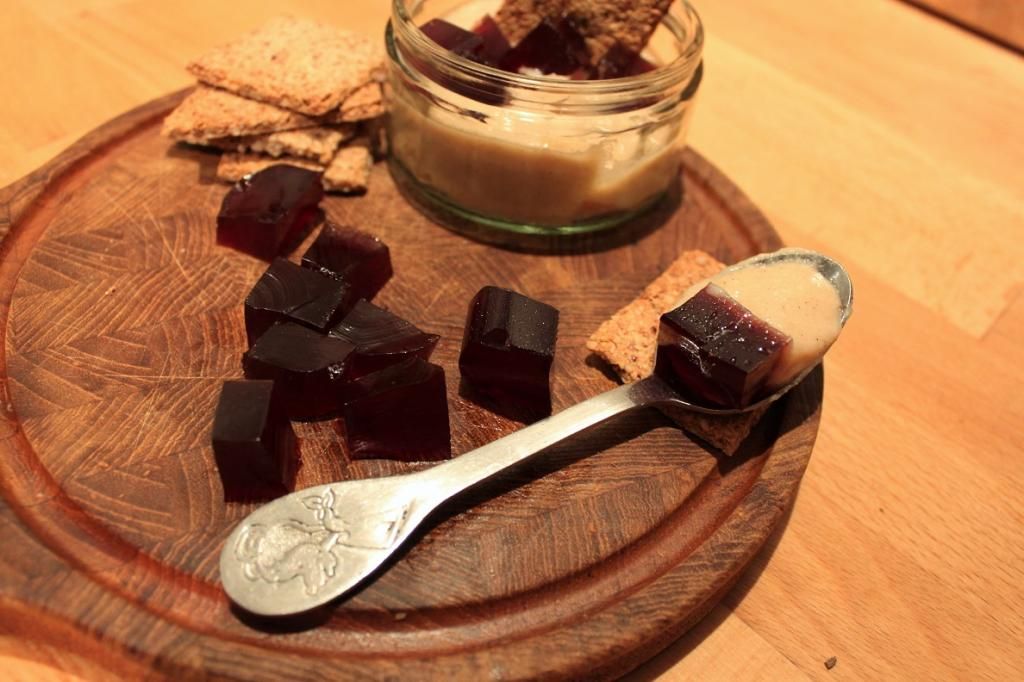
Buttermilk Pudding with Sangria Jelly and Nut Wafers
Do you celebrate Valentine’s Day? We don’t. Not really. I’ve never been a flowers and chocolates and teddy bears with hearts kinda girl. But I do love love, and Lance and I are romantic just in general, so I’m all for people taking the opportunity to tell that special someone that you love them. Lance and I are actually going to a comedy show for the Fringe Festival on Valentine’s Day. But we’ll have a nice dinner beforehand. Not sure what yet. All I know is that this is our Valentine’s Day dessert. It’s a little different, a little quirky and is most importantly, a little bit lighter and not too sweet in this summer heat! As an added bonus the components are made early(ish) with chilling time, or can be made a day or so in advance and assembled before serving, making it great for dinner parties. Or romantic dinners, where less cooking time means more couple time!
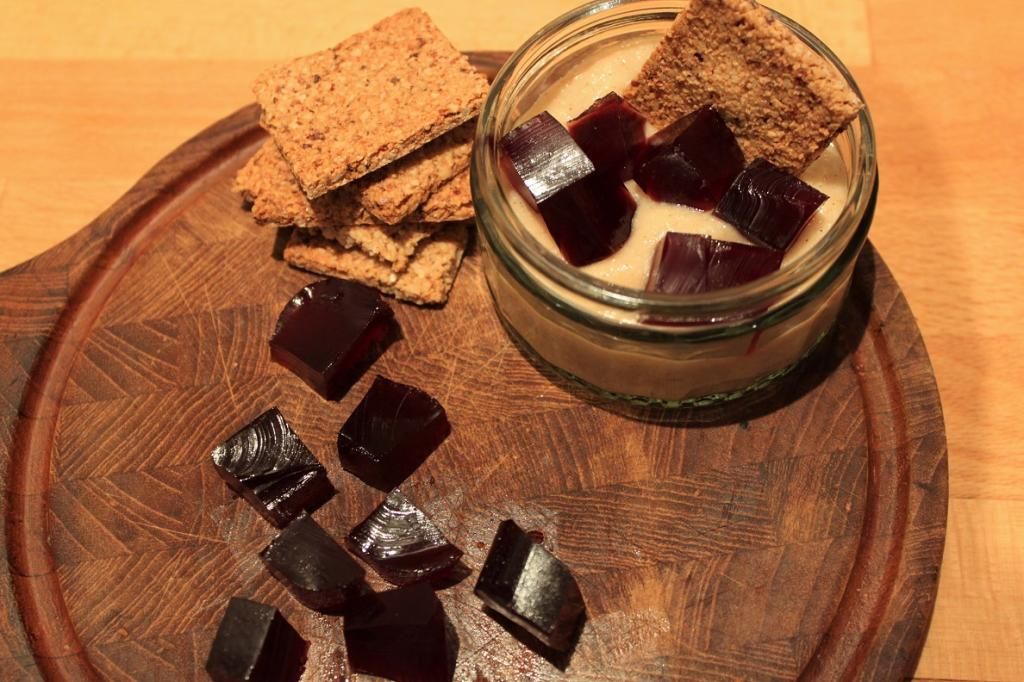
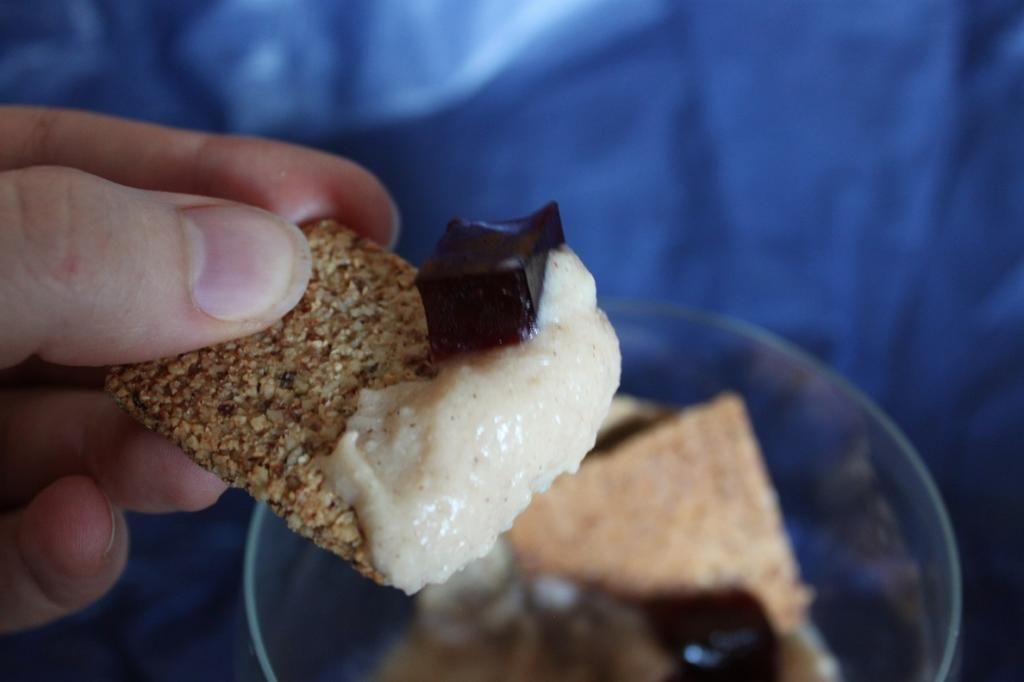
I am a huge fan of sangria. And buttermilk. And nuts. So this dessert is a combination of all of those things. Luckily, Lance is too – so it can feel like I’ve made it for him. Each element here has a small level of sweetness, which combine for a lovely dessert with a fun play on textures – without overwhelming you with sweetness. The buttermilk pudding is smooth and creamy, the sangria jelly has a little chew – not quite jube, but a bit denser than a normal jelly. Add the crunch of the nut wafers and you’ve got a party going. They, by the way, are the easiest crackers to make. And so delicious!
The jelly and wafers make more than you need for the buttermilk pudding portion, but the crackers in particular are so moreish that you won’t find a problem eating the rest of those by themselves! But they both make the best addition to a cheese platter. And I might’ve had some of the jelly with my breakfast granola. And it might’ve been absolutely delicious!


Buttermilk Pudding with Sangria Jelly and Nut Wafers


Sangria Jelly

500mL dry red wine (such as Cab Sauv, or Shiraz)
50 gm caster sugar
8 gelatin leaves
Juice and peel of one orange (peeled in large strips)
Juice and peel of one lemon (peeled in large strips)
2 bay leaves
2 cardamom pods
4 cloves
1 stick cinnamon
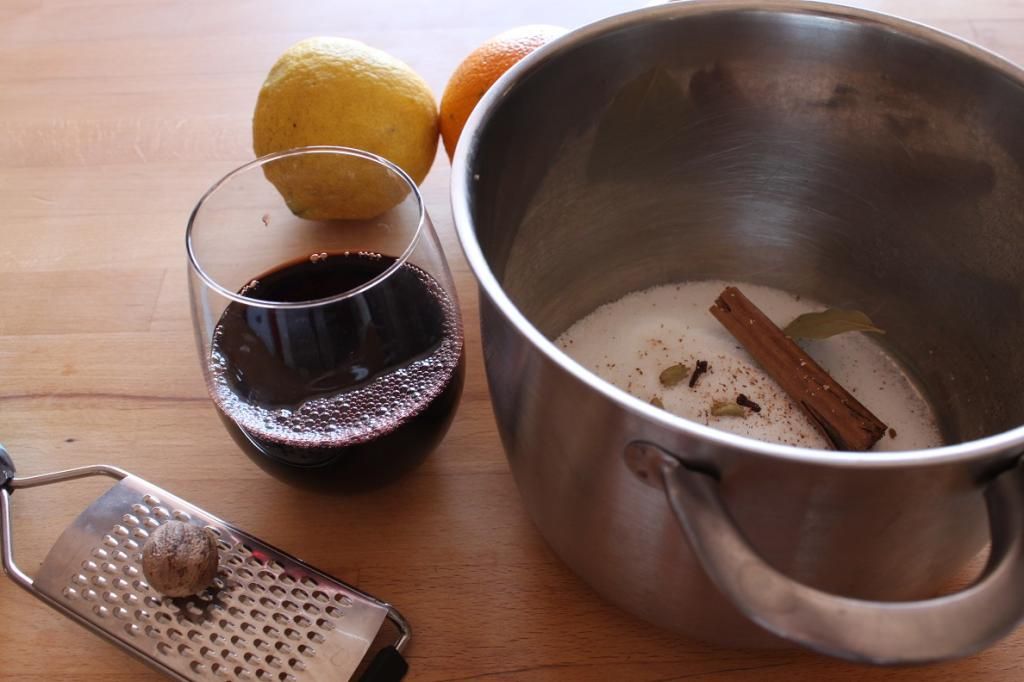
Lightly oil a shallow rectangular dish that can will hold 500mL and set aside until required. In a medium pot, bring red wine, sugar, citrus juice and peel, and spices to a simmer and stir to dissolve sugar. Set aside for the flavours to infuse for an hour. Strain through a fine sieve into a clean pot and bring back to a simmer. Place the gelatin into a bowl of cold water and leave to soften. When the wine mixture comes to a simmer, squeeze excess water from the gelatin and gently drop into the wine. Stir to dissolve the gelatin then set aside for 15 minutes to cool slightly.
Gently pour the jelly into the prepared container and refrigerate until set – around half an hour. When ready to serve, turn out of container, and cut into small cubes.
Buttermilk Pudding with Sangria Jelly and Nut Wafers

Buttermilk Pudding

(makes 4 serves)
1tsp vanilla bean paste
1/2 teaspoon ground cinnamon
1 1/2 cups buttermilk
3 egg yolks
1/2 cup caster sugar
2 tablespoons corn flour
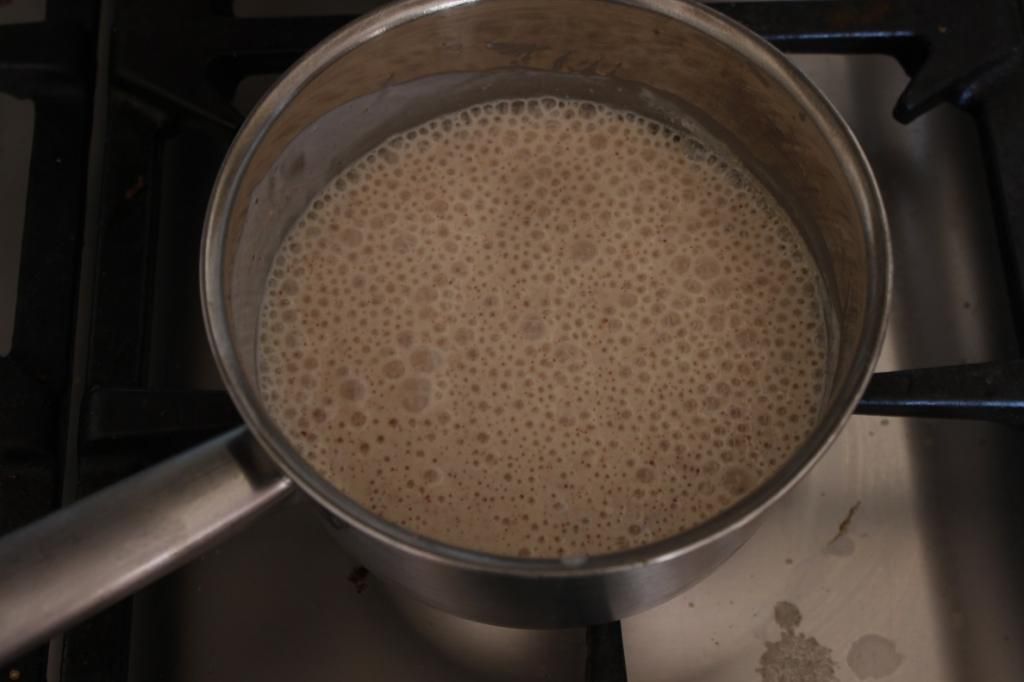
Combine the vanilla bean, cinnamon and buttermilk in a medium saucepan over medium heat. Cook, stirring, for 5 minutes or until mixture is almost at a simmer. You want it to come to temperature very slowly, so the buttermilk doesn’t separate. It’s much more temperamental when heating than normal milk.
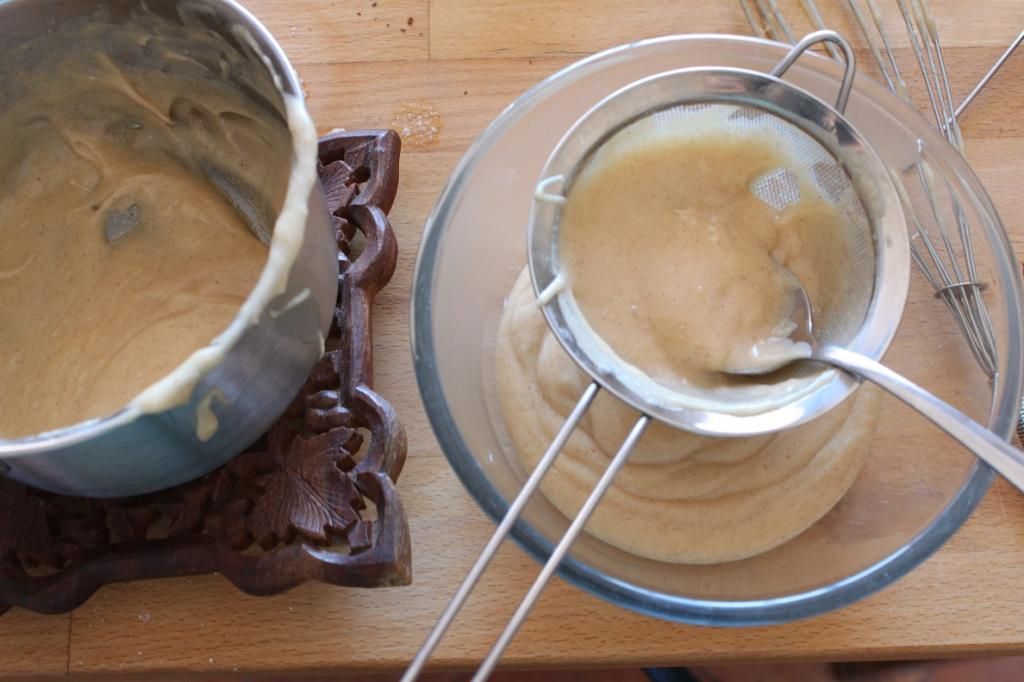
Whisk egg yolks, caster sugar and corn flour in a bowl. Slowly pour the milk into the egg mix whilst whisking. Once it’s all combined, pour into a clean saucepan and put back over medium heat. Cook, stirring, for 4-5 minutes or until mixture thickens. Strain through a fine sieve into a container with a spout, then pour into your desired serving vessels. Tap onto the counter to get rid of air bubbles. Wrap with cling film and pop in the fridge to chill and set, at least an hour.
Buttermilk Pudding with Sangria Jelly and Nut Wafers

Hazelnut and Almond Wafers

¾ cup almonds
¾ cup hazelnuts
3 heaped tablespoons brown sugar
Zest of one orange
¼ tsp ground cardamom
2 egg whites
Preheat oven to 180C
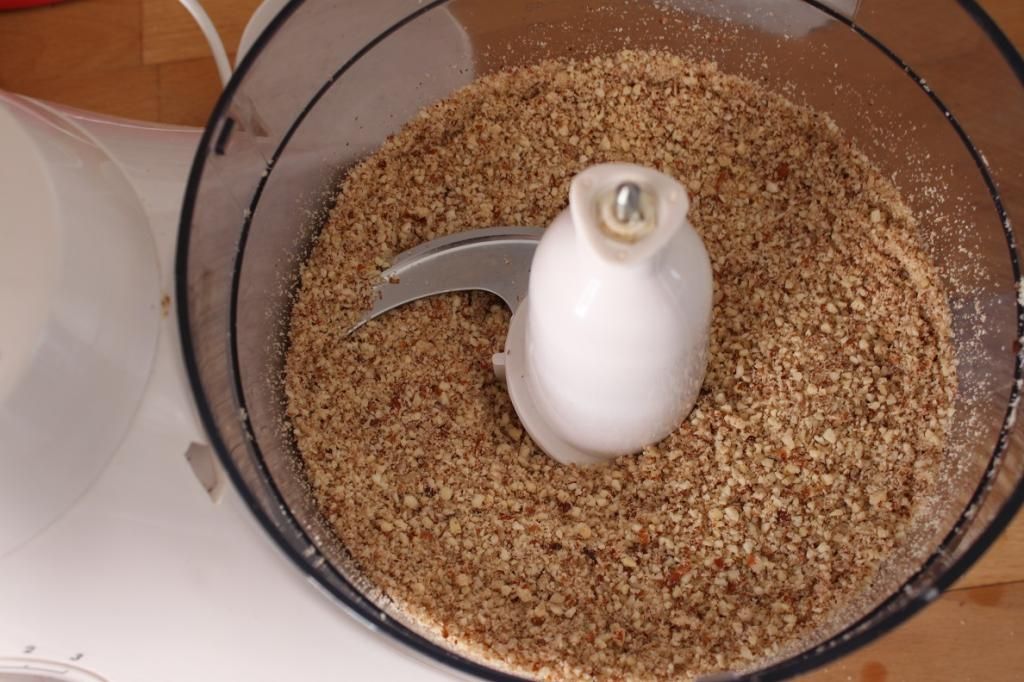
Put the almonds and hazelnuts into the bowl of your food processor and pulse until broken up into tiny pieces. You want mainly ‘meal’ texture, but a few bits a little larger is fine. Add the brown sugar, cardamom and orange zest, and pulse to mix. Add the egg whites and pulse until it comes together in a ball. It’ll be fairly sticky.
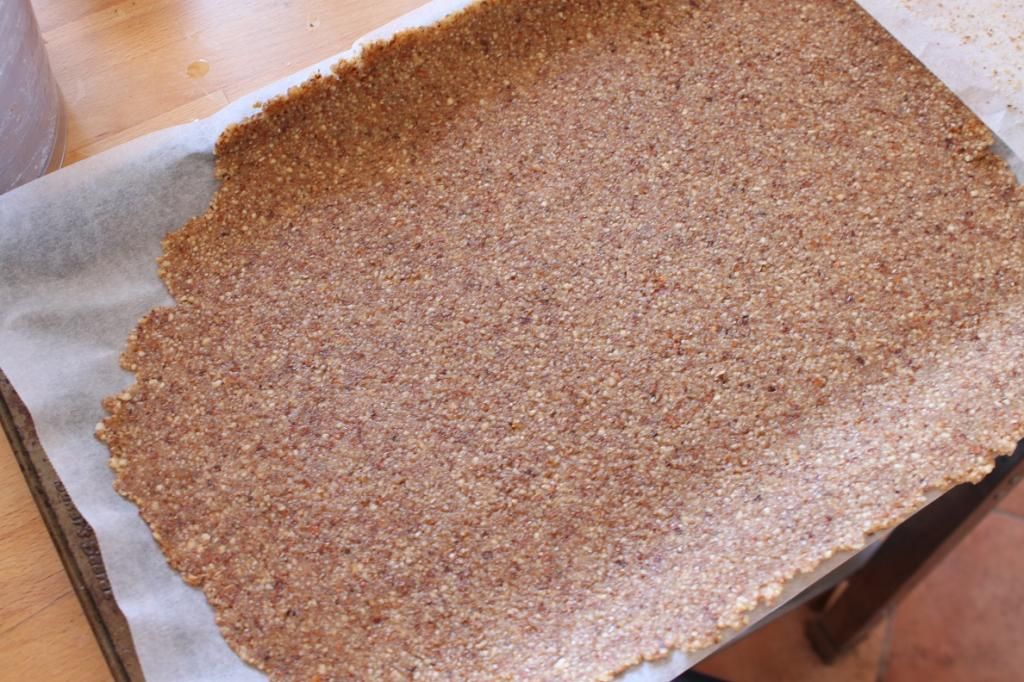
Lay out a piece of baking paper the size of your baking tray, put the ball of dough on it, then place another piece of baking paper over the top. Roll the dough out evenly, and thinly (around 2mm) to spread across the size of your whole baking tray. Carefully peel off the top layer and put in the oven.
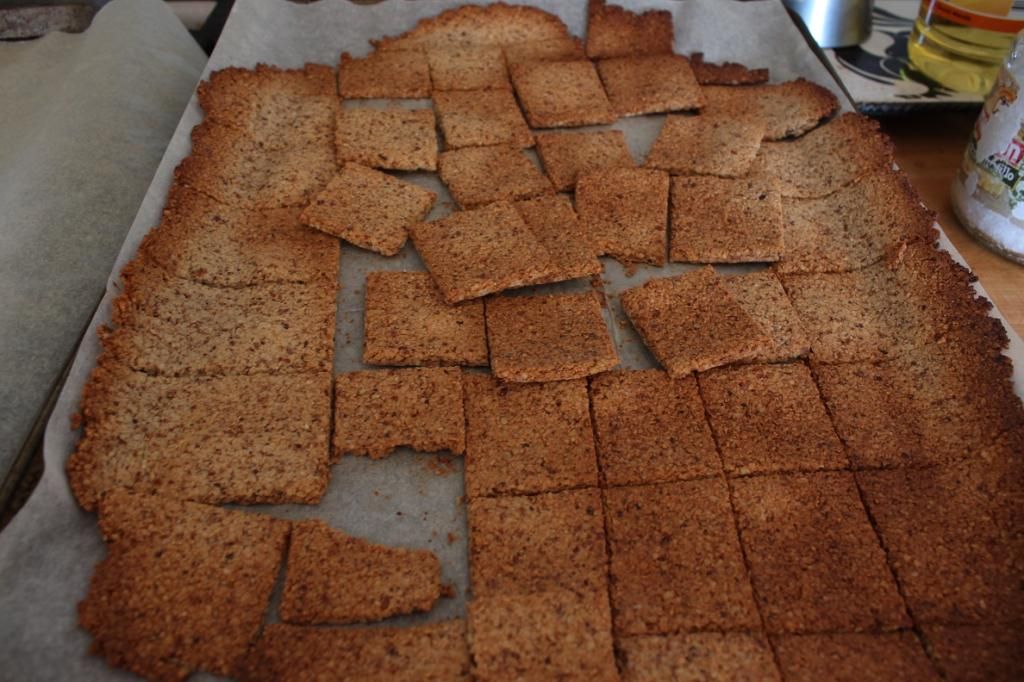
After about 10 minutes, it will have dried fairly considerably and will have turned paler in colour. Remove from the oven and cut into squares/rectangles with a pizza cutter or sharp knife (pizza cutter is a much easier and neater way of doing it). Place back in the oven for another 10-12 minutes or so until golden. The pieces will have shrunk away from each other and formed individual wafers. Watch them carefully this second time as they can burn easily.
Set aside to cool on the tray and finish drying out for half an hour before putting on a cooling rack to cool completely. Store in an airtight container.

Assemble the three components however you artistically like!
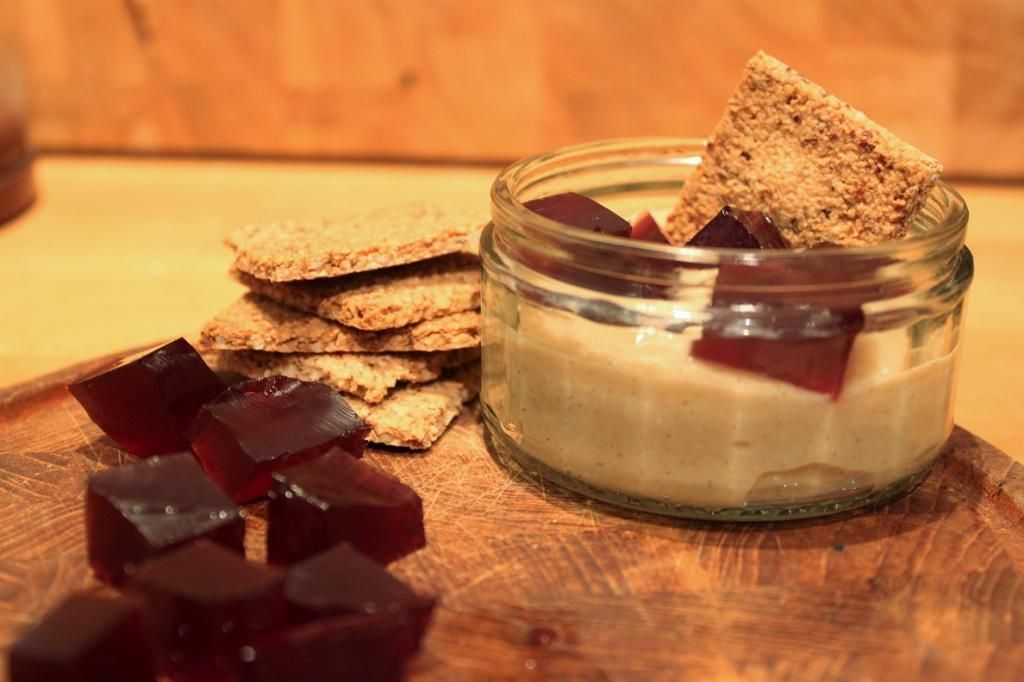
Buttermilk Pudding with Sangria Jelly and Nut Wafers


Tuesday, January 20, 2015

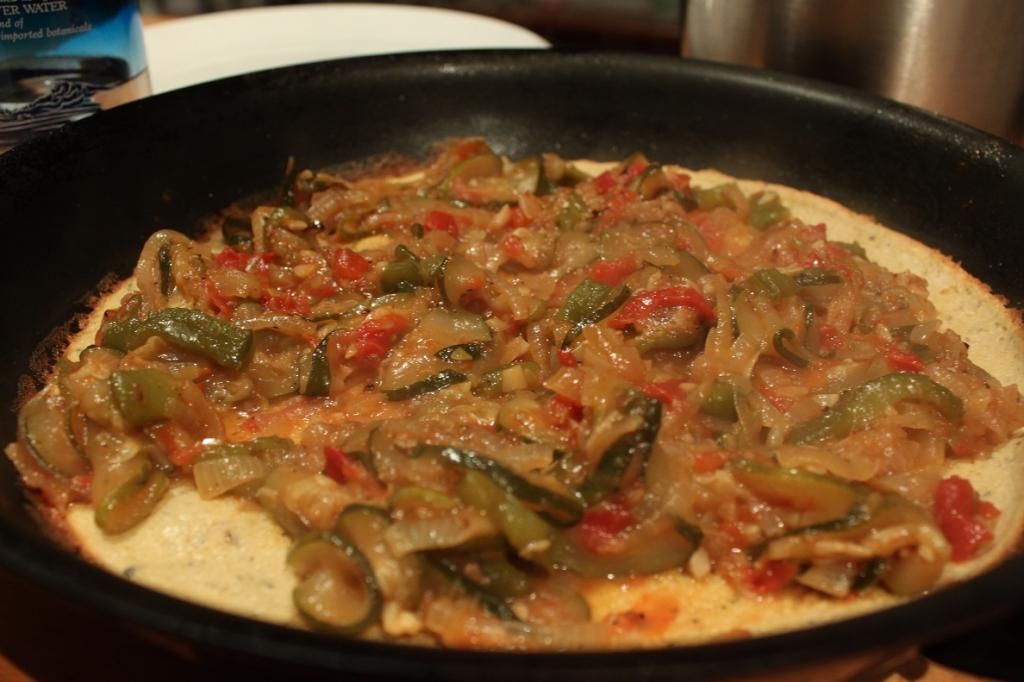
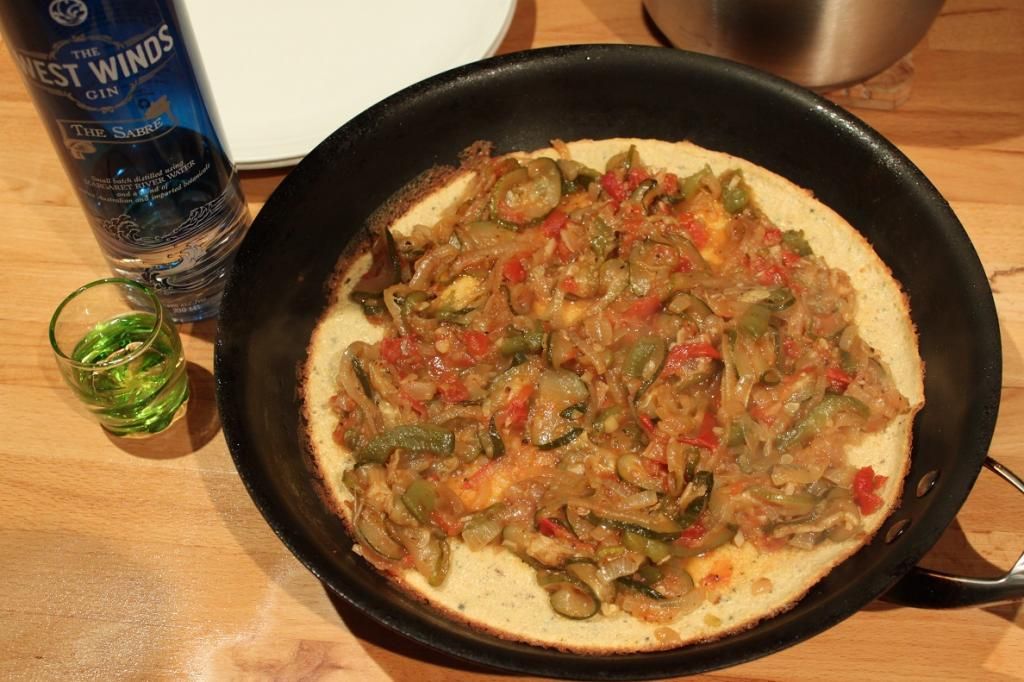
Easy Dinner - Chickpea Dutch Baby with Gin and Blood Orange Ratatouille


Easy Dinner - Chickpea Dutch Baby with Gin and Blood Orange Ratatouille

Have you ever had a dutch baby? It’s not the most common of dishes here in Perth, but I absolutely love them because of how versatile and easy they are. It’s essentially one large baked pancake. And like normal pancakes, you can flavour them up in any way you want. But unlike normal pancakes that require cooking in batches, this is all done in one go. That makes it one of my go-to dinner dishes for something quick after the gym. I’ll serve it with some form of vegetable concoction to go on top. It’s also one of my go-to breakfast/brunch dishes. It is a super quick dish to prep, and you can chuck it in the oven while you shower, or sitting and quietly having your morning coffee…and before you know it, you have deliciousness. If I’m making a savoury Dutch Baby, then I love making them with chick pea flour. Both for the added protein it adds, and more importantly, for the flavour profile it adds. Just by swapping out the flour, you add that specific slightly smokey, slightly nutty flavour that chickpeas have. It also makes it gluten free, if that’s an issue for you.

I didn’t get any meat out for dinner when I cooked this dish, so I thought I’d make a ratatouille to go with it. I always have tomatoes and zucchini in the house. Always. And, it has been pointed out to me that I cook with booze a lot. Which I did here. I added some gin and blood orange marmalade to add a little oomph.

If you want my favourite version of a chickpea dutch baby, you’ll need to grab a copy of the Recipes and Ramblings III cookbook. In it, it has the recipe for a Spicy Chickpea Dutch Baby with a Tomato Bacon Jam.
Easy Dinner - Chickpea Dutch Baby with Gin and Blood Orange RatatouilleEasy Dinner - Chickpea Dutch Baby with Gin and Blood Orange Ratatouille

Easy Dinner - Chickpea Dutch Baby with Gin and Blood Orange Ratatouille


Easy Dinner - Chickpea Dutch Baby with Gin and Blood Orange Ratatouille


Gin and Blood Orange Ratatouille

(serves 2)
1 tbsp olive oil
2 brown onions, thinly sliced
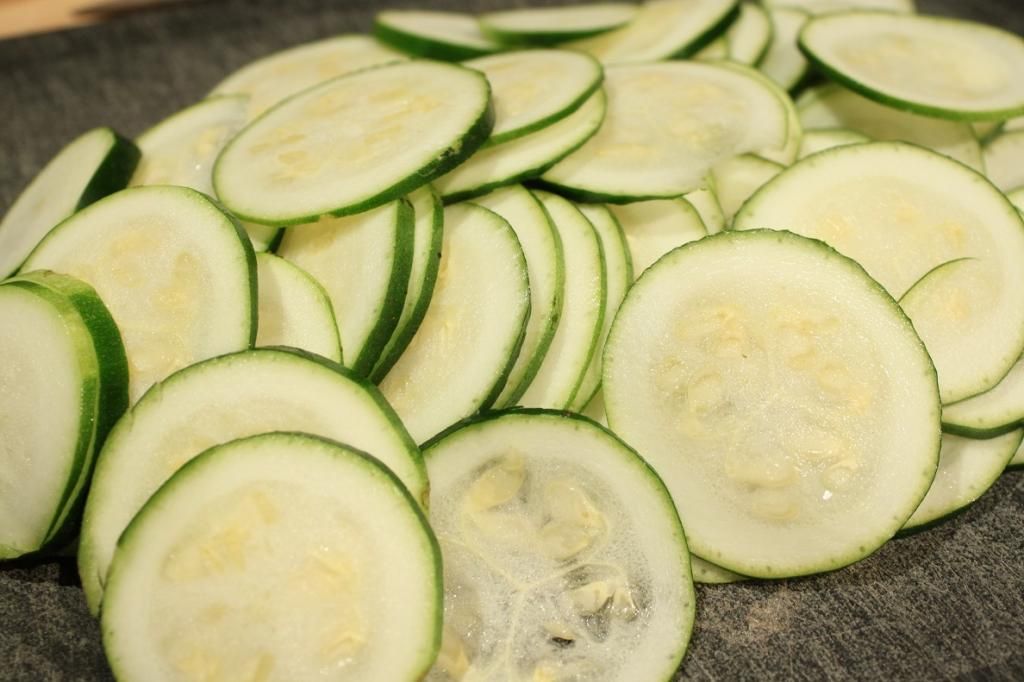
1 zucchini, thinly sliced
3 cloves garlic, crushed
2 tbsp blood orange marmalade
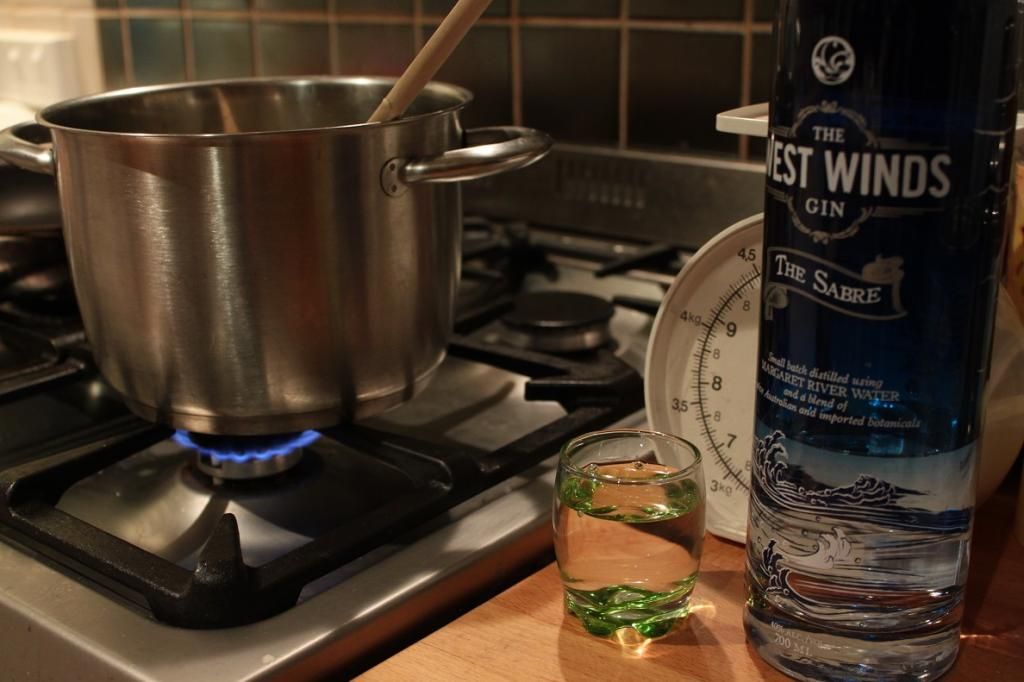
1 shot Gin (I like West Winds Sabre or Gin Mare flavours in this)
3 roma tomatoes, roughly chopped

1 roasted capsicum, roughly chopped
¼ tsp thyme leaves
½ tsp salt
Pepper

Chickpea Flour Dutch Baby

½ cup chickpea flour
¼ tsp salt
½ tsp pepper
½ cup milk (soured with ½ tsp lime juice)
2 eggs
1 tbsp butter.

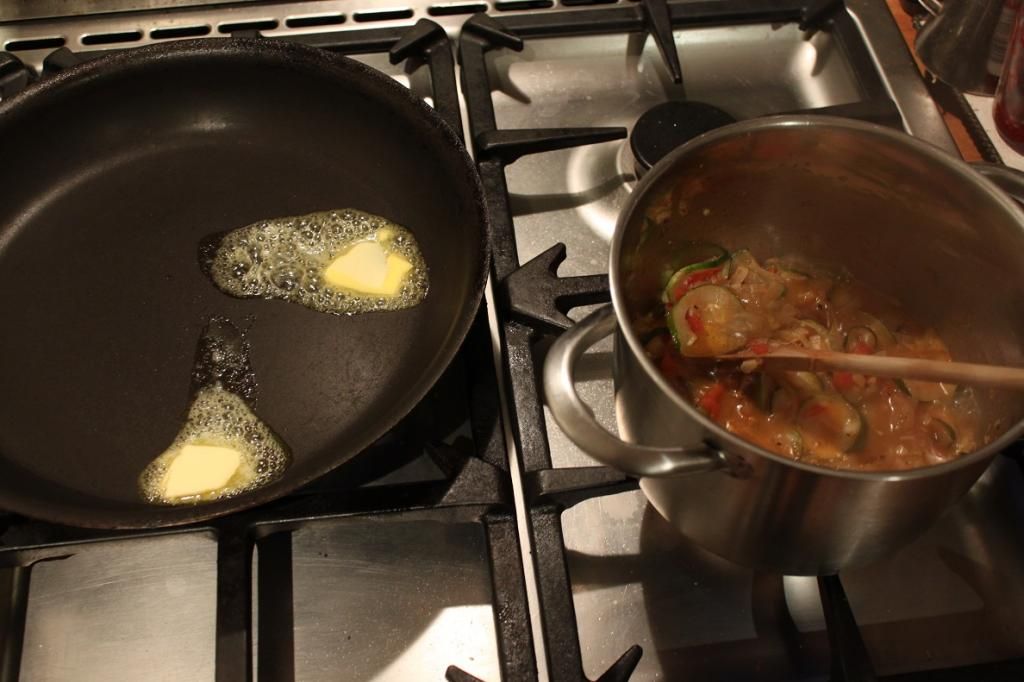
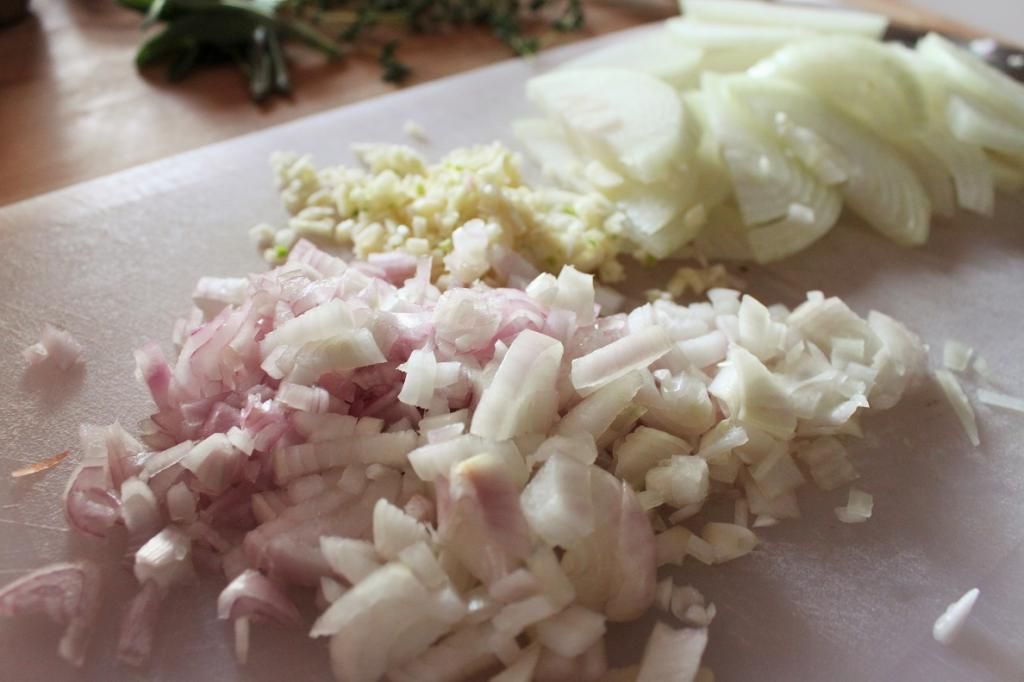
Warm the olive oil to medium in a pot. Add the onions and cook until translucent, but not coloured – around 5 minutes. Add the minced garlic and cook a further 2 minutes until that is translucent. Add the rest of the ingredients and reduce to a simmer and leave for half an hour or so until all the vegetables are soft and the flavours have intensified. About the time it takes to make the dutch baby!
Heat the oven to 180C

Heat a frypan that can go into the oven to a high heat. In a large bowl, whisk together the salt, pepper and chickpea flour. Beat the eggs until light and fluffy. Then beat in the soured milk. Pour the liquid into the dry ingredients and whisk until completely combined.

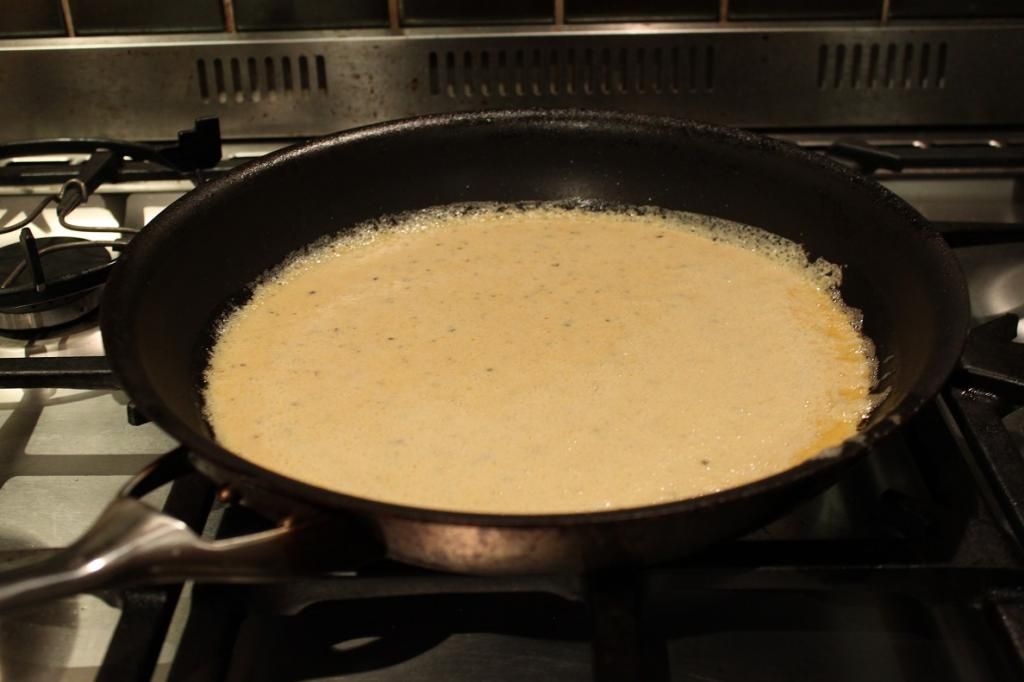
Add the butter to the pan and swirl to coat the whole bottom of the frypan. Carefully pour the pancake batter into the pan and tilt back and forth to coat the pan. Place in the oven.

Bake for 20-25 minutes or until the dutch baby puffs up and is golden.
 
Remove from the oven carefully (the handle will be HOT. I have learnt this the hard way!). It will deflate once removed from the oven. Spoon over the ratatouille and a scoop of fresh ricotta or Greek Yoghurt

Easy Dinner - Chickpea Dutch Baby with Gin and Blood Orange Ratatouille

Tuesday, January 13, 2015

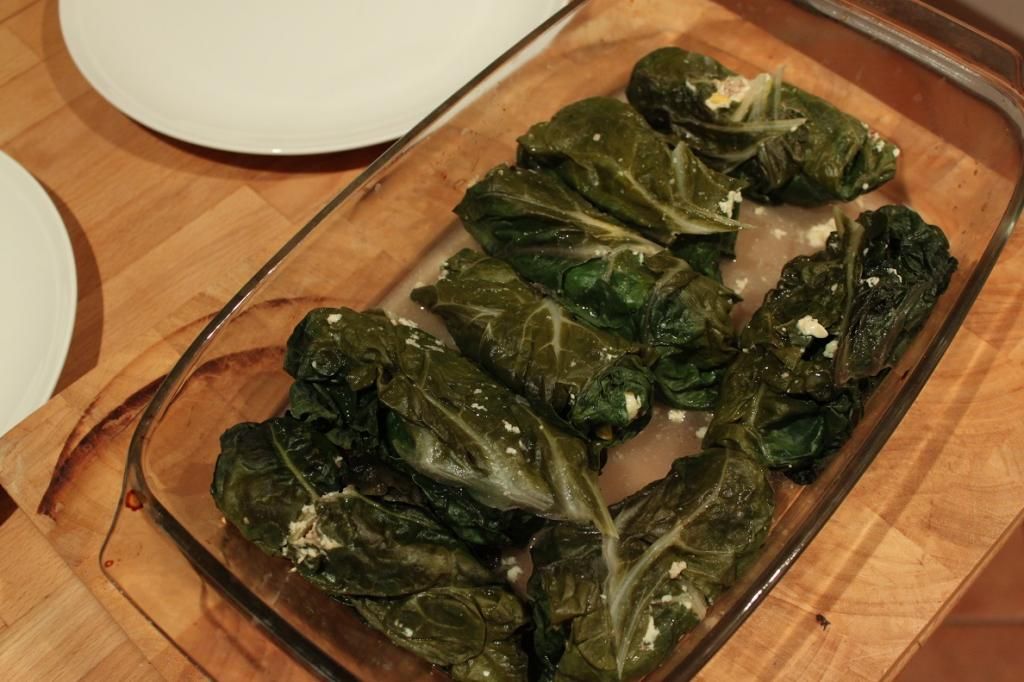
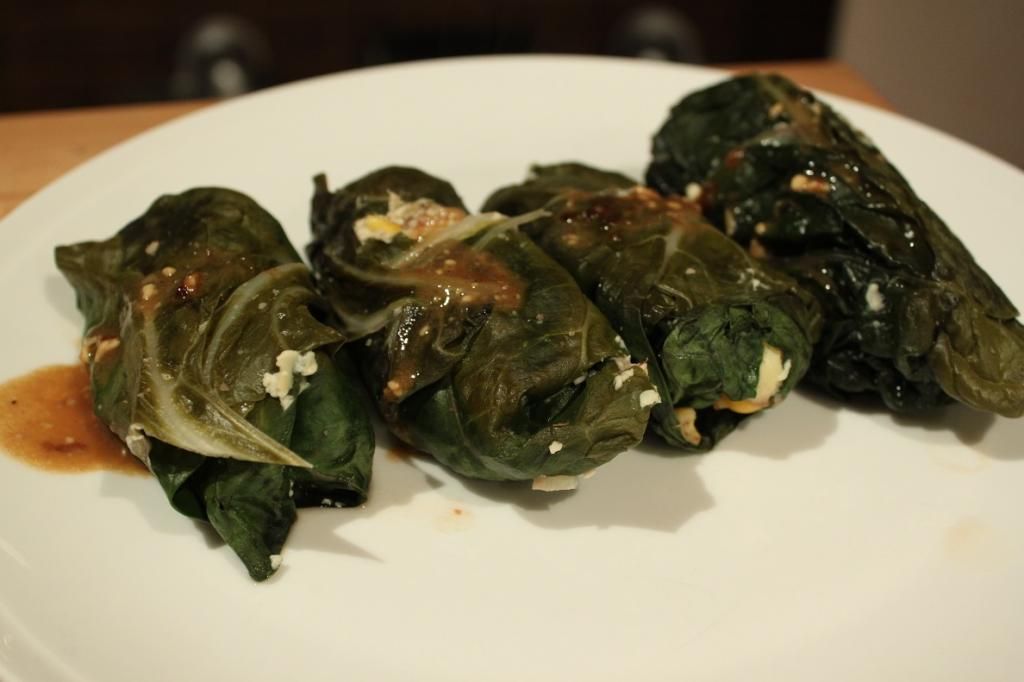
Ugly but Delicious - Corn, Almond and Roast Garlic Stuffed Silverbeet (Chard)

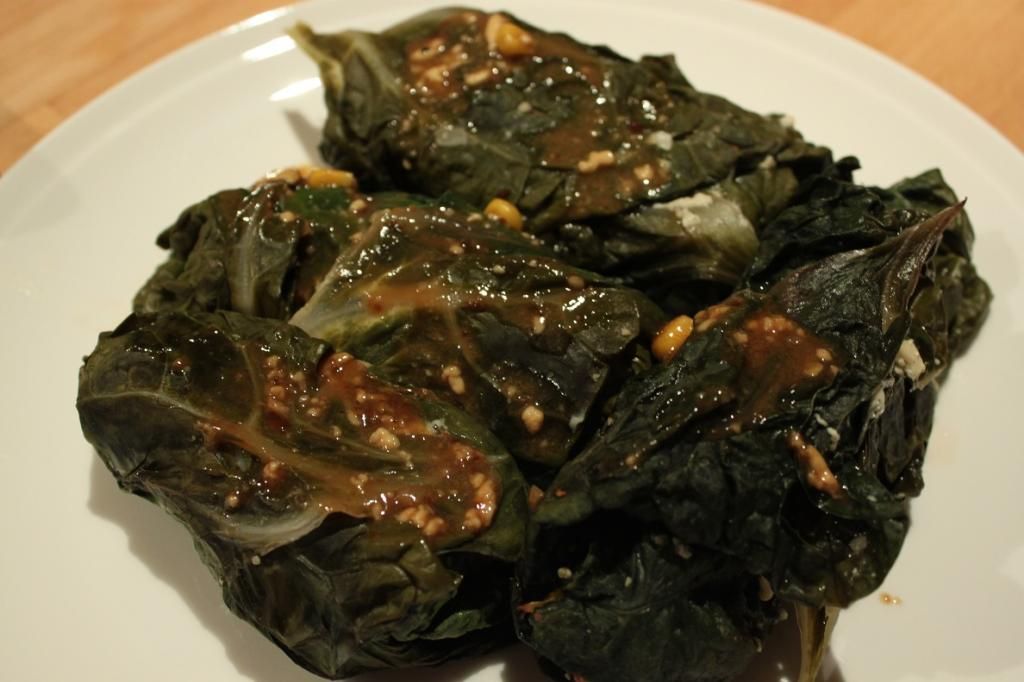
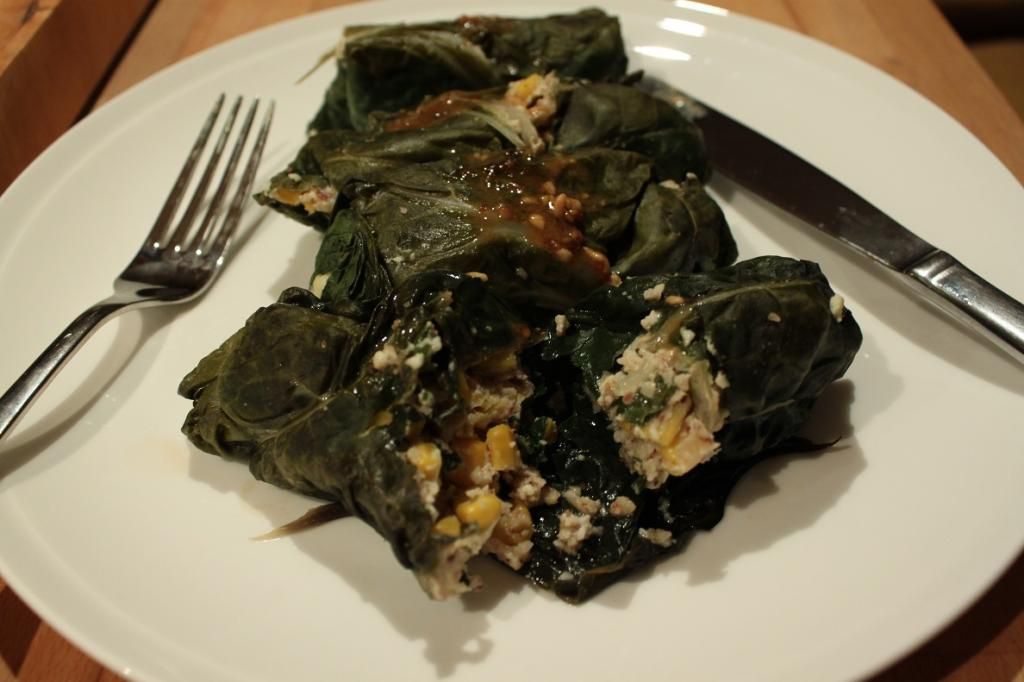
Ugly but Delicious - Corn, Almond and Roast Garlic Stuffed Silverbeet (Chard)

This recipe was inspired by two other recipes that are on my blog. It’s a combination of the Cuban Chicken and Corn Pie (remember the one with the awesome crust made from corn?) and my Stuffed Silverbeet Rolls. I was really craving the Cuban Pie in particular, but I just couldn’t be bothered with getting out food processors and whatnot that is required to make the pie. Given I had a lovely bunch of fresh silverbeet from the markets, I decided to use those flavours and make stuffed silverbeet rolls instead.

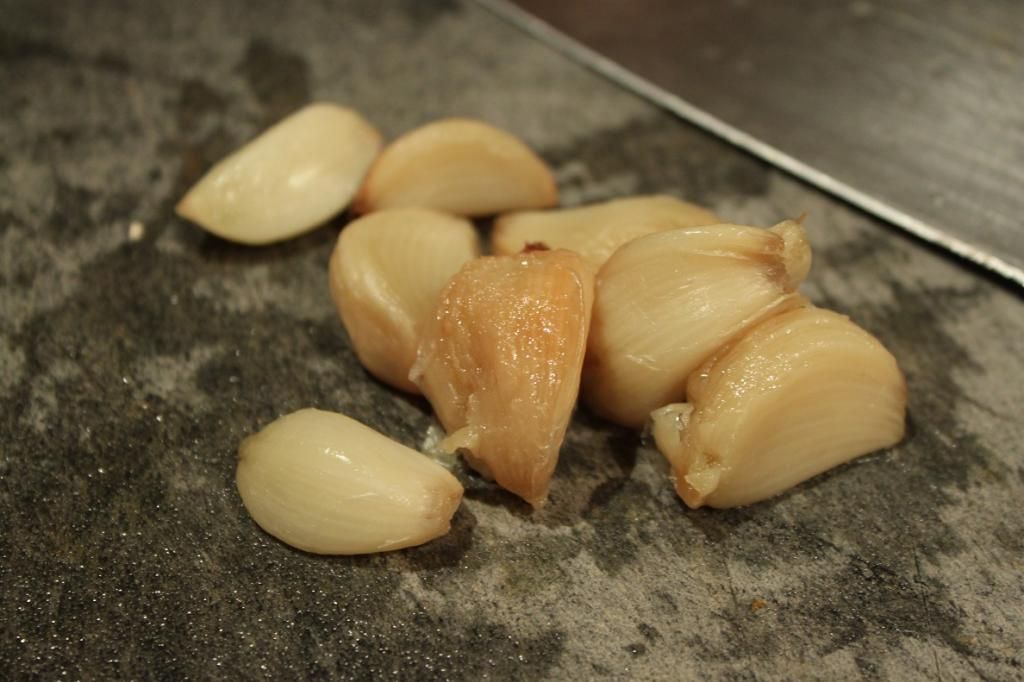
To roast the garlic cloves, put a whole head of garlic into the oven on a baking tray while the oven is pre-heating. After 15 minutes or so (for me, it’s ready by the time it is required to be added), the garlic will be squishy and the cloves will easily slide out of their skins. Doing this really sweetens the garlic and completely takes away the harshness that garlic can sometimes have. Then use half the cloves for this dish, and save the other half for another dish.

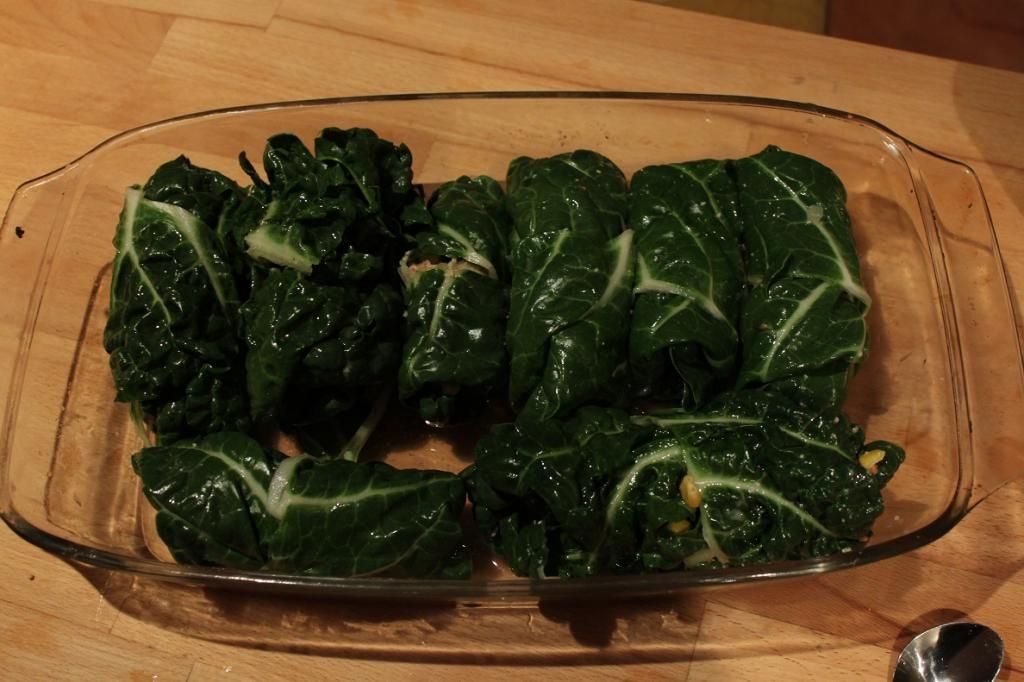
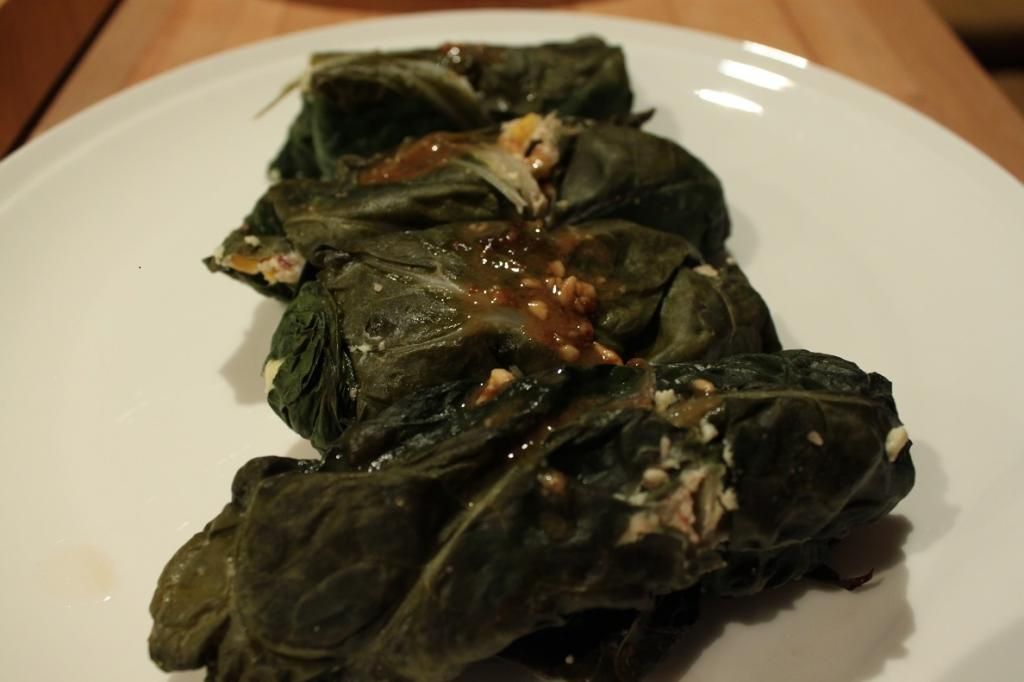
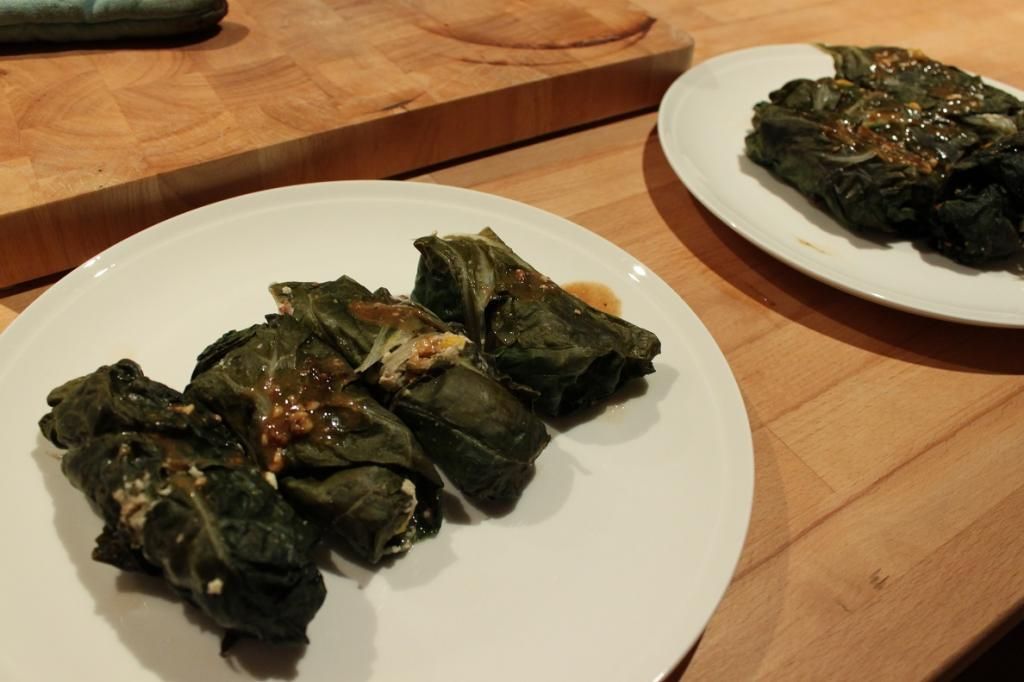
Photos prove this isn't the prettiest meal - but it sure was delicious!

Ugly but Delicious - Corn, Almond and Roast Garlic Stuffed Silverbeet (Chard)


Corn, Almond and Roast Garlic Stuffed Silverbeet (Chard)

3 cups corn kernels
1 brown onion
6 cloves roast garlic
½ tsp salt
6 caperberries, sliced
2 eggs
1 cup almond meal
1 bunch silverbeet, ribs removed
¾ cup water
1 tbsp lime juice
3 tbsp Monty’s Muscat
 

Heat the oven to 170C

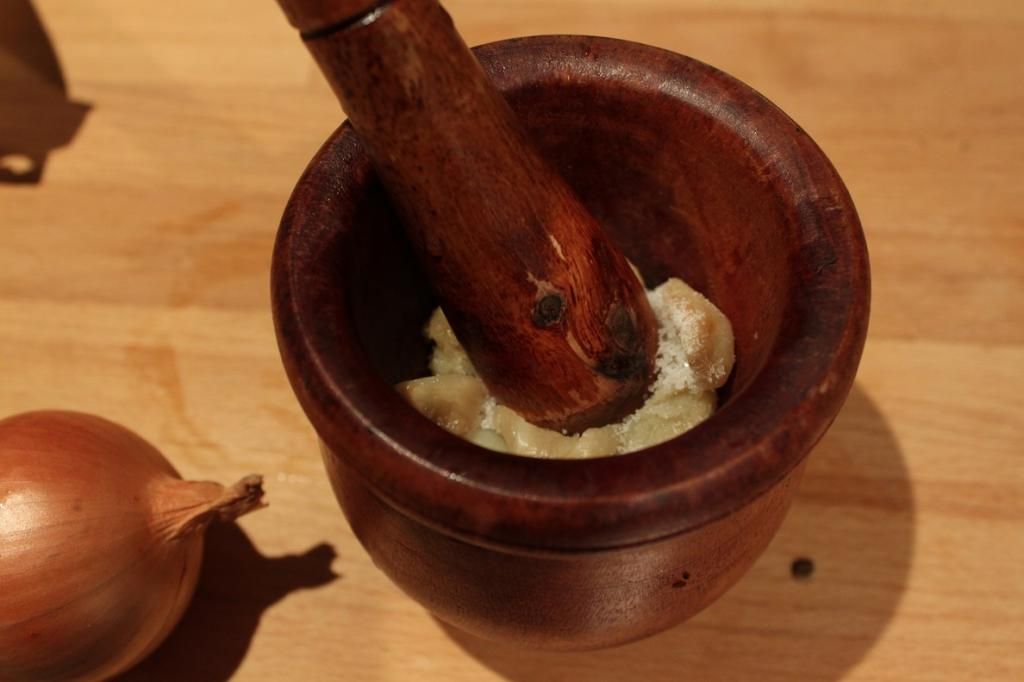
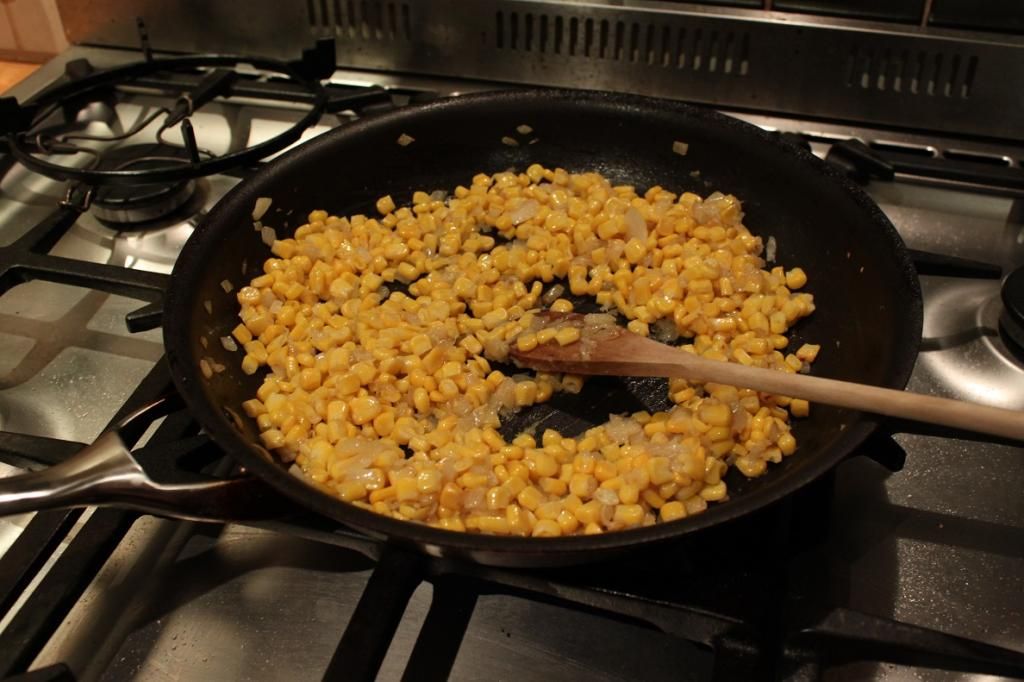
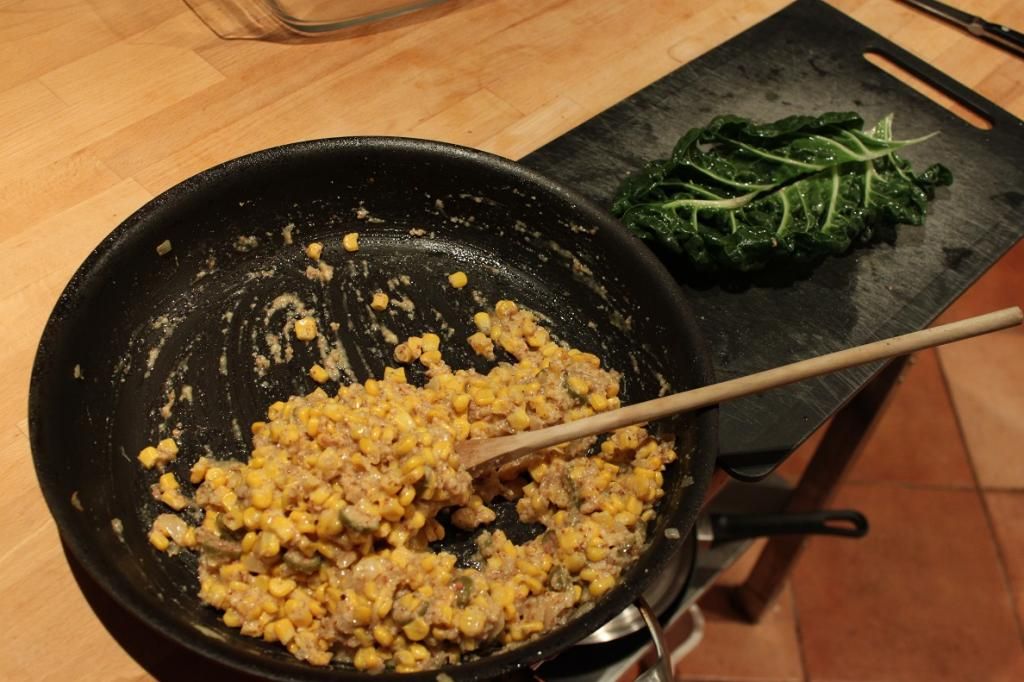
Dice the onion, and fry in a splash of olive oil and the salt over medium heat until translucent. Add the corn kernels and cook for 10 minutes, stirring here and there, until just barely starting to brown. Remove from the heat. In a mortar and pestle, crush the roast garlic cloves into a paste. Stir through the corn mixture, then add the almond meal and lightly beaten eggs and capeberries, making sure the mixture is completely combined.

Take each silverbeet leaf and add a few tablespoons of mixture to the top of the leaf. Fold the ‘leg parts’ together to make it a solid sheet, roll the edges in, and the whole thing down lengthwise, like you are rolling a spring roll, or burrito. Place seam side down in a casserole dish. Continue until all of the leaves and filling is used up.

Mix the water with the lime juice and Muscat, pour over the completed rolls. Cover loosely with foil and place in the oven. Bake for 15 minutes, then gently turn over the rolls. Leave the foil off and bake for a further 10 minutes.
 
Remove the rolls and reduce the liquid in a pan (I save on dishes just by using the first pan) until it’s syrupy and pour over the top

Ugly but Delicious - Corn, Almond and Roast Garlic Stuffed Silverbeet (Chard)

Thursday, January 1, 2015

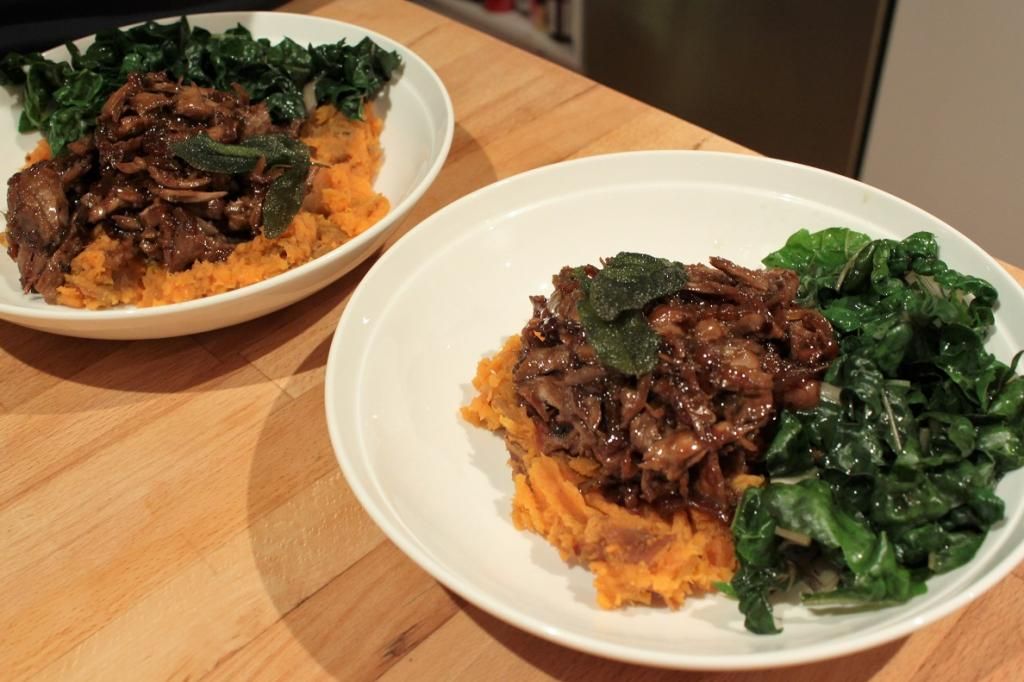
Starting the Year off Right - Bourbon Molasses Braised Duck

Starting the Year off Right - Bourbon Molasses Braised Duck


I have mentioned before that Lance has been experimenting a lot with smoking. Meat. He gets some funny looks when he tells people he’s really into smoking. He built a tray holder and bought a rotisserie and turned one of our garden sheds into a smoker. Last time he did a great big smoke, we had around 50 sausages, half a kilo of bacon, 6 chorizo links, a roast pork and a whole chicken. We now have a few piles of various woods drying out, ready for him to experiment with, things like macadamia and plum. As well as the traditional hickory blocks that we buy from the store. As an offshoot from that, he’s started experimenting more with roasting meats on the rotisserie in the BBQ. Or “rotisserating” them, as he likes to say.


This style of cooking is most suited to things with an outer layer of fat, so when it rotates, that layer of fat gets crunchy and delicious, whilst the interior meat is protected and stays gloriously moist. Even if you slightly overcook a roast, it stays moist inside. Lamb and pork legs and whole chickens have all had the rotisserated treatment to great effect. He’ll often throw some hickory and mesquite chips in to add an extra flavour boost. He did a whole baby pig for my sister-in-law's 30th!


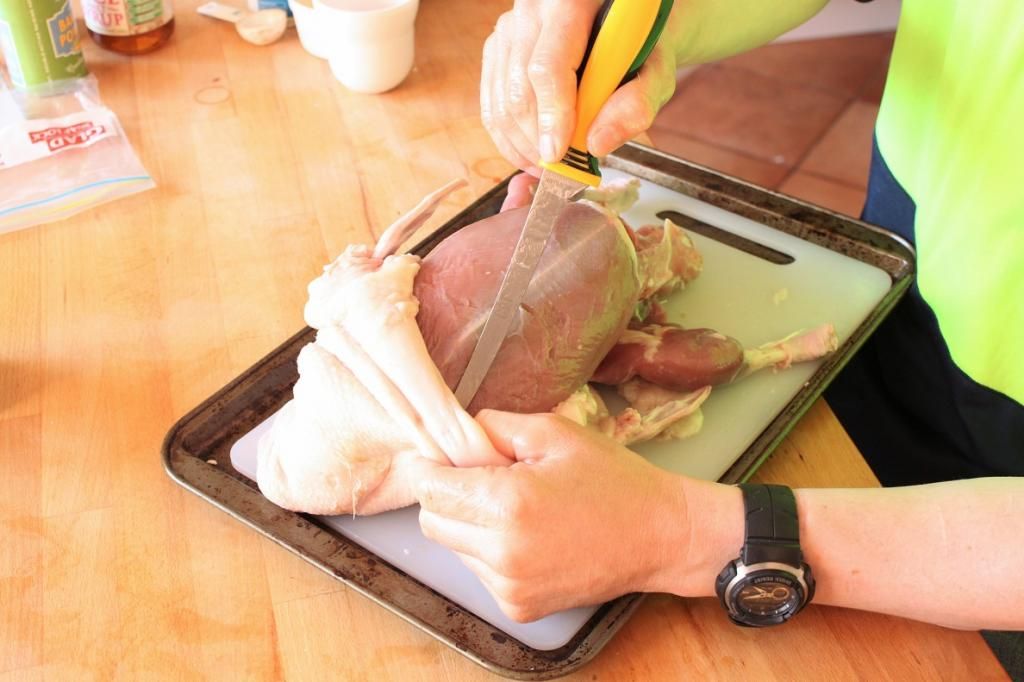
This passion and experimentation has led him to the idea of rotisserating a whole beef fillet which is almost entirely devoid of fat, so he wants to encase it in a layer of duck fat and see how that changes the flavour profile and generate moistness in a roast that is notorious for drying out. He figures if duck fat roasted potatoes are the holy grail or roast potatoes, then surely the same will be true for duck fat roasted beef. Which led to a Sunday afternoon of kitchen prep side-by-side. Me making baked bean casserole and banana bread for the week ahead. Him skinning a duck. Yep. He skinned a whole duck. Which meant I needed to find a way to cook a skinless, fatless duck.


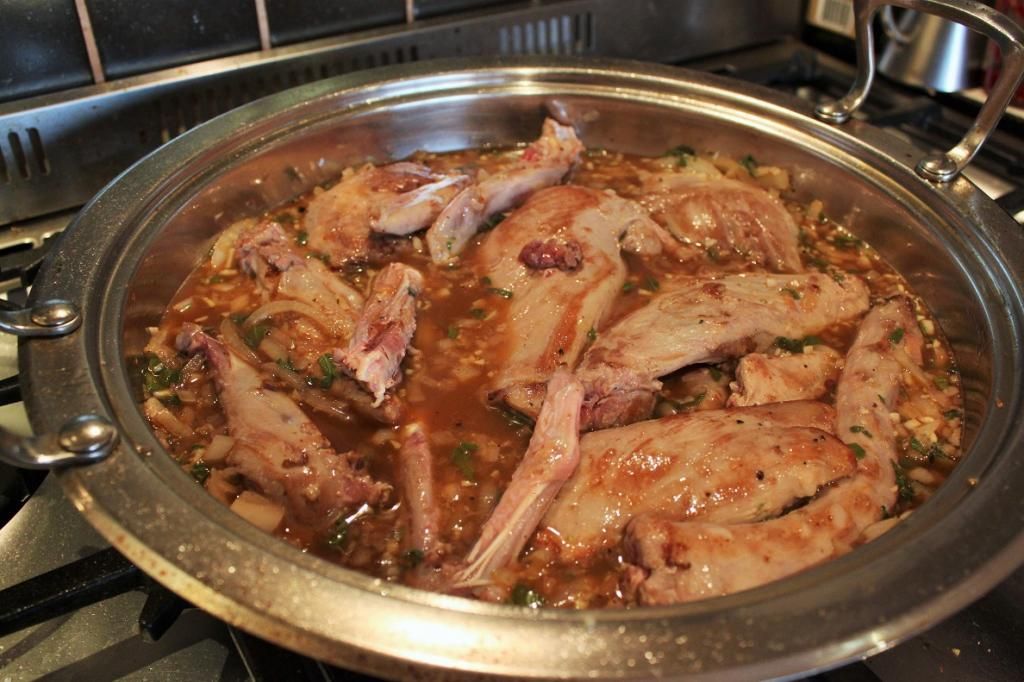
Obviously that rules out roasting it. The general consensus of all my cookbooks is that you can cook duck breasts quickly and to medium, and that duck legs you slow cook into confit style dishes and the rest of the duck is pretty useless for anything but stock. There isn’t a great deal of meat on ducks beyond the breasts and legs. My Peruvian cookbook had largely tomato based dishes, which didn’t really jump out at me. A Mexican cookbook had some slightly more inspired spice-based dishes. My Treme cookbook had slow roasted duck with bourbon molasses sauce and sweet potato fries. Bingo! I used the same base flavours, but changed the dish to suit my skinless duck. Opting to section it, brown it, then braise it.


To make life easier, you can get an already segmented duck and either pull the skin off yourself which will be a lot easier than skinning it whole. Or, you can still brown each piece leaving the skin and fat on, but you’ll need to brown it for longer on the skin side, and removed the majority of the fat from the pan before adding the liquids.


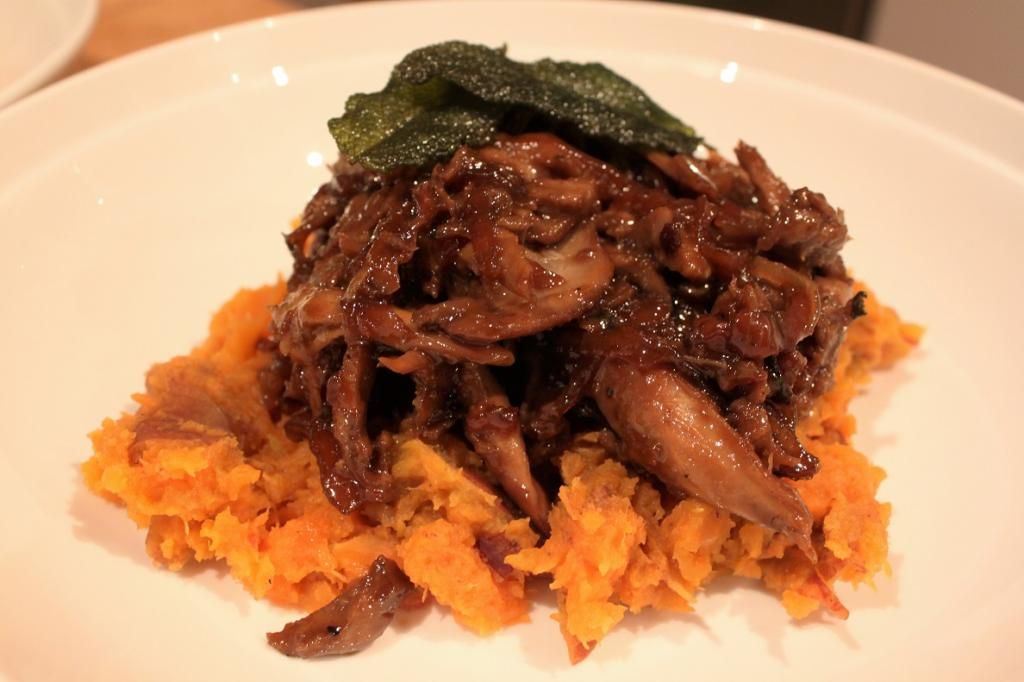
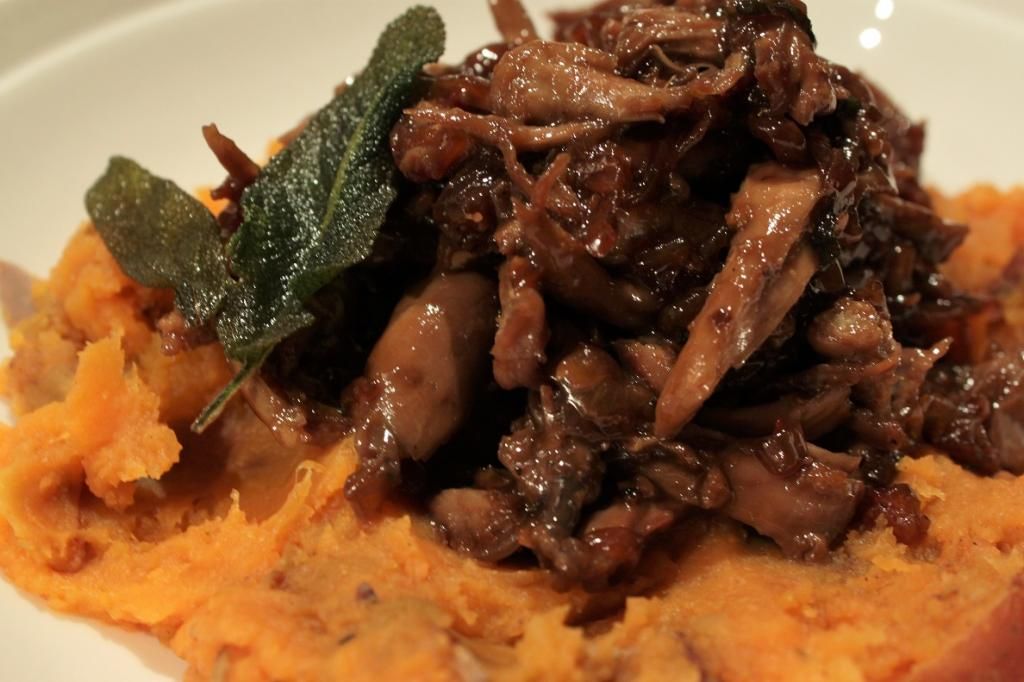
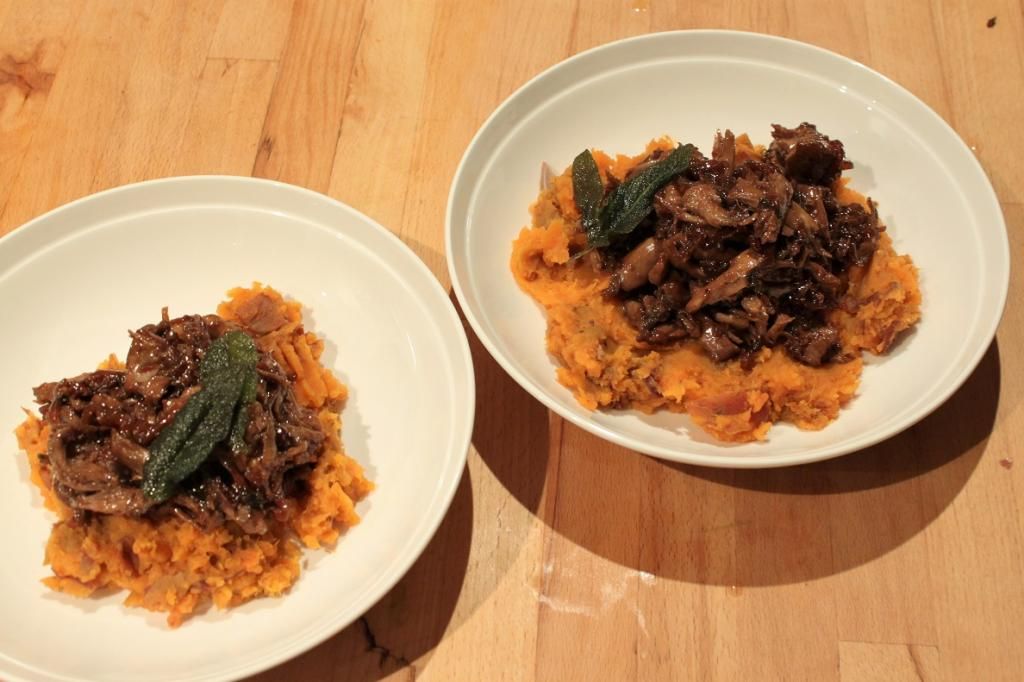
This resulting dish is rich and sweet and sticky and moreish just all kinds of perfect. I deep-fried some sage leaves in duck fat for garnish, and instead of making fries, I made a sweet potato mash with orange and cinnamon that complimented the sweetness just so. Although that as a dish by itself makes a fantastic side. I lazily made it in the microwave and it takes less than 10 minutes. Couldn’t be simpler!


And as a side note, molasses can be hard to find, but I really suggest you seek it out. The flavour profile is so much richer than any other sweetener you would try using as a substitute and it really makes the dish. In the end, I found it in a Woolworths, but I had gone to the Nanna Shop, a Coles and an IGA before I found some.


Starting the Year off Right - Bourbon Molasses Braised Duck


Bourbon Molasses Braised Duck

(adapted from the Treme Cookbook)
1 duck, approx. 2.2 kg, sectioned into about 8 pieces and skinned
2 tbsp reserved duck fat (from skinning the duck)
1 brown onion, sliced into half moons
4 garlic cloves, minced
2 shallots, diced
8 large sage leaves, plus 1 tbsp chopped sage leaves
1 tbsp thyme leaves
2 tsp black pepper
1 cup chicken stock
½ cup molasses, divided in two
½ cup bourbon, divided in two
¾ cup apple cider vinegar (plus a splash)
330mL bottle apple cider
Salt and pepper


Place the duck fat in a large lidded pan (I used my tagine) and bring up to a medium high heat. When the majority of the fat has rendered out, remove the little bits that remain and discard. Carefully drop the whole sage leaves into the hot oil, they will sizzle and crisp up in about 30 seconds. Remove to paper towel and set aside.


Season the duck pieces with salt and pepper and in batches, brown on each side in the duck fat. Around 3-5 minutes per side should do it. Set aside on a plate.


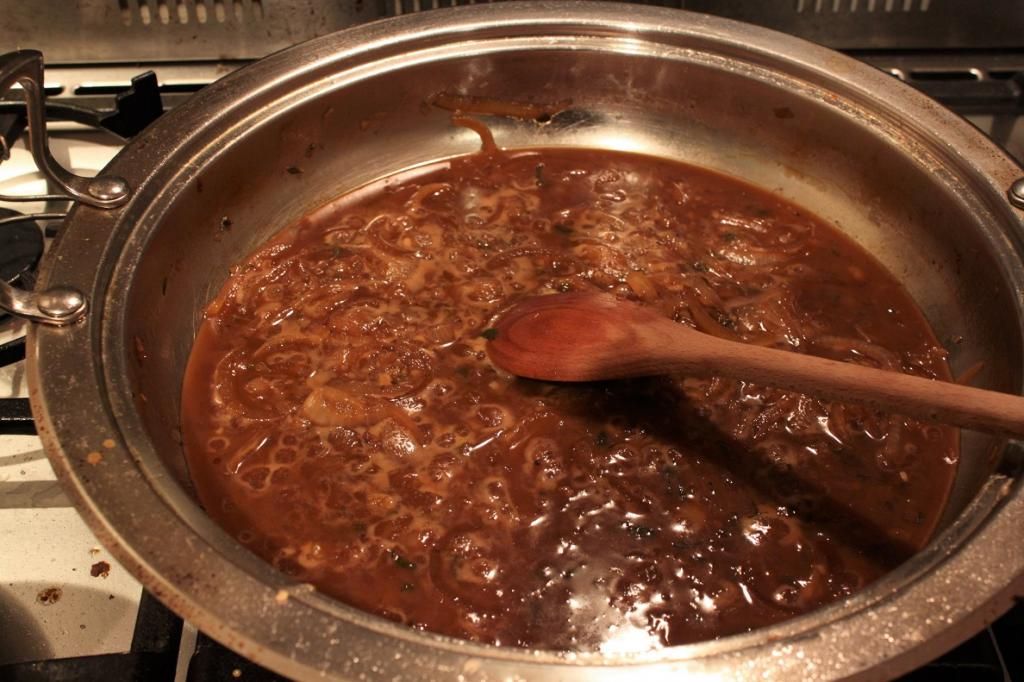
Add the onion to the pan and cook until golden, stirring here and there so it doesn’t catch too much. Around 10 minutes. Add a splash of apple cider vinegar to deglaze the pan if necessary, then add the shallots and garlic cloves. Cook until translucent, around 3 minutes.


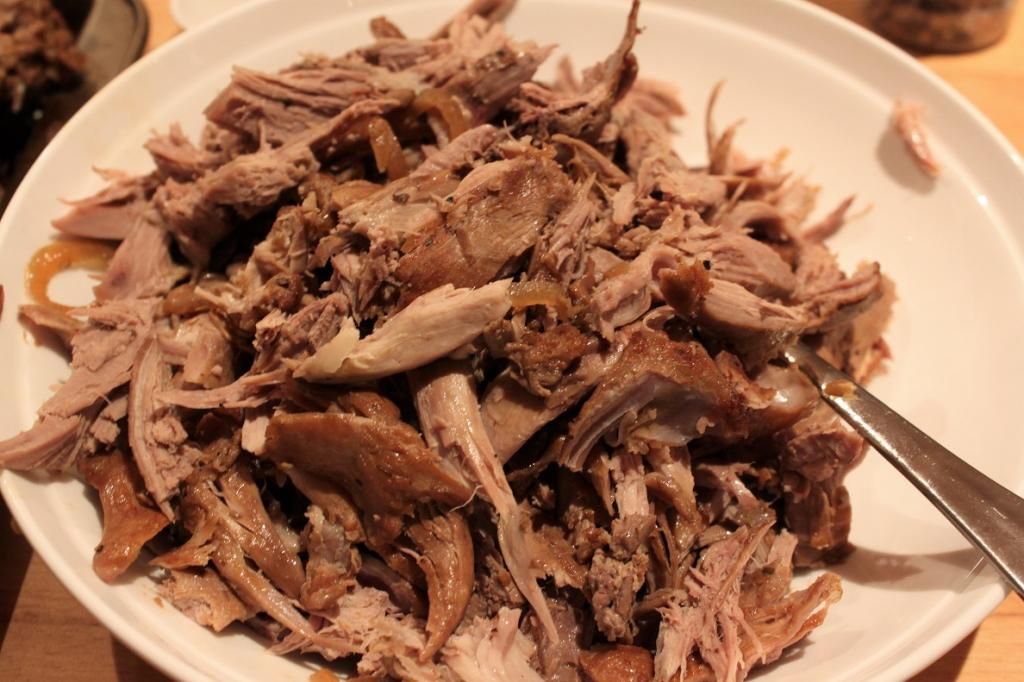
Add the sage, thyme, pepper, chicken stock, ¼ cup of molasses, ¼ cup of bourbon, apple cider vinegar and apple cider to the pan. Stir well to combine, then add the duck pieces back into braising liquid. Cover and cook for 30 minutes, turn the duck over, re-cover and cook for a further 20-30 minutes or until the meat is falling off the bone.


When cooked, remove the duck from the pan and add the remaining ¼ cup of molasses and ¼ cup bourbon and leave simmering with the lid off to reduce.


Shred the duck meat from off the bone, discarding the bones.


When the sauce is a thick, syrupy consistency, check for seasoning, then stir the duck back through the sauce.

Serve with Orange Cinnamon Sweet Potato Smash and crispy fried sage leaves


Starting the Year off Right - Bourbon Molasses Braised Duck

Simplest of Sides - Orange Cinnamon Sweet Potato Smash

Simplest of Sides - Orange Cinnamon Sweet Potato Smash


This is the easiest side in the whole world. Ok, maybe not. But it is brilliant for those nights that you just want something quick to go with a grilled meat. Especially now the weather is warming up (41C/106F the other day) and you don’t want to put the oven on and heat up the whole house. All you need is a glass/pyrex bowl, a microwave, a fork and 6 minutes. The result is crazy flavoursome. I served this for the first time with Bourbon Molasses Braised Duck and it couldn’t have been a more perfect match. I will post that recipe very soon. But it’ll pretty much go with any meat except maybe seafood.

Because it is so easy, and not really something I've considered worth posting...I haven't been great at taking photos of said side. Sorry.

To make this vegan, substitute the butter with olive oil. Also, adding a few tablespoons of Greek Yoghurt instead of the butter makes a delightfully creamier version!


Simplest of Sides - Orange Cinnamon Sweet Potato Smash


Orange Cinnamon Sweet Potato Smash

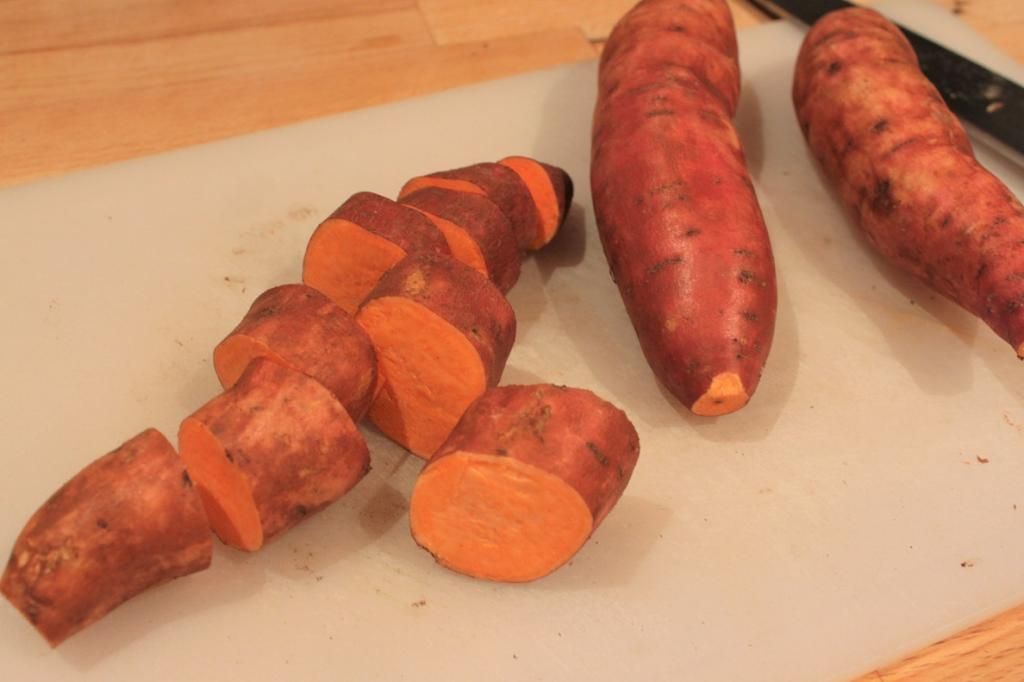
3 small sweet potatoes
3 tbsp orange juice
Salt and pepper
½ tsp cinnamon
1 tsp butter


Scrub the sweet potatoes and cut into 3-4cm chunks. Place in a large glass bowl and add the orange juice and season lightly with salt and pepper. Cover the bowl with a piece of paper towel and microwave on high for 5 minutes. Check with a fork, if not quite tender, zap for another minute.

When done, add the butter and cinnamon and smash it all together with a fork to make a mash. Rough is fine, but you want to make sure the orange juice, butter and cinnamon are mixed through. Check for seasoning and serve.


Simplest of Sides - Orange Cinnamon Sweet Potato Smash


Tuesday, December 30, 2014

Summer BBQ - Pumpkin and Miso Slaw

Summer BBQ - Pumpkin and Miso Slaw

I am lucky enough to have just over a week off for my company's Christmas shut-down and I had grand plans to make up for the current decline in my blog posts and prep a whole bunch for the new year. Then I would catch up on reading other blogs and spring clean my desk area and re-arrange the spare room and do some gardening. And. And. And I have done none of it. Today is the first day I've even been willing to turn my computer on. This has been officially my laziest Christmas break. I've actually used it as a break! Lots of book reading and beach going and lazy shopping.

Hopefully everyone has had a fabulous holiday period. I certainly did, celebrating with both families, eating up a storm. In lieu of a big night tonight (with Lance not getting January 1st off), we also had our now traditional New Year's Eve Eve Eve Eve Eve BBQ. But tonight we will have a quiet BBQ at home with the best of intentions to stay awake until midnight. And we will be eating this salad. 

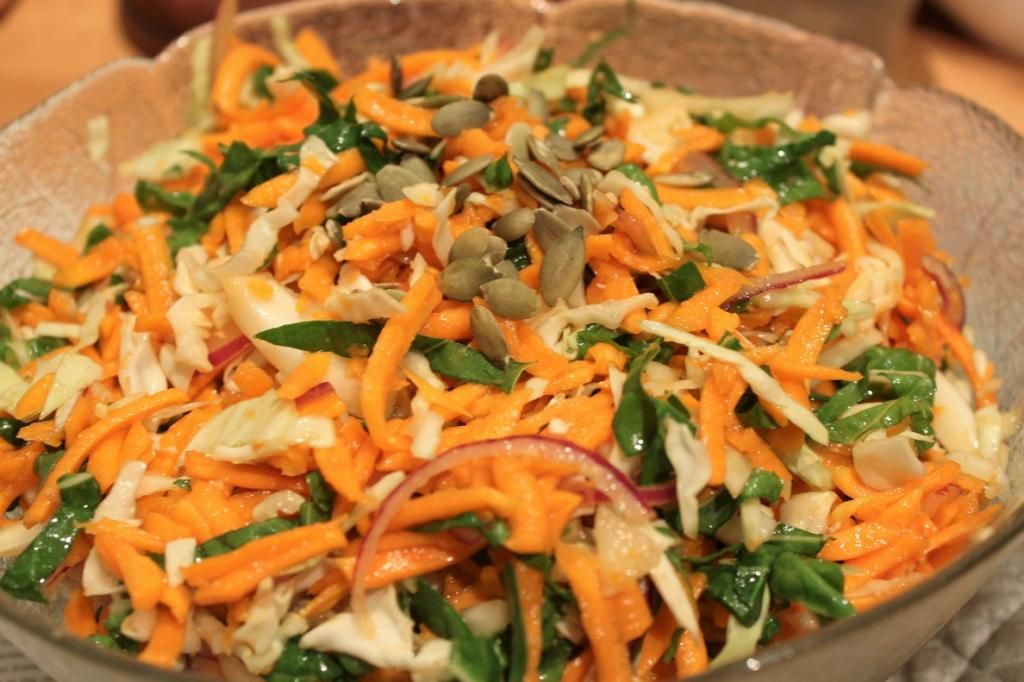
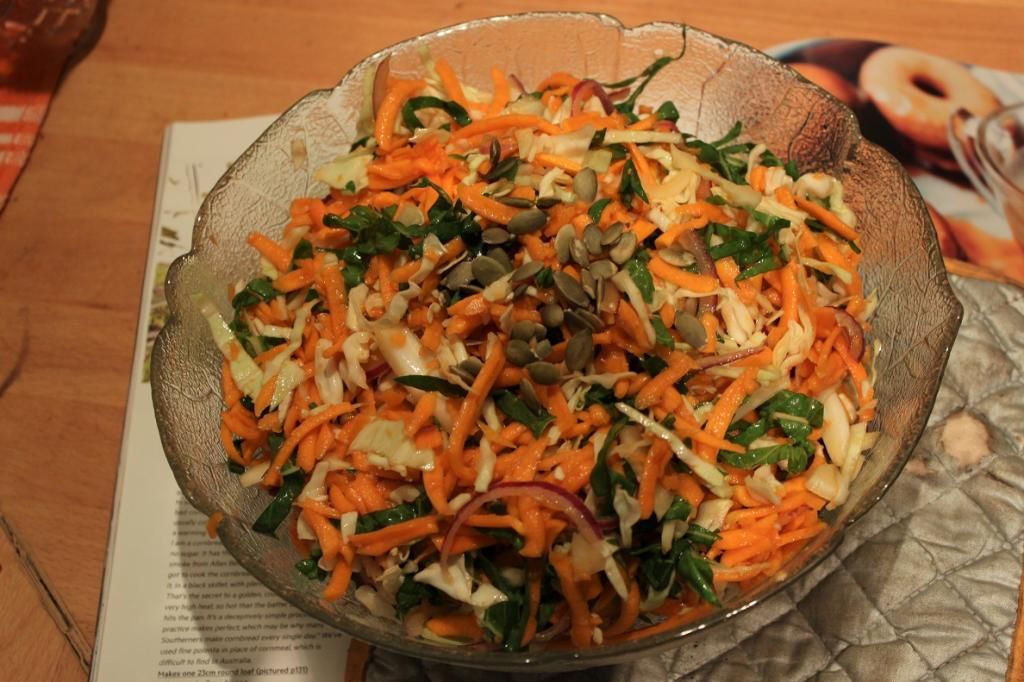
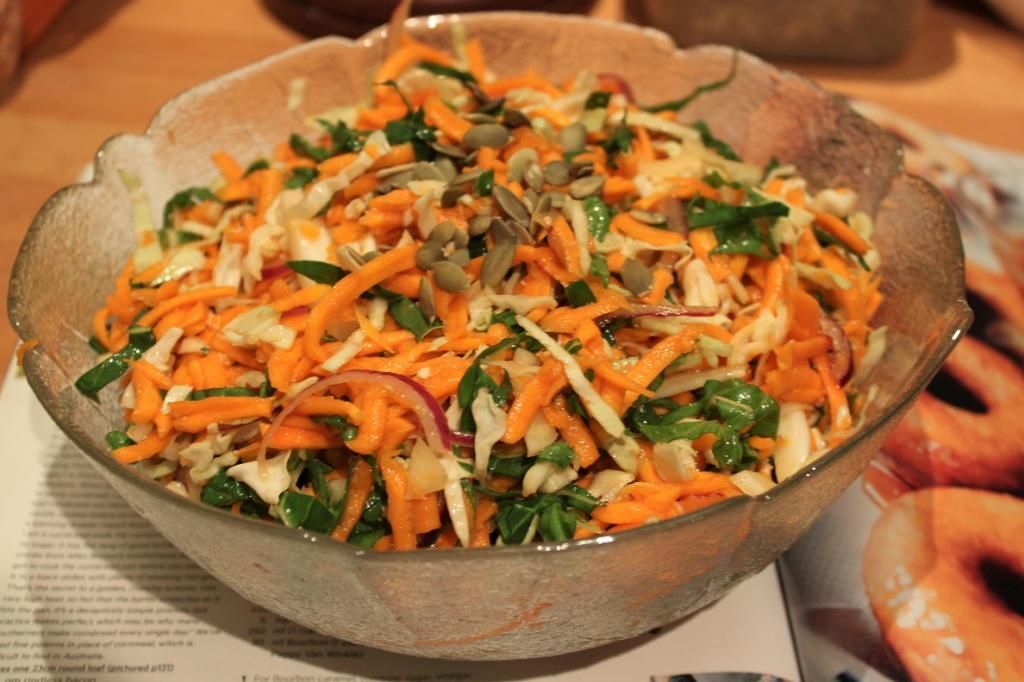
This is currently one of my favourite salads. It is super easy to make, and can be made a day or two in advance if necessary. It is the perfect salad to take to a BBQ. It is a vinegar-based slaw, rather than the mayonnaise based coleslaw that most Australian's are more familiar with, which makes it a much lighter dish. Instead of carrot, I use pumpkin with red onion and silverbeet (chard) for colour. The salt comes from the delightfully savoury taste of miso paste, whilst maple adds a sweet touch against the vinegar. A touch of sriracha adds a faint spice, without too much heat. Toasted pumpkin seeds round out the texture perfectly.

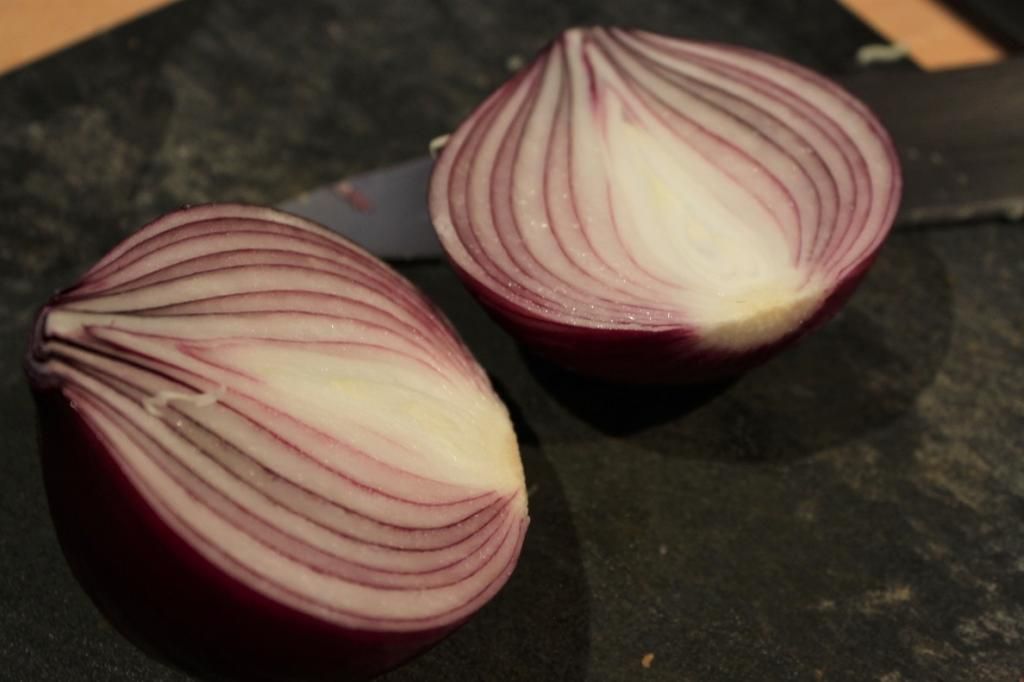
I am not the hugest fan of raw onion in salads, which is why I added the step to sit the onion in vinegar first. It takes a little of the onion's punch out. Feel free to skip this step if you are an onion lover.

This makes a large amount of salad, but as I said, it keeps a few days in the fridge so you can have it as leftovers if you aren't serving it to a crowd.

Happy New Year my lovely readers, and I promise my posts will get a little more on-track in 2015!


Summer BBQ - Pumpkin and Miso Slaw


Pumpkin Miso Slaw

1 small butternut pumpkin
¼ head cabbage
3 leaves silverbeet
¼ cup toasted pepitas
½ white onion
1/4 cup + 2 tbsp apple cider vinegar, divided
2 tbsp miso paste
2 tbsp maple syrup
1 tbsp olive oil
3 tsp sriracha (or to taste)
Salt & pepper to taste


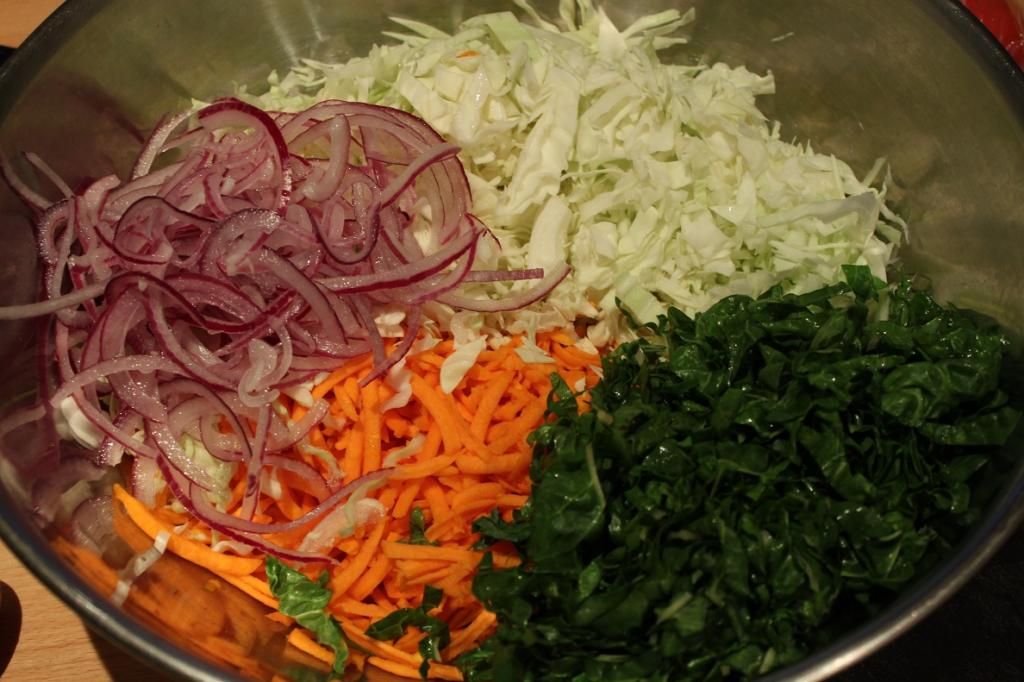
Thinly slice the onion into half moons, cover with the 2 tbsp apple cider vinegar and set aside whilst you prepare everything else.


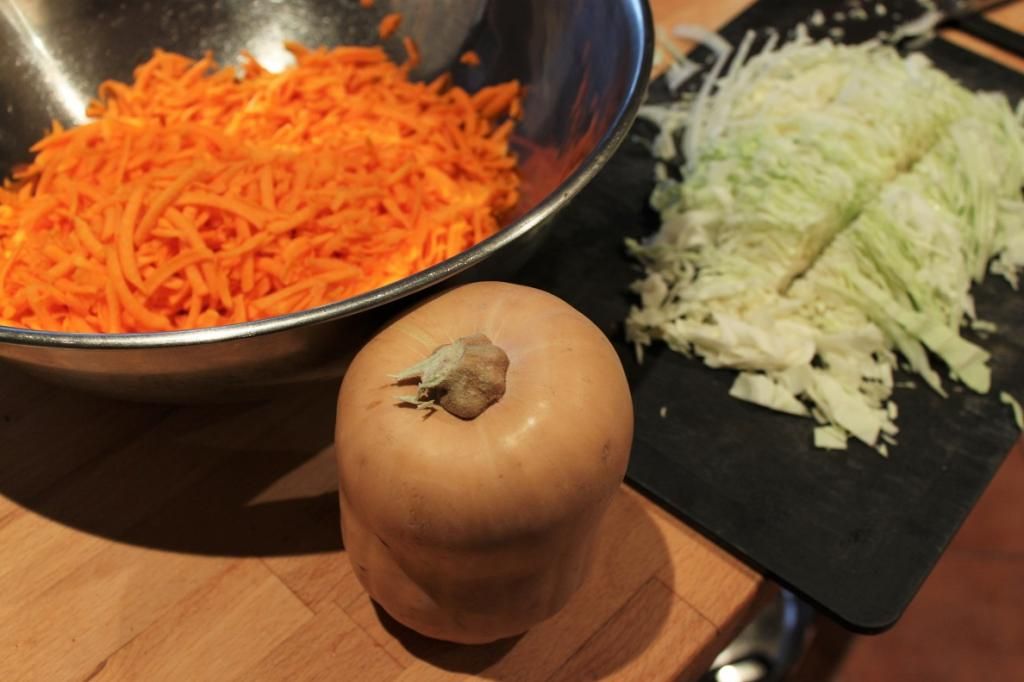
Grate (by hand, or in a food processor) the pumpkin, finely shred the cabbage and silverbeet. Mix together in a large bowl.


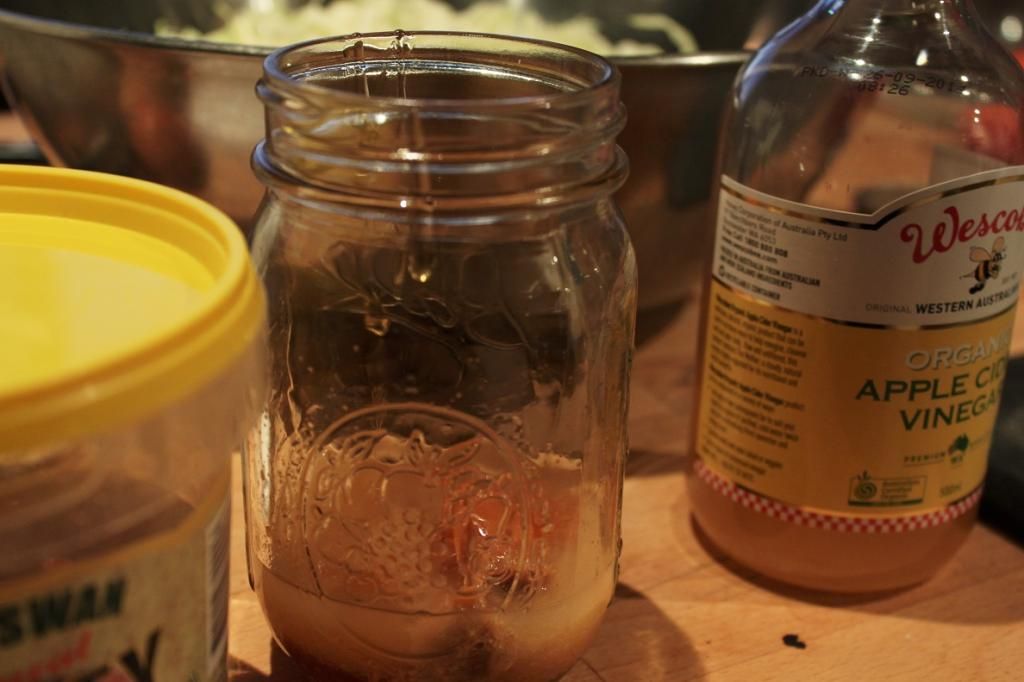
Add all the dressing ingredients to a jar and shake until well combined. Taste for seasoning, adjust as required. Pour over the salad and mix well to coat everything. Mix the onion into the salad. Set aside for half an hour for the acid in the vinegar to soften the pumpkin.


Just before serving, toss through the pumpkin seeds


Summer BBQ - Pumpkin and Miso Slaw