I have
mentioned before that Lance has been experimenting a lot with smoking. Meat. He
gets some funny looks when he tells people he’s really into smoking. He built a
tray holder and bought a rotisserie and turned one of our garden sheds into a
smoker. Last time he did a great big smoke, we had around 50 sausages, half a
kilo of bacon, 6 chorizo links, a roast pork and a whole chicken. We now have a
few piles of various woods drying out, ready for him to experiment with, things
like macadamia and plum. As well as the traditional hickory blocks that we buy
from the store. As an offshoot from that, he’s started experimenting more with
roasting meats on the rotisserie in the BBQ. Or “rotisserating” them, as he
likes to say.
This style of
cooking is most suited to things with an outer layer of fat, so when it
rotates, that layer of fat gets crunchy and delicious, whilst the interior meat
is protected and stays gloriously moist. Even if you slightly overcook a roast,
it stays moist inside. Lamb and pork legs and whole chickens have all had the
rotisserated treatment to great effect. He’ll often throw some hickory and
mesquite chips in to add an extra flavour boost. He did a whole baby pig for my sister-in-law's 30th!
This passion
and experimentation has led him to the idea of rotisserating a whole beef
fillet which is almost entirely devoid of fat, so he wants to encase it in a
layer of duck fat and see how that changes the flavour profile and generate
moistness in a roast that is notorious for drying out. He figures if duck fat roasted
potatoes are the holy grail or roast potatoes, then surely the same will be
true for duck fat roasted beef. Which led to a Sunday afternoon of kitchen prep
side-by-side. Me making baked bean casserole and banana bread for the week
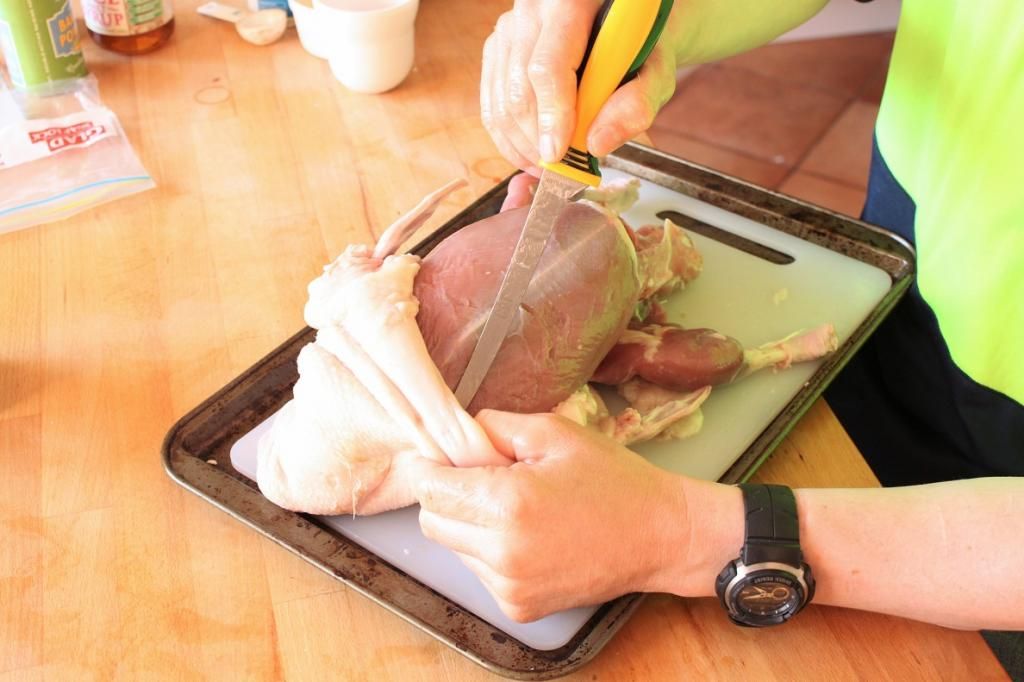
ahead. Him skinning a duck. Yep. He skinned a whole duck. Which meant I needed
to find a way to cook a skinless, fatless duck.
Obviously that
rules out roasting it. The general consensus of all my cookbooks is that you
can cook duck breasts quickly and to medium, and that duck legs you slow cook
into confit style dishes and the rest of the duck is pretty useless for
anything but stock. There isn’t a great deal of meat on ducks beyond the
breasts and legs. My Peruvian cookbook had largely tomato based dishes, which
didn’t really jump out at me. A Mexican cookbook had some slightly more
inspired spice-based dishes. My Treme cookbook had slow roasted duck with
bourbon molasses sauce and sweet potato fries. Bingo! I used the same base
flavours, but changed the dish to suit my skinless duck. Opting to section it,
brown it, then braise it.
To make life
easier, you can get an already segmented duck and either pull the skin off
yourself which will be a lot easier than skinning it whole. Or, you can still
brown each piece leaving the skin and fat on, but you’ll need to brown it for
longer on the skin side, and removed the majority of the fat from the pan
before adding the liquids.
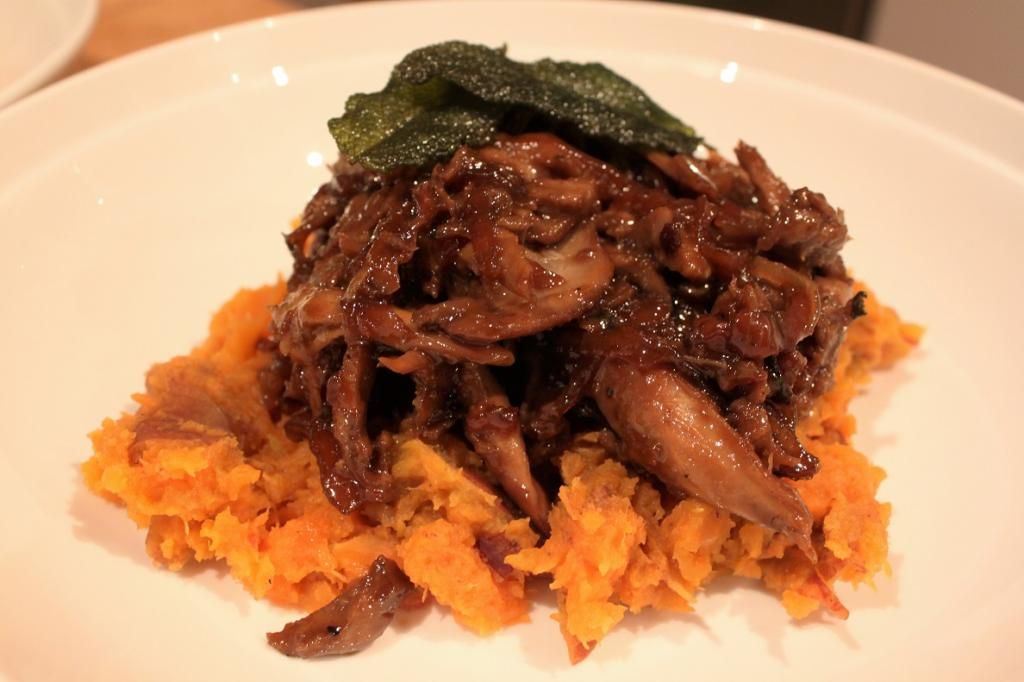
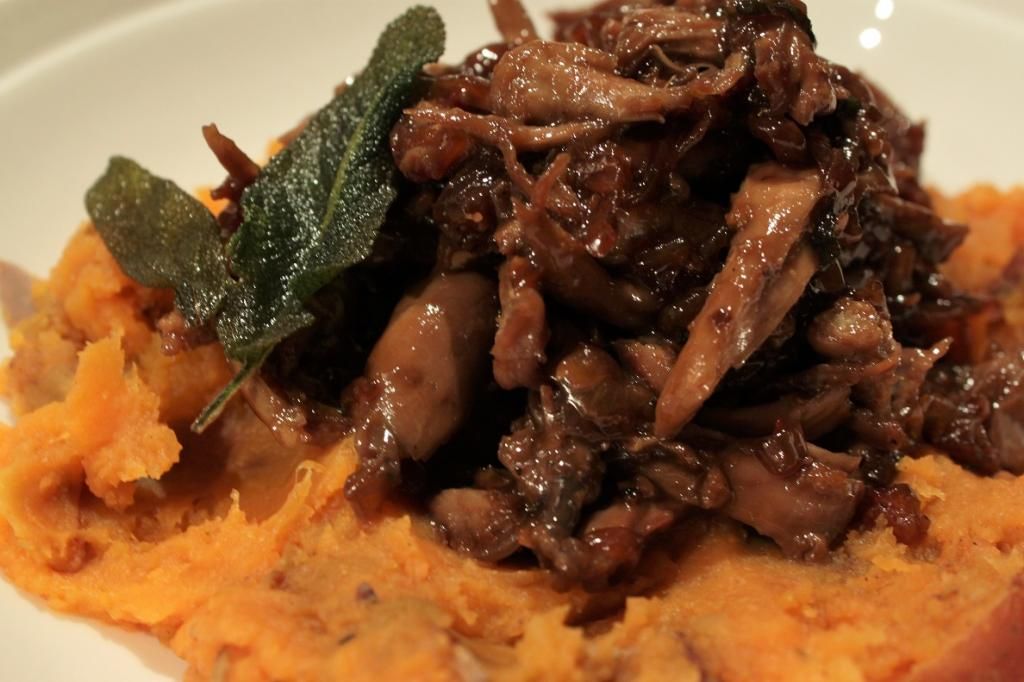
This resulting
dish is rich and sweet and sticky and moreish just all kinds of perfect. I
deep-fried some sage leaves in duck fat for garnish, and instead of making
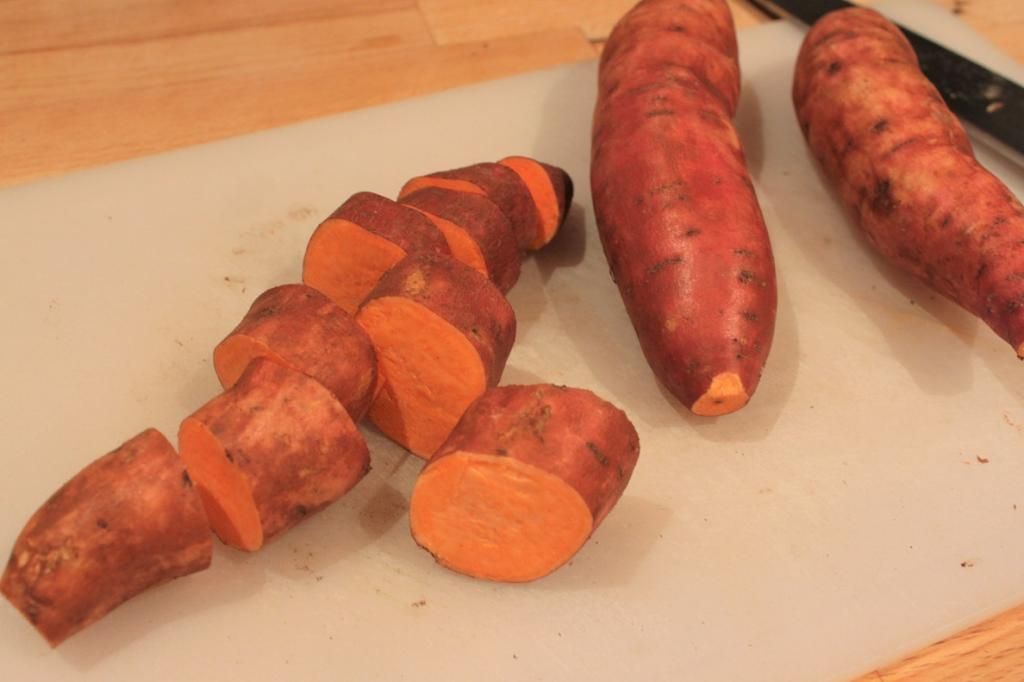
fries, I made a sweet potato mash with orange and cinnamon that complimented
the sweetness just so. Although that as a dish by itself makes a fantastic
side. I lazily made it in the microwave and it takes less than 10 minutes.
Couldn’t be simpler!
And as a side
note, molasses can be hard to find, but I really suggest you seek it
out. The flavour profile is so much richer than any other sweetener you would
try using as a substitute and it really makes the dish. In the end, I found it
in a Woolworths, but I had gone to the Nanna Shop, a Coles and an IGA before I
found some.
Bourbon Molasses Braised Duck
(adapted from the Treme Cookbook)
1 duck,
approx. 2.2 kg, sectioned into about 8 pieces and skinned
2 tbsp
reserved duck fat (from skinning the duck)
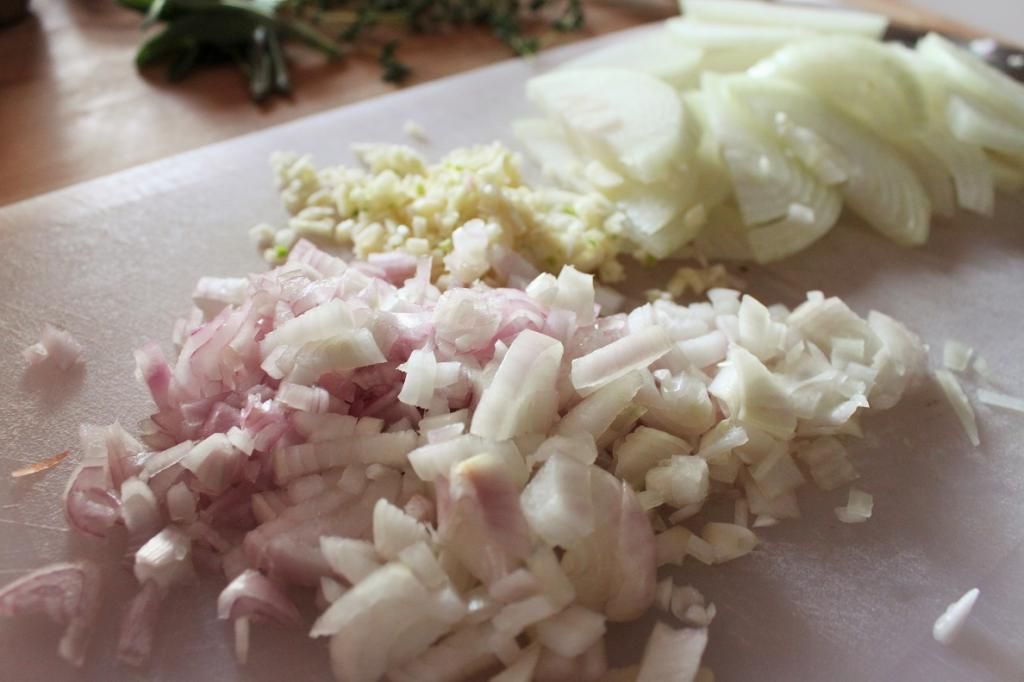
1 brown onion,
sliced into half moons
4 garlic
cloves, minced
2 shallots,
diced
8 large sage
leaves, plus 1 tbsp chopped sage leaves
1 tbsp thyme
leaves
2 tsp black
pepper
1 cup chicken
stock
½ cup
molasses, divided in two
½ cup bourbon,
divided in two
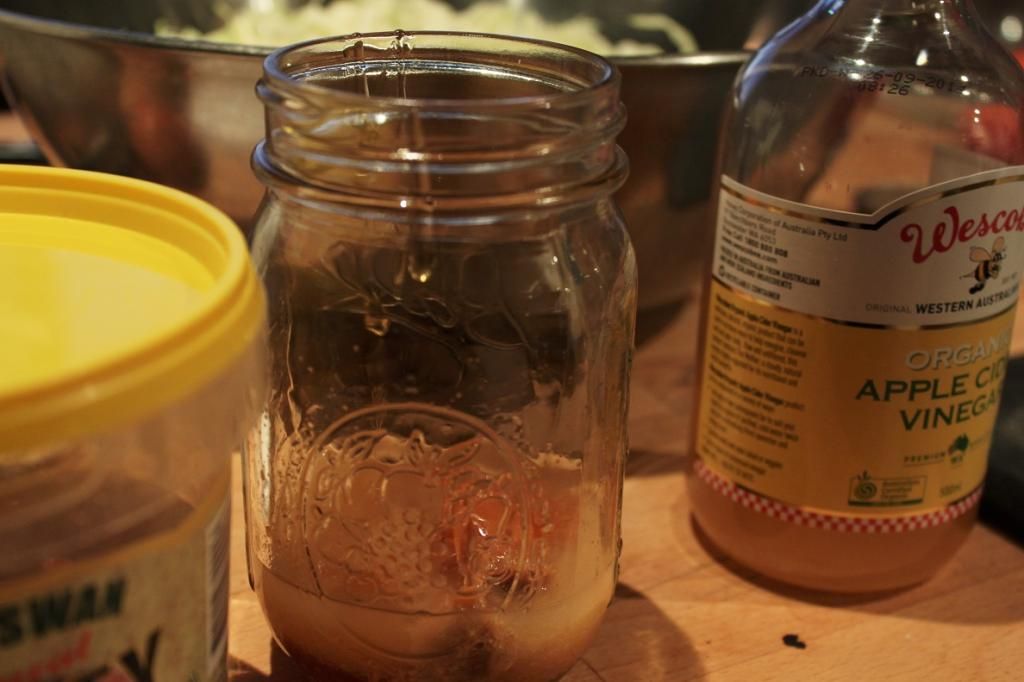
¾ cup apple
cider vinegar (plus a splash)
330mL bottle
apple cider
Salt and
pepper
Place the duck
fat in a large lidded pan (I used my tagine) and bring up to a medium high
heat. When the majority of the fat has rendered out, remove the little bits
that remain and discard. Carefully drop the whole sage leaves into the hot oil,
they will sizzle and crisp up in about 30 seconds. Remove to paper towel and
set aside.
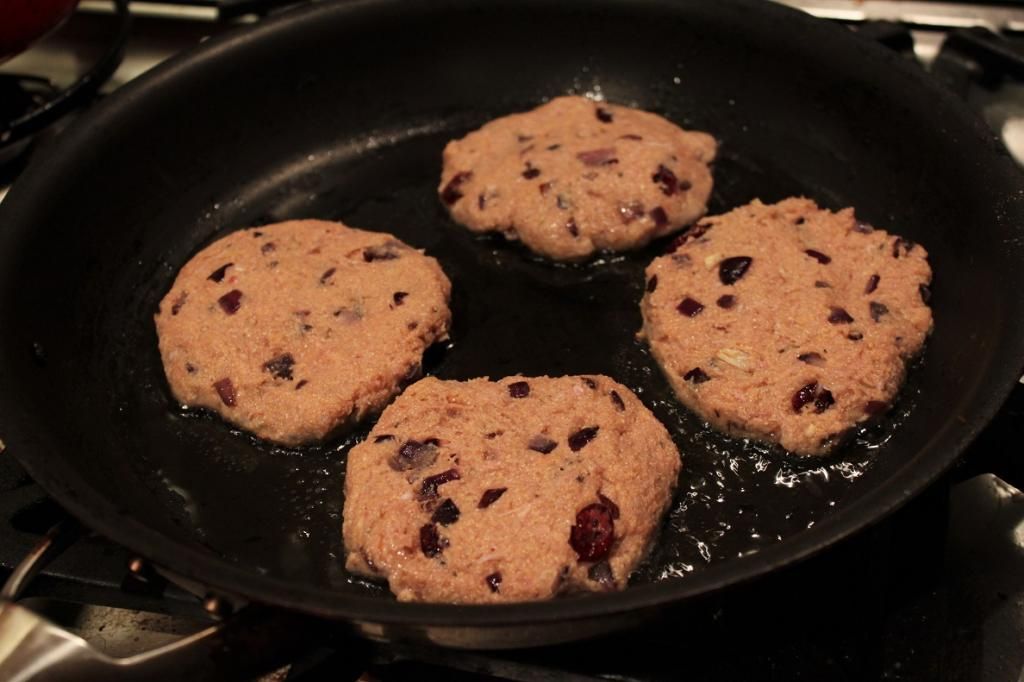
Season the
duck pieces with salt and pepper and in batches, brown on each side in the duck
fat. Around 3-5 minutes per side should do it. Set aside on a plate.
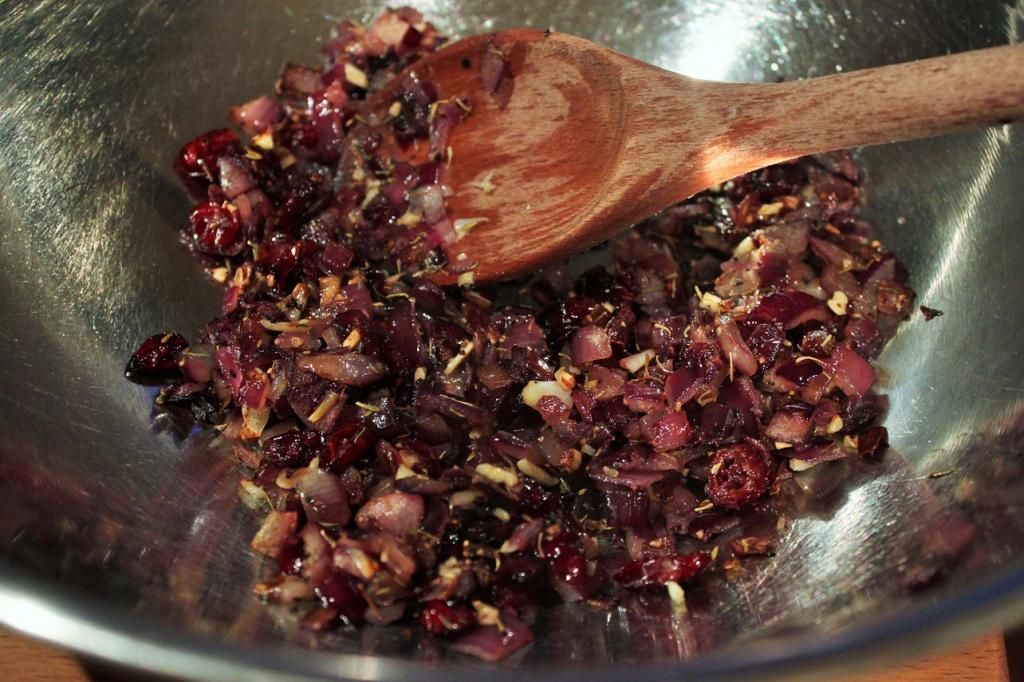
Add the onion
to the pan and cook until golden, stirring here and there so it doesn’t catch
too much. Around 10 minutes. Add a splash of apple cider vinegar to deglaze the
pan if necessary, then add the shallots and garlic cloves. Cook until
translucent, around 3 minutes.
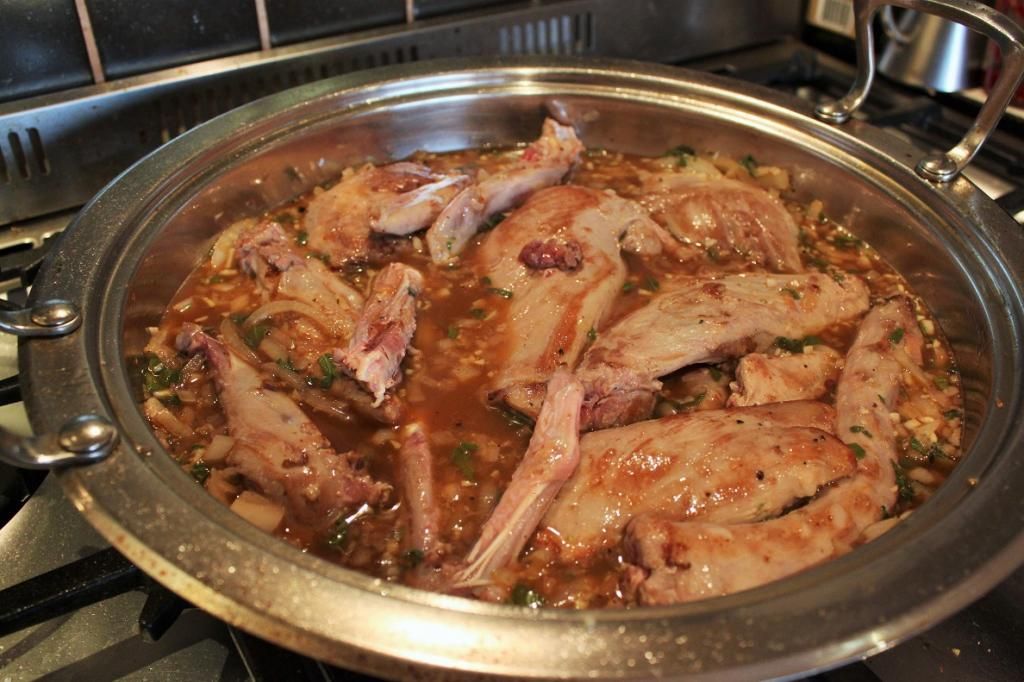
Add the sage,
thyme, pepper, chicken stock, ¼ cup of molasses, ¼ cup of bourbon, apple cider
vinegar and apple cider to the pan. Stir well to combine, then add the duck
pieces back into braising liquid. Cover and cook for 30 minutes, turn the duck
over, re-cover and cook for a further 20-30 minutes or until the meat is
falling off the bone.
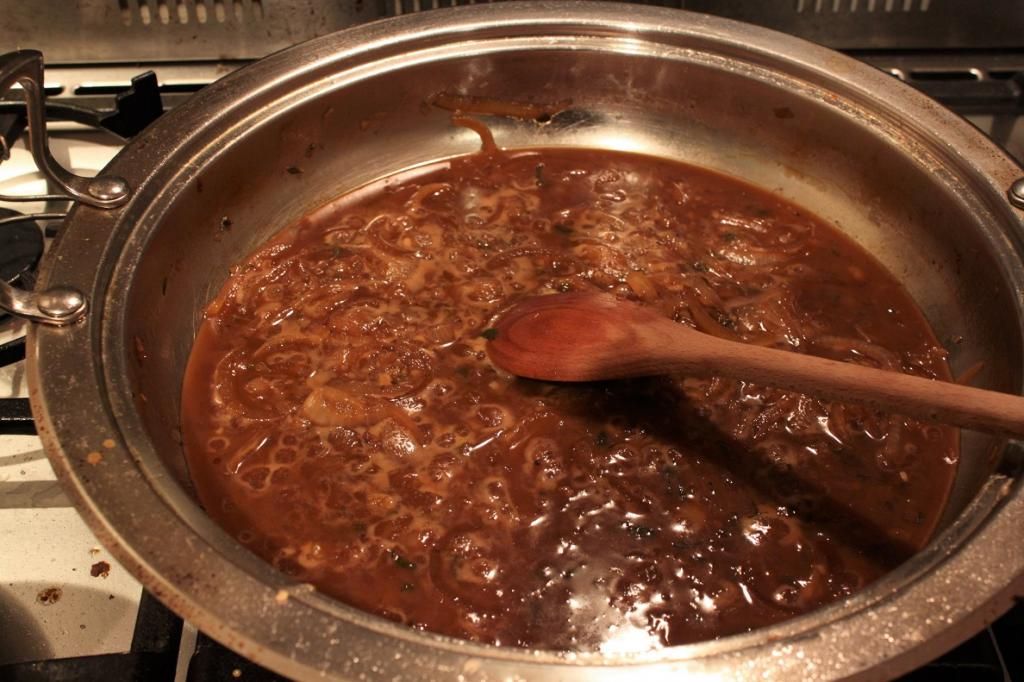
When cooked,
remove the duck from the pan and add the remaining ¼ cup of molasses and ¼ cup
bourbon and leave simmering with the lid off to reduce.
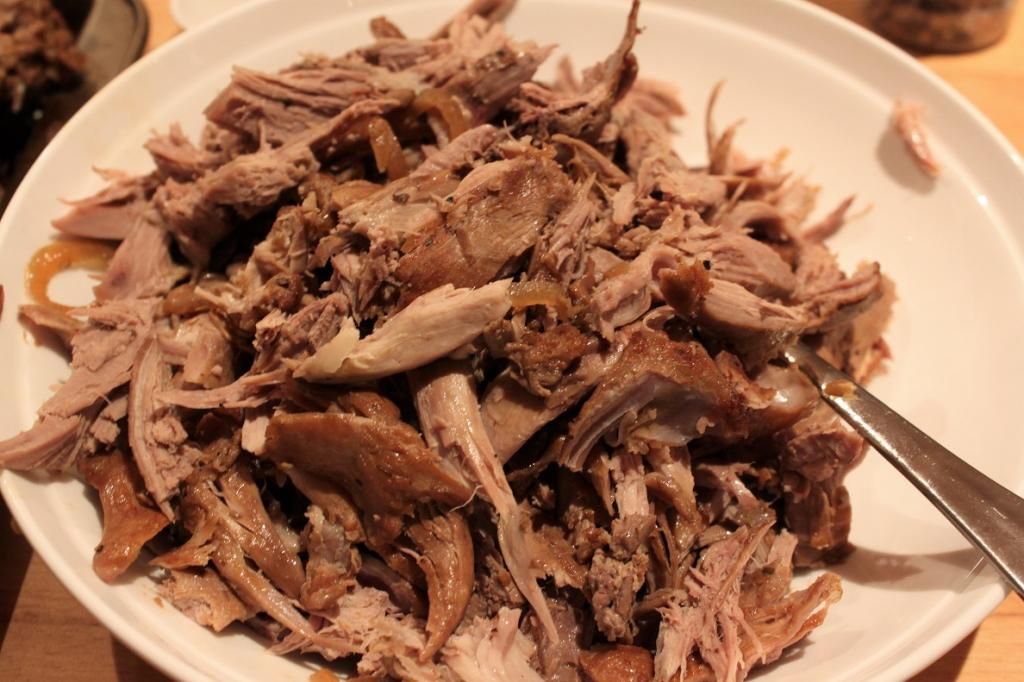
Shred the duck
meat from off the bone, discarding the bones.
When the sauce
is a thick, syrupy consistency, check for seasoning, then stir the duck back
through the sauce.
Serve with Orange Cinnamon Sweet Potato Smash and crispy fried sage
leaves