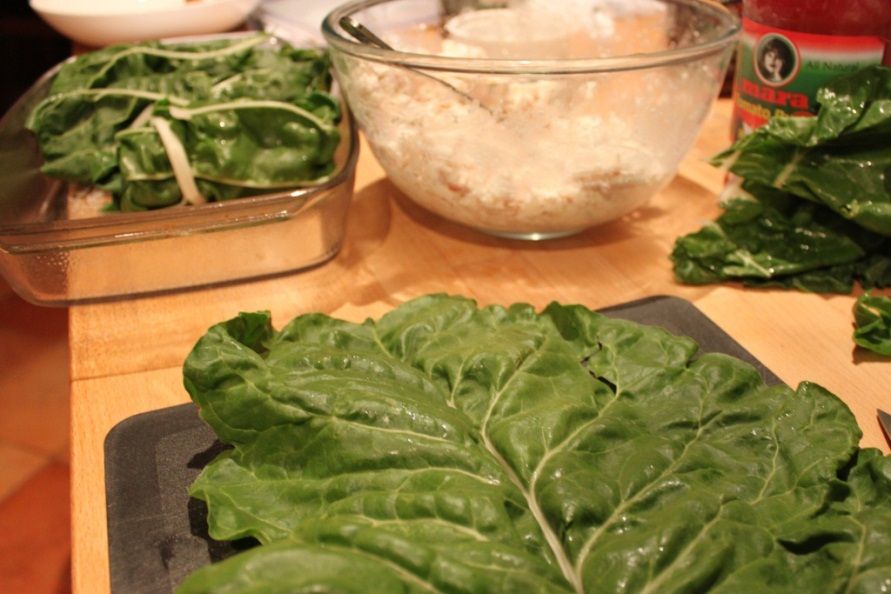
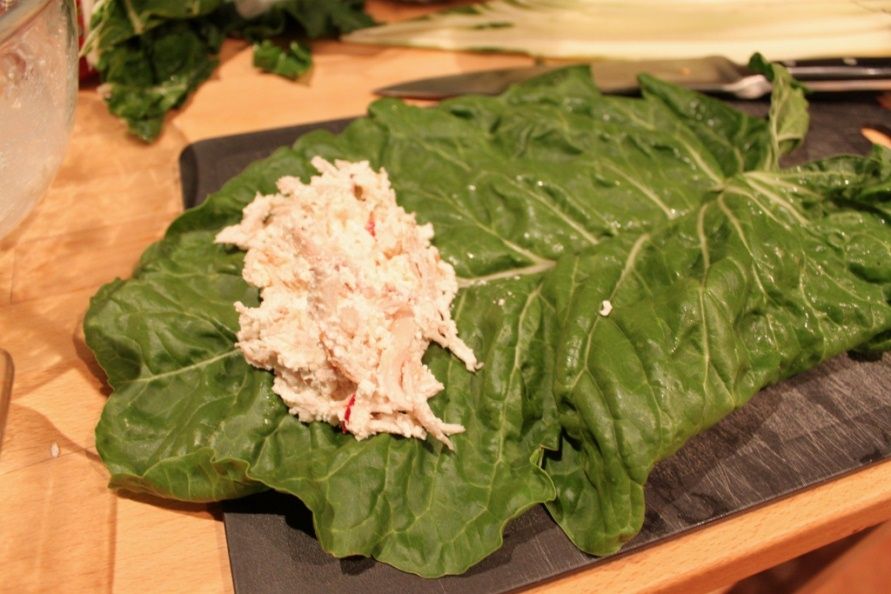
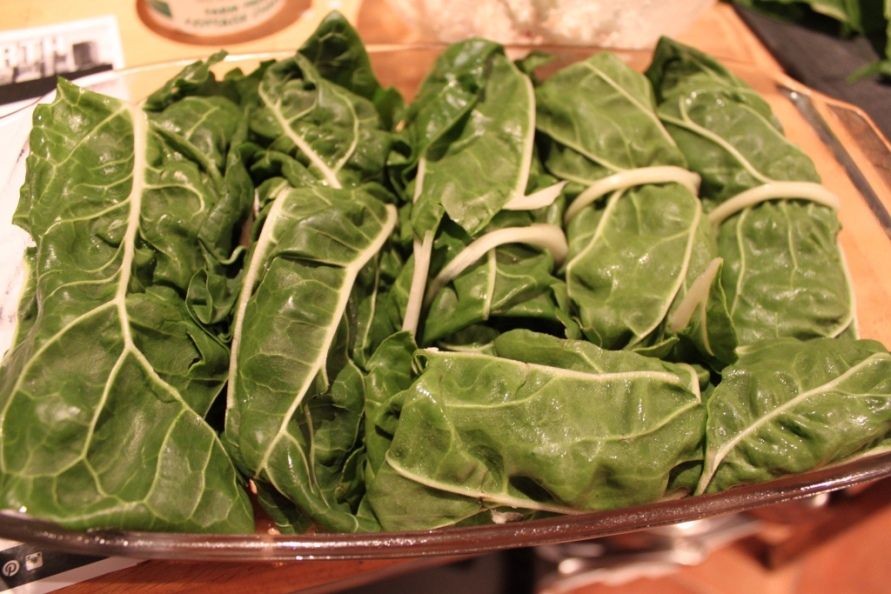
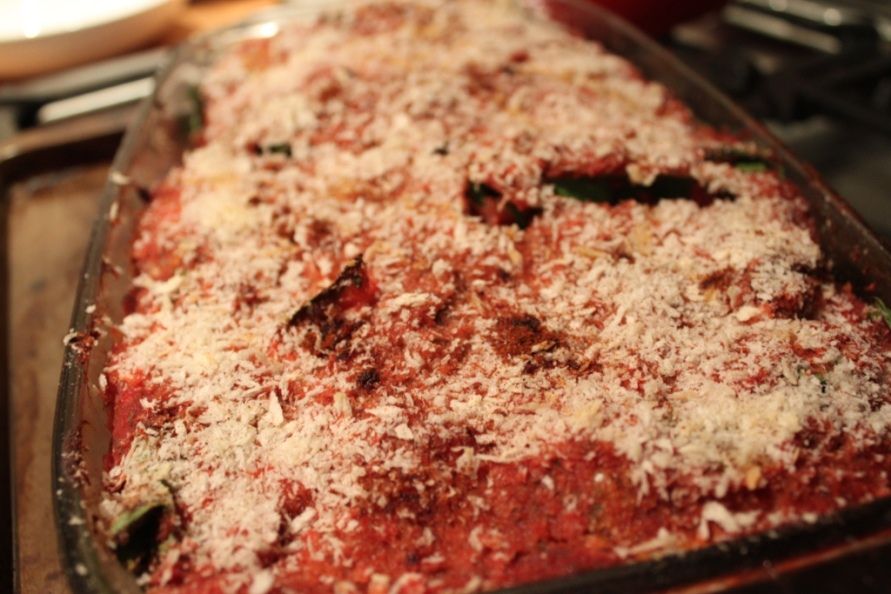
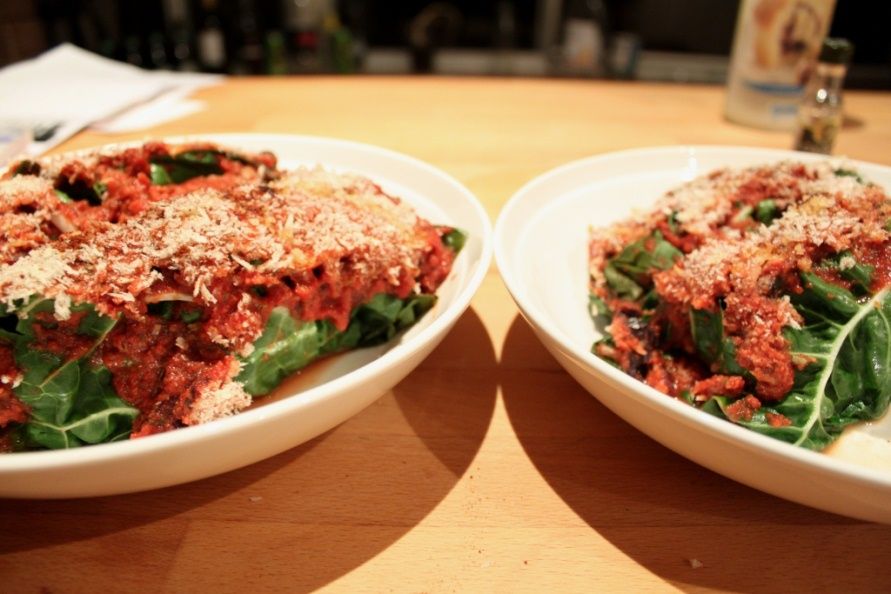
I don't have many photos from these ones, or at all currently. I've been very slack with my food photography . Which is possibly for the best, seeing as my laptop screen is cracked and it's not so easy to process them! Hopefully things will get back on track in the new year!
Dough – adapted from the Momofuku Milk Bar Cookbook:
1/2 tbsp salt
1 tsp raw sugar
1 1/8 tsp active dry yeast
1 ¾ cups water, at room temperature
1 tablespoon vegetable oil (I used rice bran oil)
1/2 tbsp salt
1 tsp raw sugar
1 1/8 tsp active dry yeast
1 ¾ cups water, at room temperature
1 tablespoon vegetable oil (I used rice bran oil)
Filling
1x 250g packet Philadelphia cream cheese1 tsp salt
2 tsp sugar
1 clove galic, minced
2 tbsp oil (I used bacon fat)
¼ cup flat leaf parsley leaves, roughly chopped
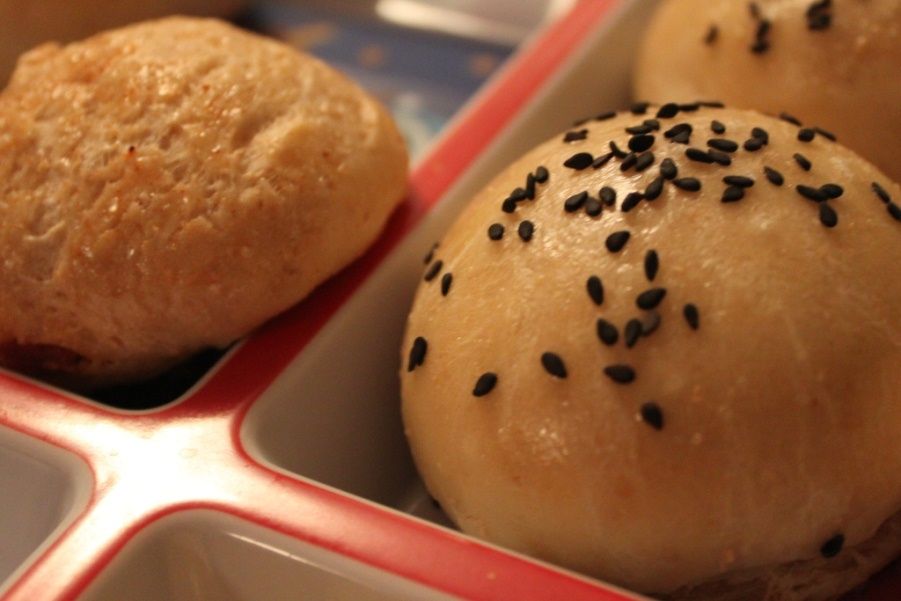
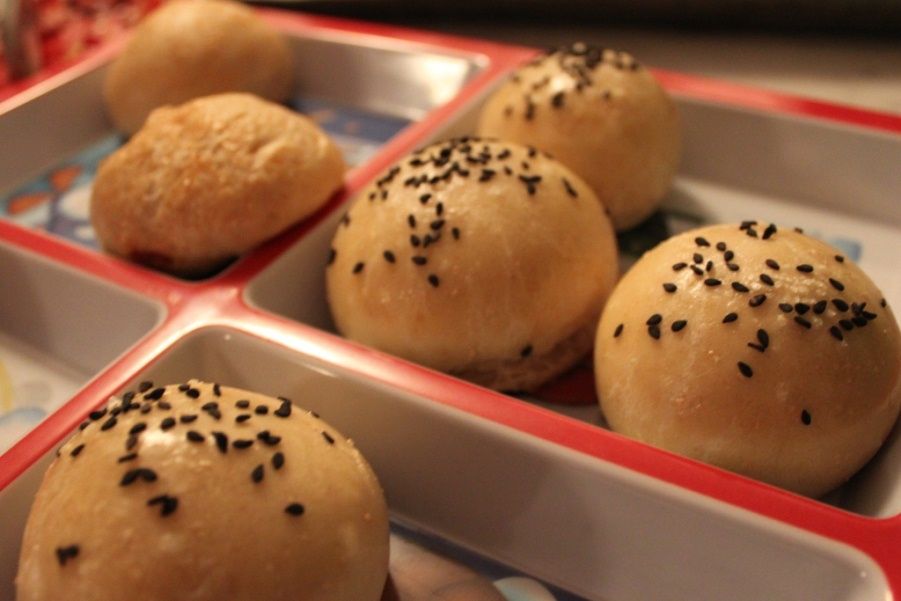
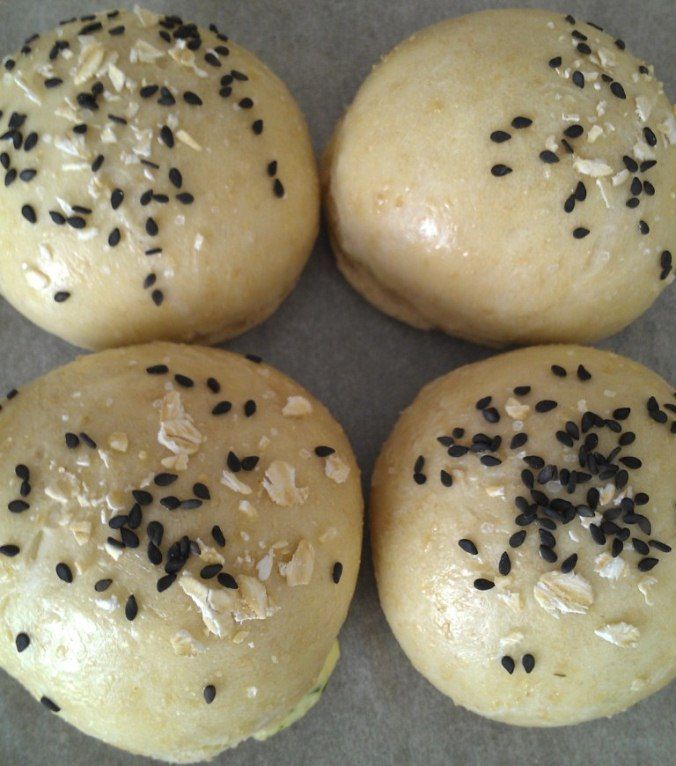
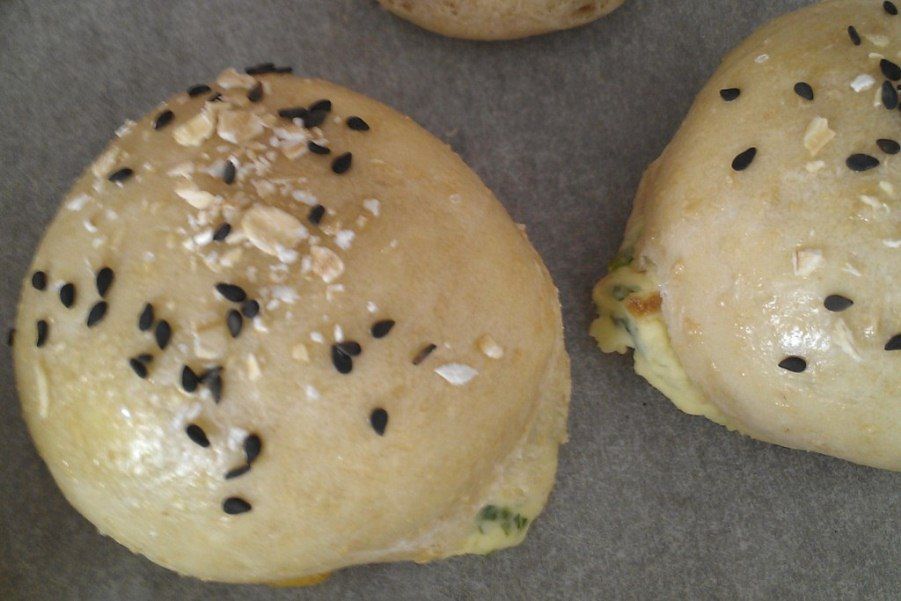
Egg Wash Topping:
1 egg, at room temperature¾ tsp freshly ground rock salt
Heat the oil to medium/low heat in a frypan and add the
minced garlic, stir around until fragrant and starting to go golden. Turn off
the heat and set aside.
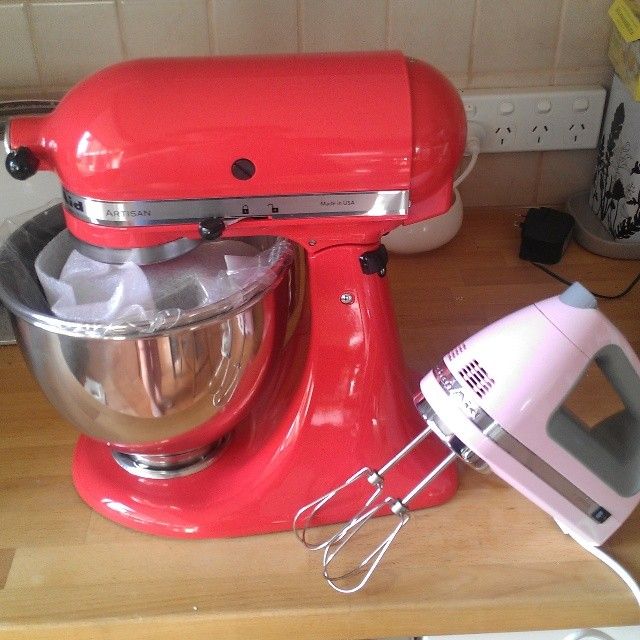
Using a hand beater, blend the cream cheese on low until
smooth. Add the garlic (include any oil left in the pan), salt, parsley and
sugar, then beat to combine.
Using two teaspoons, roll heaped teaspoonsful of this
mixture between the spoons, pushing down to compact slightly and put on a tray
lined with baking paper. Put in the freezer for a few hours (while you make the
dough) to set hard. This makes it much easier to form the bombs later. You will
need 16 balls.
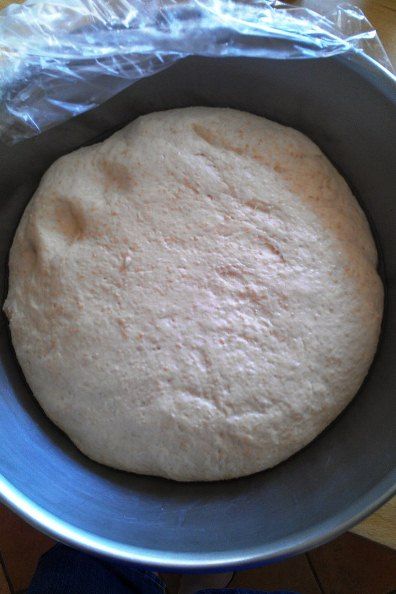
Stir together all of the dry dough ingredients with the hook
of your standmixer in the bowl of your standmixer by hand. Add the water, and
mix with your hand until it’s mainly come together. Attach the bowl and hook,
and beat the dough on low for 5-10 minutes, until it comes together into a
smooth ball. You might need to add more
flour to get the right consistency. Lightly coat another large bowl with oil
and put the dough ball into it, roll to coat the dough with oil too. Cover with
plastic wrap and put in a warm corner for 45 minutes until the dough has almost
doubled in size.
Heat the oven to 175C
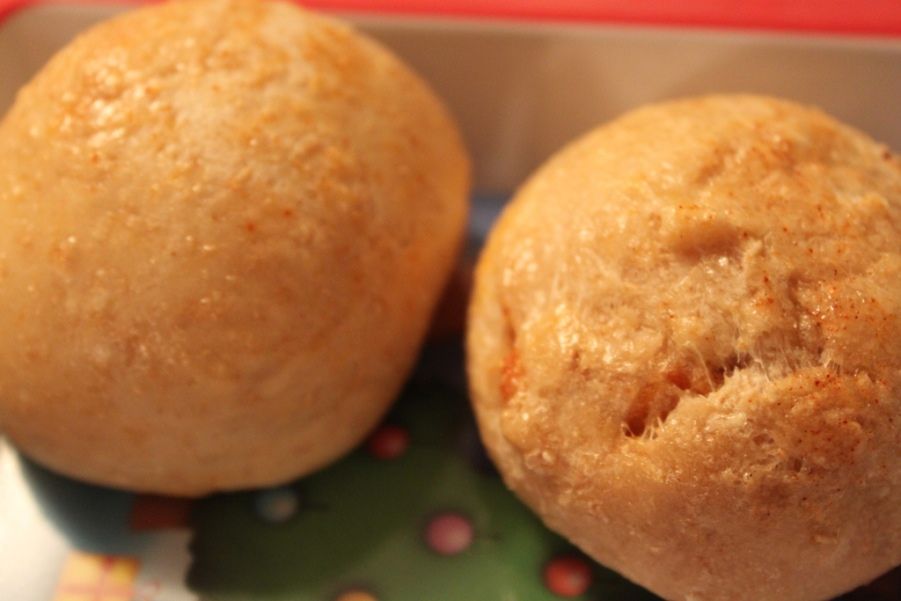
Punch down and flatten the dough on your countertop. Cut the
dough into 16 pieces and loosely cover the dough you aren’t currently forming
with the plastic wrap from the bowl earlier to stop it drying out.
Roll each portion into a neat ball in your palms, then use
your palm and fingers to stretch out into a flat disc. Place a ball of the
filling in the centre, then pull all of the edges up and around the mixture.
Pinch shut, then roll the ball gently in your hands to smooth into a neat ball.
Place on a lined baking tray.
Whisk egg, then brush each bun with a generous amount. Mix
all of the other wash ingredients together in a bowl and sprinkle over the top.
Bake for 20-30 minutes until golden, allow to cool for 5-10
minutes before eating because the filling stays quite hot!