I wrote before that as a
teenager, I had the dream of writing a cookbook called Vegetarian Recipes Improved by Bacon. But that seems a little restrictive these days. Chorizo also
definitely has it’s place in that ‘improving vegetarian recipes’ scenario. So
it’s much less catchy, and would probably sell a whole bunch less copies but
maybe we should go with “Vegetarian Recipes Improved by Cured Meats”. This dish
is a riff on the classic dish Turkish dish Imam Biyaldi. That in itself is
often already made non-vegetarian through the use of minced meat. But it is a
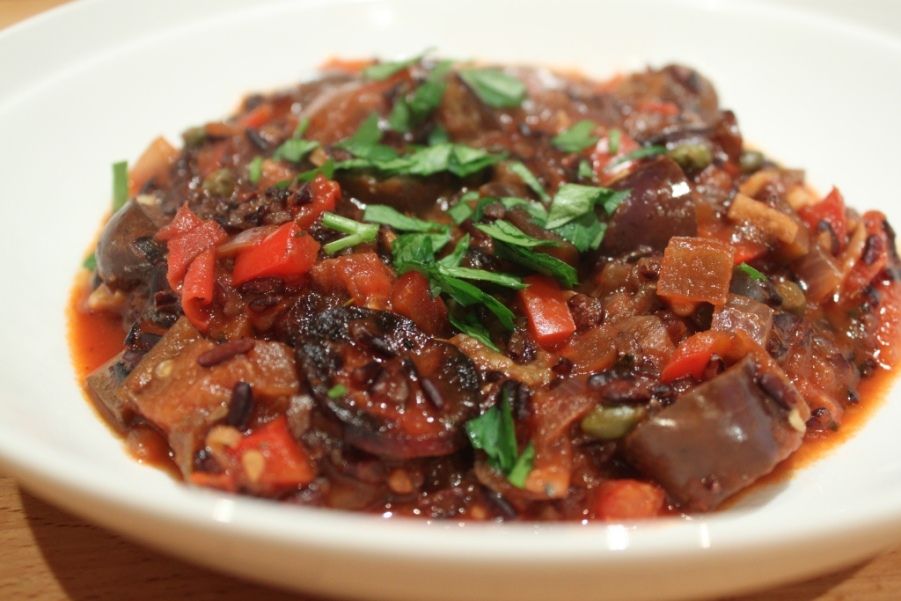
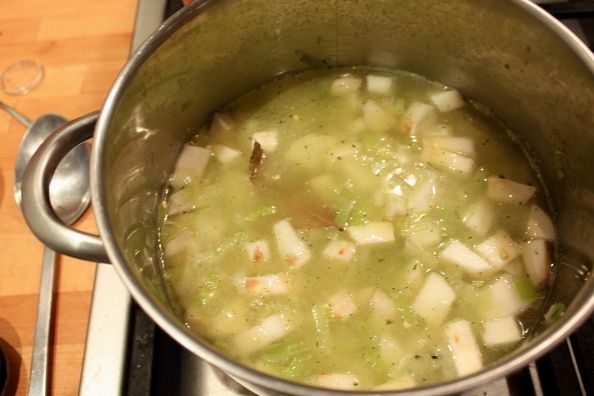
garlic, tomato braised eggplant dish that is perfect in this cold weather. The
smokiness of some fried chorizo kick up the rich creaminess of the eggplant
into the next realm of deliciousness. I took some of this with me for a wintery Down South escape with friends and it was a huge hit.
The original dish is
usually stuffed eggplants, so this is a lazy man’s version as well as a meated
version where I’ve turned it more into a casserole. I’ve also added black rice
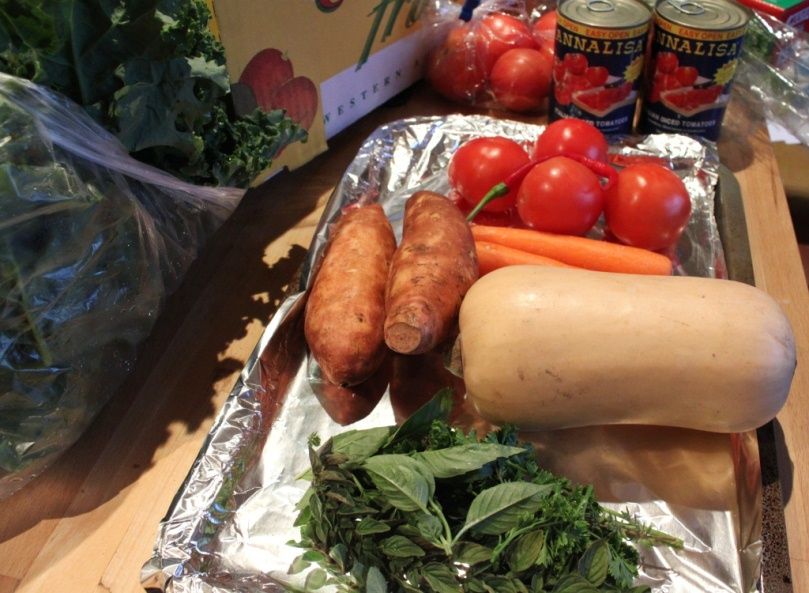
to make it an all-in-one meal. The Nanna Shop had bags of the cutest little baby
eggplants, I used 10 or so. If you only have normal sized eggplants, you’ll
only need one or two for a dish for 4 people.
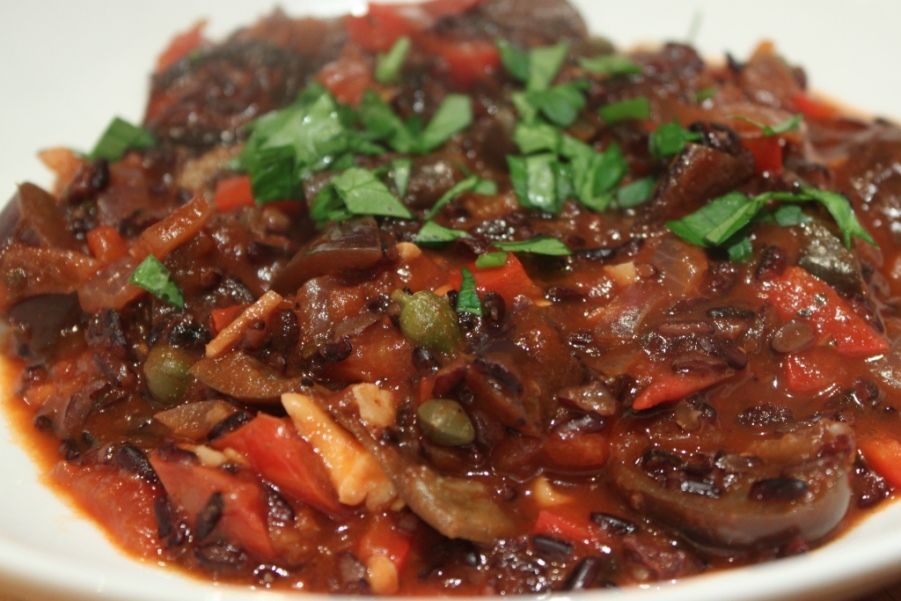
Serve with lemon wedges
and some fresh parsley sprinkled over the top for a fresh kick. Oh, and red
wine. A nice, full bodied Cab Sauv would be perfect.


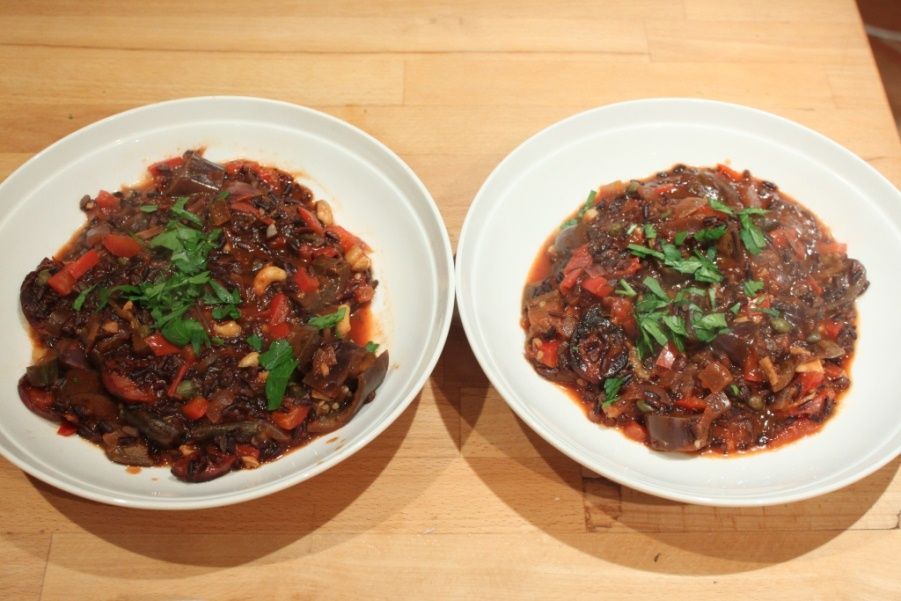
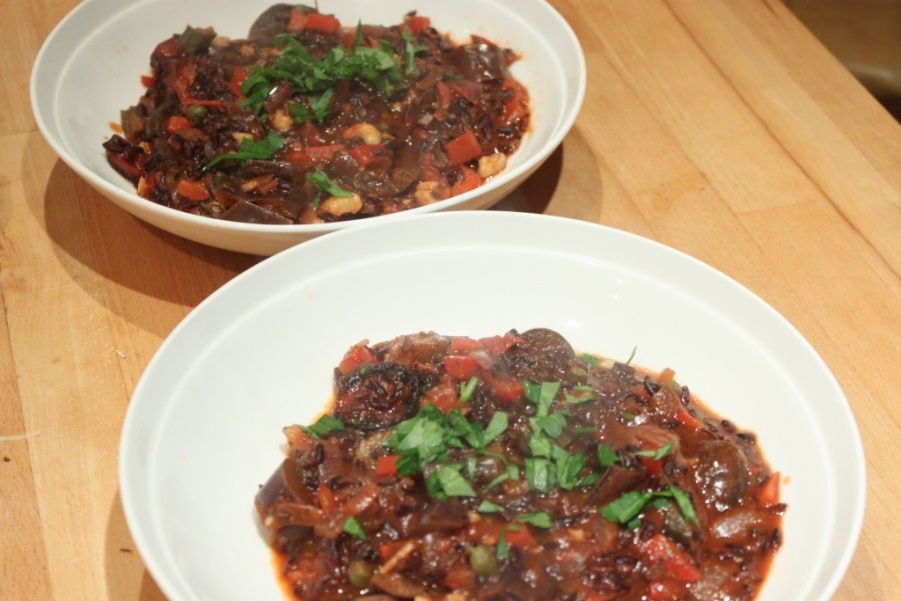
Deconstructed Chorizo Imam Biyaldi
(serves 4)
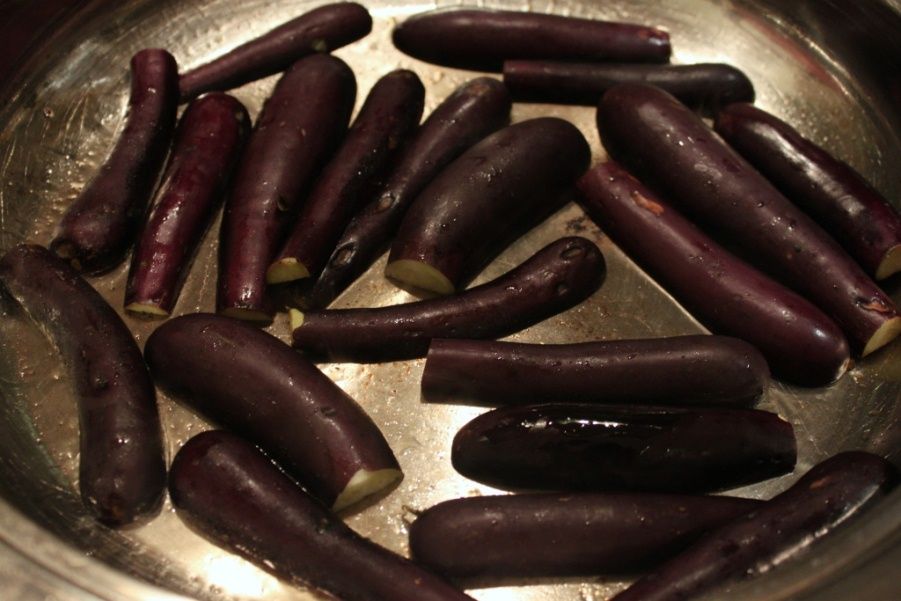
10 baby eggplants, tops cut off and sliced lengthwise
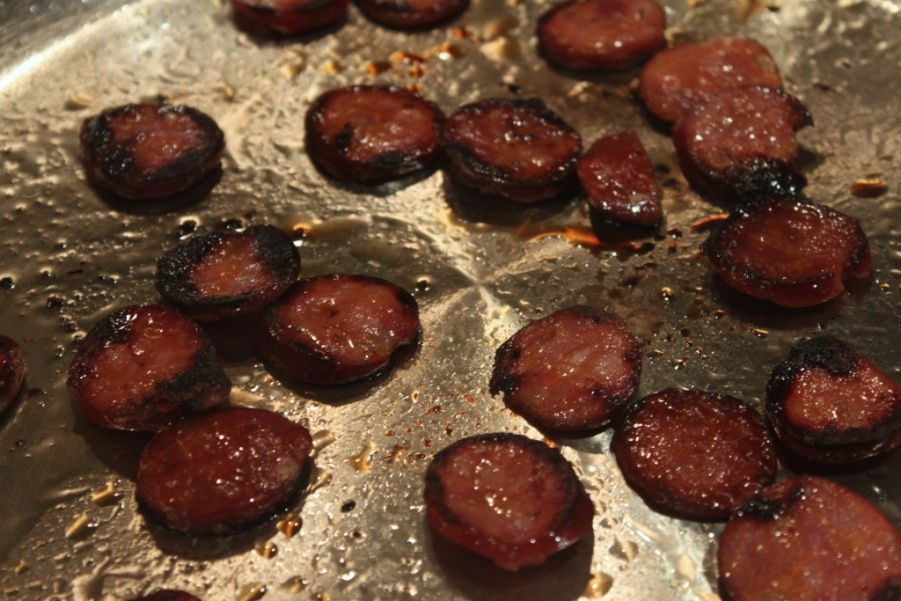
1 chorizo sausages, sliced
into rounds10 baby eggplants, tops cut off and sliced lengthwise
Olive oil
1 brown onion, diced
1 tsp sea salt
2 big cloves garlic, minced
3 tablespoons balsamic vinegar
1 chipotle pepper, soaked in warm water to rehydrate 15 minutes, minced
350g jar tomato passata
2 cups water
1 tbsp honey
2 tsp oregano
One cinnamon stick
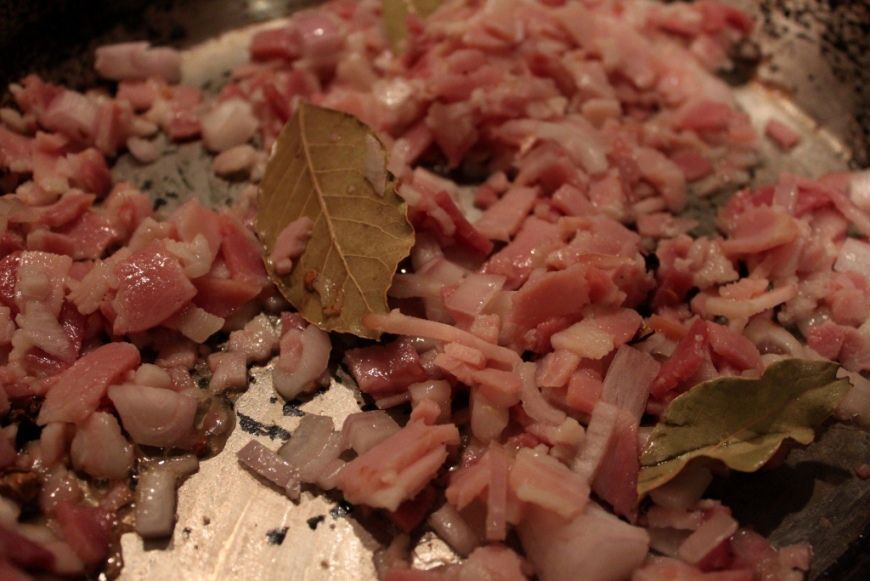
1 bay leaf
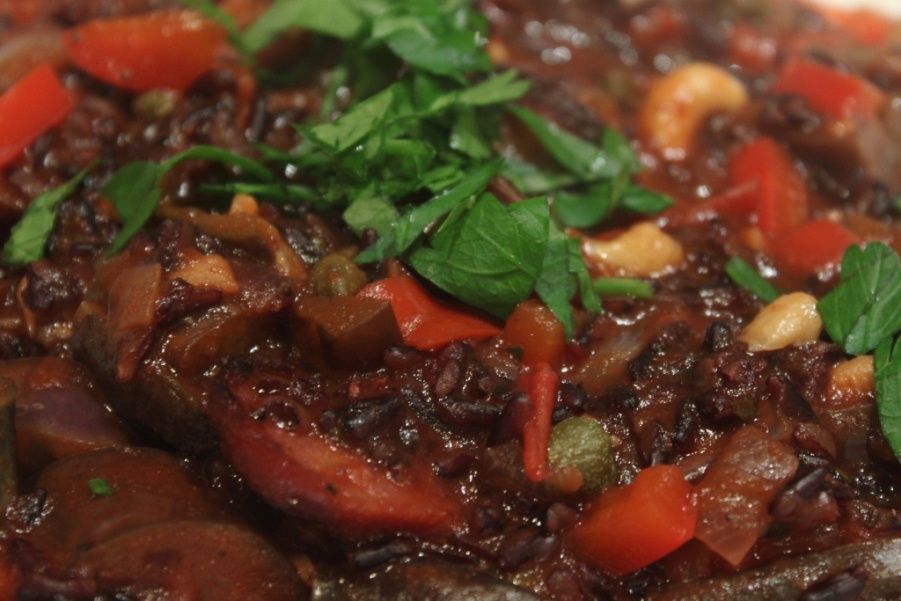
1 heaping tablespoons capers
1 ½ cups cooked black rice
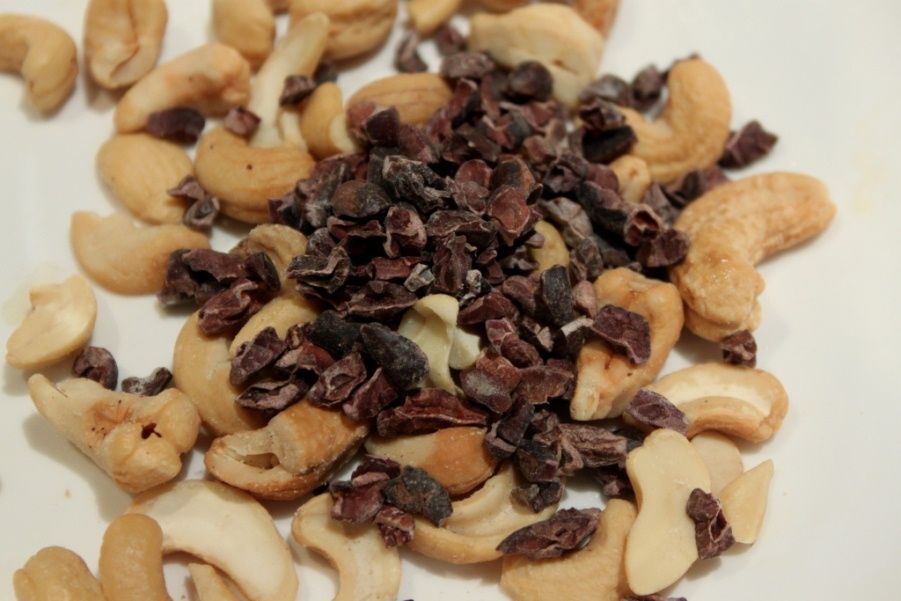
¼ cup toasted cashews
1 tbsp cacao nibs
fresh parsley, chopped for serving
lemon, cut into wedges for serving
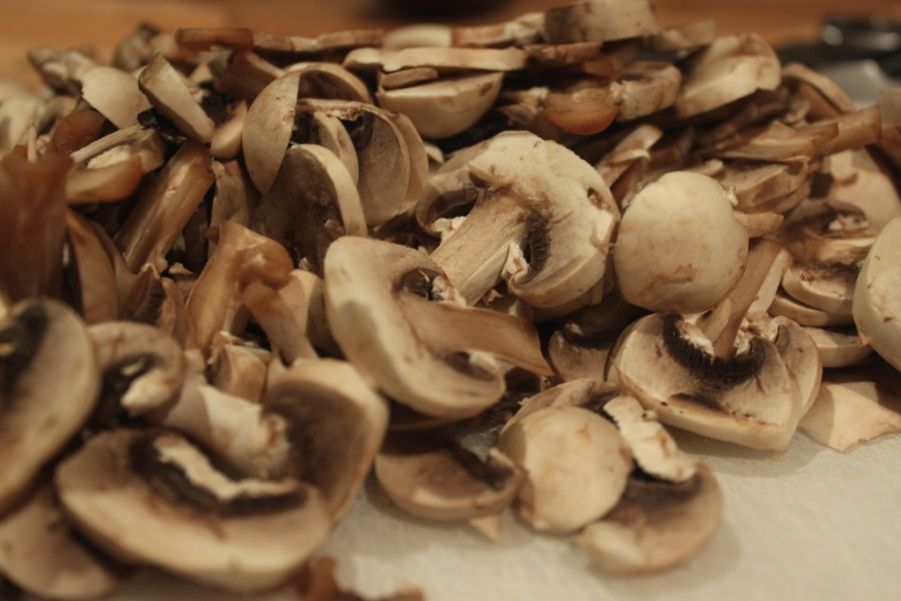
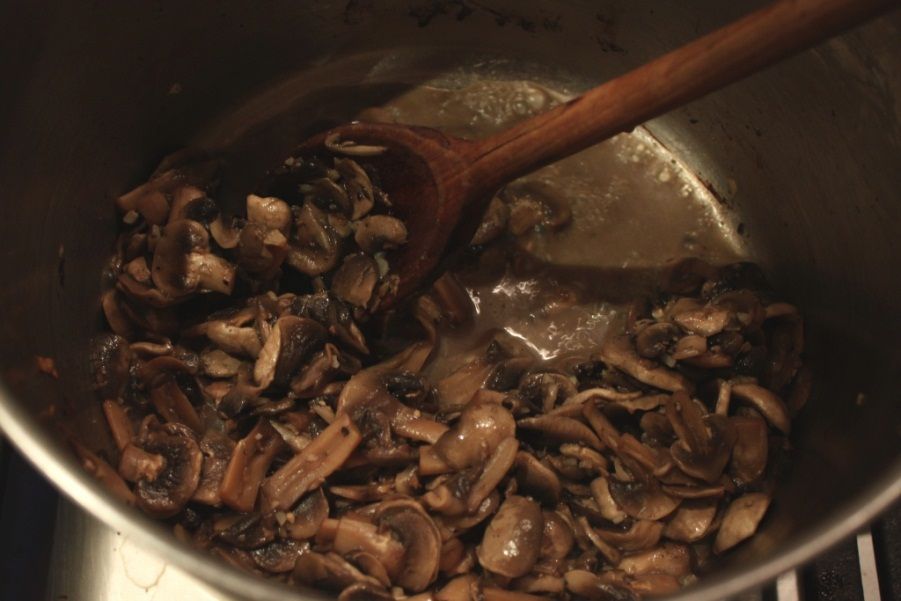
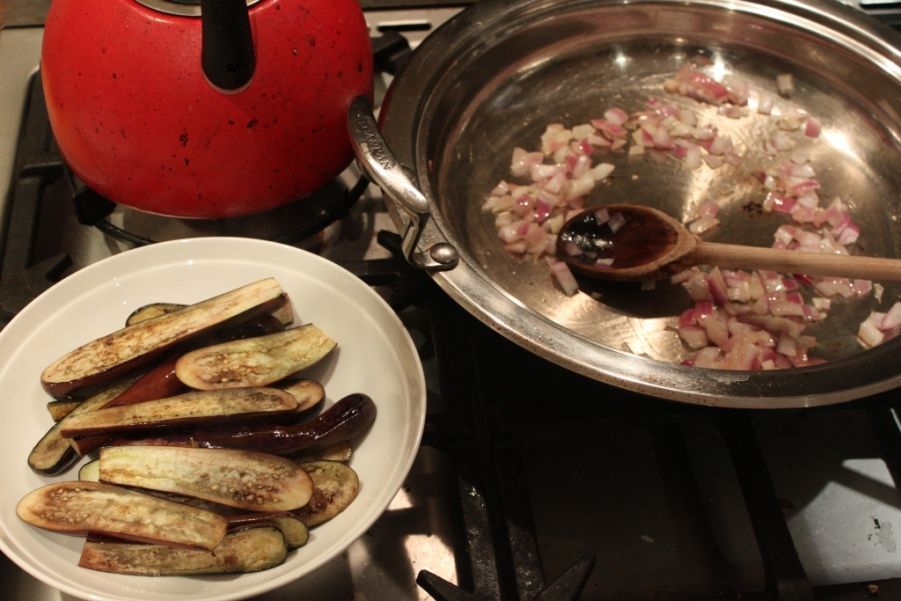
Heat the base of a tagine or large, lidded frypan to medium-high heat. Fry slices of chorizo until crispy on each side, and a lot of the fat has rendered out, approximately 4 minutes per side. Remove to a paper-towel covered plate. Turn the heat down to medium.
Add the eggplant halves to the chorizo oil, cut side down first. Cook until softened slightly on the edges, around 5 minutes, flip and cook for a further 3 minutes. Remove to a bowl.
If the eggplant has soaked up all of the oil from the pan, add a little olive oil. A tablespoon should do. Allow it to heat in the pan and then add the onion and salt. Cook for 5 minutes until translucent. Add the garlic, balsamic vinegar and chipotle pepper. Cook until the garlic is translucent and very fragrant.
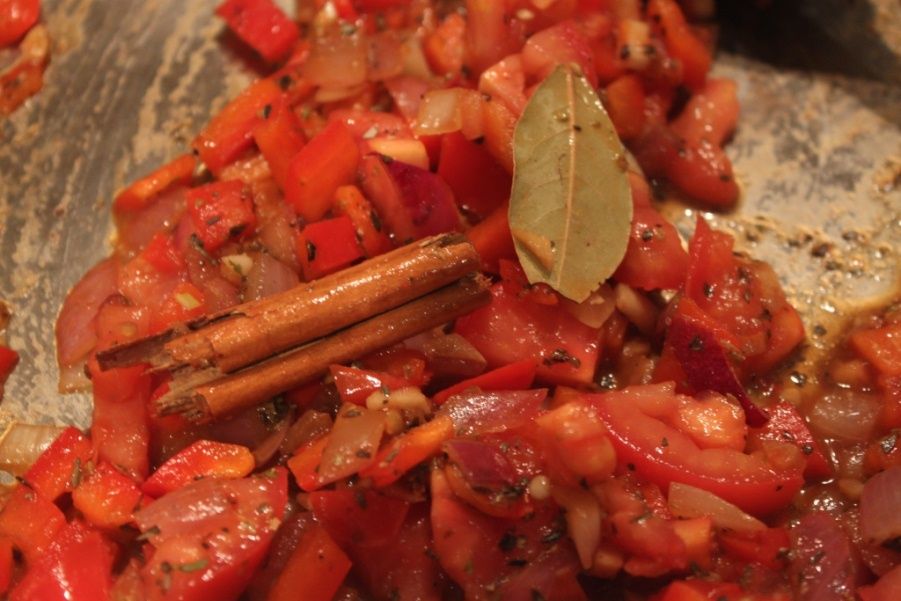
Add the passata, water, honey, organo, cinnamon stick and bay leaf and stir it all together well. Simmer for 5 minutes, then add the eggplant halves back into the pan. Put the lid on, turn the heat down to low and simmer for 20-25 minutes, or until the eggplant is completely soft.
You can use this simmering time to cook your rice if you don't already have some cooked.
When the simmering is done, stir through the rice, capers and chorizo. Leaving for 5 minutes for the flavours to mingle and the chorizo to reheat. Stir through the cacao nibs and cashews.
Serve, with fresh parsley and a lemon wedge if desired.