Happy
Australia Day! For you today, on this most celebratory of summer days, I have
something special. Something very different. Something I want you to trust me
on. It is a bit weird, but it’s also very, very good. Dessert nachos.
Over the
Christmas period I attended a few gatherings where the subject of my blog and
recipes was brought up by other people. It was actually quite interesting to
hear friends and family discuss what they thought of my blog and in a way,
‘sell’ it to others. I am quite passionate about the food I create and eat, and
it was quite lovely to hear other people discuss some my recipes animatedly!
Made me feel a little like a rock star! The number one recurring word used to
describe my food was ‘quirky’. I’m quite happy to wear that badge. I love
mixing combinations of food together to create something unique and amazing.
Something that might take you by surprise, but you fall in love with. For me,
cooking is imagination. For others, that means my cooking is quirky. I like
that!
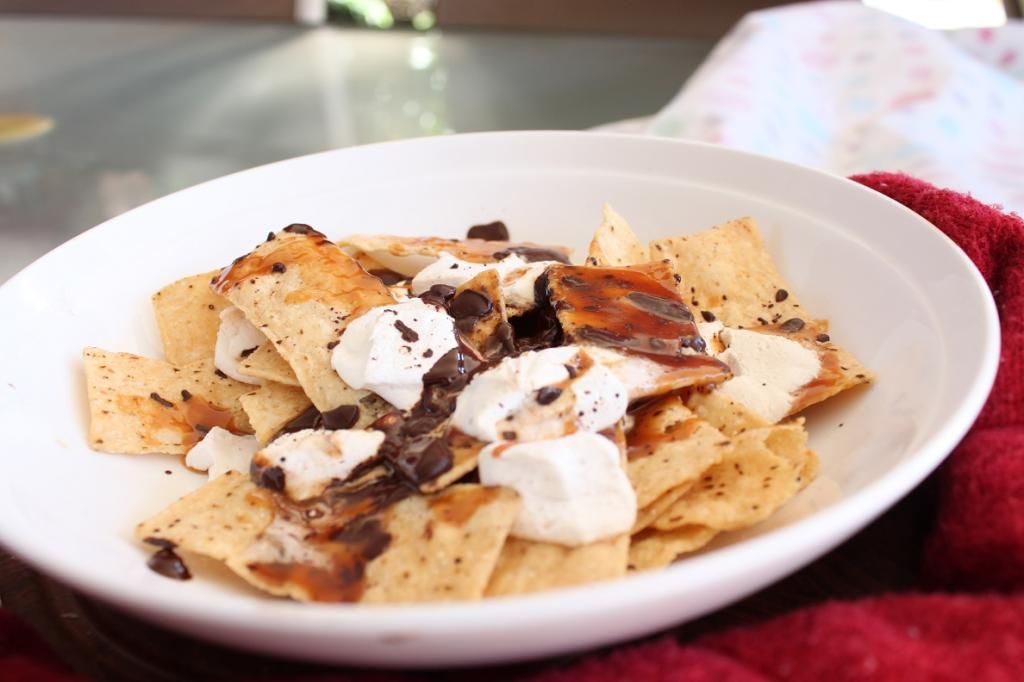
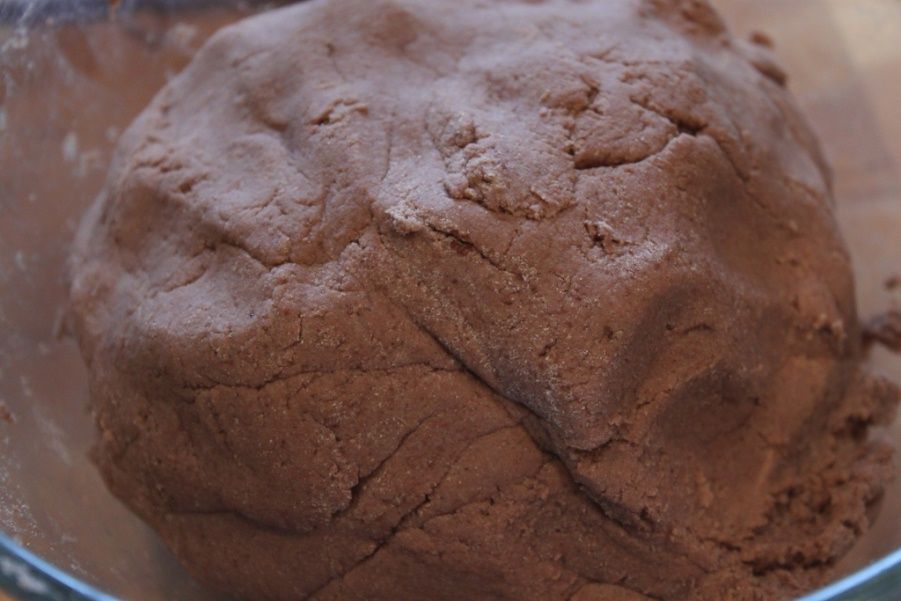
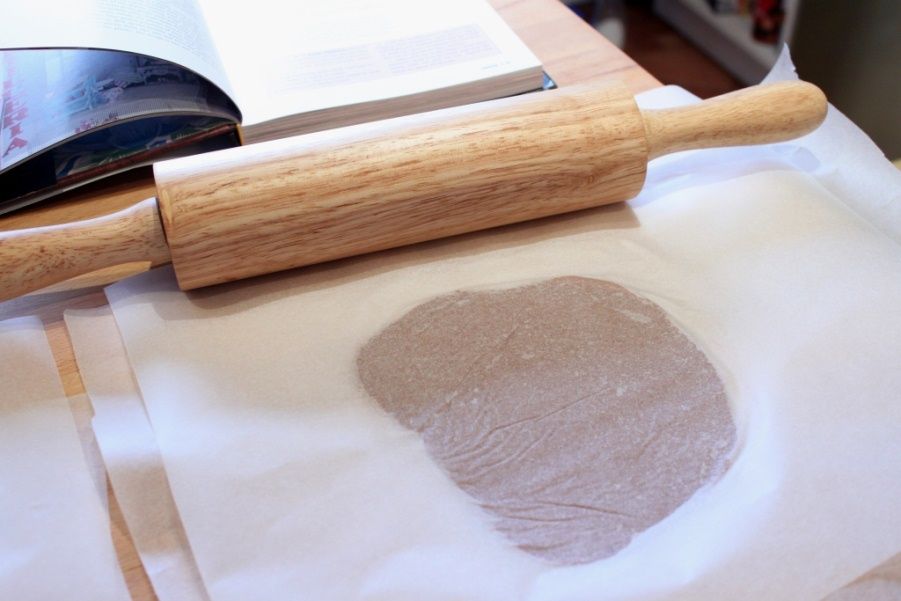
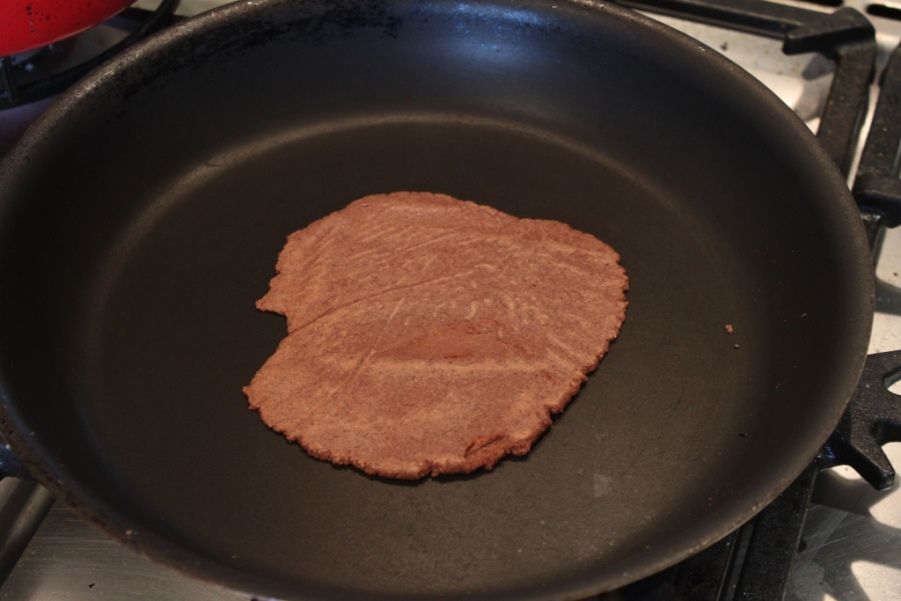
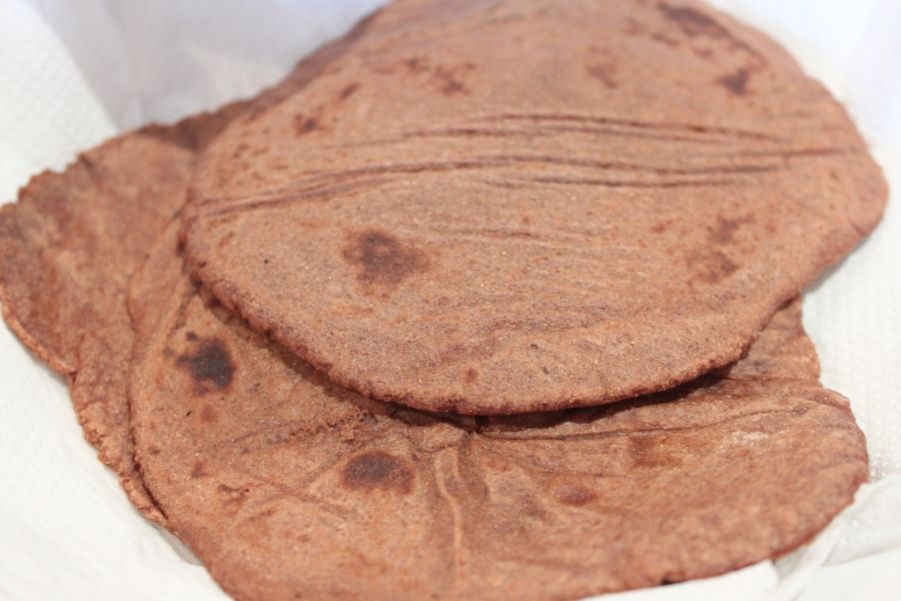
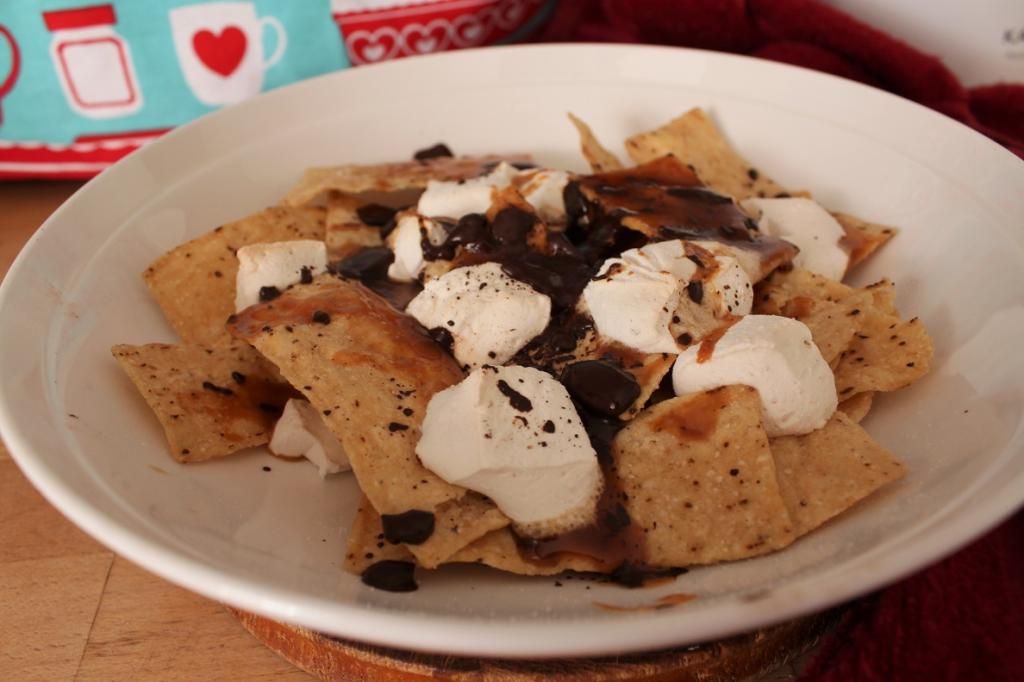
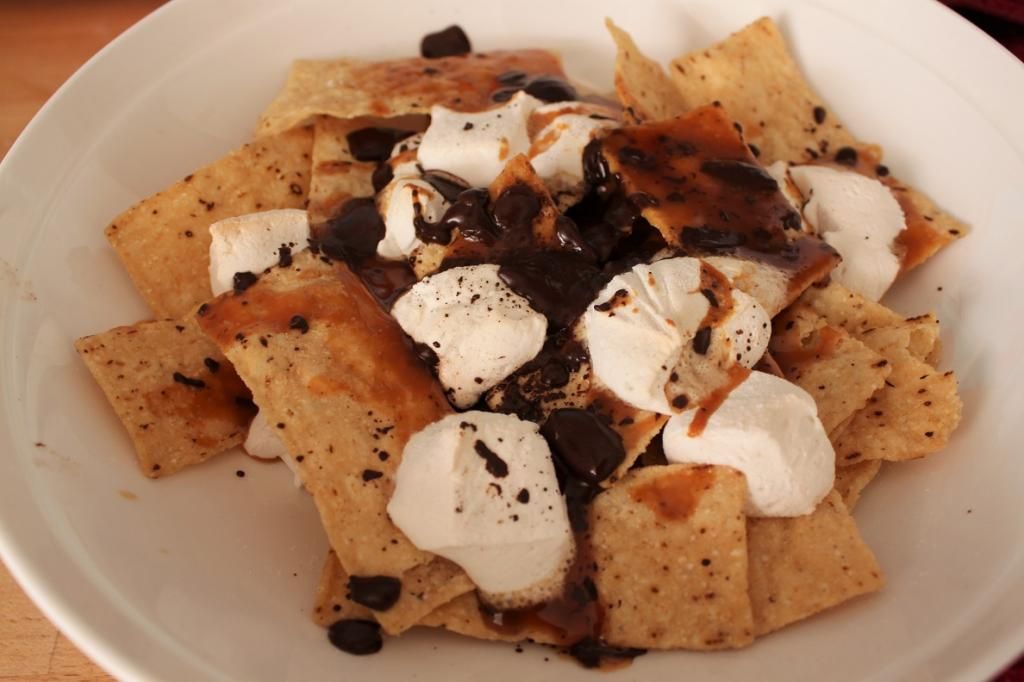
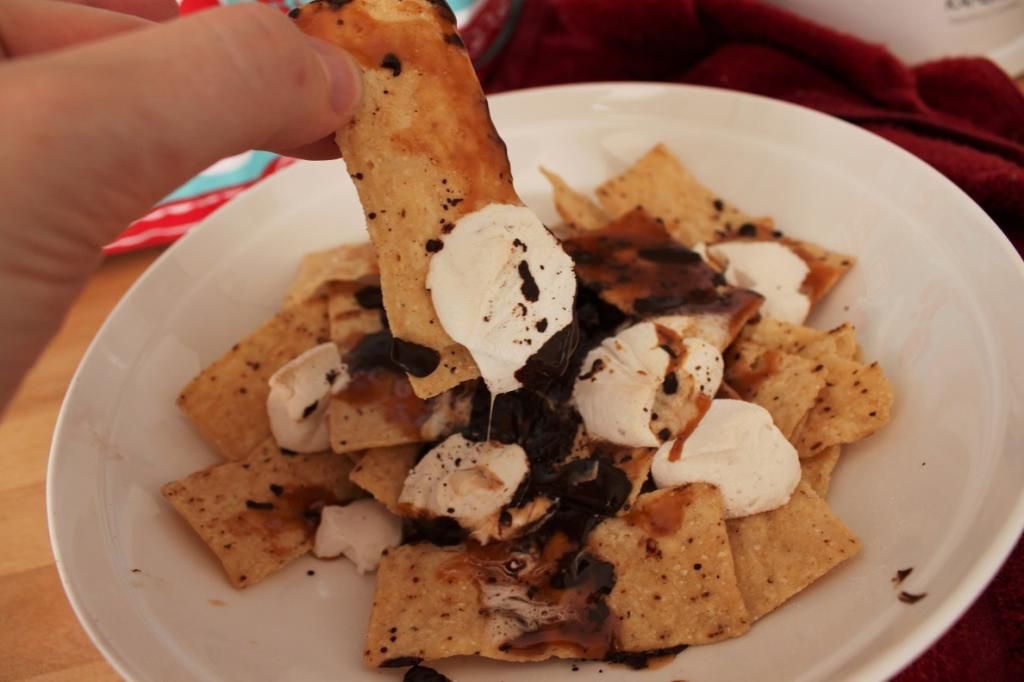
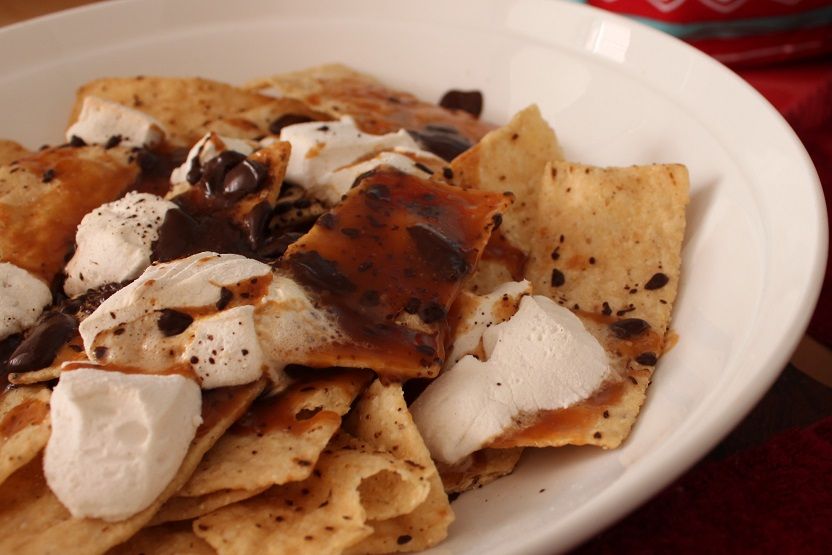
So this is my
quirky take on dessert nachos. I’ve already brought you dessert tacos, it’s
time for nachos. The basic combination for these nachos is simple to replicate
without any cooking, just using bought components. Corn chips + caramel +
marshmallow + chocolate. That by itself is a seriously indulgent and wonderful
movie night snack. However, if you want a slightly quirkier take, with a little
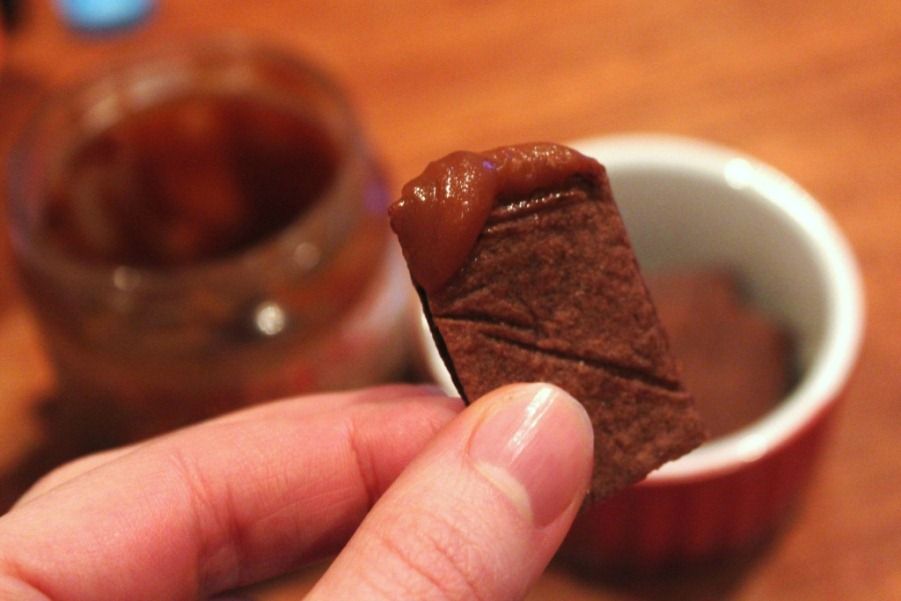
extra work, you make your own marshmallow. And you flavour it with smokey
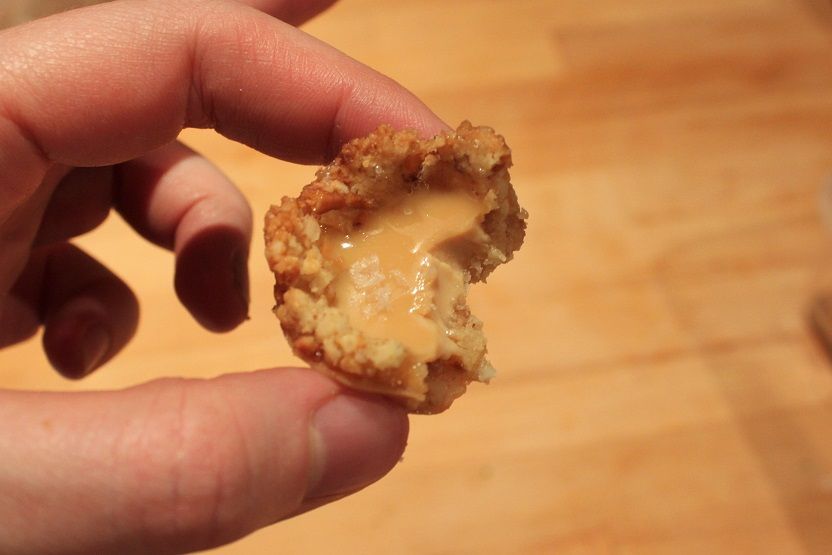
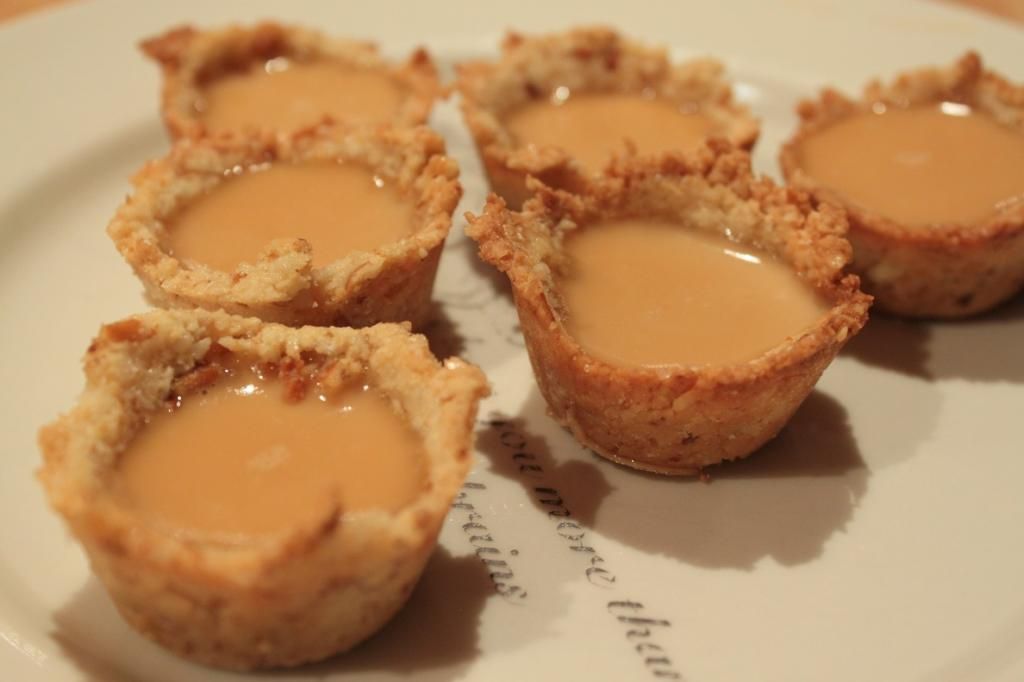
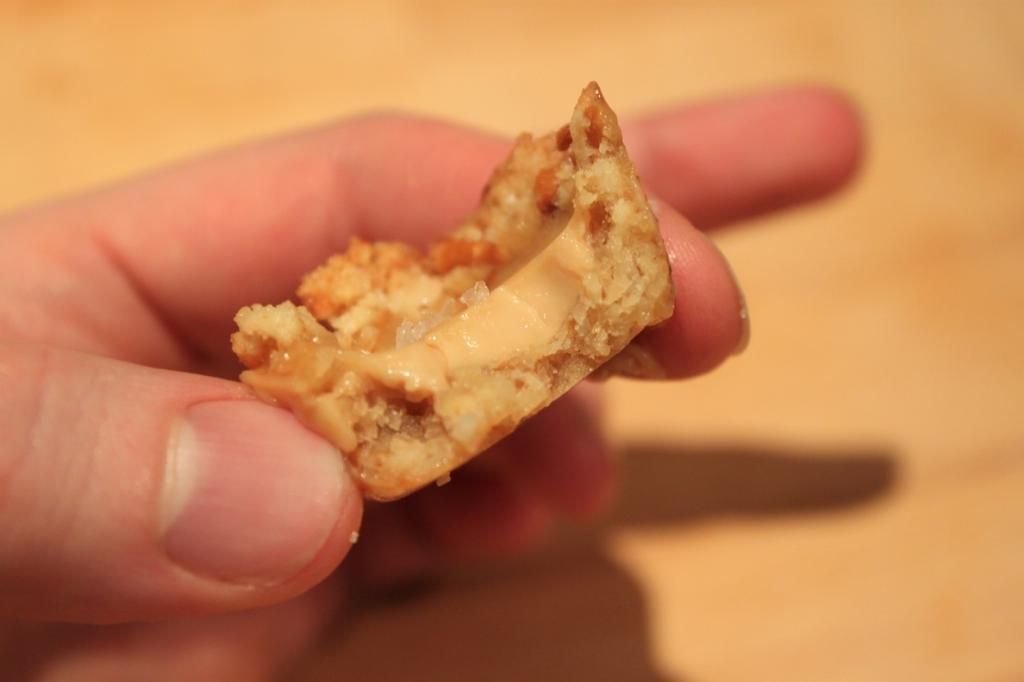
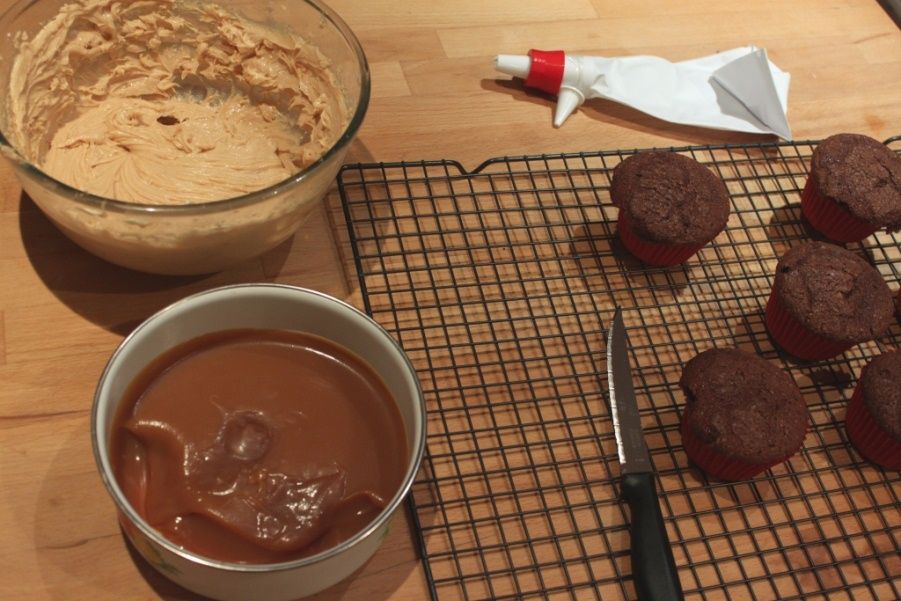
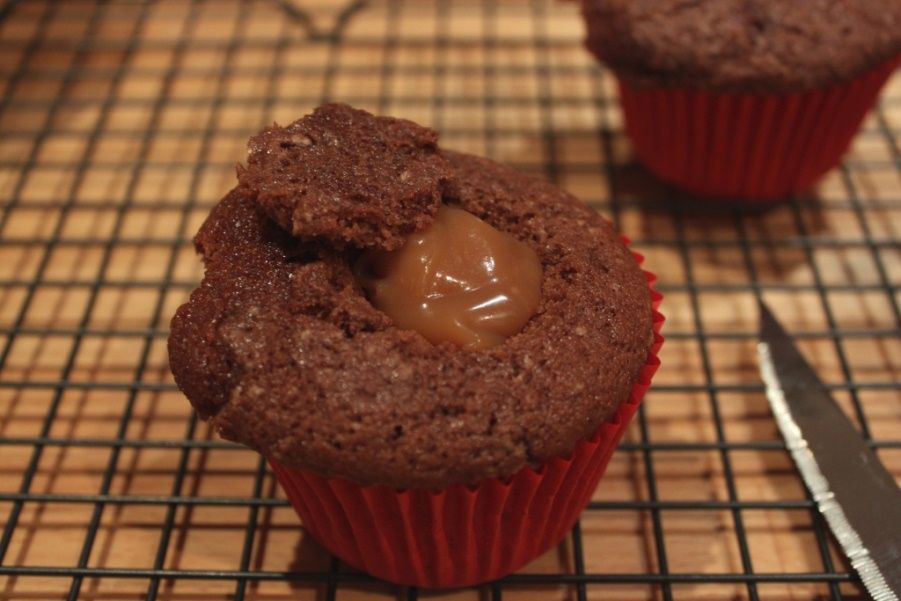
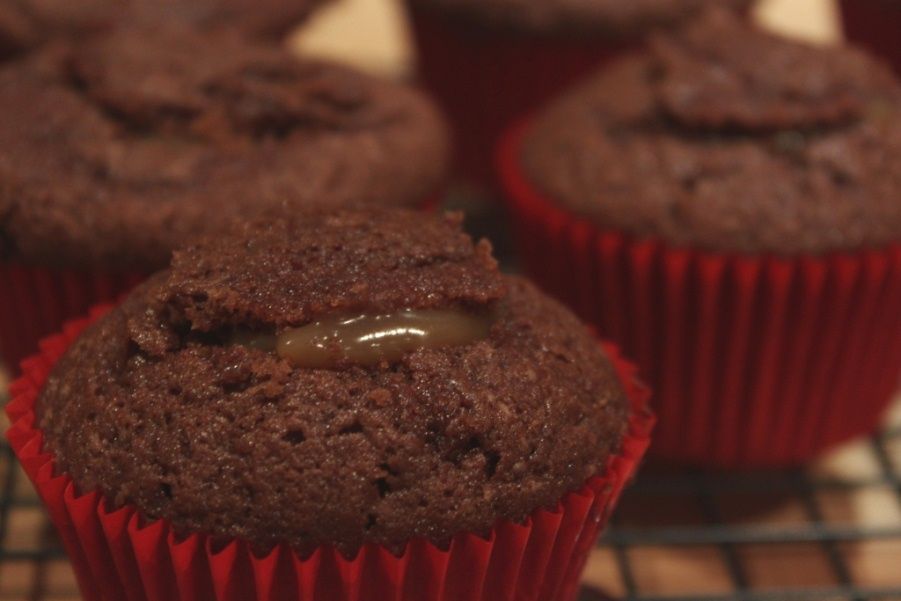
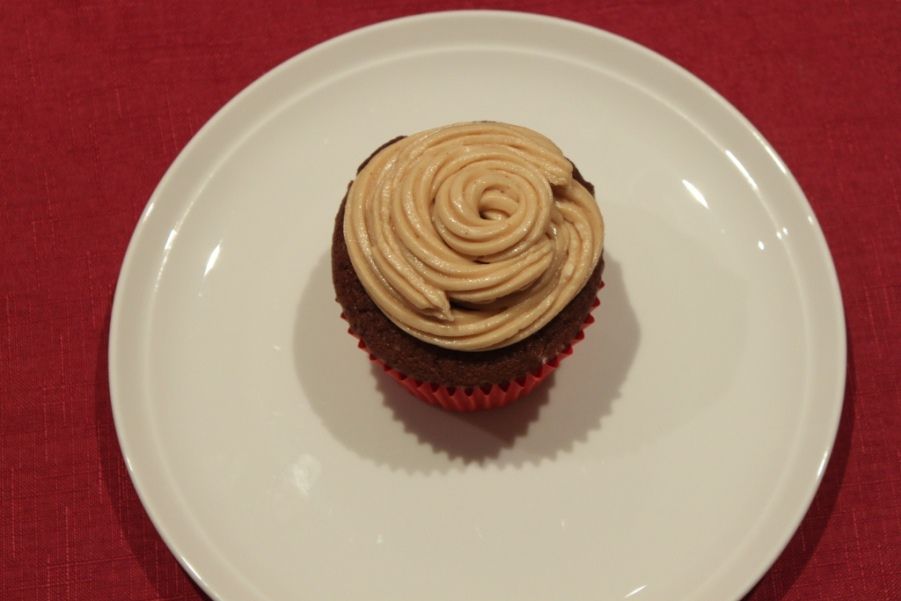
chipotle powder. And you make your own caramel. Salted caramel. Using Vegemite
as the salt.
I already use
vegemite as a substitute for salt in many savoury dishes. It works great as a
‘stock’ in casseroles, stews and soups. It is absolutely delicious on toast and
eggs. Even better with avocado. It adds a deeper savoury flavour than ‘just’
salt. Why could the same not be applied to sweet dishes? Salty and sweet as a
combination is now well in the general conscience, with salted caramel being
the most popular incarnation of this. So, let’s make it with a little vegemite.
Trust me on this. Make this caramel. Make these nachos. Thank me later.
Happy
Australia Day!
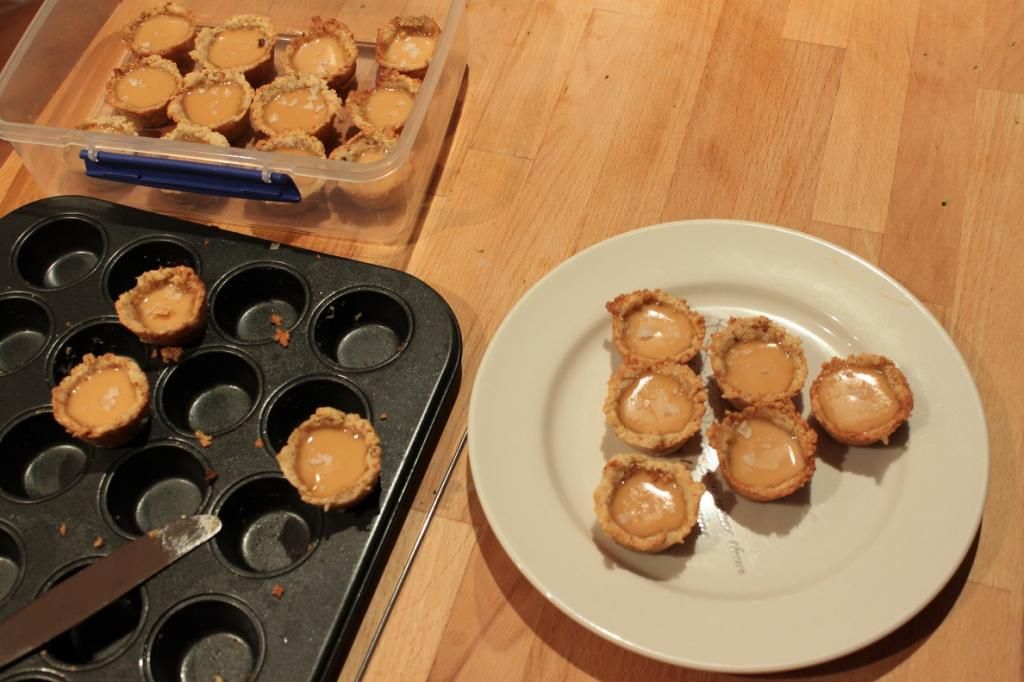
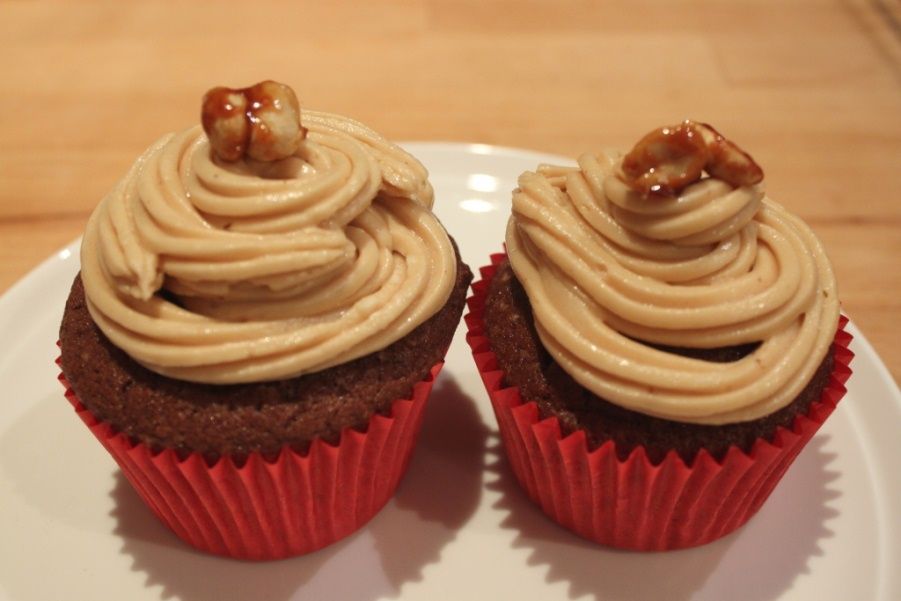
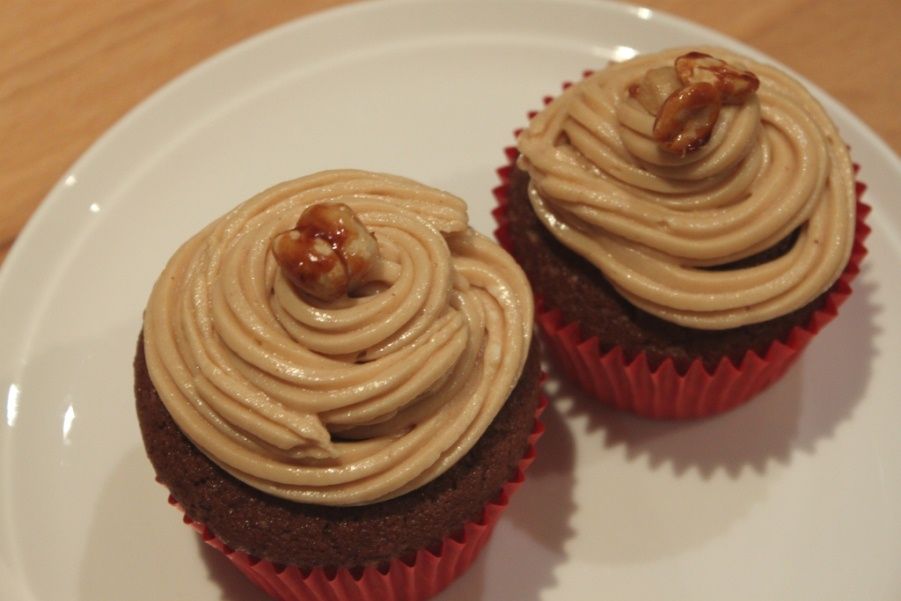
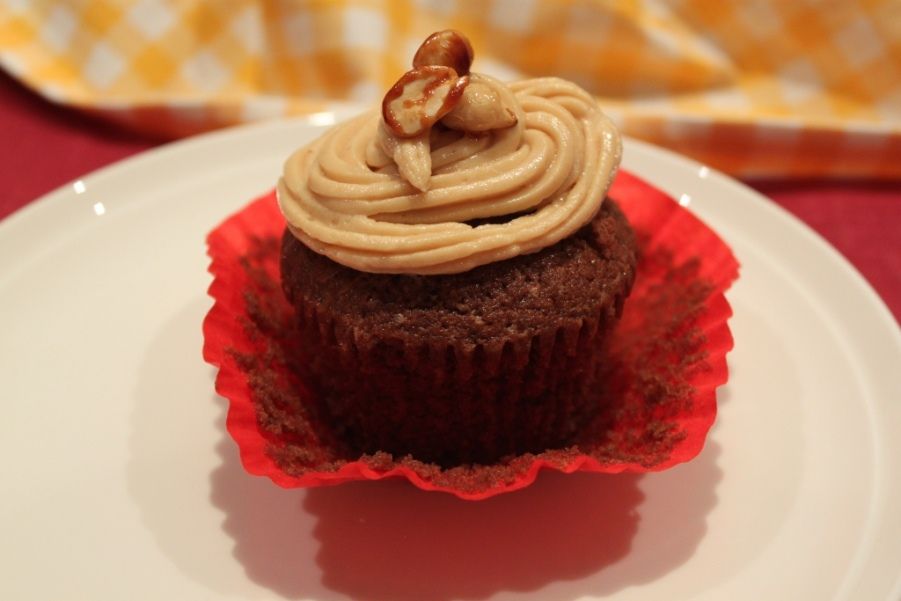
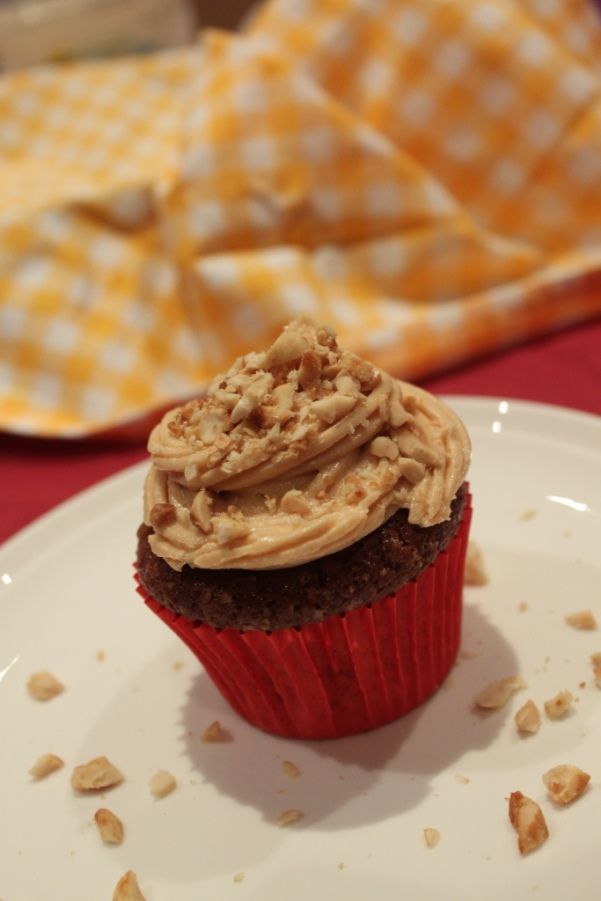
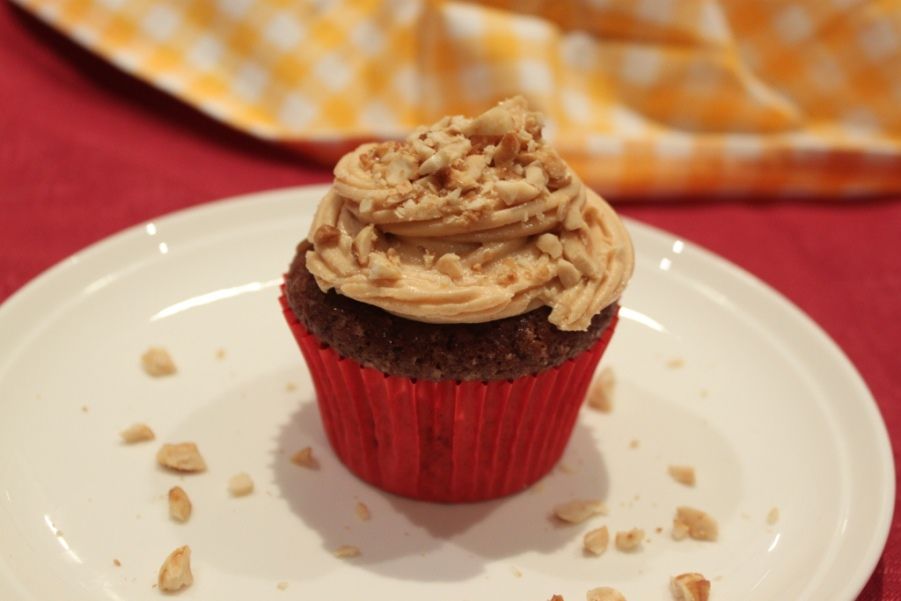
Dessert Nachos
(makes 4 serves)
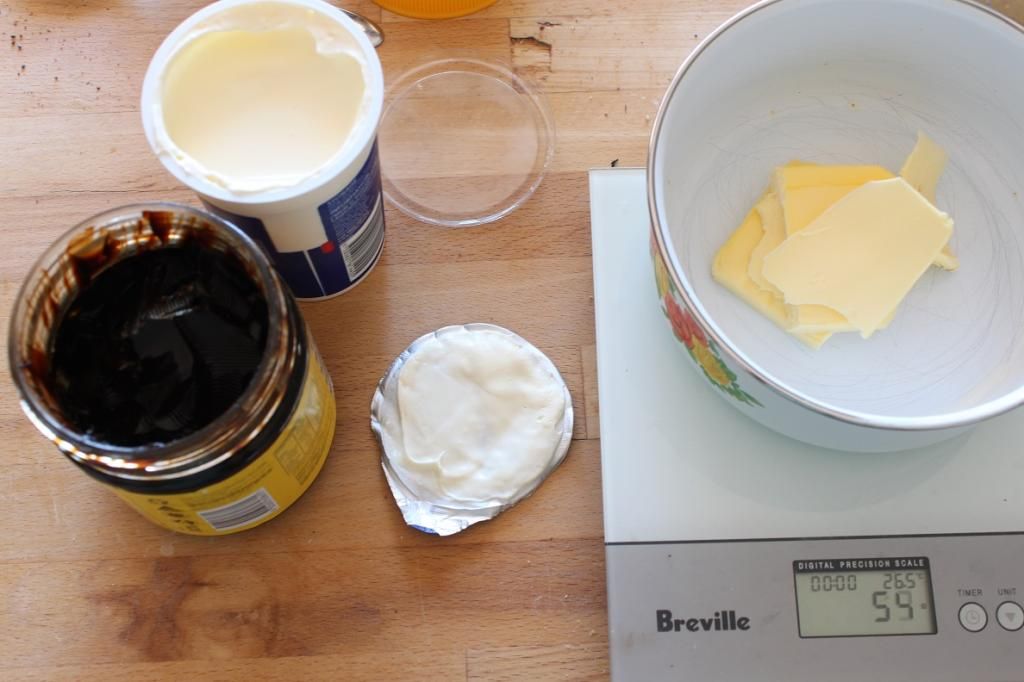
1 packet lightly salted Tortilla chips (I like Mission brand)
10 tsp Vegemite Caramel (recipe to follow)
1/2 batch chipotle marshmallows (recipe to follow)
4 squares dark chocolate
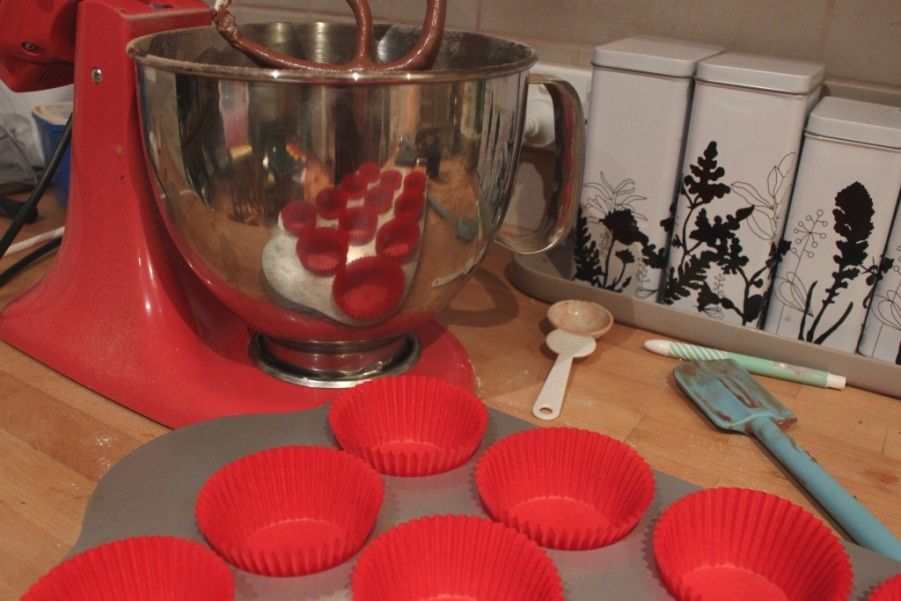
Heat the oven to 190C
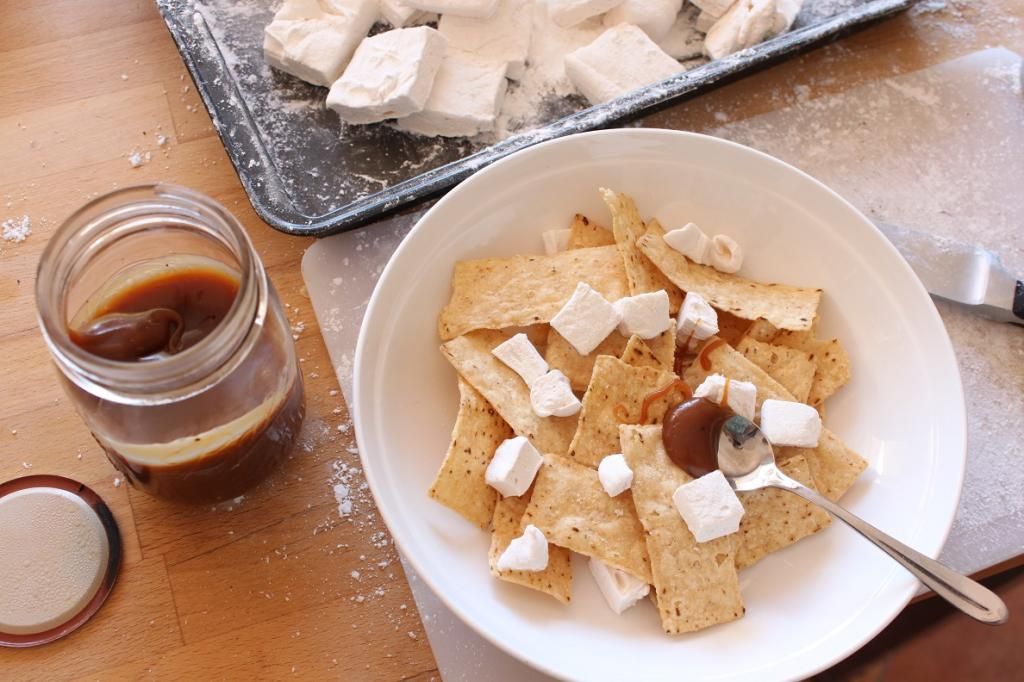
In ovensafe bowls or plates, scatter tortilla chips over 4 plates, drizzle a few teaspoons of caramel over each plate, and tuck in some marshmallow bits. Coarely chop the dark chocolate squares and scatter over the top.
Bake 10 minutes, or until marshmallows are gooey inside and the chocolate is melted.
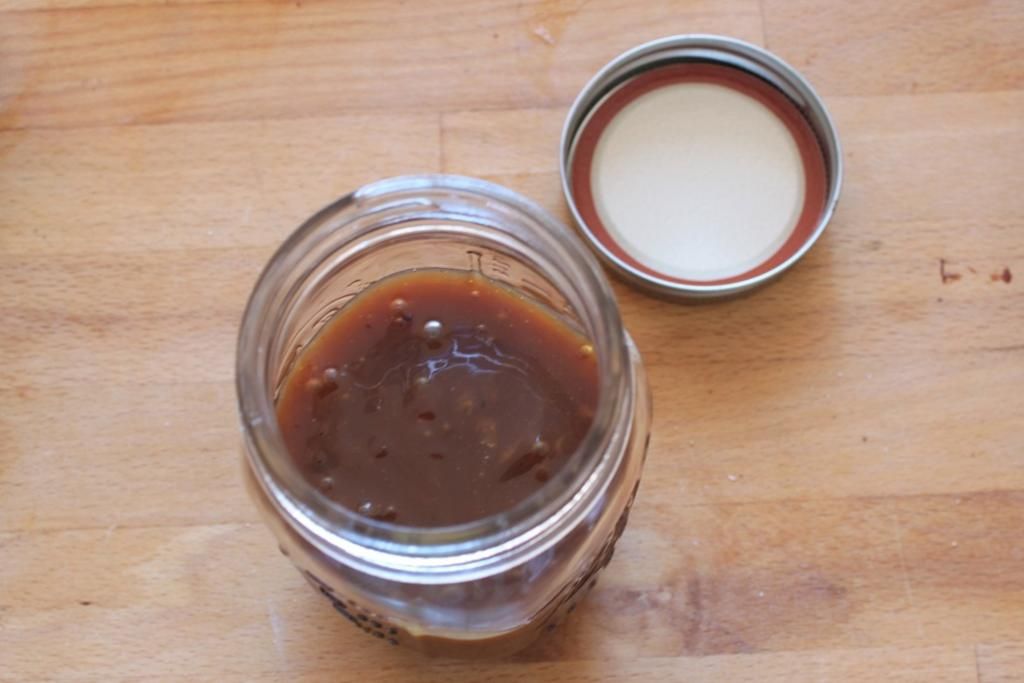
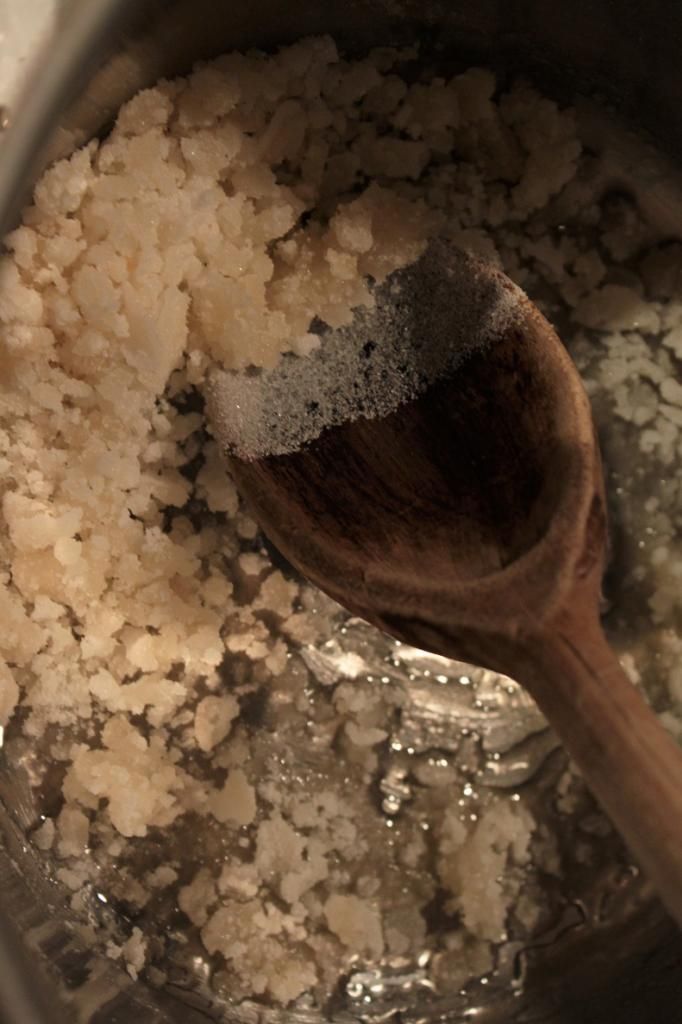
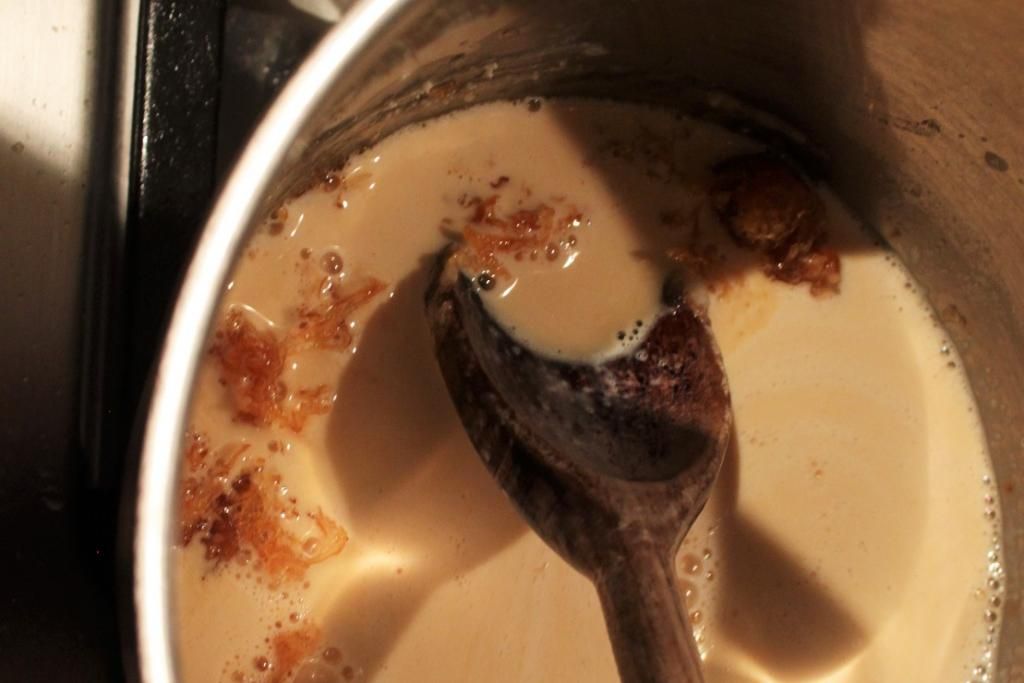
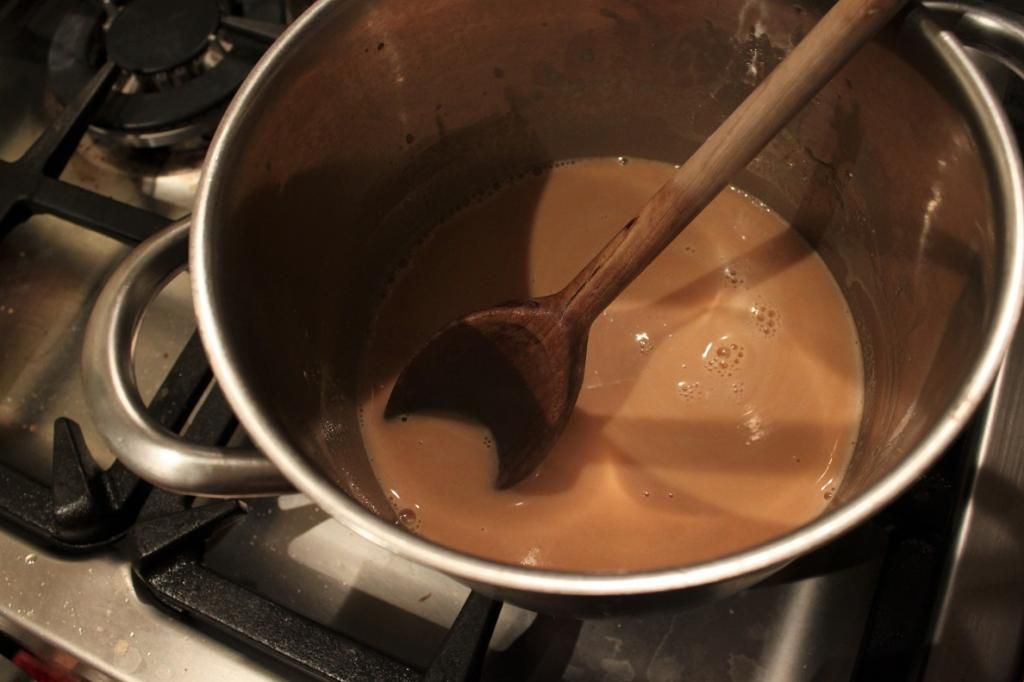
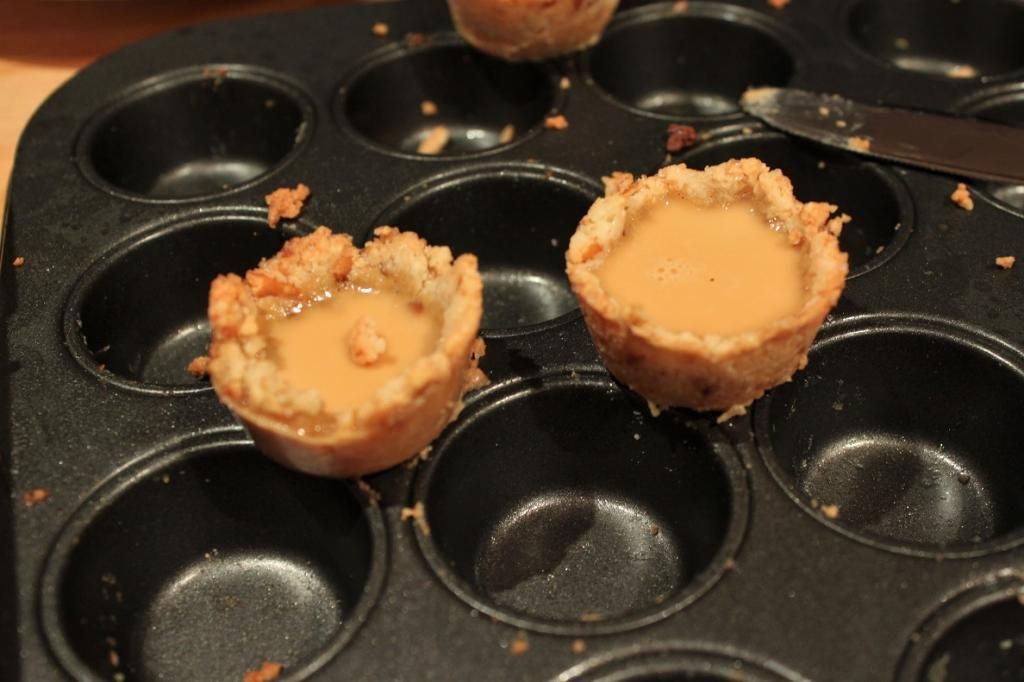
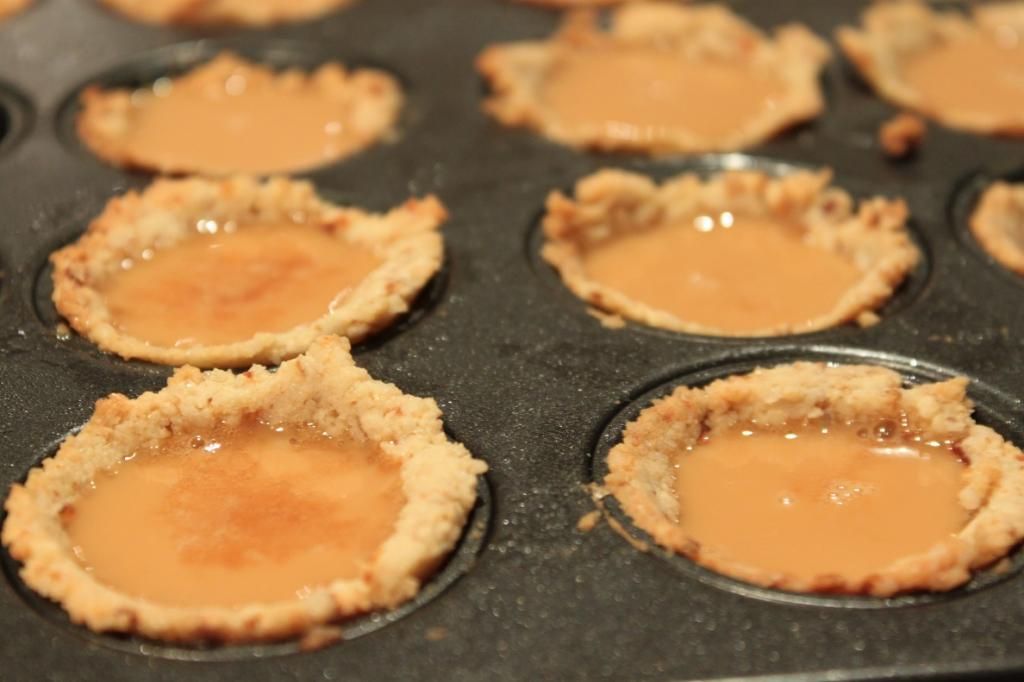
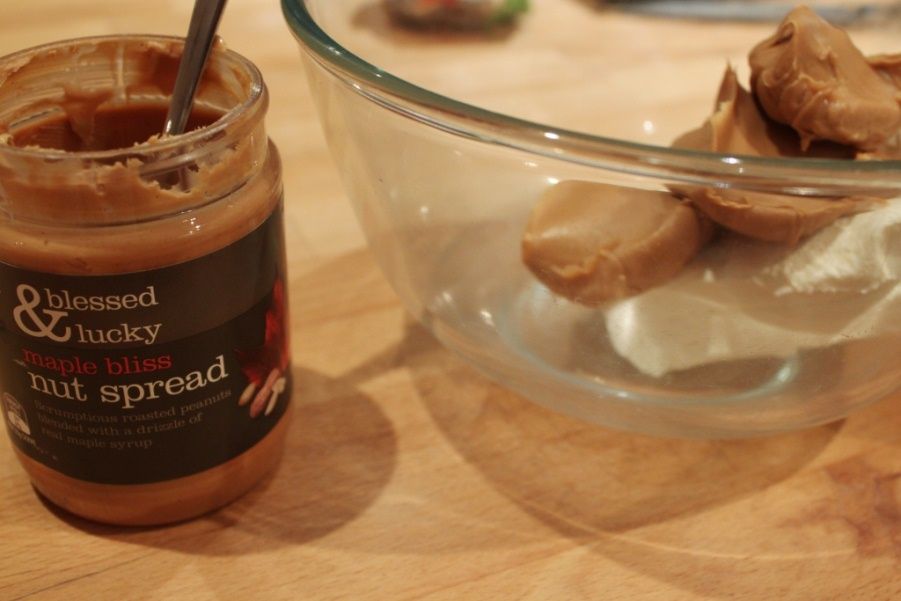
Vegemite Salted Caramel
1 cup sugar
4 tbsp water
55 g butter
100mL cream
1 tsp vegemite (warmed slightly if hard)
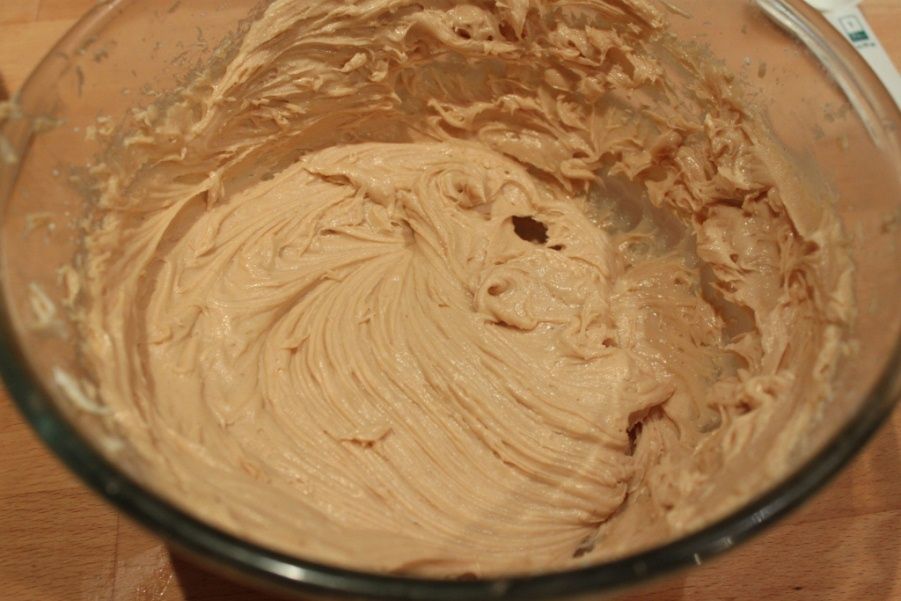
Add sugar and water in a medium pan over low heat. Stir until the sugar dissolves. Increase heat to high and every so often, swirl the pot to keep the mixture moving. Do not stir. The mixture will start turning a nice caramel colour, when this happens, remove from the heat immediately and add the butter, vegemite and cream. Watch out, it will spit. Whisk to combine, then set aside to cool and thicken slightly before pouring into jars to store
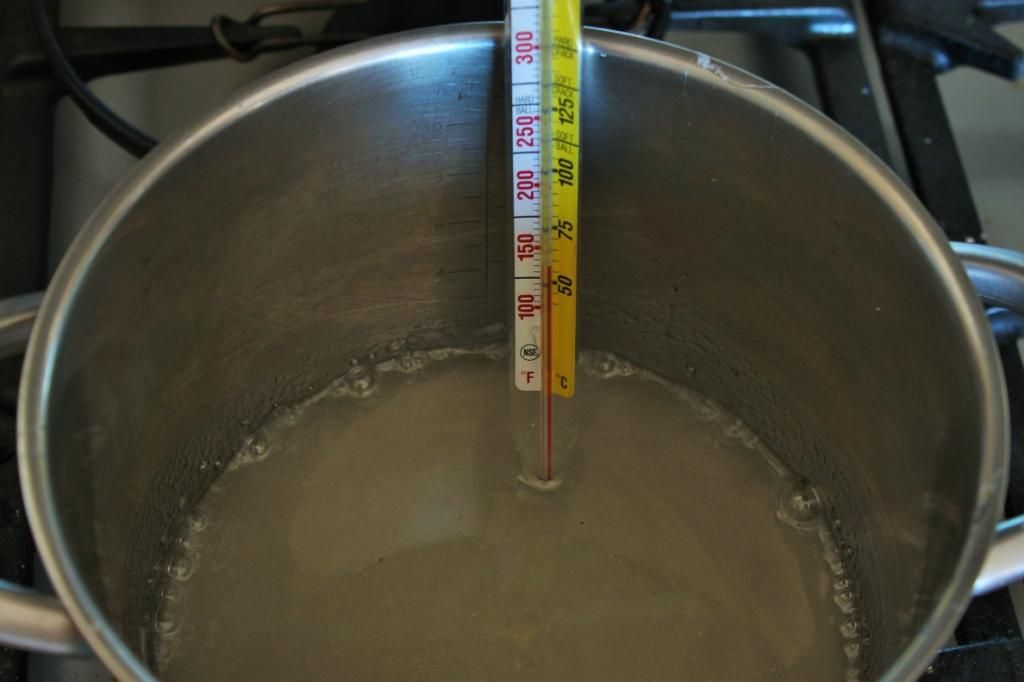
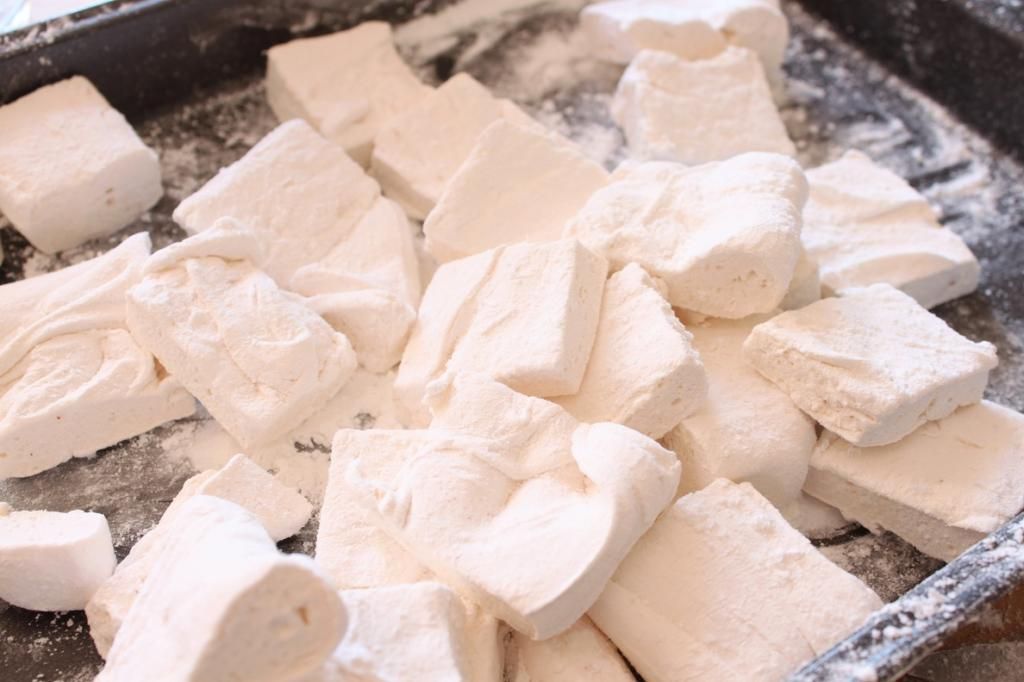
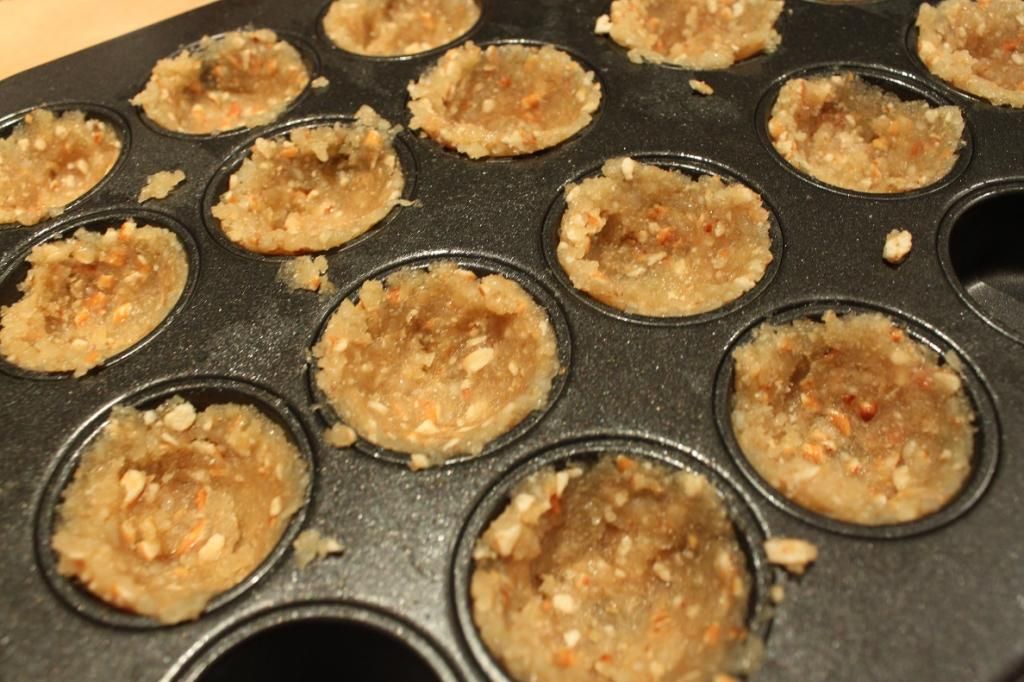
Chipotle Marshmallows
1/2 cup water
1 1/2 tsp chipotle chilli powder
1/4 tsp cayenne
23g gelatin powder
1 1/2 cups white sugar
150mL glucose syrup
1/2 cup water
dusting mix
1/2 cup icing sugar
1/4 cup corn flour
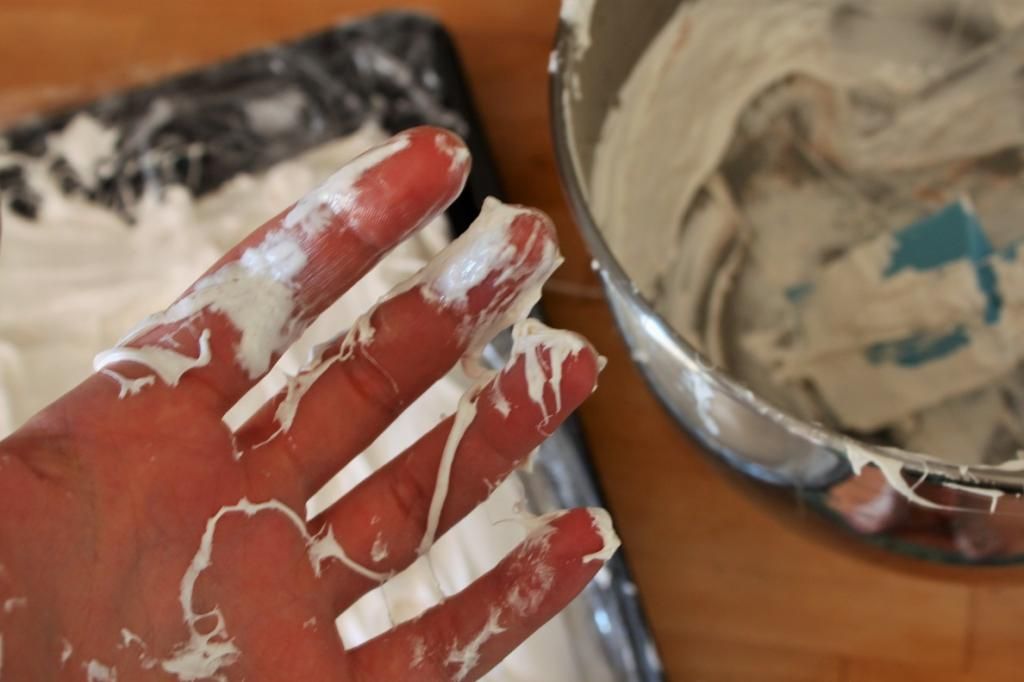
Add the first half cup water to the bowl of your stand mixer, whiskn in the chilli powder and cayenne and sprinkle the gelatin over the top. Leave until the gelatin is absorbed and becomes gel-ly.
Line a lamington tray or baking paper with cling film, allow for overhang on all sides. Dust a few tablespoons of the dusting mix along the bottom.
In a large saucepan, combine the glucose syrup, water and sugar. Cook over a medium heat, stirring gently to help the sugar dissolve. Raise the heat and boil until it reaches 130C on a candy thermometer. Swirl the mixture, but do not stir. When it reaches 130C, immediately remove from heat.
Whisk the gelatin mixture on low for 1 minute, then turn the mixer up to around 3/4 top speed and slowly drizzle the hot sugar mix whilst it's still going. Don't let the stream touch the whisk. Increase the speed to high and leave it whisking until the mixture is pale and fluffy and looks like glossy meringue. It'll take at least 5 minutes. It's ready when strands pull from the sides like bubblegum.
Pour the mix into the lined pan and use a greased spatula to smooth the top. Dust with more dusting mix and pop aside in a cool spot to set. It'll take a few hours, depending on the heat & humidity.
Cut the marshmallows into squares and dust the newly exposed sides with more dusting mixture. Store in airtight containers.