Showing posts with label snacks. Show all posts

Wednesday, December 23, 2015

Three Recipes - Coriander Panna Cotta, Cauliflower Crackers, Quinoa Crackers

Three Recipes - Coriander Panna Cotta, Cauliflower Crackers, Quinoa Crackers

Three Recipes - Coriander Panna Cotta, Cauliflower Crackers, Quinoa Crackers

A few years back I was at a restaurant and full after eating a massive plate of ribs. But they brought out the dessert menu in that usual dance that has me reading the list and nothing really grabbing my eye, so I end up just getting the bill and going. Or maybe a coffee. I can be fairly selective about desserts, if there’s not something that sounds a bit different or exactly what I feel like, I usually don’t bother. Basil panna cotta. Interest officially piqued, I ordered it. A wobbly pale green mound was brought out to me, the aroma of basil evident before I’d even tasted it. The bright herb punched through the cream and sweetness, made brighter still by lime zest. It was such a fun little dessert. Ever since then, I’d had it in my mind to make some herby panna cottas. It sat on my flavour combination list and was largely ignored as I chose to make new dishes that cropped up. Until one day, it just jumped out at me. I needed to make a herb panna cotta. Only I needed it to be savoury.
This makes enough for 6 or so panna cotta, depending on how big your mould/serving dishes are, which meant I got two goes at serving it for 
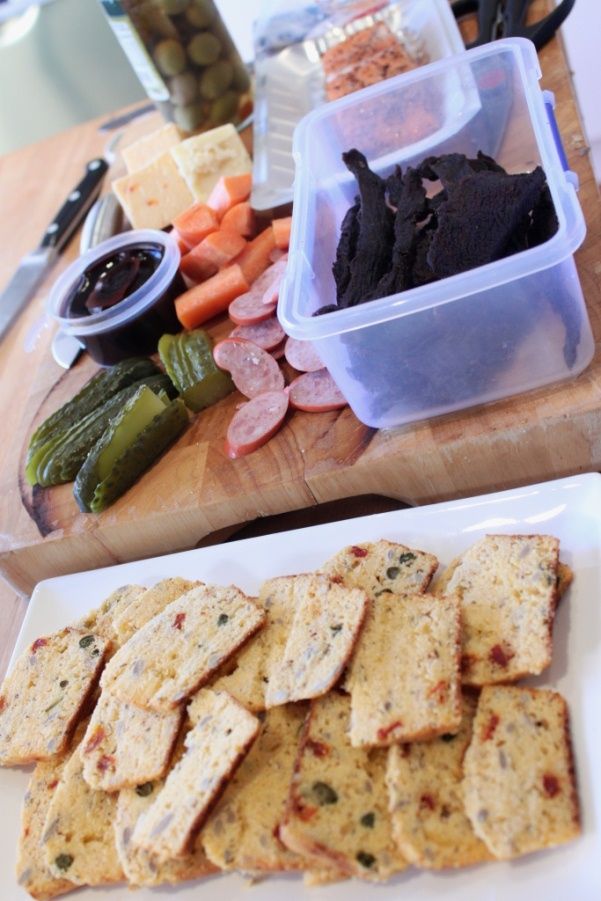
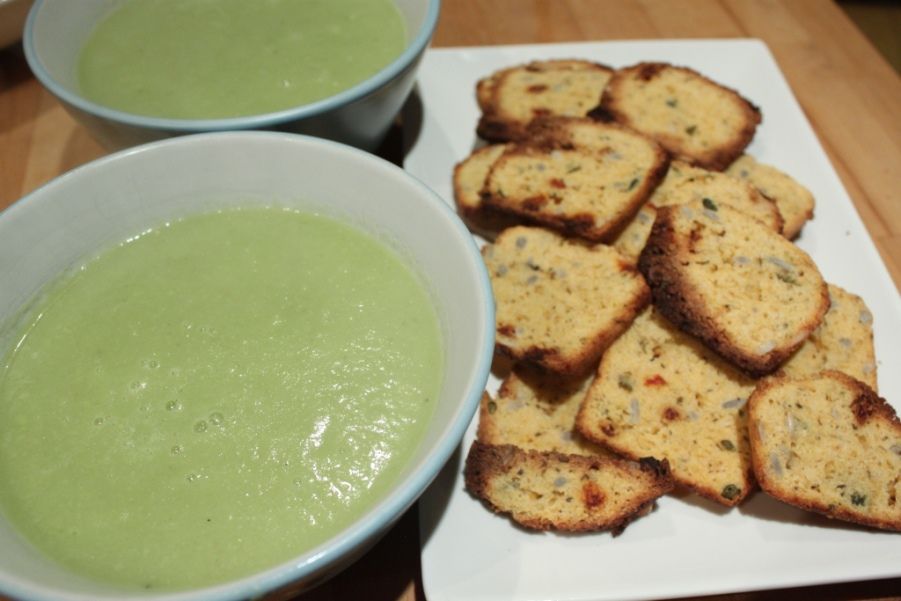
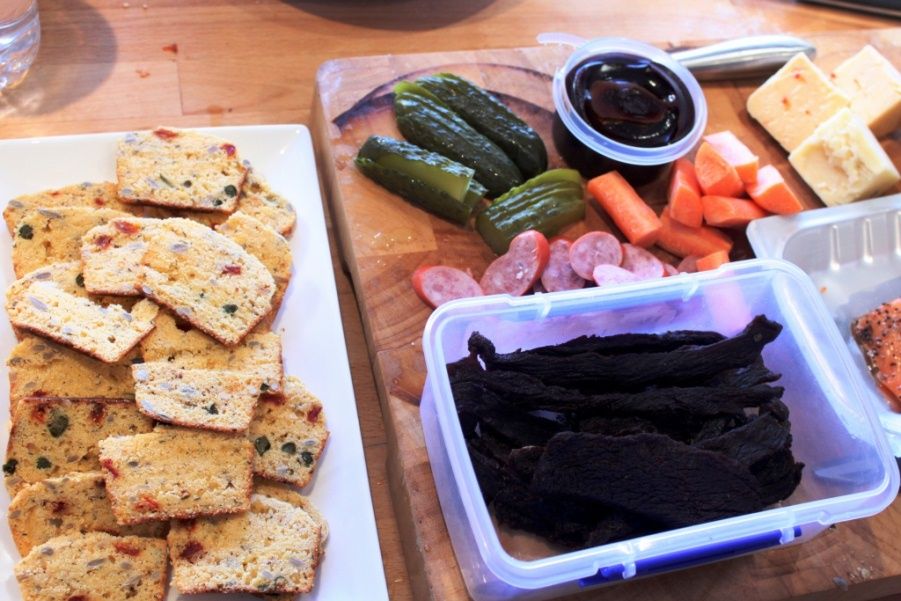
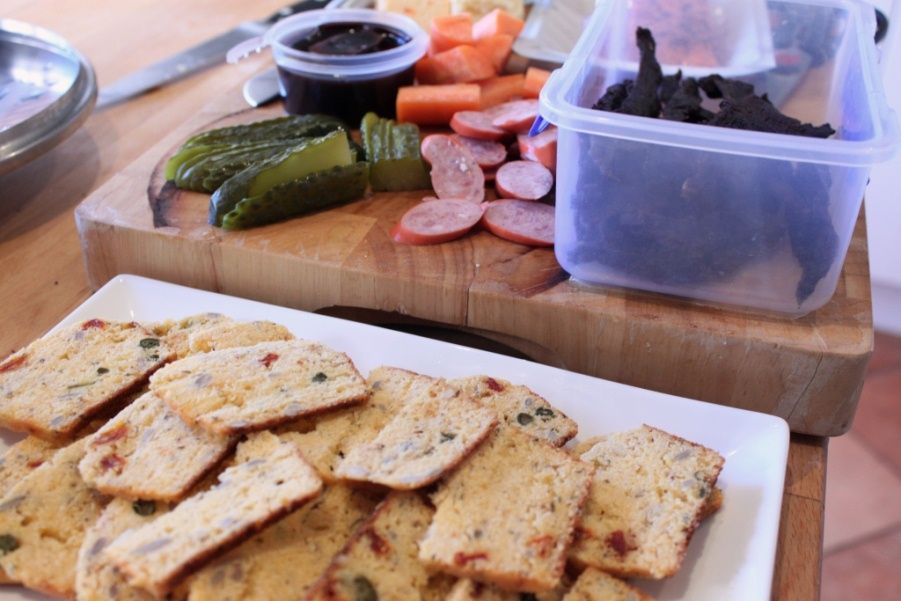
Lance and I. The first time I served it with pulled beef and cauliflower crackers and called it Coriander Panna Cotta. The second time I served it with 
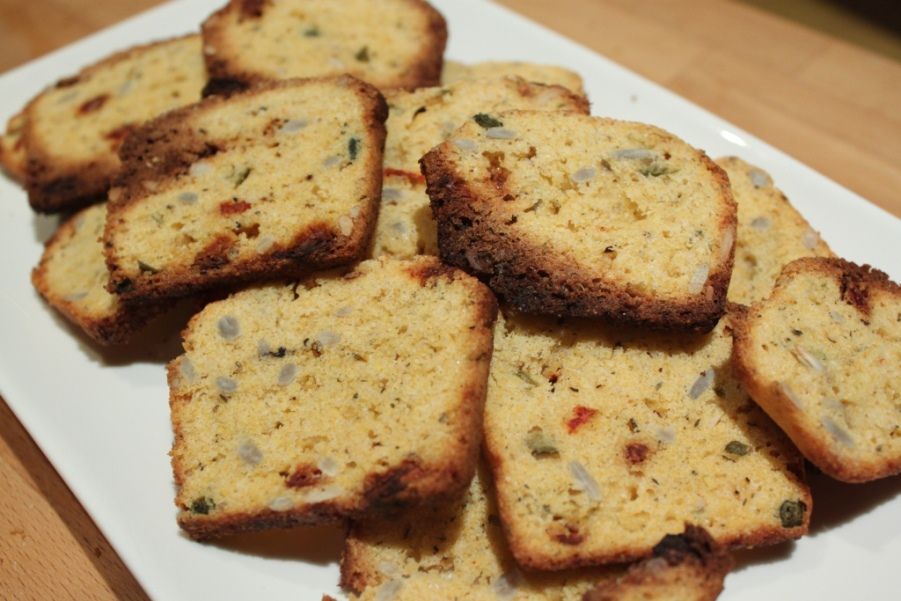
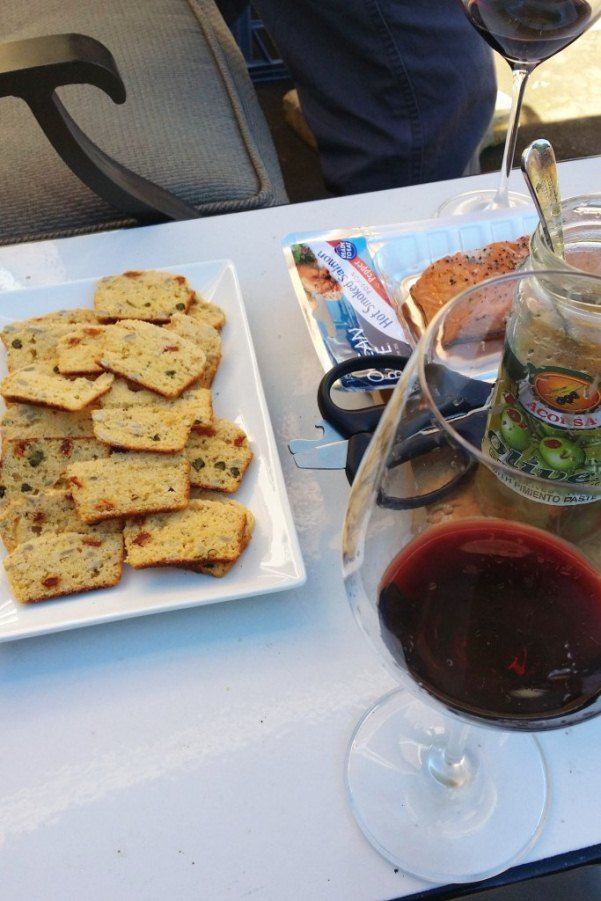
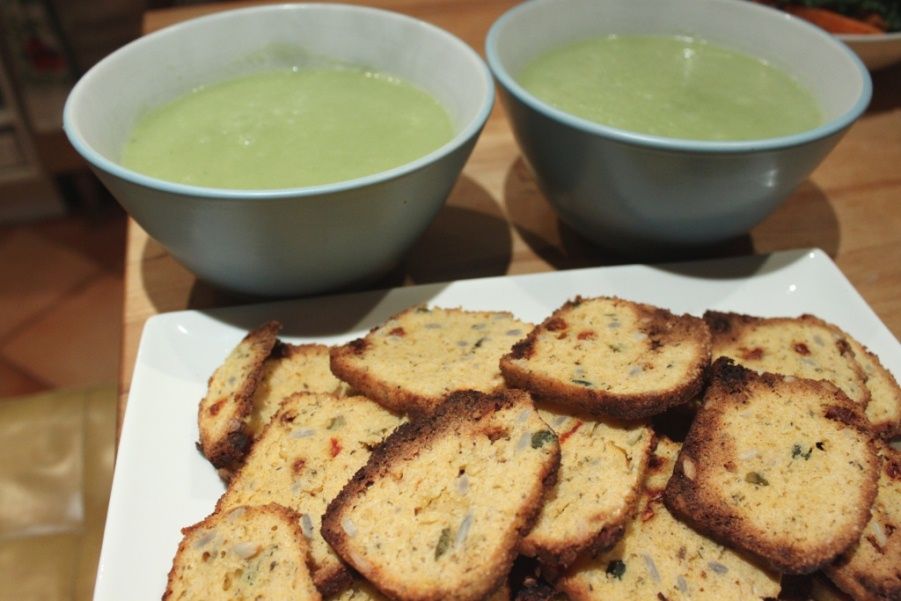
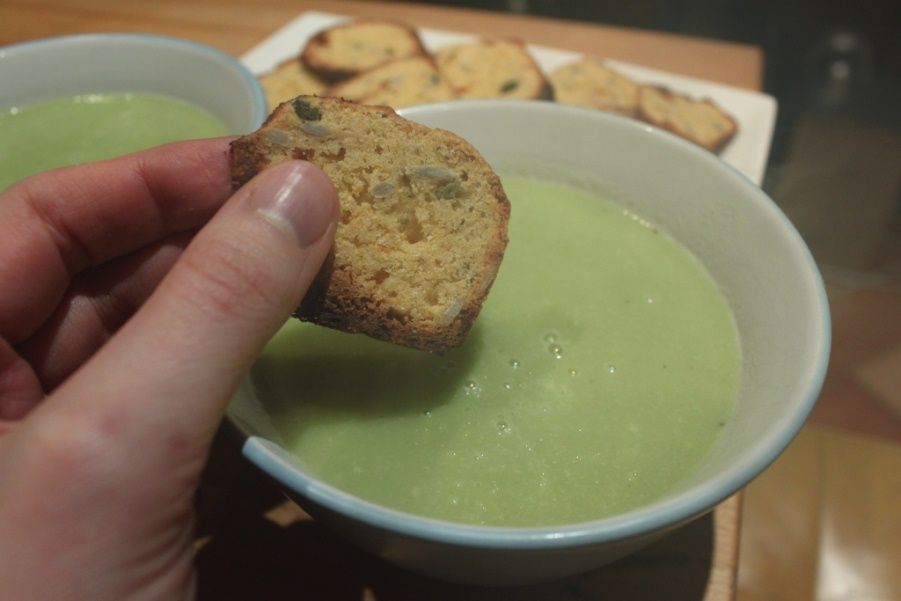
seed crackers and salsa and called it Guacamole pannacotta. The base for the panna cotta is the usual cream, but rounded out by avocado and Greek Yoghurt, which makes it more acceptable, nutrition-wise as a dinner option than just cream. Both ingredients adding their own special silkiness and flavour profiles to the dish. The cream portion is infused with coriander and spring onions with just enough honey to take the bite out of the yoghurt’s tang.
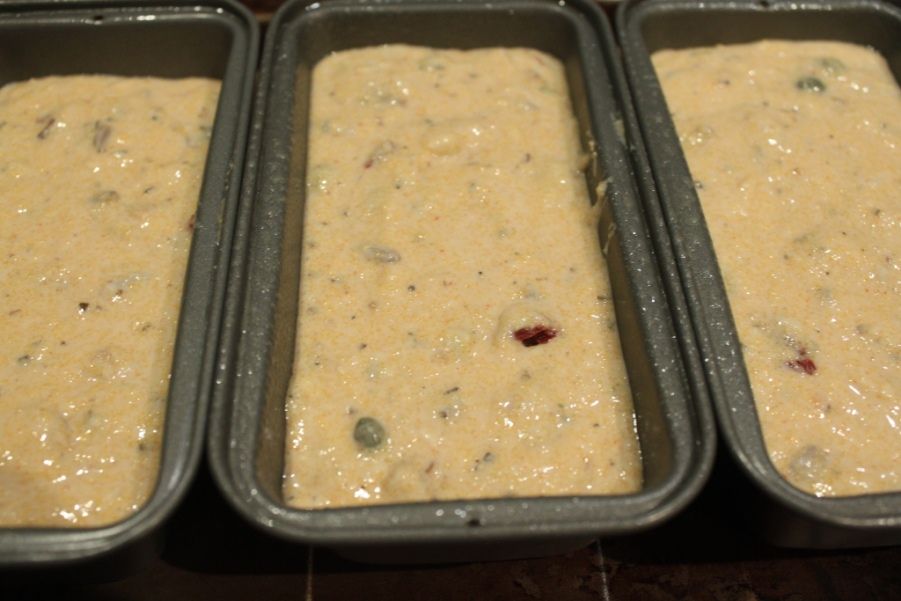
I’ve included both cracker recipes below as well. The seed crackers come together particularly quickly. I made them as some friends stood around one afternoon and they were done and baked before the first glass of wine was finished. They were fairly impressed! The cauliflower ones are almost as easy, but with the added step of steaming and draining the vegetable first. If you were going to make them fresh for a dinner party, the vegetable cooking portion could be done a day ahead and refrigerated. The addition of linseeds also helps to soak up some of the cauli’s excess water and bind the crackers together.

Three Recipes - Coriander Panna Cotta, Cauliflower Crackers, Quinoa Crackers

Three Recipes - Coriander Panna Cotta, Cauliflower Crackers, Quinoa Crackers


Coriander Panna Cotta


500mL cream
1 bunch coriander
2 spring onions, white and tender green tips
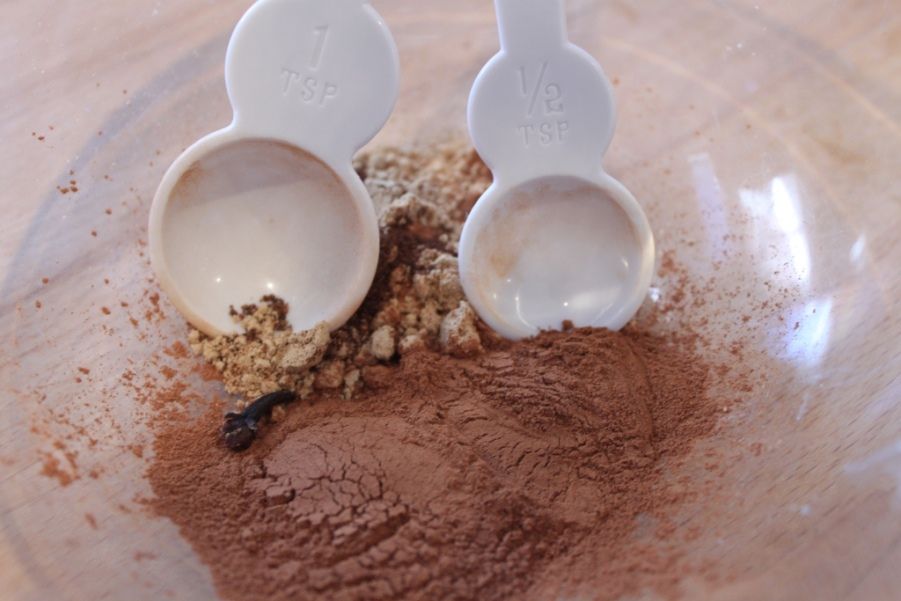
1 tbsp honey
½ tsp pink peppercorns
½ tsp salt
½ cup greek yoghurt
2 ripe avocadoes
¼ cup water
2 tsps gelatin powder

Place 450mL cream in a small saucepan along with the coriander, spring onions, honey, salt and pink peppercorns. Gently heat until just below boiling, then take off heat, cover and set aside to infuse for 30 minutes. Strain into a clean saucepan. Place the remaining 50mL of cream in a small glass and sprinkle the gelatin powder, set aside to ‘bloom’ for 5 minutes. Reheat the infused cream to a simmer and then stir in the bloomed gelatin cream. Stir to combine and continue stirring until the gelatin dissolves, then take off the heat.
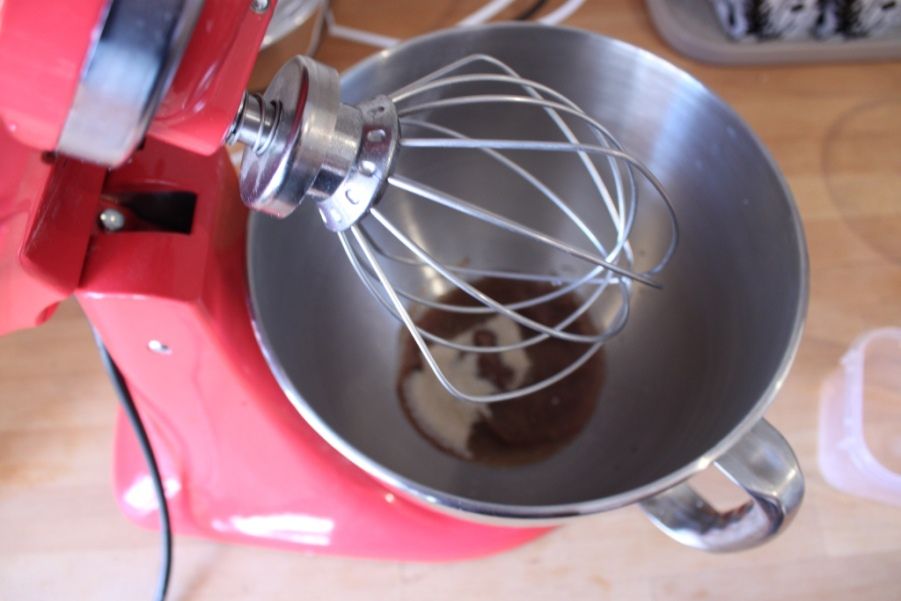
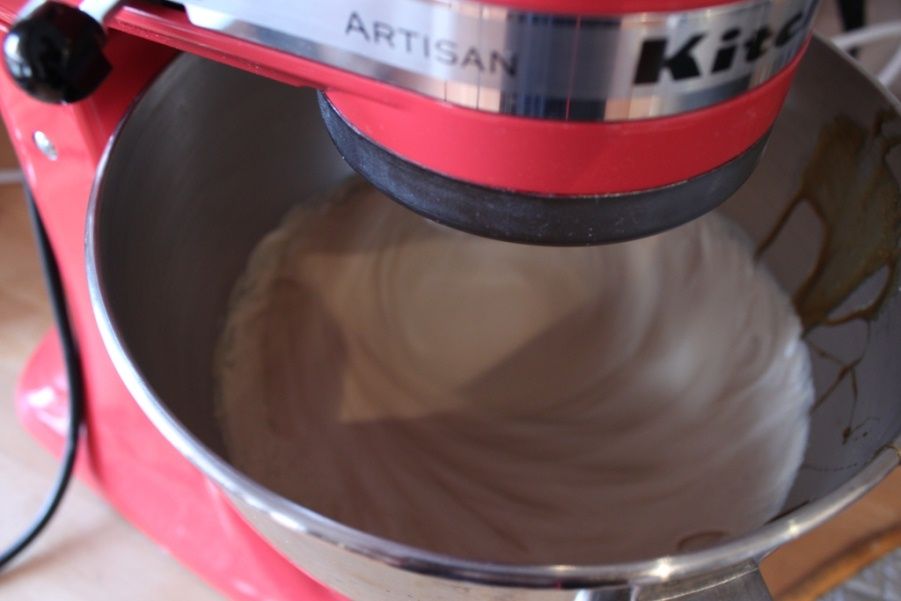
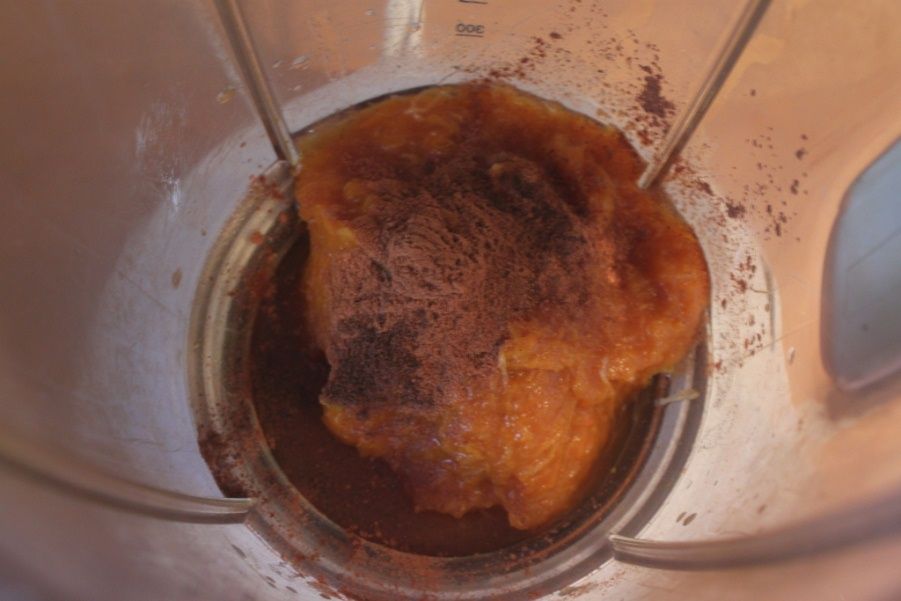
Using a blender, combine the avocadoes, yoghurt water until 
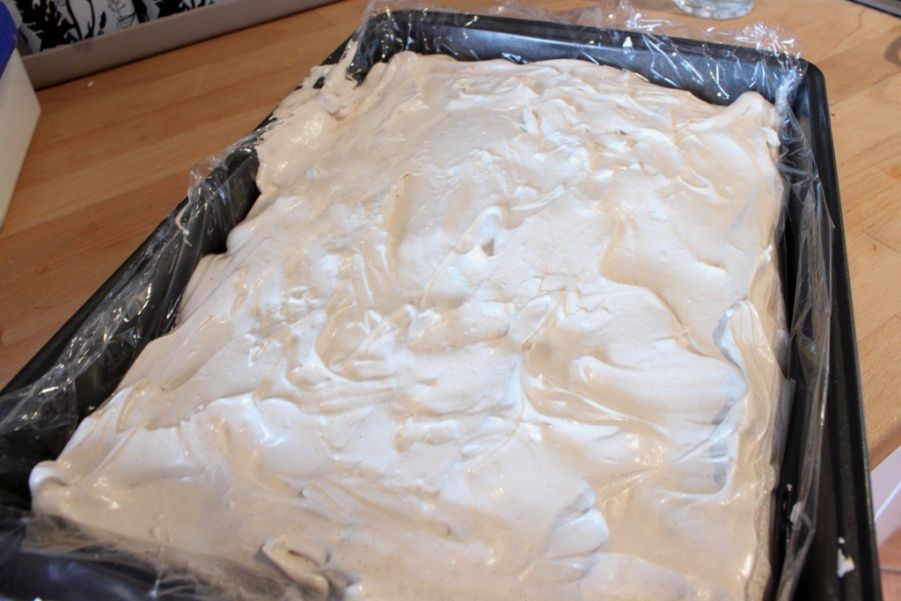
smooth. Blend in the cream and check for seasoning. Pour into moulds and refrigerate 24 hours or so until set.


Three Recipes - Coriander Panna Cotta, Cauliflower Crackers, Quinoa Crackers

Three Recipes - Coriander Panna Cotta, Cauliflower Crackers, Quinoa Crackers


Cauliflower Crackers

½ head cauliflower
1 tbsp linseeds/flaxseeds
1 egg
Cajun seasoning to taste (around 1/4 tsp ought to do it)
Cut the cauliflower into tiny rice-like pieces (alternatively, process to ‘rice’ in a food processor). Steam or microwave for a few minutes until tender, then set aside to cool. Place in muslin and squeeze out as much liquid as possible.

Preheat oven to 160C. Grease an oven tray.

Mix together the cauliflower, linseeds, egg and seasoning. Mix well to combine, then press firmly into the greased oven tray. Set aside for 10 minutes, then bake for 15 minutes, or until golden on top. Cool 5 minutes, then slice.

Three Recipes - Coriander Panna Cotta, Cauliflower Crackers, Quinoa Crackers

Three Recipes - Coriander Panna Cotta, Cauliflower Crackers, Quinoa Crackers

Quinoa and Seed Crackers

½ cup quinoa flakes
2 tbsp sunflower seeds
2 tbsp pumpkin seeds
2 tsp sesame seeds
1/8 tsp salt
1/8 tsp pepper
1/2 tsp coriander seeds
1 egg white
Preheat oven to 130C

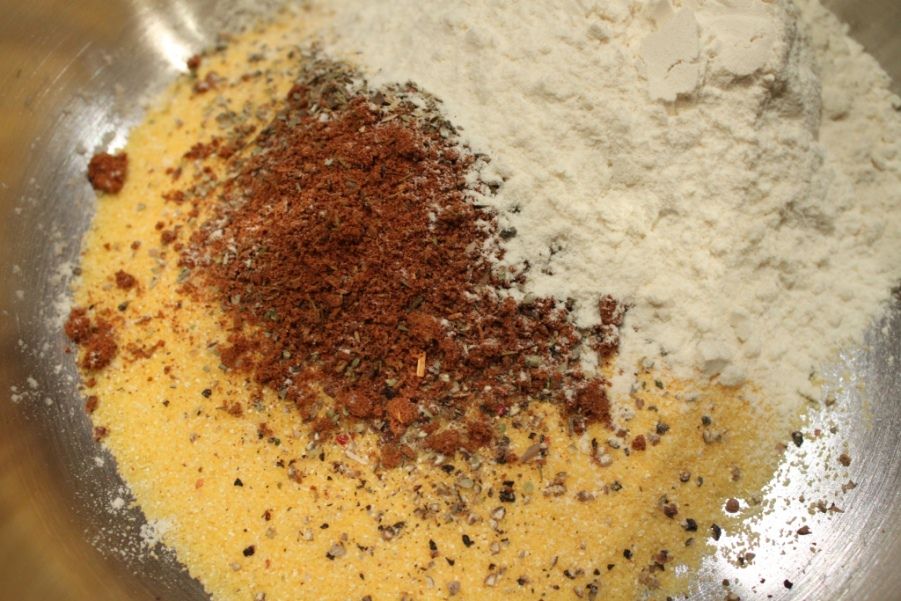
Mix all the dry ingredients together. Create a well in the centre and add the egg white. Gently whisk the egg, then slowly start bringing in the dry ingredients until completely combined. Dump onto a piece of baking paper. Place another piece of baking paper on top and roll out with a rolling pin until very thin – around 2mm. Gently pull the top piece off and discard.
Bake for 7-10 minutes, or until the edges start to look golden. Watch carefully. Remove from the oven, slice into desired cracker size and gently flip over. Pop back in the oven for another 5-7 minutes, or until they’re golden on the other side too. Set aside to cool, then enjoy!


Three Recipes - Coriander Panna Cotta, Cauliflower Crackers, Quinoa CrackersThree Recipes - Coriander Panna Cotta, Cauliflower Crackers, Quinoa CrackersThree Recipes - Coriander Panna Cotta, Cauliflower Crackers, Quinoa CrackersThree Recipes - Coriander Panna Cotta, Cauliflower Crackers, Quinoa Crackers
Three Recipes - Coriander Panna Cotta, Cauliflower Crackers, Quinoa Crackers


Monday, August 11, 2014

Cornbread Crackers

Cornbread Crackers
Cornbread Crackers

So far, my ‘eat more cornbread’ new year’s resolution is going extremely well. With normal cornbread and cornbread waffles coming into a rotation, I’m averaging about once a month. I was recently laid up with the flu and I made a huge pot of ‘All the Veges’ Soup to help me get better. And given that I was laid up with the flu and didn’t want to do anything, I was happier than I normally am to have a frozen mini-loaf still in the freezer ready to slice and make the most amazing crackers to go with the soup. Variations of Alejandra’s Fruit andNut Crisps and the Choc Hazelnut Crackers from Always Order Dessert are a staple for me now, I make up the loaves based on what I have at the time and freeze them, so if people pop in I just toast them in the oven and in 15 minutes I have an amazing homemade snack.

Making the crackers while I was sick, I had a brainwave…they are essentially just a mini loaf of bread (sometimes I eat one loaf as fresh bread), so I should make a version with cornbread. Cornbread crackers was a thought that stuck in my head like a song that I could ‘taste’ and I knew as soon as I felt up to cooking again, I would be making.

For the cracker flavours, I wanted something smokey and spicy, something to pair with the sweetness of cornbread. I added pickled jalapenos, but not having as many as I’d like, I decided to add capers as well for the extra briney kick. Great decision. For me capers are one of those things that I get obsessive about, go through a few jars in a few weeks and then don’t buy them again for a while. I needed them for the Cuban Chicken and Corn Pie, and haven’t looked back. Add some sunflowers for a textural interest and some semi-dried tomatoes for some not-too-sweet sweetness and you have an amazing cornbread.

Freeze the loaves until completely solid (very important!!), slice as thinly and evenly as possible and re-bake and you have the most amazing crackers. Seriously.

Cornbread Crackers
Cornbread Crackers
Cornbread Crackers
Cornbread Crackers
Cornbread Crackers
Cornbread Crackers
Cornbread Crackers


Cornbread Crackers

2 teaspoon cajun spice mix
1 tsp dried oregano
1 cup cornmeal
1 cup plain flour
1 teaspoon baking powder
½ teaspoon salt
2 tablespoons sugar
1 ½ cups buttermilk
1 egg, lightly beaten

½ cup grated parmesan
1 tbsp capers
5 sundried tomatoes (not in oil), finely diced
1 tbsp finely diced pickled jalapenos
¼ cup sunflower seeds

Preheat oven to 200C. Grease 3 mini loaf tins

Mix cornmeal, flour, baking powder, salt, oregano, spice mix and sugar in a bowl.


Combine buttermilk and egg. Make a well in the centre of the dry ingredients and pour in buttermilk mixture. Stir gently to combine, then stir through the cheese, sundried tomatoes, capers and jalapenos, trying to evenly distribute all the add-ins.

Pour into prepared pans and bake for 20- 25 minutes until golden and spring back when touched. Take out of oven and cool in tins for 5 minutes, then cool on a rack until completely cold.

Individually wrap loaves tightly in cling-wrap and freeze overnight.

When ready to make crackers, preheat the oven to 150C

Using your best knife (I find a ham knife works best), slice the frozen loaves into thin slices, as evenly as possible and place on a cooling rack inside a baking tray. Bake for 10-15 minutes until crisp and golden, watching them so they don’t burn.

Take out of the oven and leave to cool. Then serve with your favourite dip (tzatziki and guacamole work particularly well with these flavours) or as part of a cheese platter. Or as dippers in Avocado Soup!

Cornbread Crackers
Cornbread Crackers
Cornbread Crackers
Cornbread Crackers
Cornbread Crackers
Cornbread Crackers

Monday, April 14, 2014

Veronica Mars(hmallow) Movie Snacks - Gingerbread Marshmallows, Pumpkin Maple Marshmallows and Rum & Raisin Marshmallows


After the success of my “Much Ado About Joss Whedon” movie afternoon, I decided to have another at-home cinema experience when the new Veronica Mars movie was released. Last time we arranged various couches upstairs to create a two level cinema that seated 6. This time we went bigger and moved more couches upstairs to create a 10-seat, 2 level couch cinema. I was pretty stoked with how it turned out! It made lugging furniture up and down stairs totally worth it! Obviously such an occasion also requires snacks. And there was a quote in the original tv series about Veronica being a marshmallow (which was then echoed in the movie’s kickstarter package, and the movie)…so what a perfect excuse to experiment with making marshmallows.
 
Gelatin is something that has always freaked me out. Most of my cooking is in a pinch of this, dash of that sort of style, and from what I gathered, you can’t do that with gelatin. It’s much more scientific than that in order for it to set. So it was with trepidation I approached marshmallow making. I looked up a whole bunch of recipes for marshmallows before cutting and pasting the common elements together and working out that it’s actually super, super easy. The only thing you do need is to have a candy thermometer to ensure you get the sugar part to the right temperature. And a standmixer. I made the first batch gingerbread flavoured, because, well, I like gingerbread. That turned out so easy that I immediately cleaned out my bowls and made two more batches. Pumpkin maple (with candied bacon) and rum and raisin. These were in honour of the fact that the screening day was also my brother’s birthday and he enjoys all of those things.

The basic idea of making marshmallows also makes it really easy to adapt the flavours. Take cold liquid of pretty much any description (alcohol will require more experimentation as that affects the gelatin) and add powdered gelatin. Boil sugar, water and a liquid sugar to 130C. Pour together and blend until really fluffy, try to spread it out without covering yourself and the kitchen in marshmallowy goo. Then throw icing sugar all over your entire kitchen dusting them! If you try any new and exciting flavours, let me know!

But this is an awesome and easy sweet and non-chocolate Easter treat to gift. Or if you want a chocolate-y Easter treat to gift, maybe my Bacon Bark or the chocolate Salami I made for Easter last year?


Gingerbread Marshmallows
Liquid Mix
½ cup water
1 ½ tsp ground ginger
1 ½ tsp ground cinnamon
1 clove
pinch nutmeg
23g gelatin

Sugar Mix
1 ½ cups brown sugar
150mL golden syrup
½ cup water
¼ tsp salt

Dusting powder mix
(enough for all marshmallows)
1 cup icing sugar
½ cup corn flour

Chopped candied ginger for decorating

Add the spices and to ½ cup of hot water and leave aside to steep until it’s completely cold. Remove the clove.

Line a lamington tray or baking dish with baking paper or cling film. Make it big enough to overhang on all sides. Spray with oil to prevent sticking.

In your standmixer bowl, put the cold spice liquid and sprinkle the gelatin over the top. Leave to stand.

In a medium saucepan with tallish sides to cope with the bubbling, combine the golden syrup, salt, sugar and ½ cup of water. Cook over a medium heat and stir gently to dissolve the sugar. Raise the heat and boil until it reaches 130C on your candy thermometer. Keep it moving by swirling the handle, but don’t stir. When it reaches 130C, remove from the heat.

Attach the whisk to your standmixer and turn on low, mix the gelatin mixture for 1 minute, then turn the mixer up a bit faster and slowly drizzle the hot sugar mix down the side of the bowl with the mixer still going. Don’t let it touch the whisk. Increase the speed to medium/high and leave it to whisk until the mixture is pale and fluffy and looks like really sticky meringue. This will take at least 5 minutes. As it whisks, it’ll have bubblegum looking strands pull away.

Pour the mix into the lined pan and use a spatula to smooth the top. I sprayed oil on the spatula to help it not stick. Sprinkle candied ginger on top, then dust with the dusting mix generously on top. Set aside to set, it’ll take around 4 hours.

In a baking try, dust a layer of dusting mix, invert the tray and tip out the marshmallow onto it. Cut up the marshmallows and dust all exposed sides. Shake off the excess and store in airtight containers in a cool dark place. Should last around 3 weeks. If you live in a humid area (such as Perth where it’s April and still 35C), store in the fridge.

Pumpkin and Maple
Liquid Mix
½ cup pureed pumpkin
2 tbsp water
½ tsp ground cinnamon
pinch nutmeg
23g gelatin

Sugar Mix
1 cup white sugar
½ cup dark brown sugar
150mL maple syrup
½ cup water

Dusting mix
3 rashers bacon
1 tbsp maple syrup

Finely dice the bacon then fry until crispy in a pan. Pour off excess oil, then add a tbsp maple syrup and cook for a further 3 minutes. Set aside to cool, spreading out on a plate to prevent it from sticking too much.

Line a lamington tray or baking dish with baking paper or cling film. Make it big enough to overhang on all sides. Spray with oil to prevent sticking.

In your standmixer bowl, put the pumpkin puree, 2 tbsp water and spices. Using the whisk attachment, blend for 1 minute until well combined. Sprinkle the gelatin over the top. Leave to stand.

In a medium saucepan with tallish sides to cope with the bubbling, combine the maple syrup, sugars and ½ cup of water. Cook over a medium heat and stir gently to dissolve the sugar. Raise the heat and boil until it reaches 130C on your candy thermometer. Keep it moving by swirling the handle, but don’t stir. When it reaches 130C, remove from the heat.

Attach the whisk to your standmixer and turn on low, mix the gelatin mixture for 1 minute, then turn the mixer up a bit faster and slowly drizzle the hot sugar mix down the side of the bowl with the mixer still going. Don’t let it touch the whisk. Increase the speed to medium/high and leave it to whisk until the mixture is pale and fluffy and looks like really sticky meringue. This will take at least 5 minutes. As it whisks, it’ll have bubblegum looking strands pull away.

Pour the mix into the lined pan and use a spatula to smooth the top. I sprayed oil on the spatula to help it not stick. Sprinkle candied bacon on top, then dust with the dusting mix generously on top. Set aside to set, it’ll take around 4 hours.

In a baking try, dust a layer of dusting mix, invert the tray and tip out the marshmallow onto it. Cut up the marshmallows and dust all exposed sides. Shake off the excess and store in airtight containers in a cool dark place. Should last around 3 weeks. If you live in a humid area (such as Perth where it’s April and still 35C), store in the fridge.


Rum and Raisin Marshmallows
Liquid Mix
½ cup water
2 tsp rum essence
1/3 cup raisins
23g gelatin

Sugar Mix
1 ½ cups white sugar
150mL golden syrup
½ cup water

Dusting powder mix

Add the sultanas and rum essence to ½ cup of hot water and leave aside to steep until it’s completely cold. Puree until a combined raisin moosh.

Line a lamington tray or baking dish with baking paper or cling film. Make it big enough to overhang on all sides. Spray with oil to prevent sticking.

In your standmixer bowl, put the cold raisin liquid and sprinkle the gelatin over the top. Leave to stand.

In a medium saucepan with tallish sides to cope with the bubbling, combine the golden syrup, salt, sugar and ½ cup of water. Cook over a medium heat and stir gently to dissolve the sugar. Raise the heat and boil until it reaches 130C on your candy thermometer. Keep it moving by swirling the handle, but don’t stir. When it reaches 130C, remove from the heat.

Attach the whisk to your standmixer and turn on low, mix the gelatin mixture for 1 minute, then turn the mixer up a bit faster and slowly drizzle the hot sugar mix down the side of the bowl with the mixer still going. Don’t let it touch the whisk. Increase the speed to medium/high and leave it to whisk until the mixture is pale and fluffy and looks like really sticky meringue. This will take at least 5 minutes. As it whisks, it’ll have bubblegum looking strands pull away.

Pour the mix into the lined pan and use a spatula to smooth the top. I sprayed oil on the spatula to help it not stick. Sprinkle candied ginger on top, then dust with the dusting mix generously on top. Set aside to set, it’ll take around 4 hours.

In a baking try, dust a layer of dusting mix, invert the tray and tip out the marshmallow onto it. Cut up the marshmallows and dust all exposed sides. Shake off the excess and store in airtight containers in a cool dark place. Should last around 3 weeks. If you live in a humid area (such as Perth where it’s April and still 35C), store in the fridge.