Showing posts with label hazelnut. Show all posts

Tuesday, February 10, 2015

Sweets for your Sweet - Buttermilk Pudding with Sangria Jelly and Nut Wafers

Buttermilk Pudding with Sangria Jelly and Nut Wafers
Do you celebrate Valentine’s Day? We don’t. Not really. I’ve never been a flowers and chocolates and teddy bears with hearts kinda girl. But I do love love, and Lance and I are romantic just in general, so I’m all for people taking the opportunity to tell that special someone that you love them. Lance and I are actually going to a comedy show for the Fringe Festival on Valentine’s Day. But we’ll have a nice dinner beforehand. Not sure what yet. 
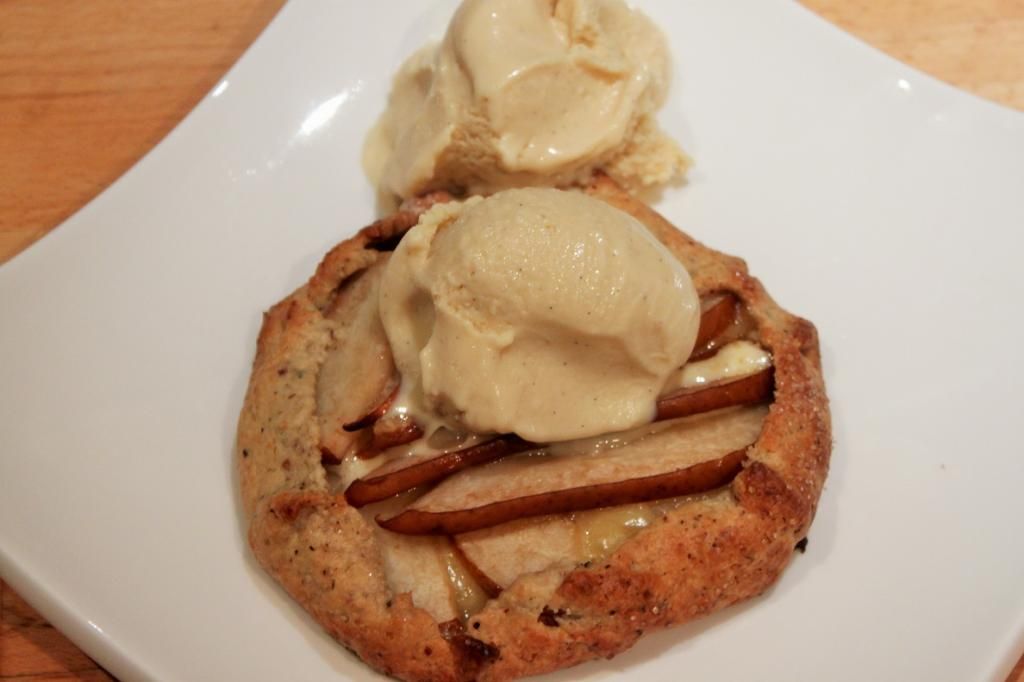
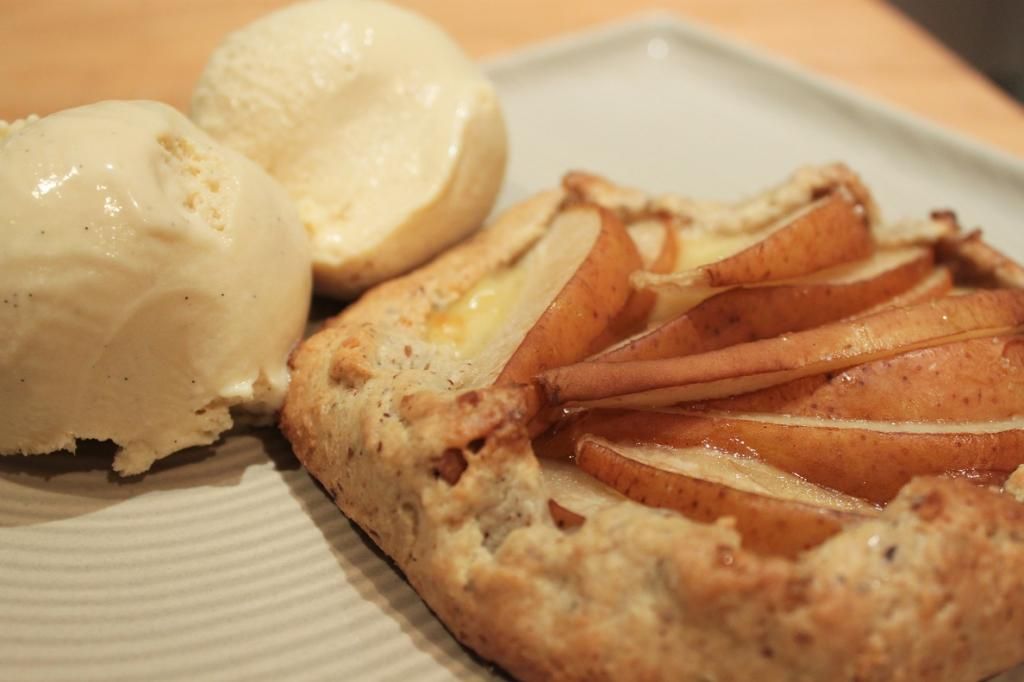
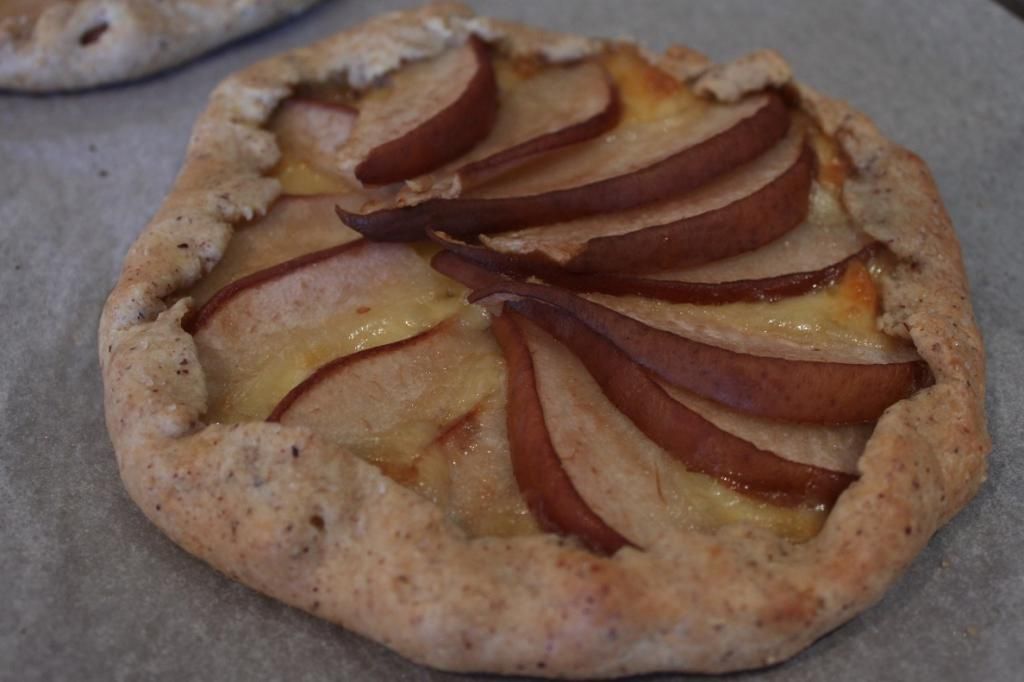
All I know is that this is our Valentine’s Day dessert. It’s a little different, a little quirky and is most importantly, a little bit lighter and not too sweet in this summer heat! As an added bonus the components are made early(ish) with chilling time, or can be made a day or so in advance and assembled before serving, making it great for dinner parties. Or romantic dinners, where less cooking time means more couple time!
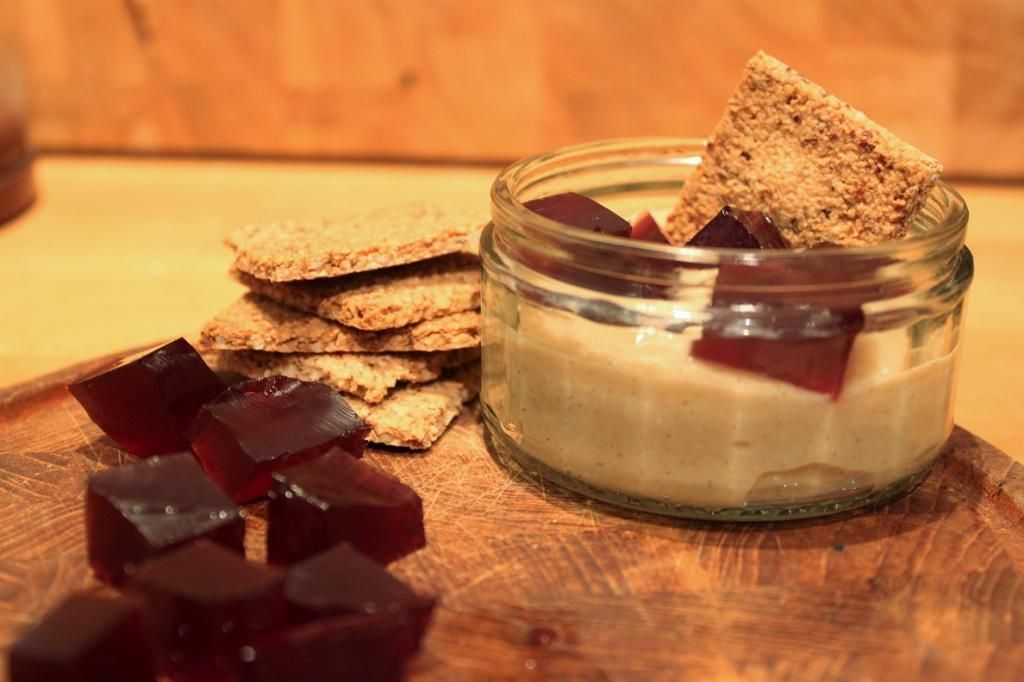
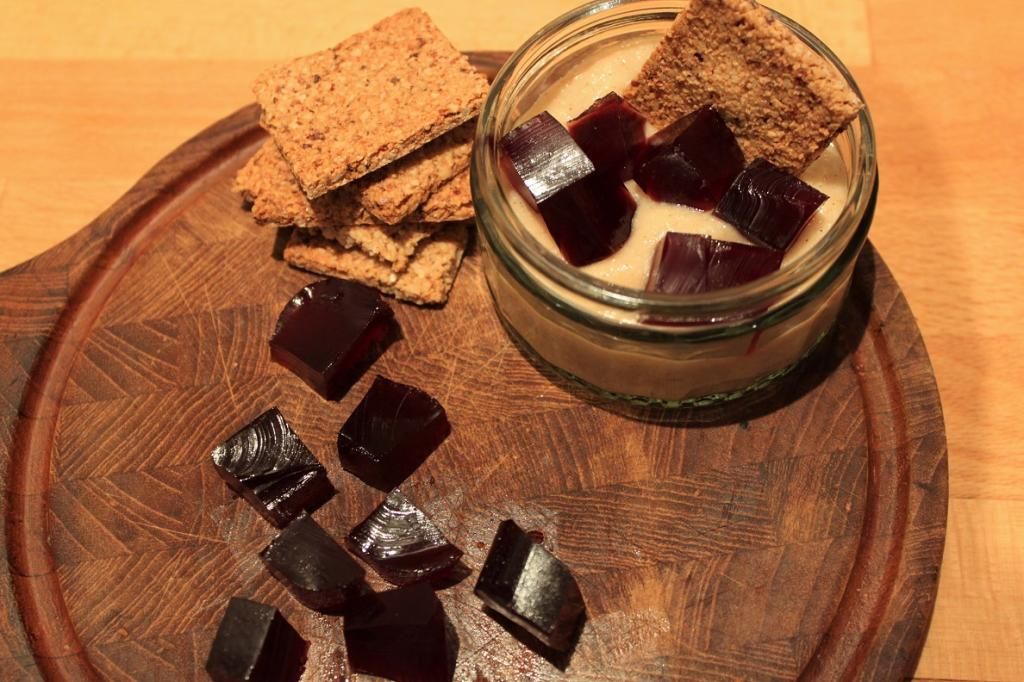
I am a huge fan of sangria. And buttermilk. And nuts. So this dessert is a combination of all of those things. Luckily, Lance is too – so it can feel 
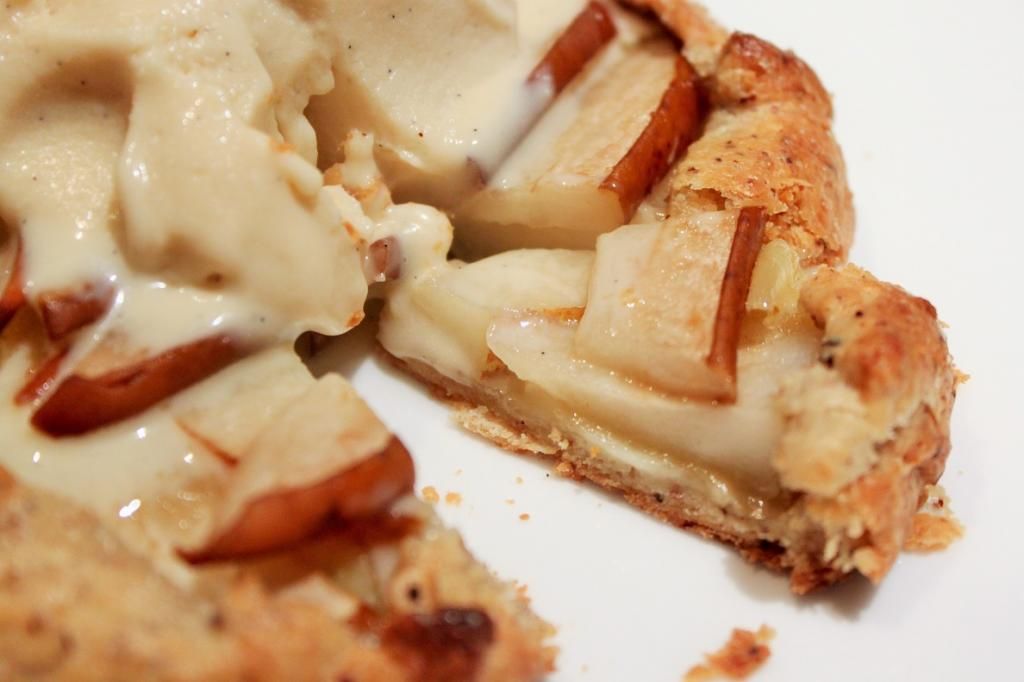
like I’ve made it for him. Each element here has a small level of sweetness, which combine for a lovely dessert with a fun play on textures – without 
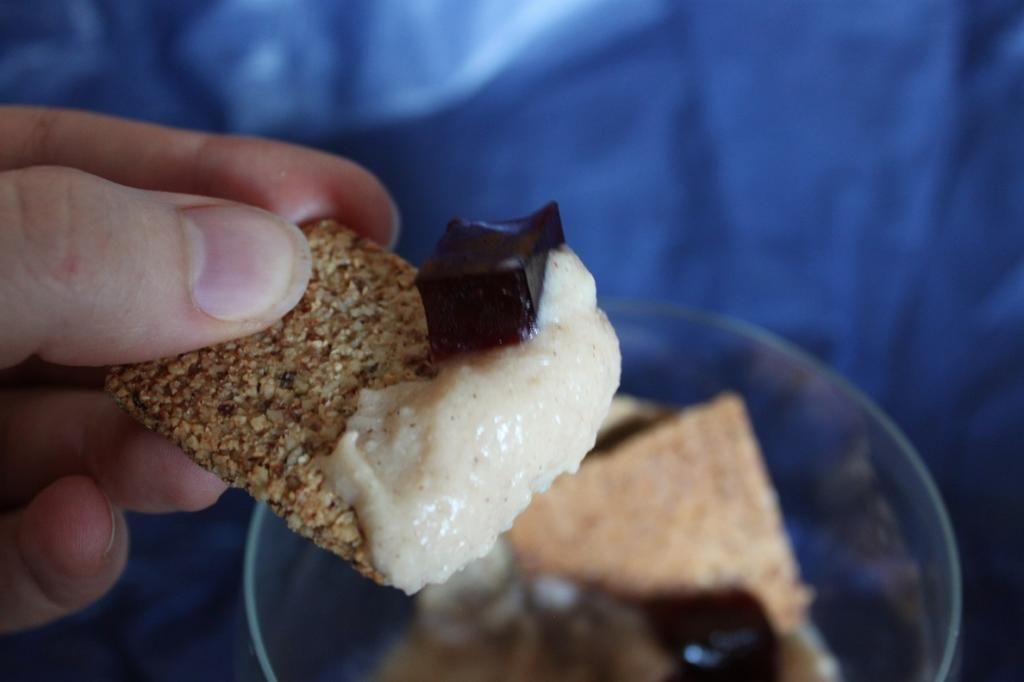
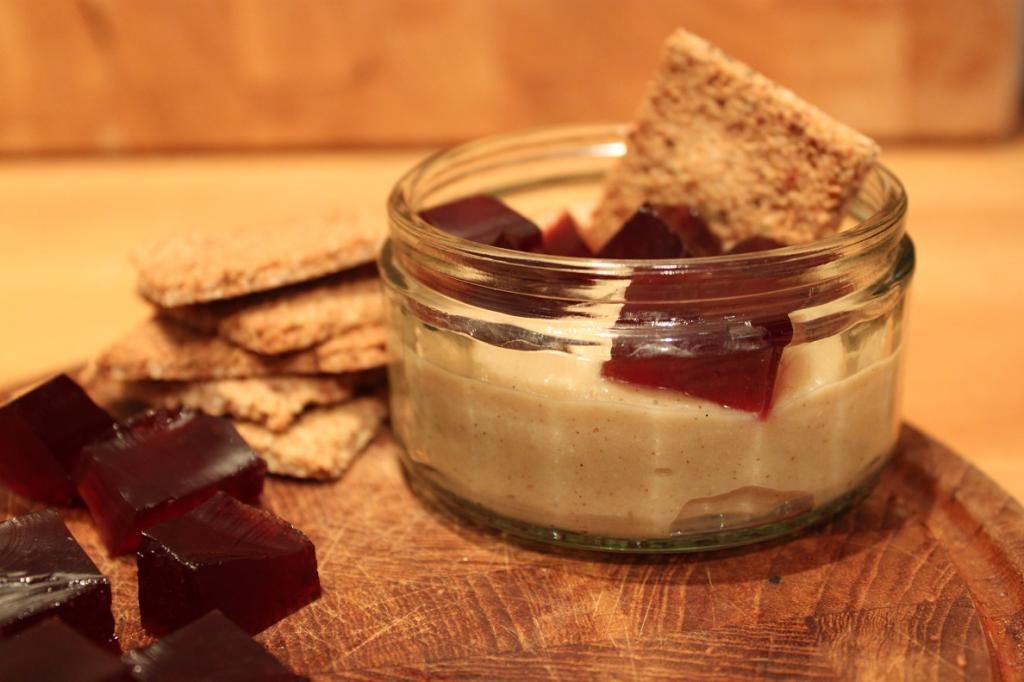
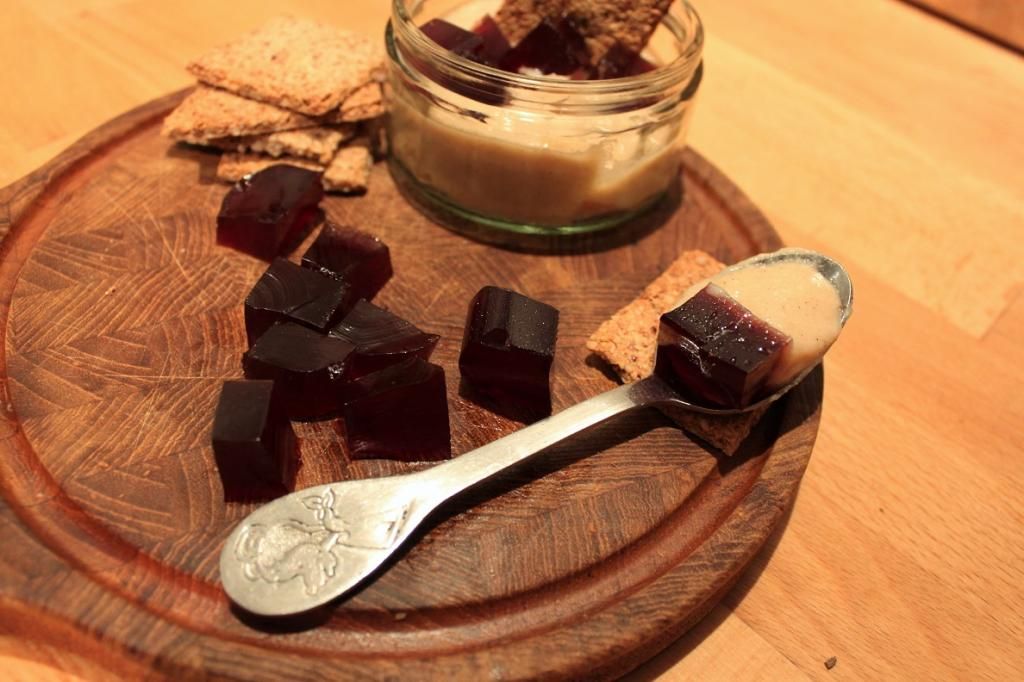
overwhelming you with sweetness. The buttermilk pudding is smooth and creamy, the sangria jelly has a little chew – not quite jube, but a bit denser than a normal jelly. Add the crunch of the nut wafers and you’ve got a party going. They, by the way, are the easiest crackers to make. And so delicious!
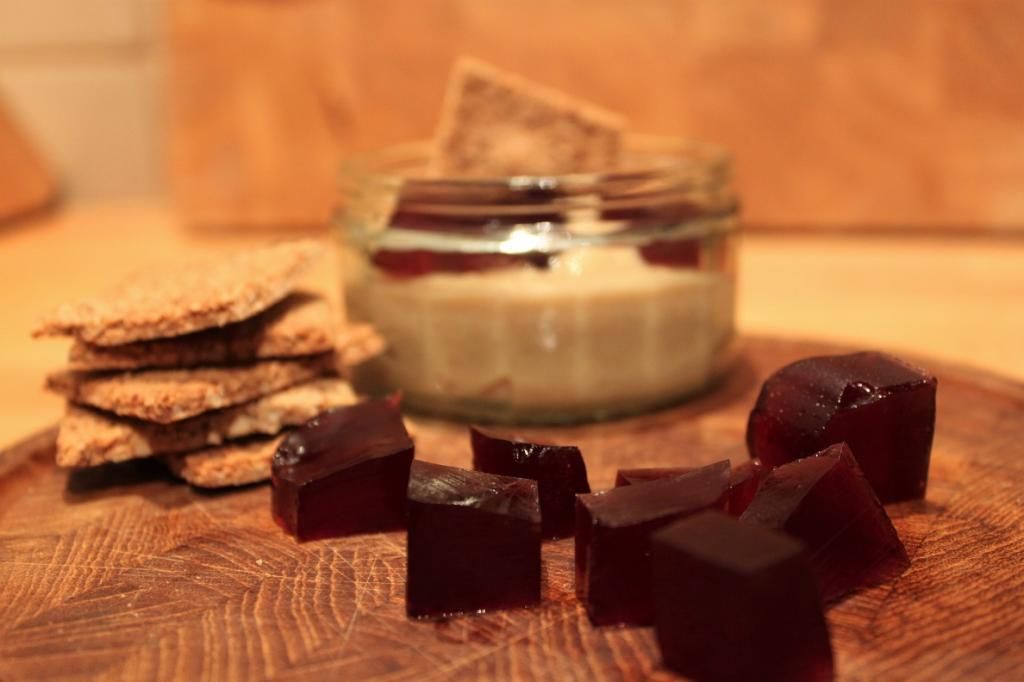
The jelly and wafers make more than you need for the buttermilk pudding portion, but the crackers in particular are so moreish that you won’t find a problem eating the rest of those by themselves! But they both make the best addition to a cheese platter. And I might’ve had some of the jelly with my breakfast granola. And it might’ve been absolutely delicious!
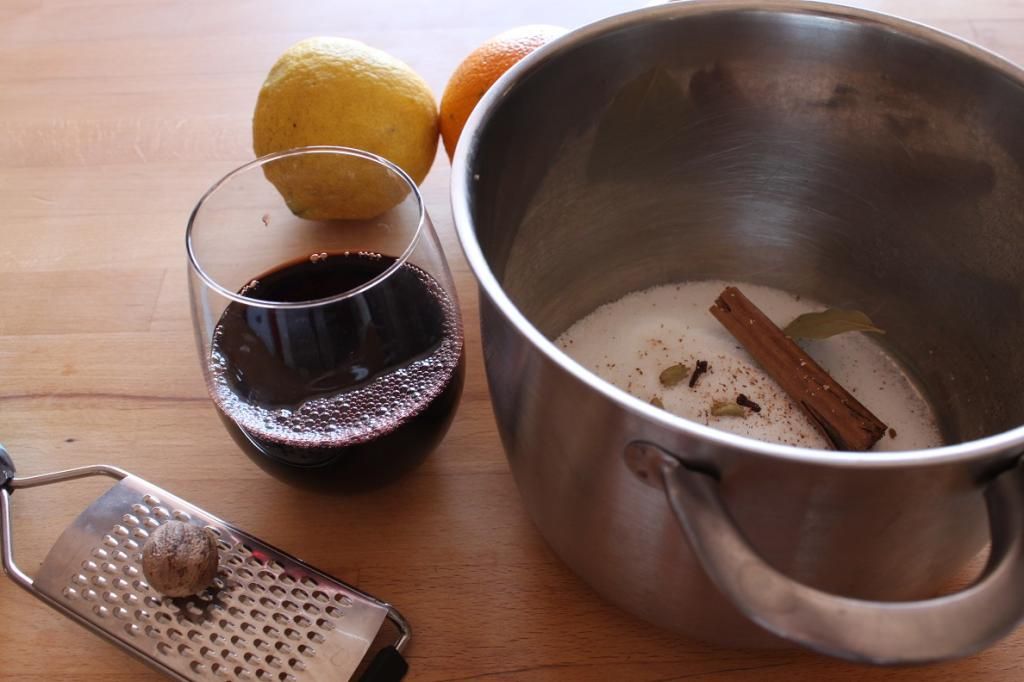

Buttermilk Pudding with Sangria Jelly and Nut Wafers


Sangria Jelly

500mL dry red wine (such as Cab Sauv, or Shiraz)
50 gm caster sugar
8 gelatin leaves
Juice and peel of one orange (peeled in large strips)
Juice and peel of one lemon (peeled in large strips)
2 bay leaves
2 cardamom pods
4 cloves
1 stick cinnamon
Lightly oil a shallow rectangular dish that can will hold 500mL and set aside until required. In a medium pot, bring red wine, sugar, citrus juice and peel, and spices to a simmer and stir to dissolve sugar. Set aside for the flavours to infuse for an hour. Strain through a fine sieve into a clean pot and bring back to a simmer. Place the gelatin into a bowl of cold water and leave to soften. When the wine mixture comes to a simmer, squeeze excess water from the gelatin and gently drop into the wine. Stir to dissolve the gelatin then set aside for 15 minutes to cool slightly.
Gently pour the jelly into the prepared container and refrigerate until set – around half an hour. When ready to serve, turn out of container, and cut into small cubes.
Buttermilk Pudding with Sangria Jelly and Nut Wafers

Buttermilk Pudding

(makes 4 serves)
1tsp vanilla bean paste
1/2 teaspoon ground cinnamon
1 1/2 cups buttermilk
3 egg yolks
1/2 cup caster sugar
2 tablespoons corn flour
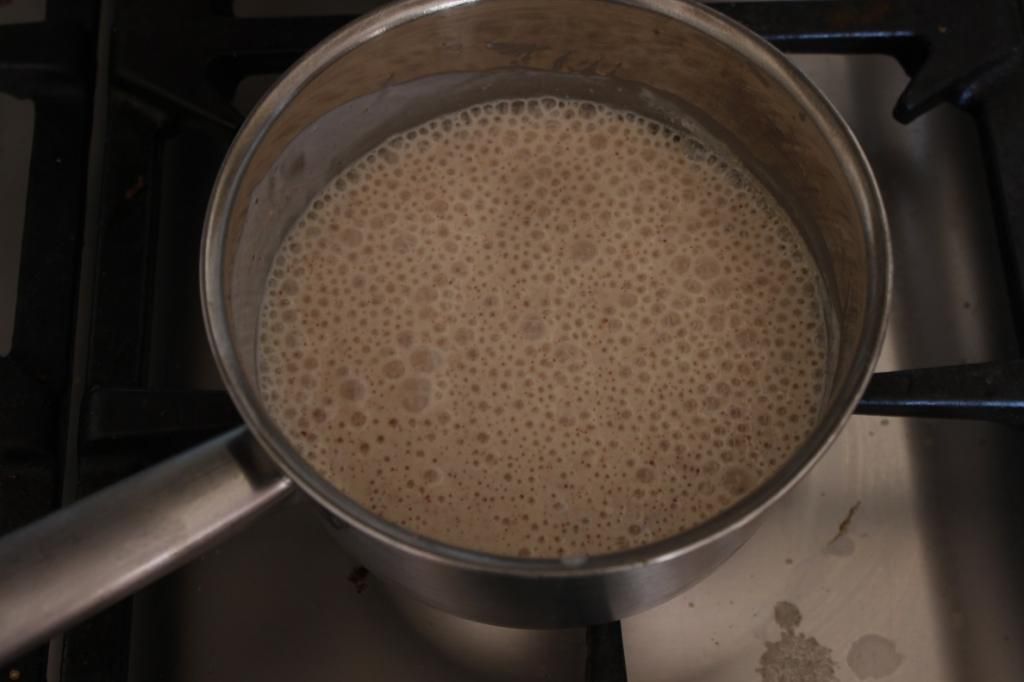
Combine the vanilla bean, cinnamon and buttermilk in a medium saucepan over medium heat. Cook, stirring, for 5 minutes or until mixture is almost at a simmer. You want it to come to temperature very slowly, so the buttermilk doesn’t separate. It’s much more temperamental when heating than normal milk.
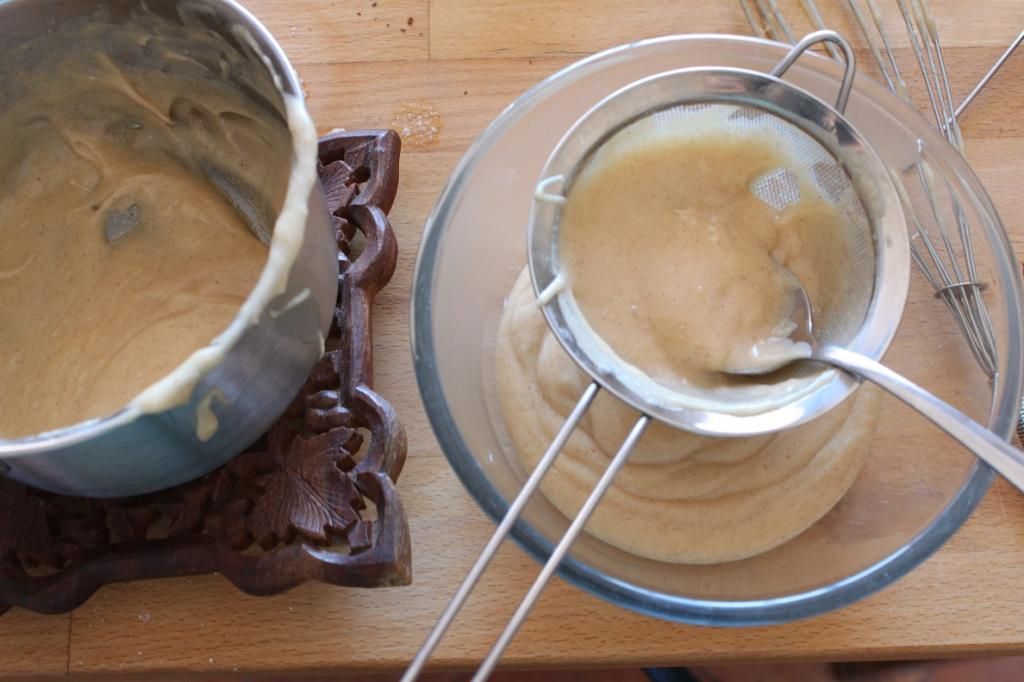
Whisk egg yolks, caster sugar and corn flour in a bowl. Slowly pour the milk into the egg mix whilst whisking. Once it’s all combined, pour into a clean saucepan and put back over medium heat. Cook, stirring, for 4-5 minutes or until mixture thickens. Strain through a fine sieve into a container with a spout, then pour into your desired serving vessels. Tap onto the counter to get rid of air bubbles. Wrap with cling film and pop in the fridge to chill and set, at least an hour.
Buttermilk Pudding with Sangria Jelly and Nut Wafers

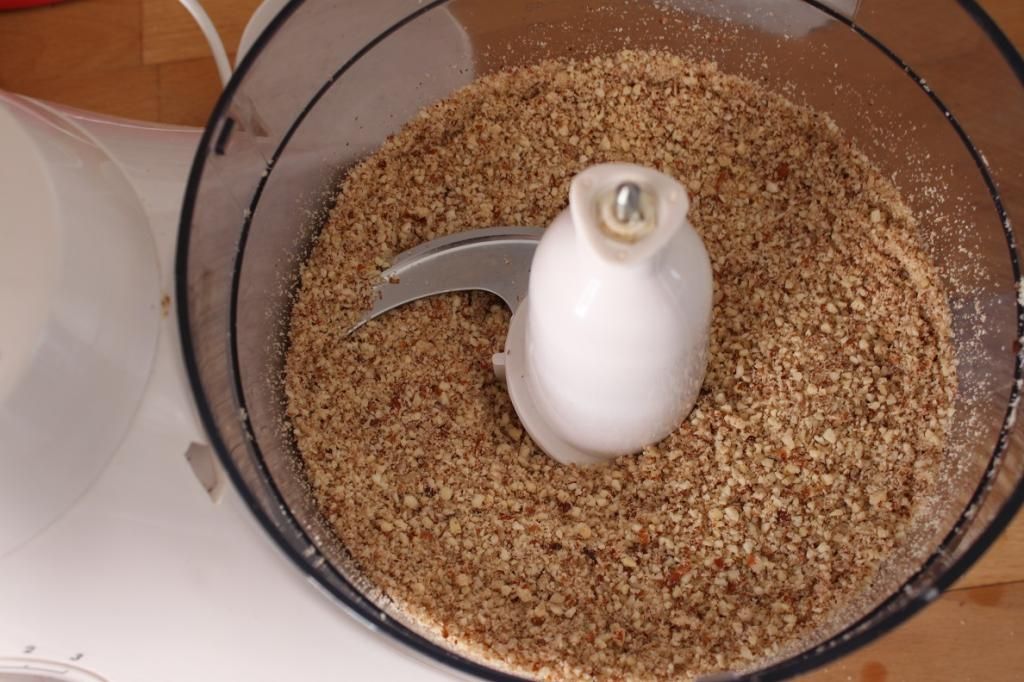
Hazelnut and Almond Wafers

¾ cup almonds
¾ cup hazelnuts
3 heaped tablespoons brown sugar
Zest of one orange
¼ tsp ground cardamom
2 egg whites
Preheat oven to 180C
Put the almonds and hazelnuts into the bowl of your food processor and pulse until broken up into tiny pieces. You want mainly ‘meal’ texture, but a few bits a little larger is fine. Add the brown sugar, cardamom and orange zest, and pulse to mix. Add the egg whites and pulse until it comes together in a ball. It’ll be fairly sticky.
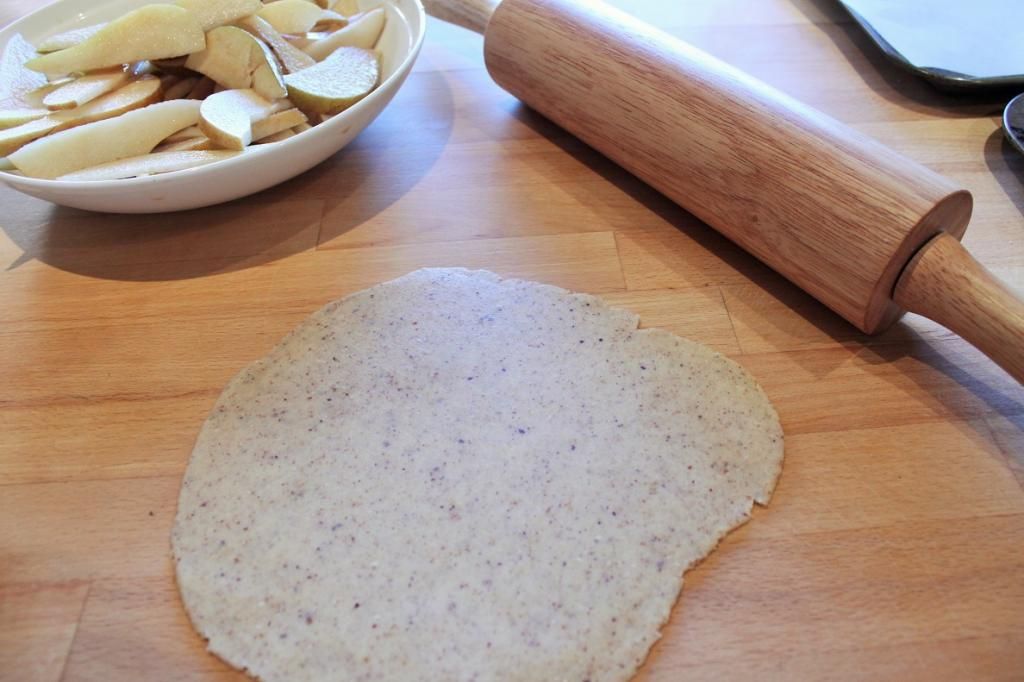
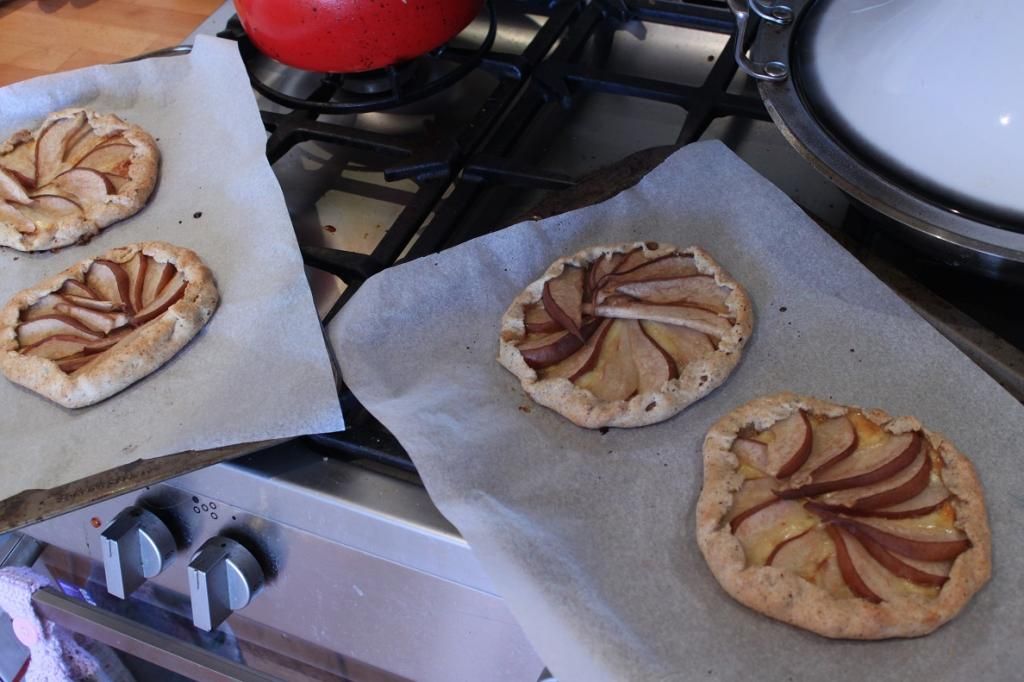
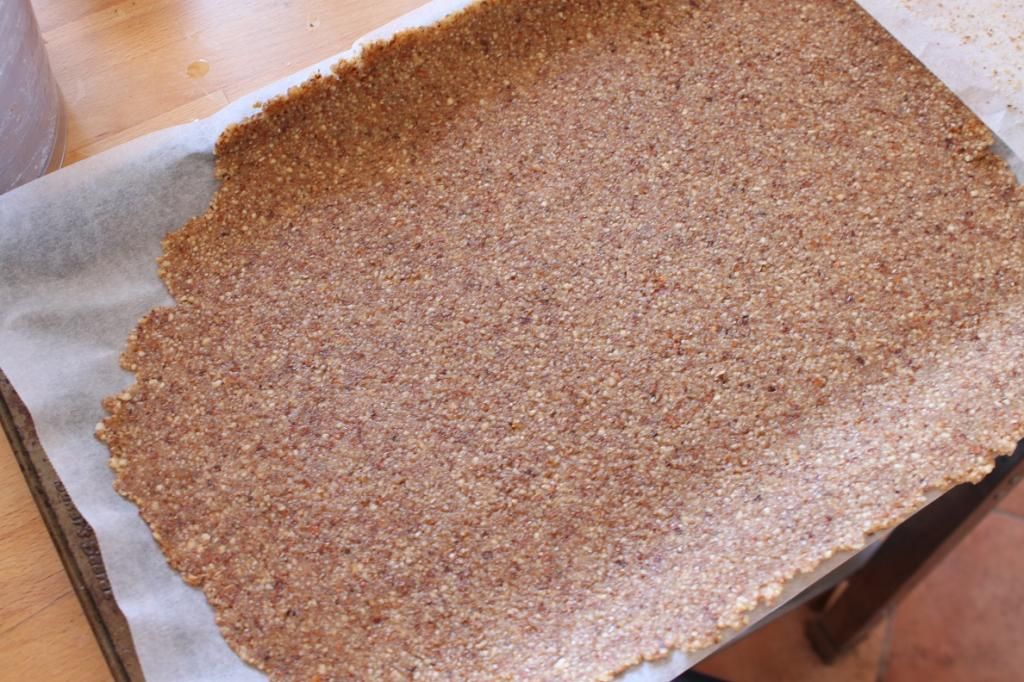
Lay out a piece of baking paper the size of your baking tray, put the ball of dough on it, then place another piece of baking paper over the top. Roll the dough out evenly, and thinly (around 2mm) to spread across the size of your whole baking tray. Carefully peel off the top layer and put in the oven.
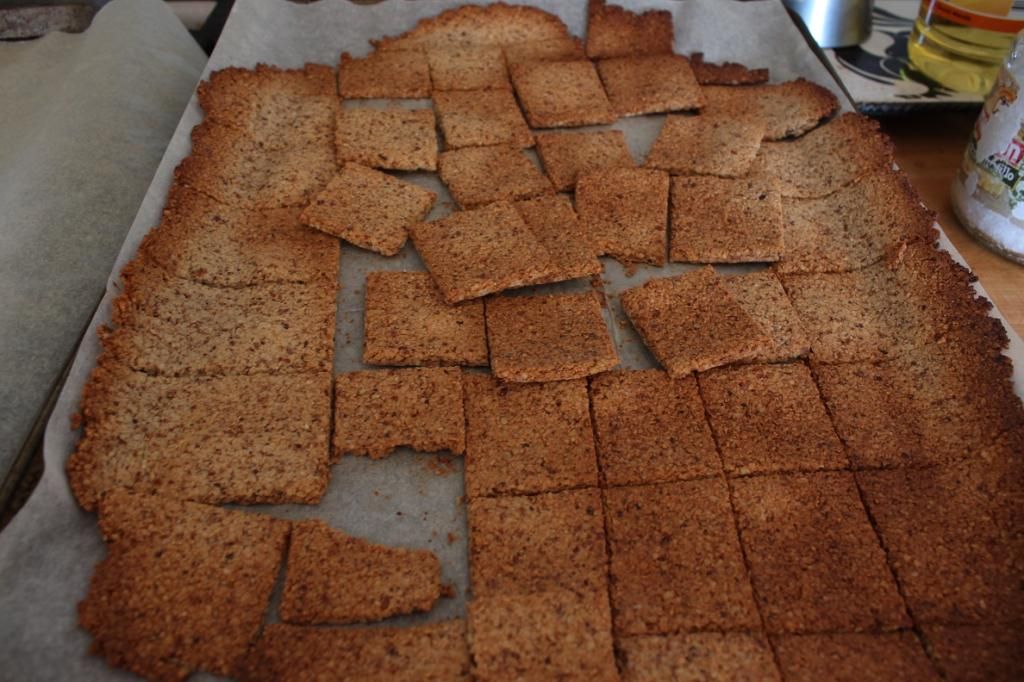
After about 10 minutes, it will have dried fairly considerably and will have turned paler in colour. Remove from the oven and cut into squares/rectangles with a pizza cutter or sharp knife (pizza cutter is a much easier and neater way of doing it). Place back in the oven for another 10-12 minutes or so until golden. The pieces will have shrunk away from each other and formed individual wafers. Watch them carefully this second time as they can burn easily.
Set aside to cool on the tray and finish drying out for half an hour before putting on a cooling rack to cool completely. Store in an airtight container.

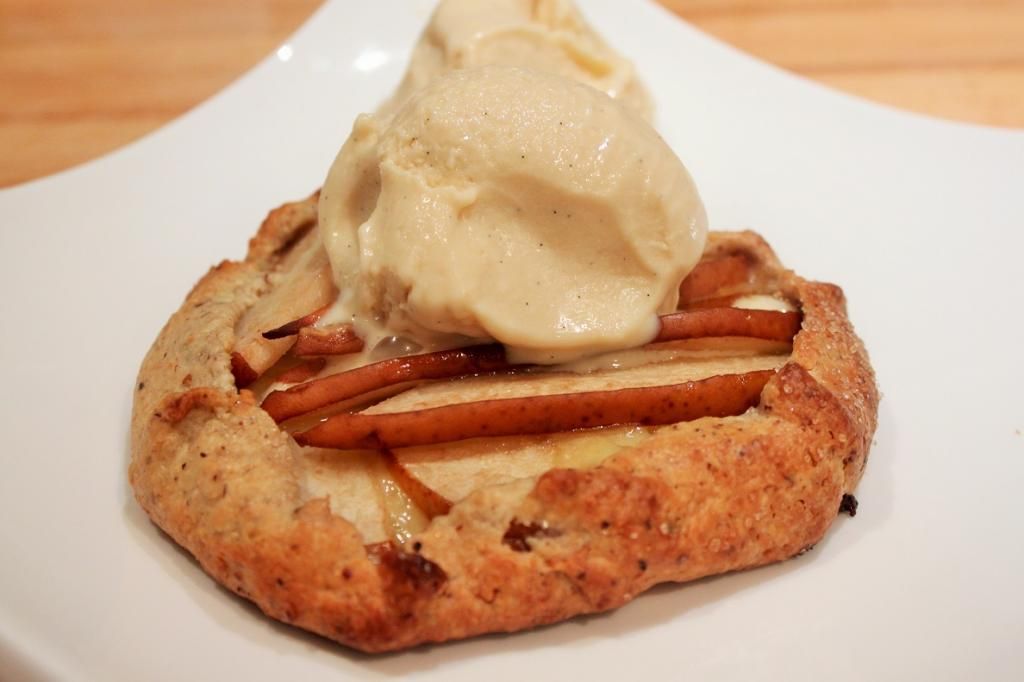
Assemble the three components however you artistically like!

Buttermilk Pudding with Sangria Jelly and Nut Wafers


Monday, October 13, 2014

Dream Inspiration - Cheese Platter Pie Hazelnut and Balsamic Pear Galette with Goat's Cheese Ice Cream


Dream Inspiration - Cheese Platter Pie Hazelnut and Balsamic Pear Galette with Goat's Cheese Ice Cream

I had a dream in which I was at a cafĂ© and I was eating an apple pie with goat’s cheese ice cream. A lot of other random stuff happened in the dream, but when I woke up I had this strong sense of needing to make goat’s cheese ice cream. My mind started churning (not unlike an ice cream maker) and I decided to make the pie to go with it, and as a whole, the dessert was going to be an homage to a cheese platter. I am a huge cheese fan, so I was already drooling over the concept. 

So the ingredients in this pie are all things that you might typically find on a cheese platter, there’s crisp buerre bosc pears, balsamic vinegar and hazelnuts. Then there is three types of cheese – cream cheese in the pastry, a soft stracchino cheese as part of the pie filling and the goat’s cheese in the ice cream. I decided to go with the rustic galette form of tart, rather than a more formal tart or pie – because that’s more what a cheese platter is for me. Rustic. You can change the stracchino out for a sharper style of cheese – I have also made it with an Emmenthal to great effect, or a basic sharp chedder. I like the stracchino best.


This is currently my favourite ice cream. I've made litres and litres of it. It is creamy and rich, with the subtlest hint of tanginess from the goat’s cheese. It’s perfect by itself, and is the perfect accompaniment to the galette. But even if you don’t want to make the pear galette or make the hazelnut dough to go with it – I really urge you to try just the ice cream. Maybe serve it with some balsamic roasted strawberries!


Dream Inspiration - Cheese Platter Pie Hazelnut and Balsamic Pear Galette with Goat's Cheese Ice Cream

Goat Cheese Ice Cream

4 egg yolks
1 cup whole milk

1 cup cream
1 vanilla bean
1/2 cup sugar
1/2 cup honey

¼ tsp salt
½ tbsp. white balsamic vinegar
200g goat cheese, broken up into small crumbles


Set a large fine mesh strainer over a medium bowl and set the bowl in larger bowl of ice water.

Add the sugar, salt, honey and balsamic vinegar to a medium saucepan over low heat. Stir briskly to mix well. The honey mixture will lighten in colour as the sugar starts dissolving into the honey. Turn the heat up to medium. Add the milk, cream and scrape the vanilla bean and add the seeds and pods to the pot. Heat the milk mixture until sugar and honey are completely dissolved and small bubbles start to appear.

In a separate bowl, whisk the egg yolks and slowly stream in 2 ladles full of the milk mixture, whisking constantly as you pour. This tempers the eggs and stops them scrambling. Add the eggs/milk mixture slowly to the pot with the milk mixture, stirring constantly with a wooden spoon. Continue to cook over moderate heat, stirring constantly, until it starts to thicken and coats the back of the spoon, around 4-5 minutes. Strain the ice cream into the bowl set over the ice water bath.

Add the goat cheese to the sauce and whisk until melted and incorporated. Keep stirring for a further 4-5 minutes to help the custard mixture cool down. Cover the bowl with plastic wrap, pressing down onto the surface to stop a skin from forming.

Refrigerate until completely cold – at least 4 hours or overnight if possible. Pour into your ice cream making and churn according to directions. Transfer to a freezer-safe container and store in the freezer until hardened, around 4 hours.


Dream Inspiration - Cheese Platter Pie Hazelnut and Balsamic Pear Galette with Goat's Cheese Ice Cream

Hazelnut and Balsamic Pear Galettes

1 cup spelt flour
¾ cup hazelnut meal
1 tablespoon dark brown sugar
60g butter cold and cubed
60g cream cheese, cold and cubed
2-3 tablespoons cold water
2 buerre bosc pears, quartered, cored, sliced thinly
2 tsp white balsamic vinegar
1 tbsp dark brown sugar
1 tbsp water
50g Stracchino cheese, as finely sliced as possible
1 tbsp Milk for brushing galettes
2-3 tsps Raw sugar for sprinkling

In a food processor, pulse the spelt flour, hazelnut meal and sugar until combined. Pulse in the butter and cream cheese until the mixture looks like breadcrumbs. Tablespoon by tablespoon, add in water pulse until dough only just comes together. Take out of the processor and form into a disc, wrap with plastic wrap and put in the freezer for 15 minutes (or the fridge for an hour).

While dough is chilling, combine water, vinegar and brown sugar. Then add the pear slices and stir until coated. Let sit until dough is done chilling.

Preheat oven to 180C

Remove dough from freezer and roll out into 30cm circle or divide dough into quarters and roll out into smaller circles for individual galettes. Place gently on baking trays covered with baking paper. Leaving a 3cm ring on the edge free, cover the pastry with slices of stracchino and top with slices of pear in a swirling pattern. Fold the edges up and over, pinching together to hold the pears in place and form the crust. Brush galettes with milk and sprinkle with sugar.

Bake for 45 minutes until crust is golden and pears are softened. Leave to cool for 10 minutes before serving with the ice cream


Dream Inspiration - Cheese Platter Pie Hazelnut and Balsamic Pear Galette with Goat's Cheese Ice Cream

Sunday, September 22, 2013

Dilemma - Cauliflower Gnocchi with Burnt Butter & Orange Sauce with Hazelnuts, Lamb and Snow Peas


So after replacing our broken dishwasher a few months back, our fridge has decided to slowly stop working as well. I'm not sure why my whitegoods are all abandoning me! But the fridge has brought up a few issues that have been swirling around in my head. Firstly - do I transplant my time-machine of old invitations and post cards and take-out menus and magnets and a calendar from 2011 onto the new fridge, or start with a clean slate? The next issue relates to some frozen cauliflower.

See, we have two fridges - one outside 'drinks fridge' and the everyday fridge that's in the kitchen where it should be. This is so common in Perth where for the majority of the year you want your drinks cold. And plentiful. The power companies tell you that the old outside fridge is just a power-drain and not a good idea - and yet we can't give them up! I know that come December, that extra fridge space isn't 'extra', it's just space. Every inch of both fridges are full of watermelon and rockmelon and every colourful vegetable you can imagine and then you can try fit in some drinks. Maybe. I was telling an overseas friend that we had two fridges and she was blown away. It just seems so unnecessary in places that don't regularly get above 35C, I guess! On the opposite end of the spectrum, I visited Germany at Christmas time as a teenager and I was so delighted to see my host family chill their wine by placing it in a planter box outside the kitchen window. So novel and different to the way we live in Perth!

So our outside fridge is an old hand-me-down fridge and it has just the one setting - COLD! So now that our kitchen fridge has one setting too - OFF, everything has been moved outside temporarily. And it's frozen the cauliflower. I had two of them, because of a sale at the Nanna Shop, both froze solid. Well, what to do with frozen cauli? I love the crunchiness of fresh cauliflower. I love make cauliflower "rice" salads. I love using them with dip. I'm not a huge fan of soggy, fully cooked cauli. But I am not going to throw out two otherwise perfect cauliflowers. So I made soup with one. And cauliflower gnocchi with the other. The soup was a standard cream of cauliflower soup. Nice and simple. The gnocchi however. Oh. My. Goodness. Nutty and delicious. It's fiddly, but give it a go! So good!

To make the gnocchi, first you have to make cauliflower mash, then the gnocchi. Like you would a traditional potato gnocchi. I've split it up into different stages to make it easier to describe. The first night, I served it with this lamb and orange butter sauce, the next night with a simple Arrabiata sauce. Both were good! And I still have enough leftover gnocchi in the freezer for two more meals.


Cauliflower Mash
1 head, chopped into smaller florets
4 garlic cloves, diced
water to cover
big pinch salt

Put all ingredients in a big pot. Bring to the boil, then simmer until the cauliflower is tender. Approximately 30 minutes. Mash mixture, then put into a fine mesh sieve to remove all of the extra water. Allow to cool completely whilst draining.


Gnocchi with Spelt and Hazelnut
Cauliflower mash (1 think I ended up with 3-4 cups)
1 egg
1 tbsp salt
4 + cups wholemeal spelt flour
1/2 cup hazelnut meal

Combine mash, salt and egg in a bowl and mix well. Add the hazelnut meal and 1/2 cup spelt flour. Mix well, then add more flour 1/2 cup and a time until it comes together into a big ball of dough. I think all up I needed about 4 1/2 cups of flour for the amount of mash I had.

Turn out onto a floured surface and knead until the dough is smooth.

Put a large pot of water with a big pinch of salt on to boil.

Cut the dough into pieces and roll out into a rope, and cut into pieces. I made mine around 1cm wide, 3cm long. Roll over a fork to shape the gnocchi. Repeat for all of the dough. I recruited my husband to help with this process.

About 20 pieces at a time, carefully drop them into boiling water. When they float to the surface, scoop them out with a slotted spoon and set aside in a bowl. Whatever you aren't using that night, freeze.


Burnt Butter and Orange Sauce with Hazelnuts, Lamb and Snow Peas
100g unsalted butter
big handful of hazelnuts (approx. 2/3 cup)
zest and juice of two oranges
20 or so snow peas, cut into 2cm pieces.
2/3 cup shredded roast lamb
Enough gnocchi for 2 people
lots of fresh cracked pepper to serve

In a frypan on medium-high heat, toast the hazelnuts until fragrant and darker brown. Set aside to cool, and when you can, rub between your hand to remove the skins. Roughly chop.

Put the butter into the same frypan, allow to melt and then swirl around as it  turns brown and nutty smelling. Add the zest and juice, mix around to full incoporate into the butter and add the gnocchi. Stir to coat and keep stirring for a few minutes. Add the lamb, stir it through, allowing it to heat through. Add the snow peas and cook until they soften slightly and turn brighter green.

Just before serving, toss through the hazelnuts.