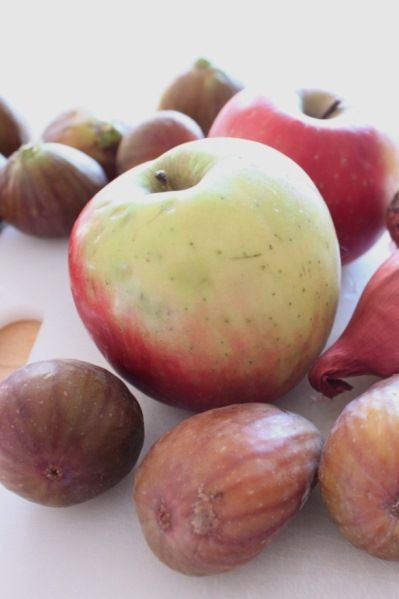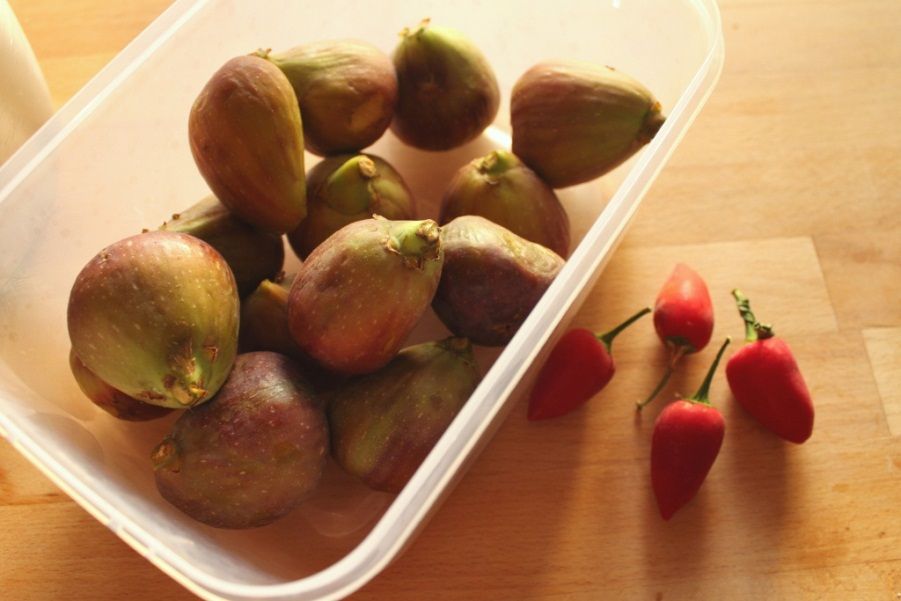
Fig season is
so frustratingly short, and my supply that was plentiful last year was
decidedly less so this year. They’re one of those fruits that I absolutely love
– but there’s no way I’d pay $2 each for them. So unless I scam some from a
friend with a tree, I go without. Begrudgingly. This year I only really got to
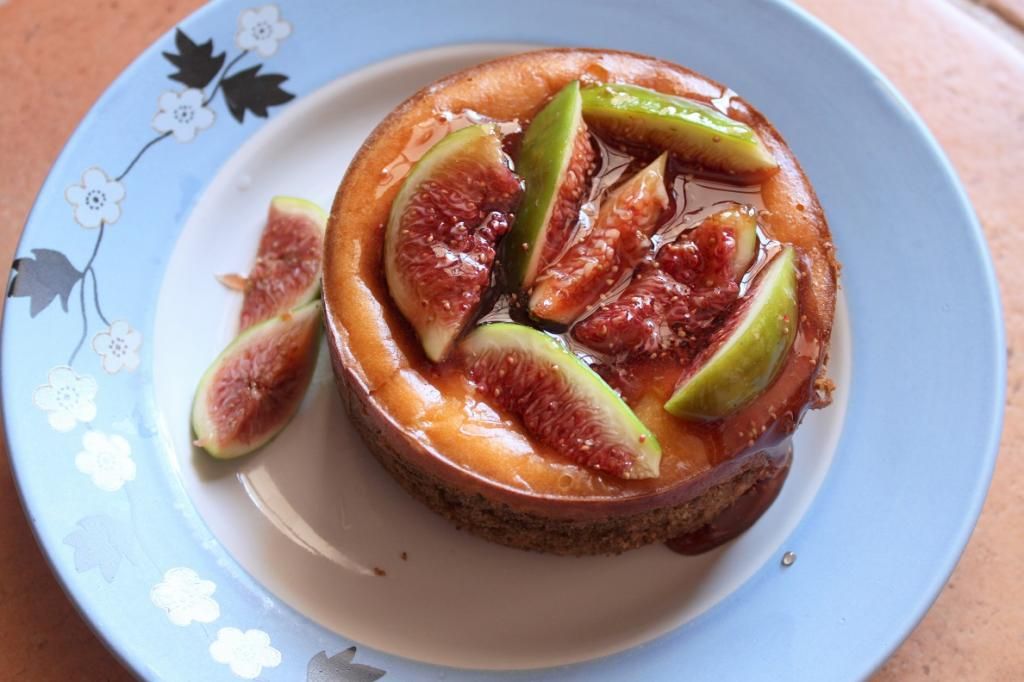
make 2 fig dishes – the Brie Cheesecake (Briesecake?!?) and this one. Fig and
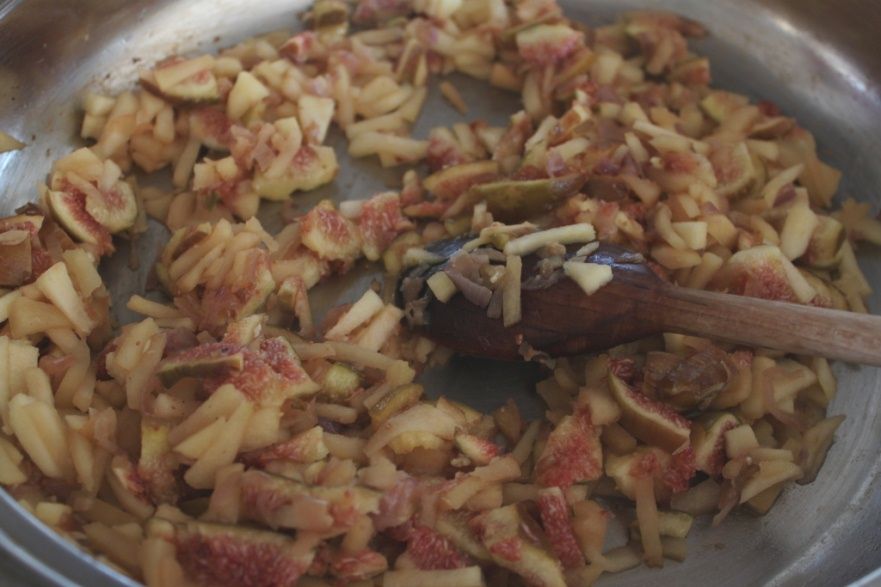
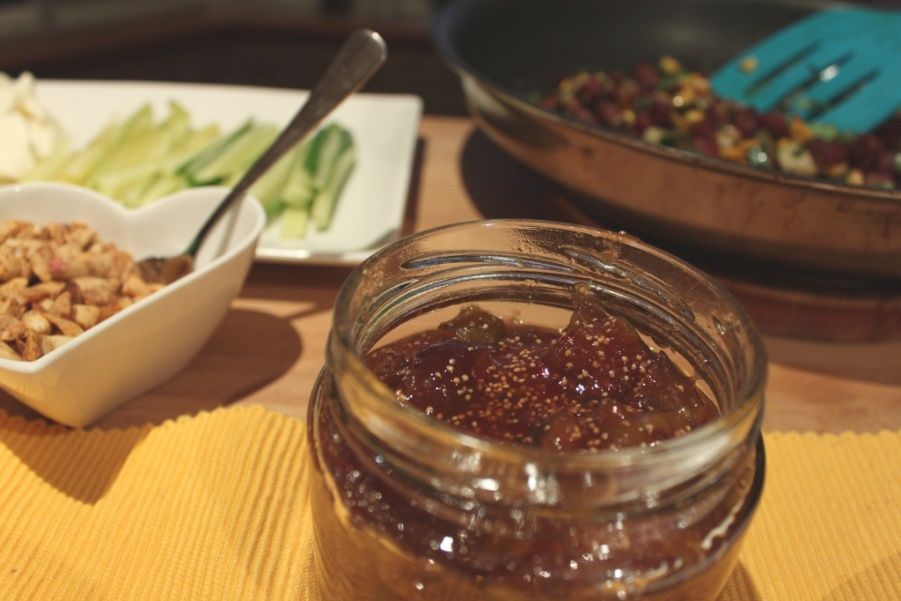
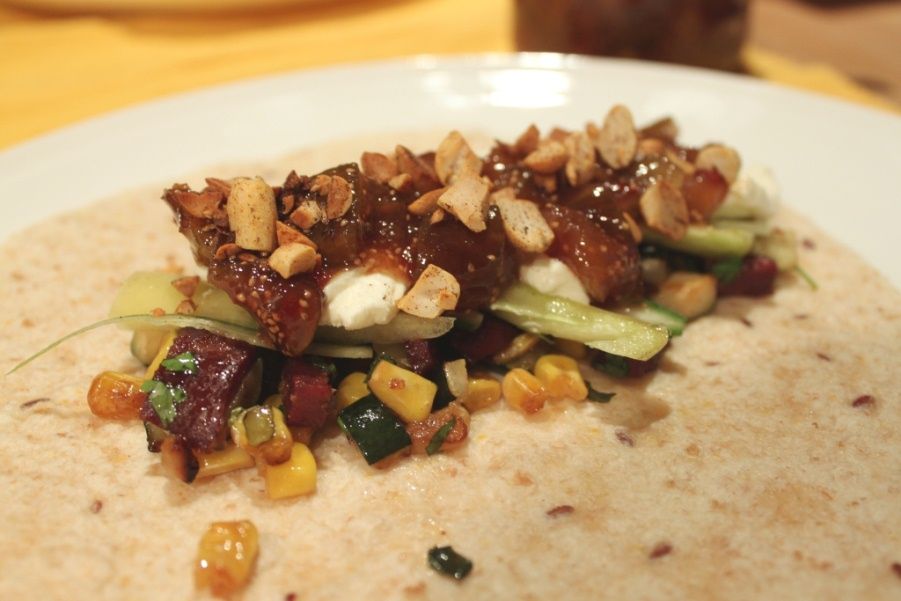
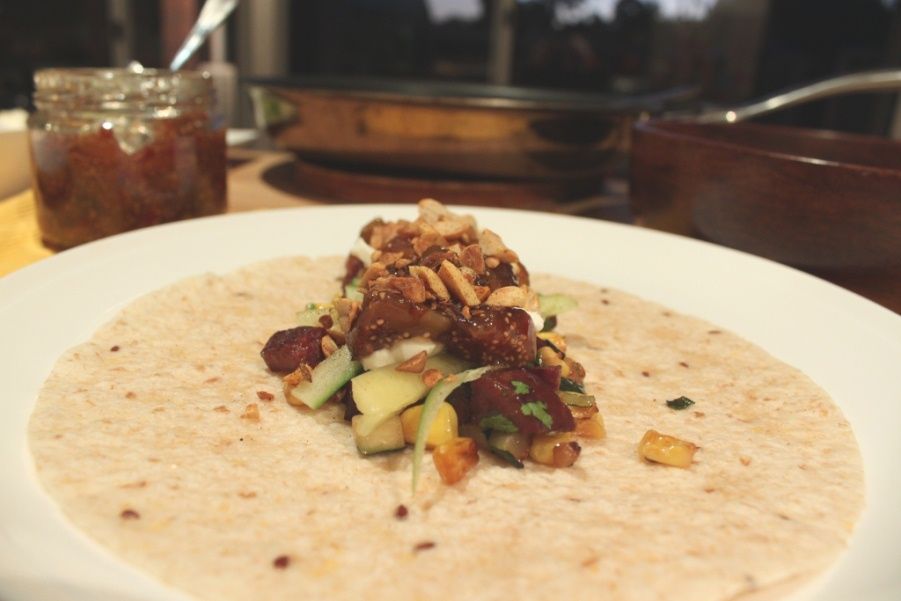
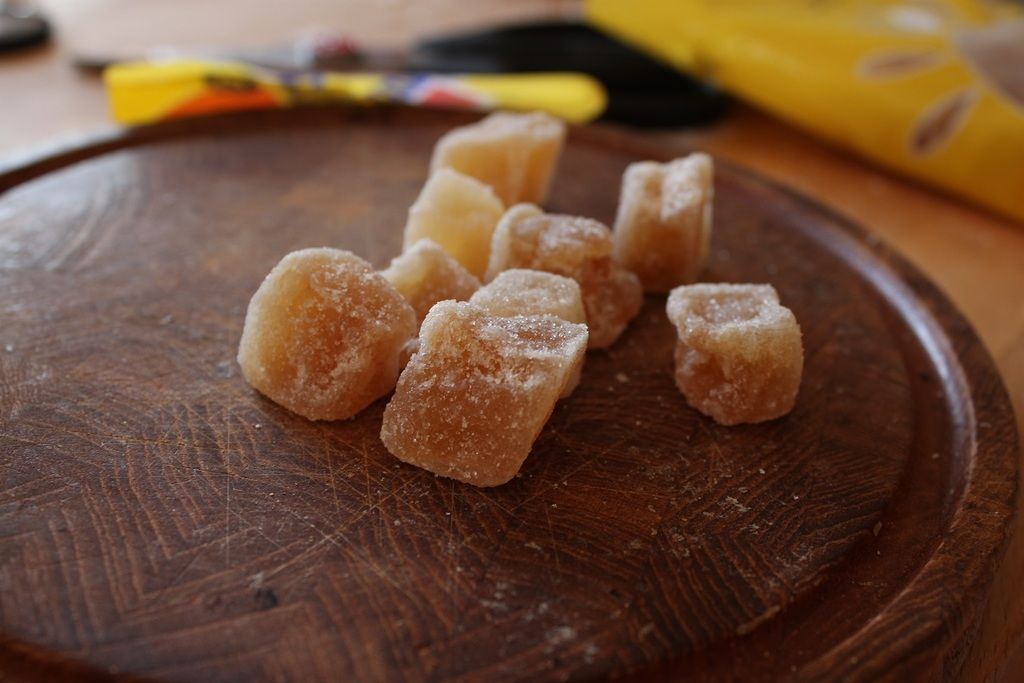
ginger is a great pairing. Sweet, sticky figs paired with the hot bite of
crystalised ginger is a match made in taste bud heaven. As a fancy appetiser, a
fig half with a dollop of goat’s cheese, a few slices of crystalised ginger and
a little prosciutto is so amazing. Or the same ingredients as a salad with some
peppery rocket and maybe some toasted hazelnuts? Fabulous!
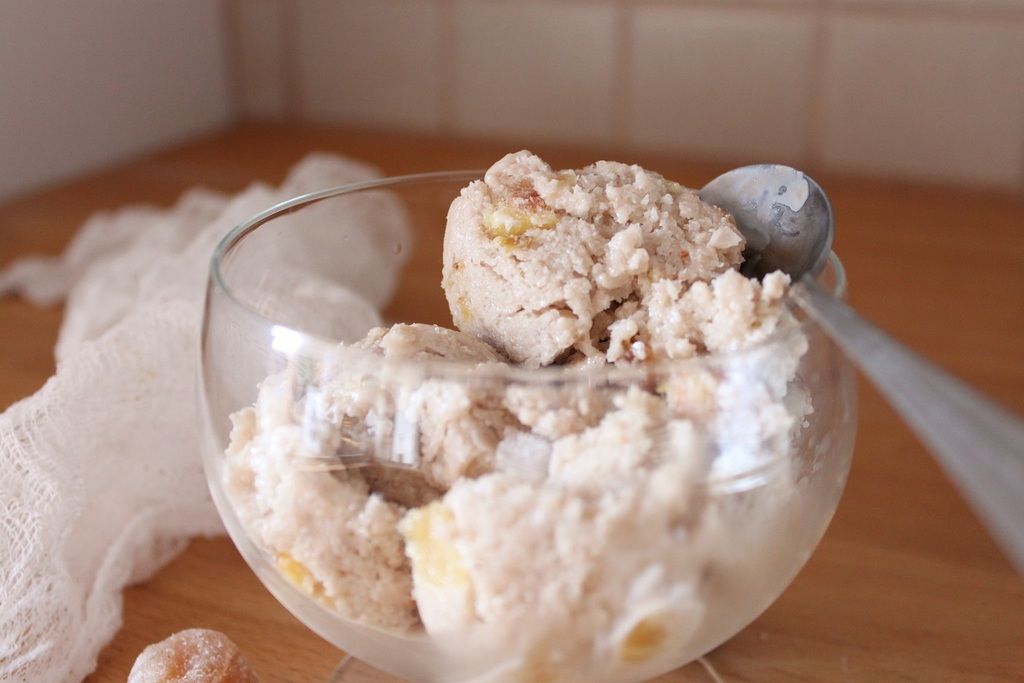
I decided to
make this as an ice cream because of a competition. It was to win a kick-arse
blender, because my one is a little sad and I really want a commercial grade
one, without you know, paying for one. You had to answer what dish you would
first make with your blender. And my answer was macadamia milk ice cream with
fig and ginger. I’m not sure where the idea came from, other than the fact that
you need a blender to make nut milks. And to make it more interesting, I turned
it into ice cream. And to make it more exciting, I added fig and ginger. I
didn’t win the blender, but I did win because I dreamed up an awesome ice
cream. I swapped to hazelnuts because macadamias were more expensive at the
time, and I’m quite a big fan of hazelnuts. Use the leftover hazelnut pulp to
make protein balls, or dry out and use as a meal in baking.
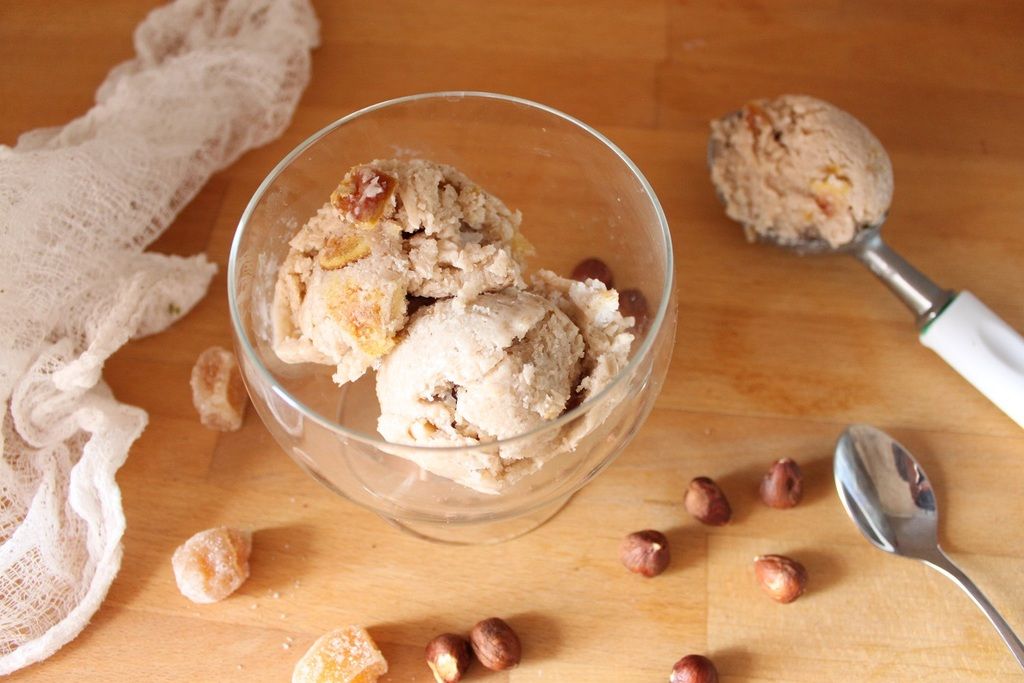
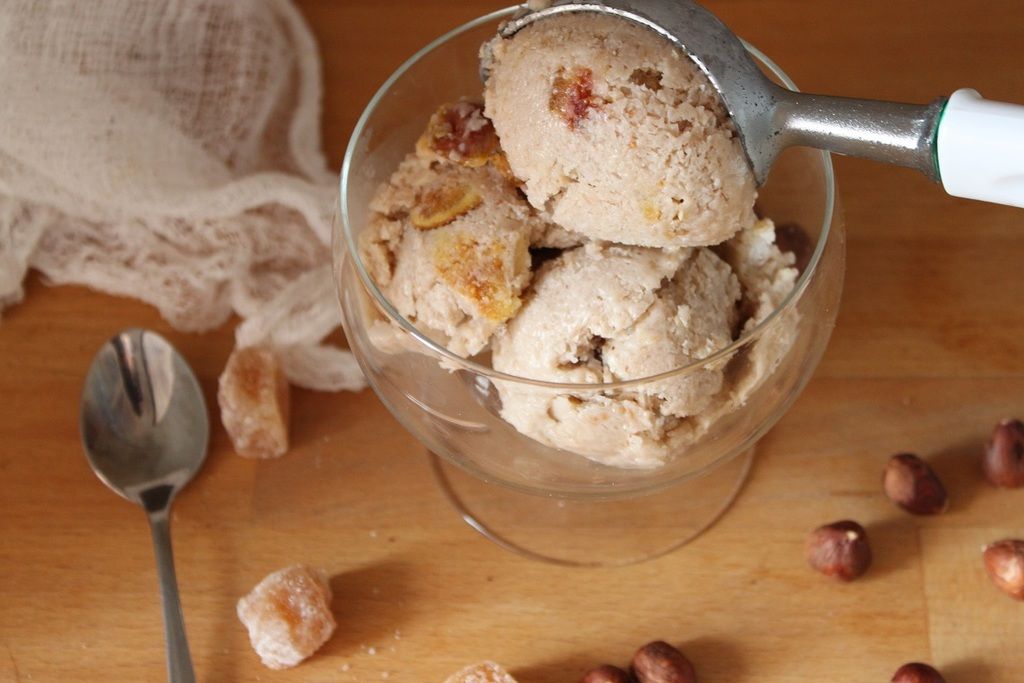
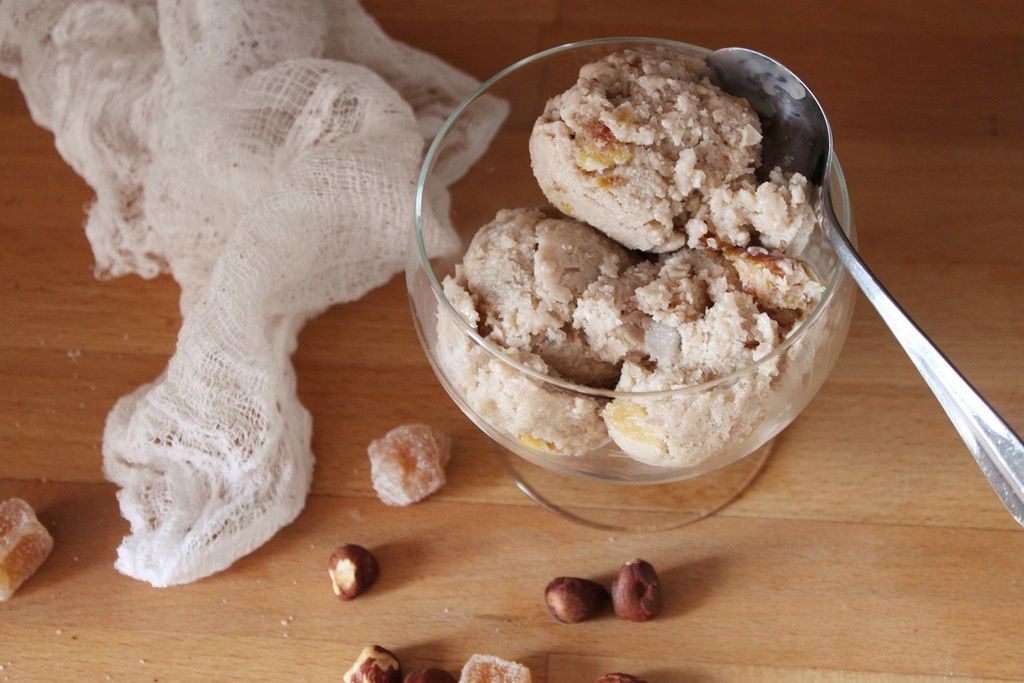
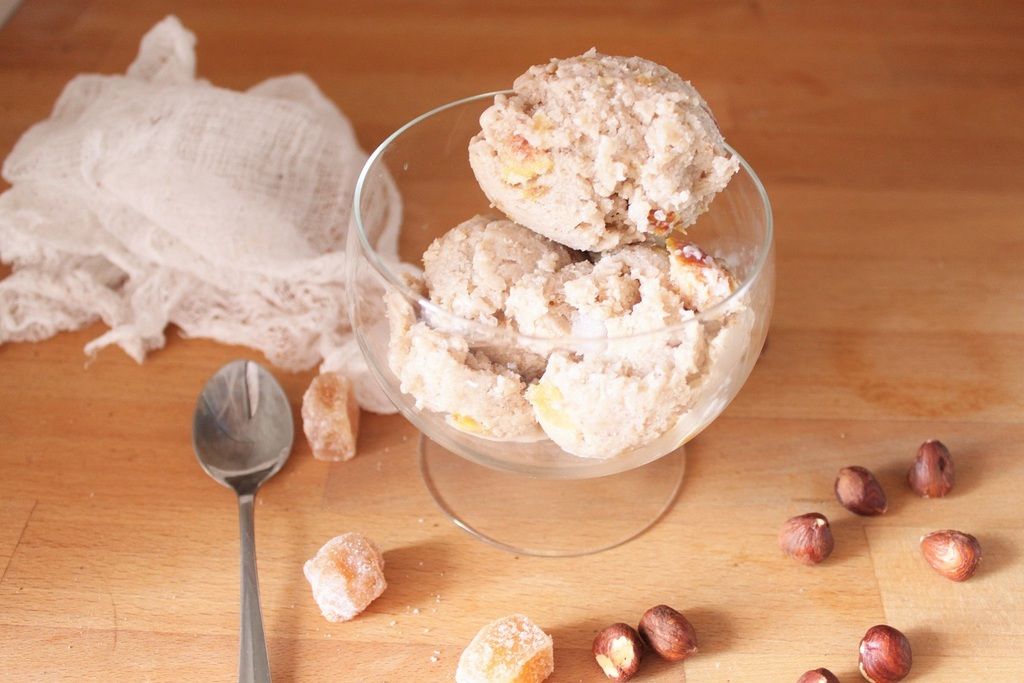
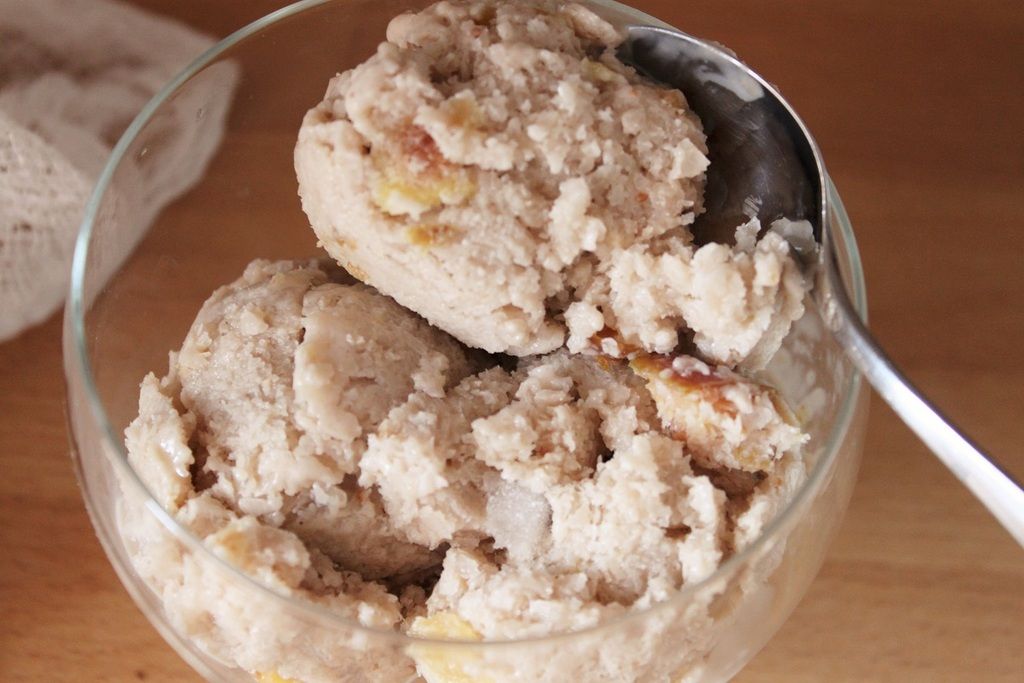
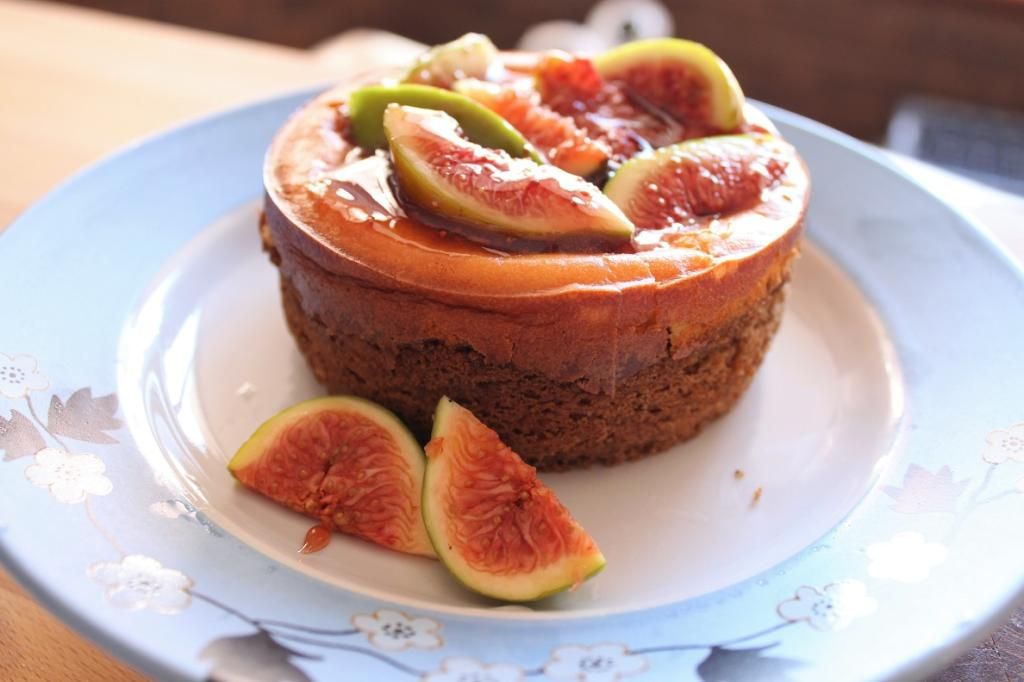
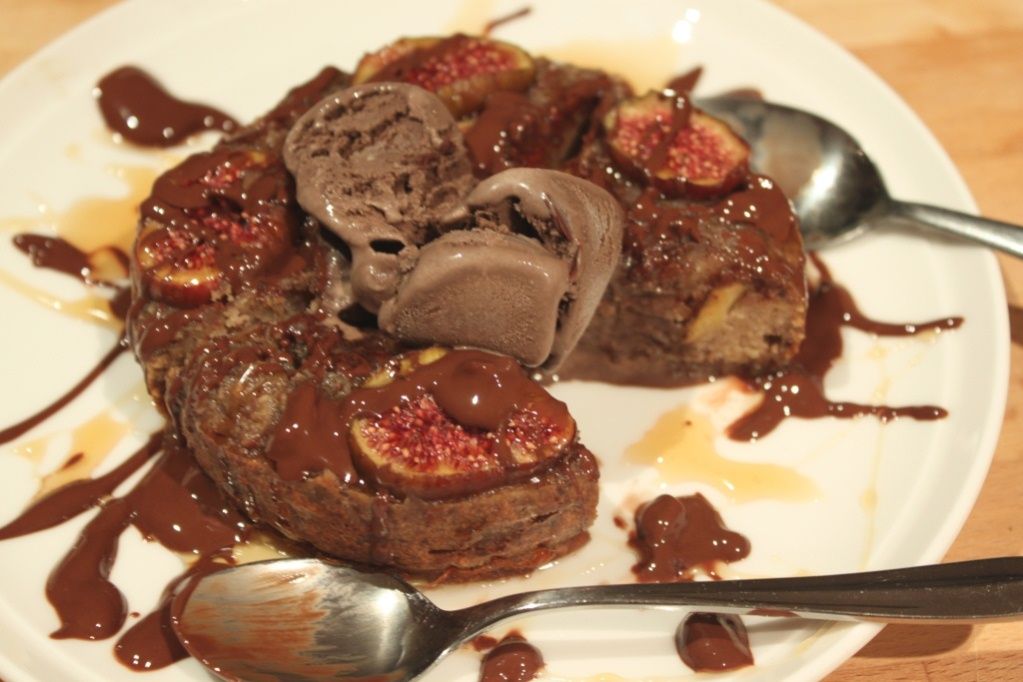
Hazelnut Milk Gelato with Roasted Figs and Ginger
(makes about 1L)
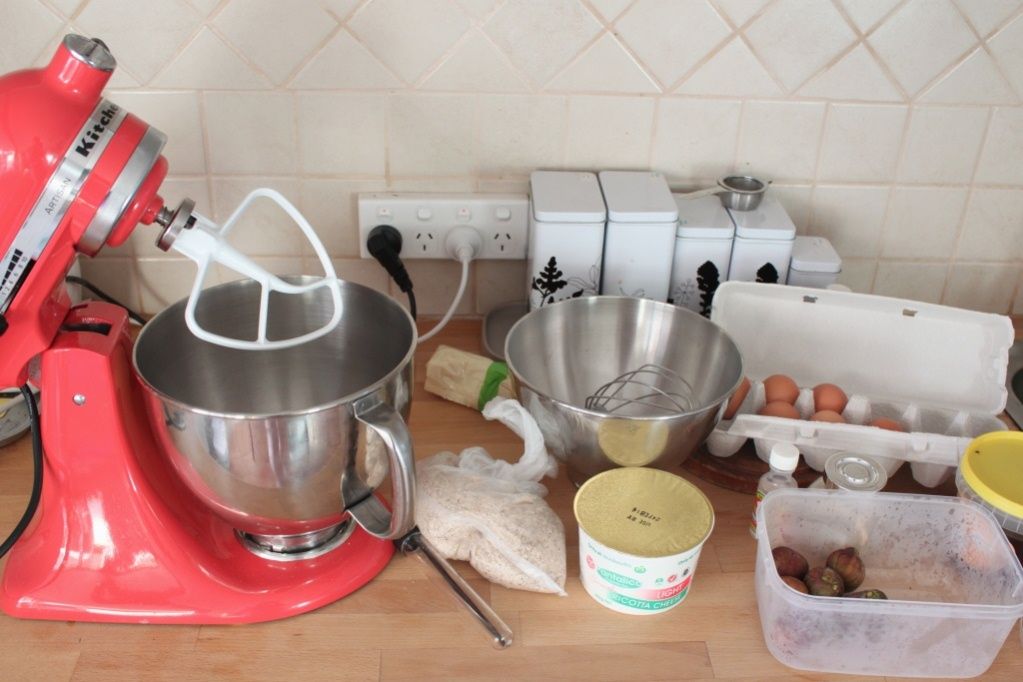
1 cup raw hazelnuts
4 cups water
(1L)1 cup raw hazelnuts
6 egg yolks
200g caster sugar
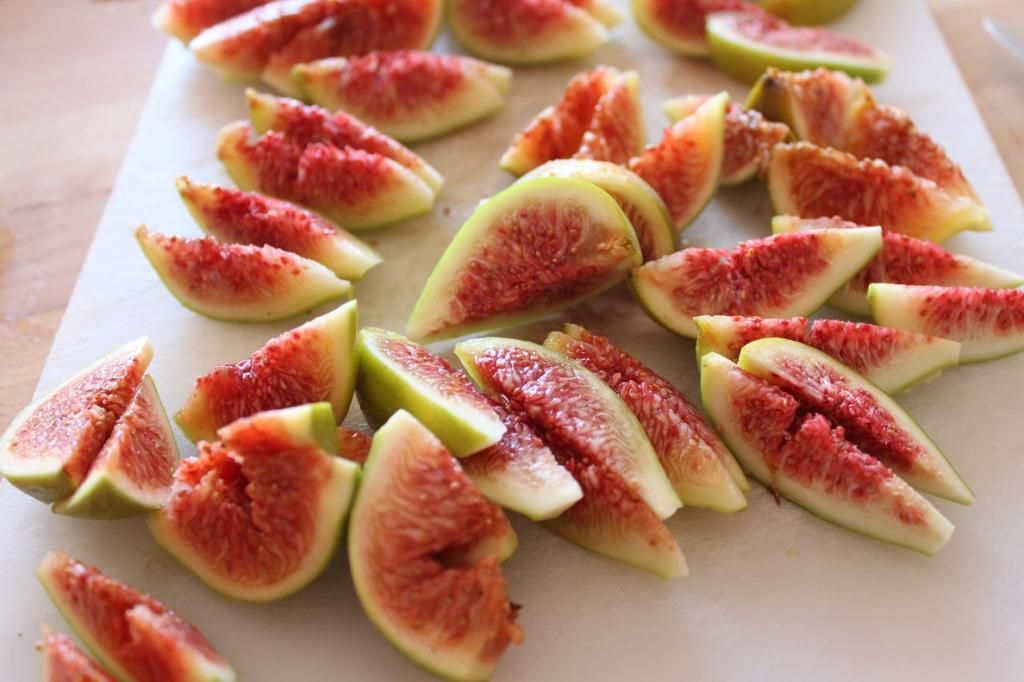
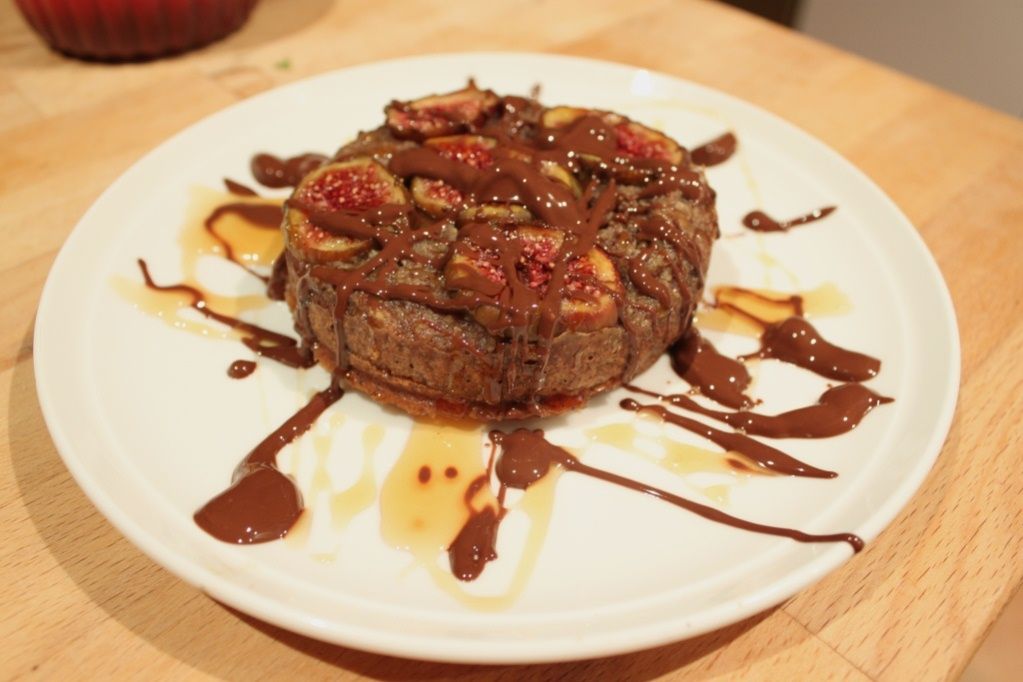
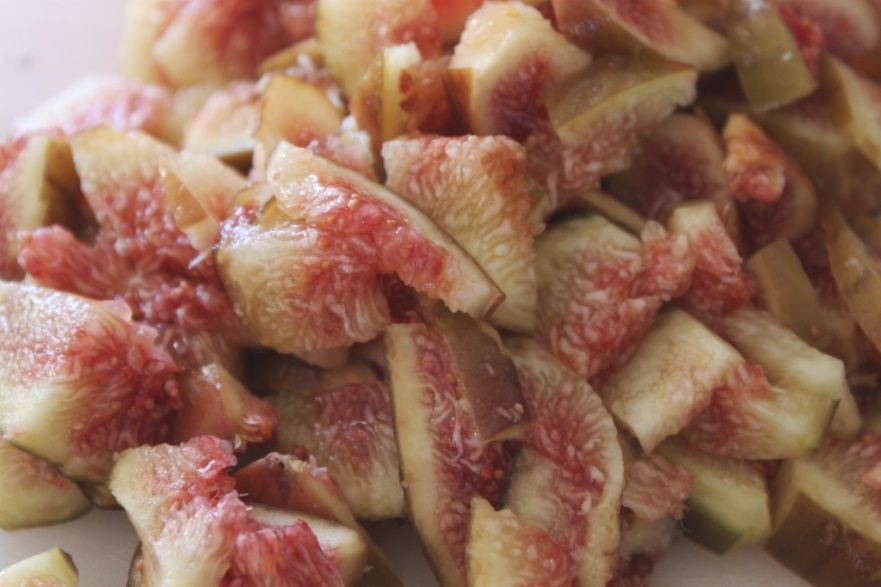
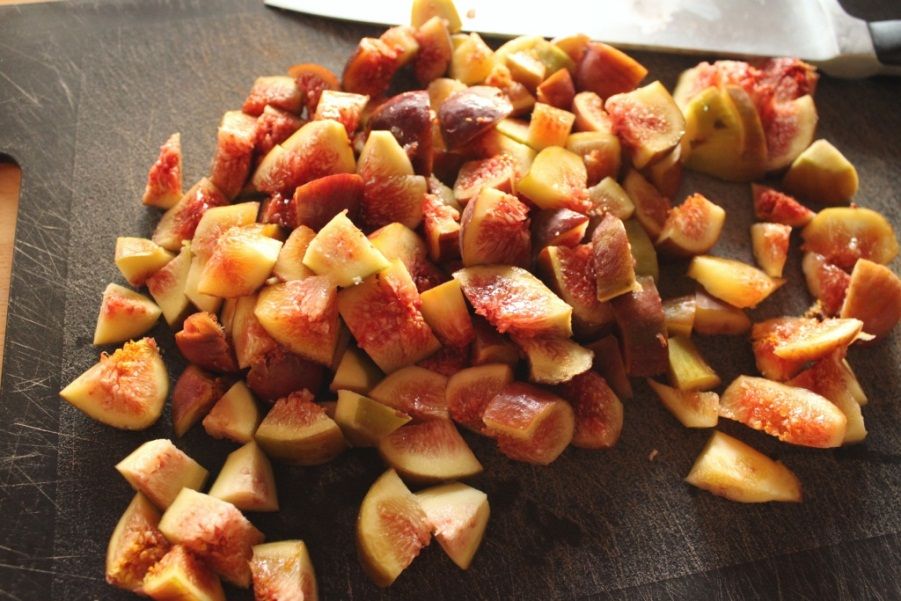
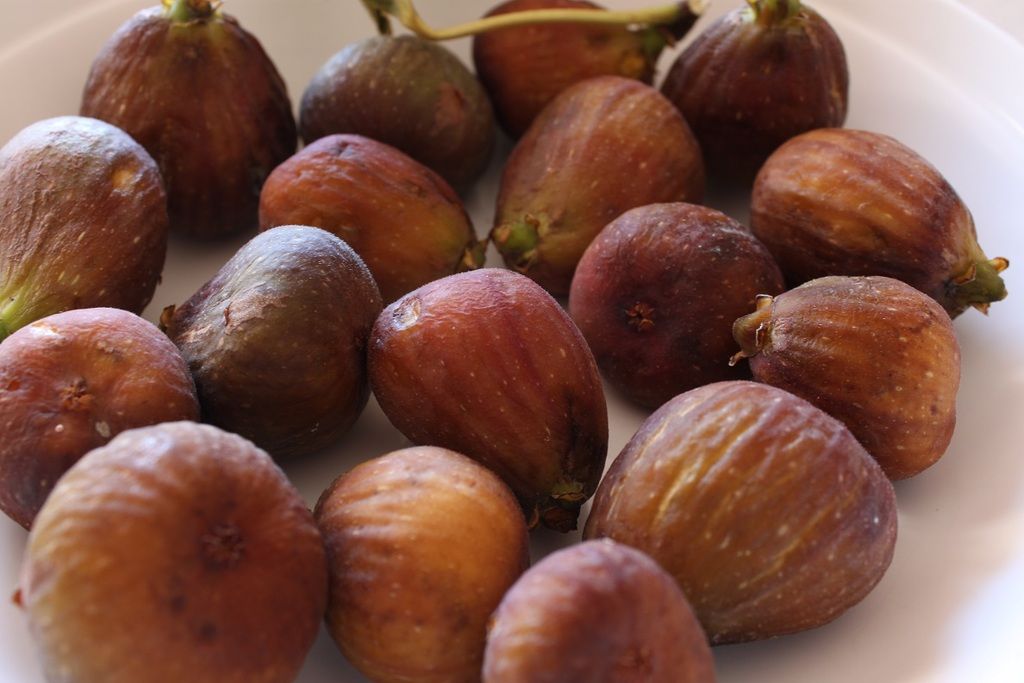
8 small figs, halved
Honey
50g crystallised ginger, roughly chopped
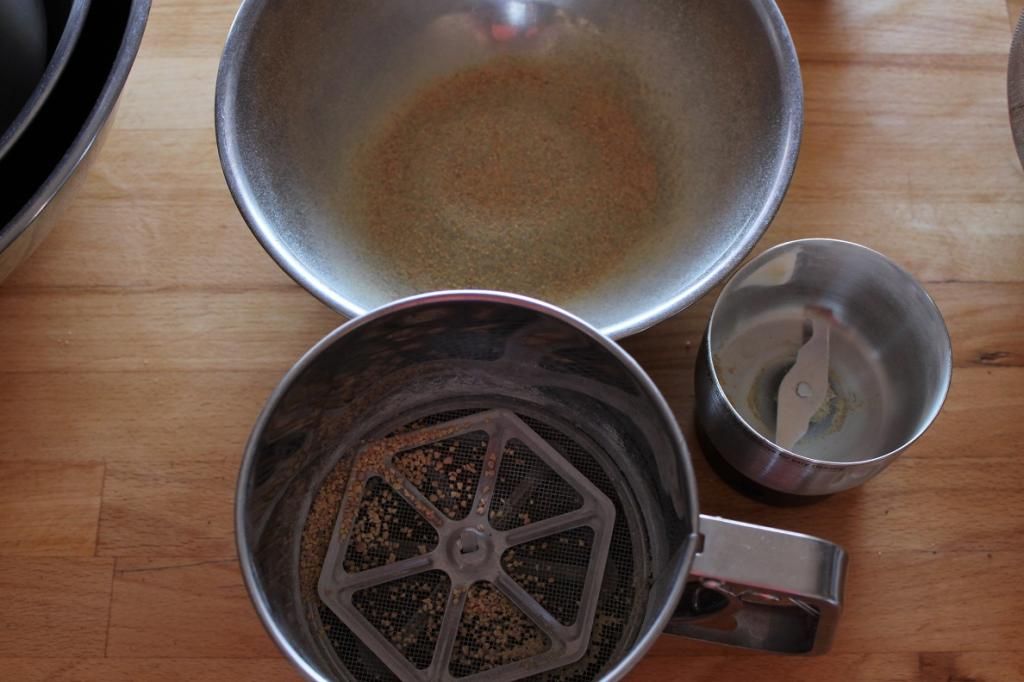
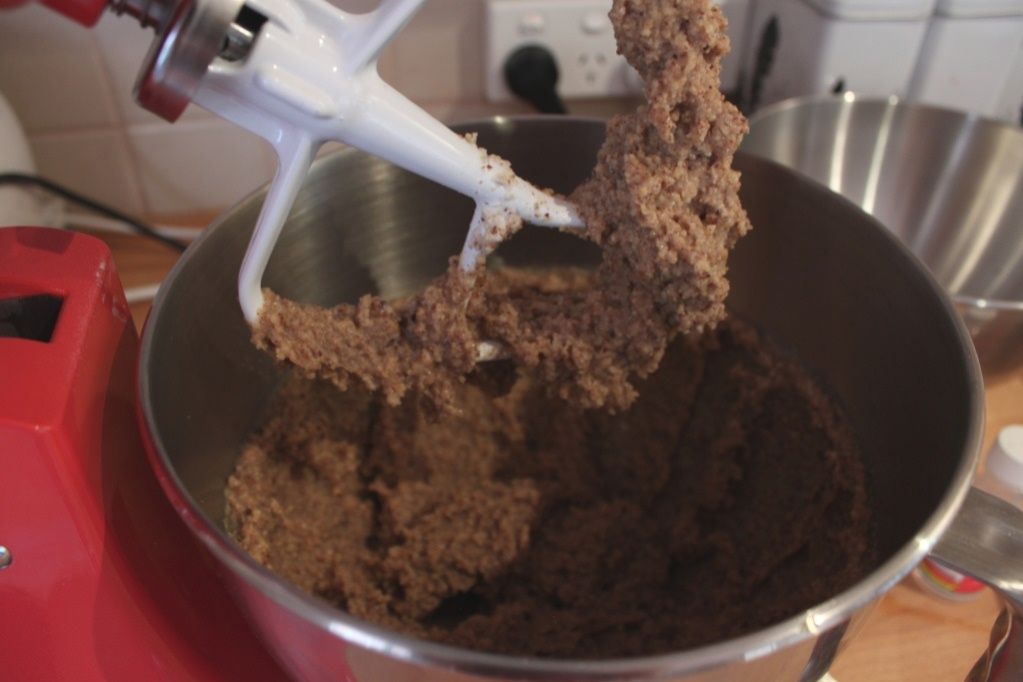
Soak the
hazelnuts for 4 hours (or overnight) in the water. Blend well, then strain
through cheesecloth or a clean chux to separate the ‘milk’ from the pulp.
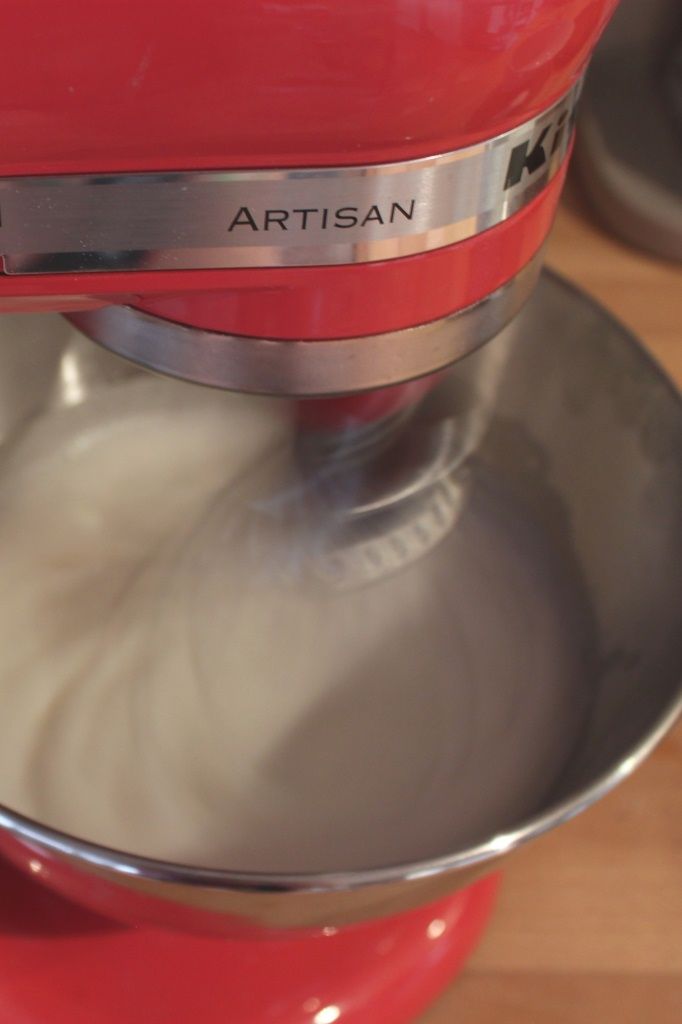
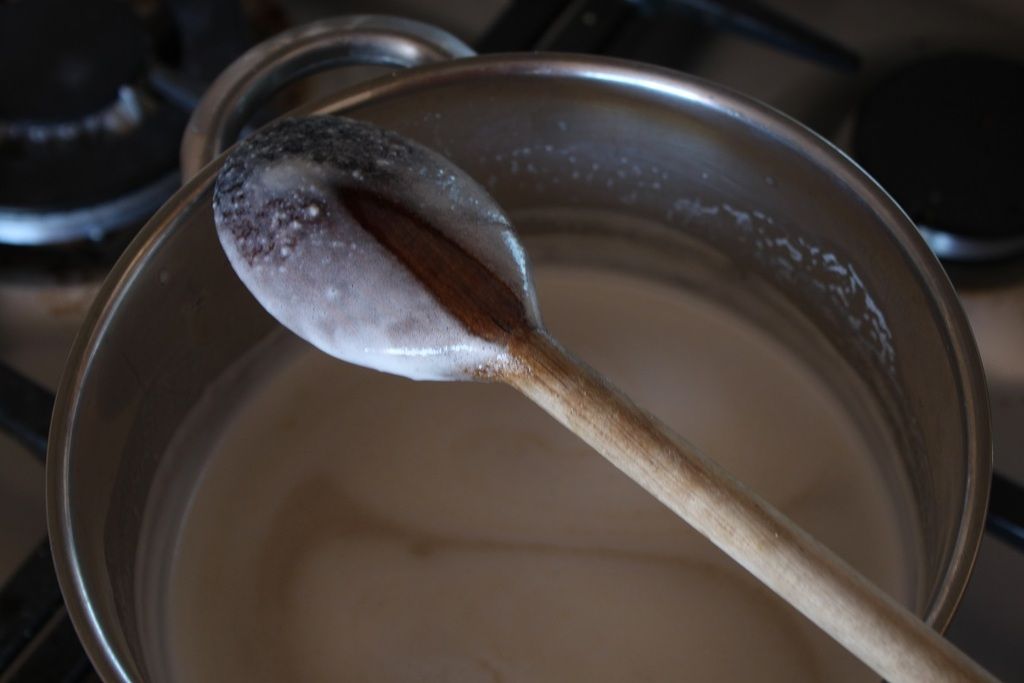
Bring the
hazelnut milk to a simmer over medium heat in a saucepan (do not boil, or it
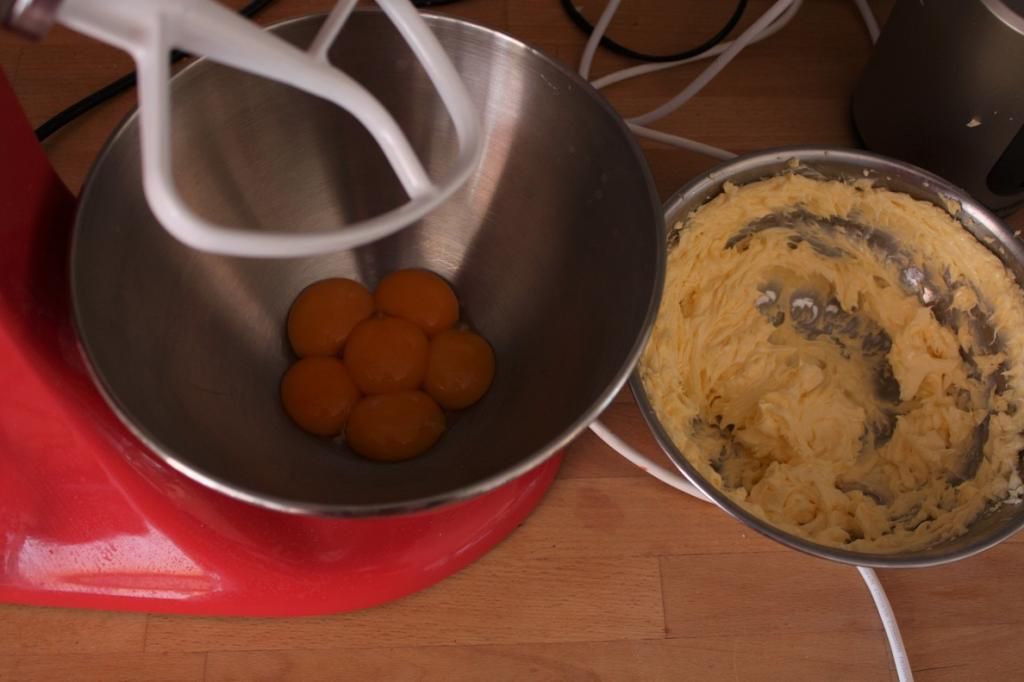
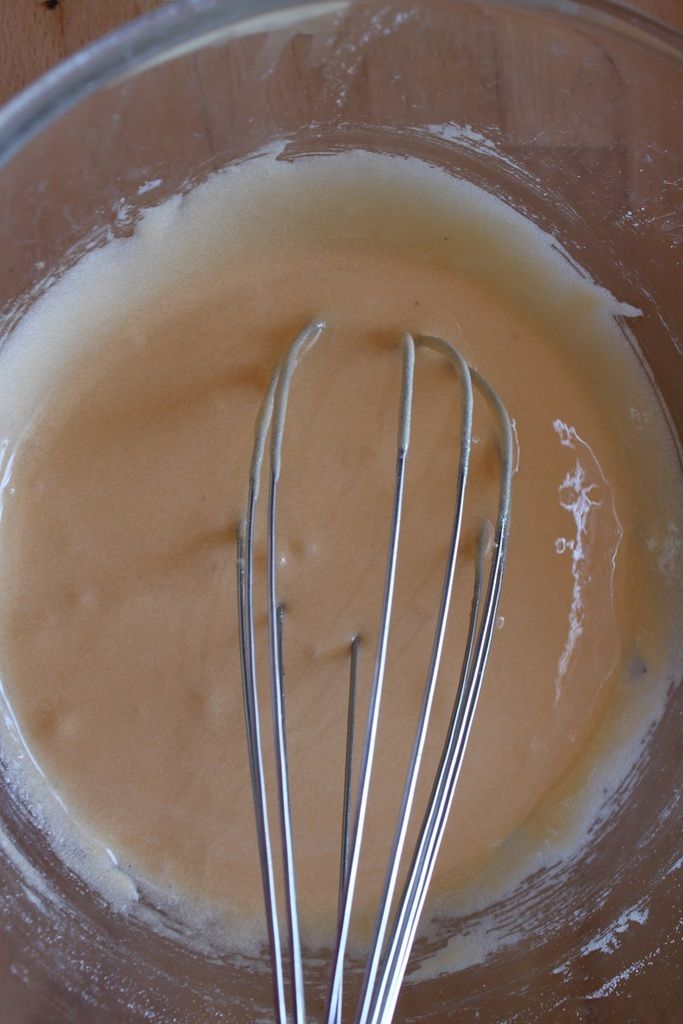
will separate). In a separate bowl, whisk the egg yolks and sugar together
until pale and thickened, at least 2 minutes. Pour the hazelnut milk into the
egg mix in a thin stream, whisking as you go. When completely combined, pour
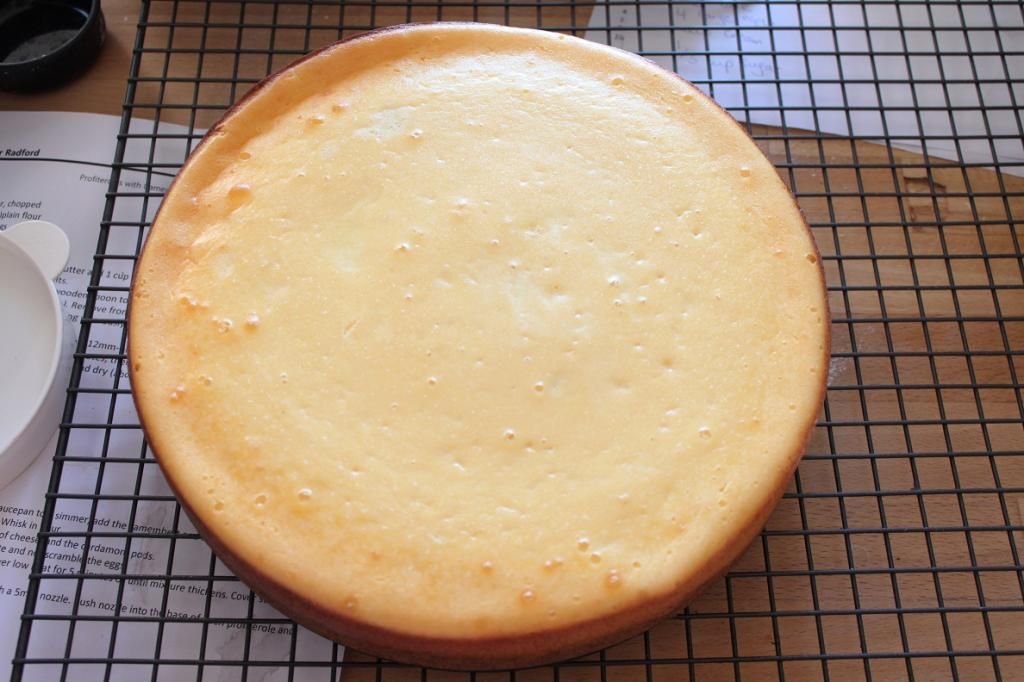
back into the saucepan and cook, stirring for around 5 minutes, or until it thickens
and coats the back of the spoon. Strain into a clean bowl, cover with plastic
wrap and refrigerate until completely cold.
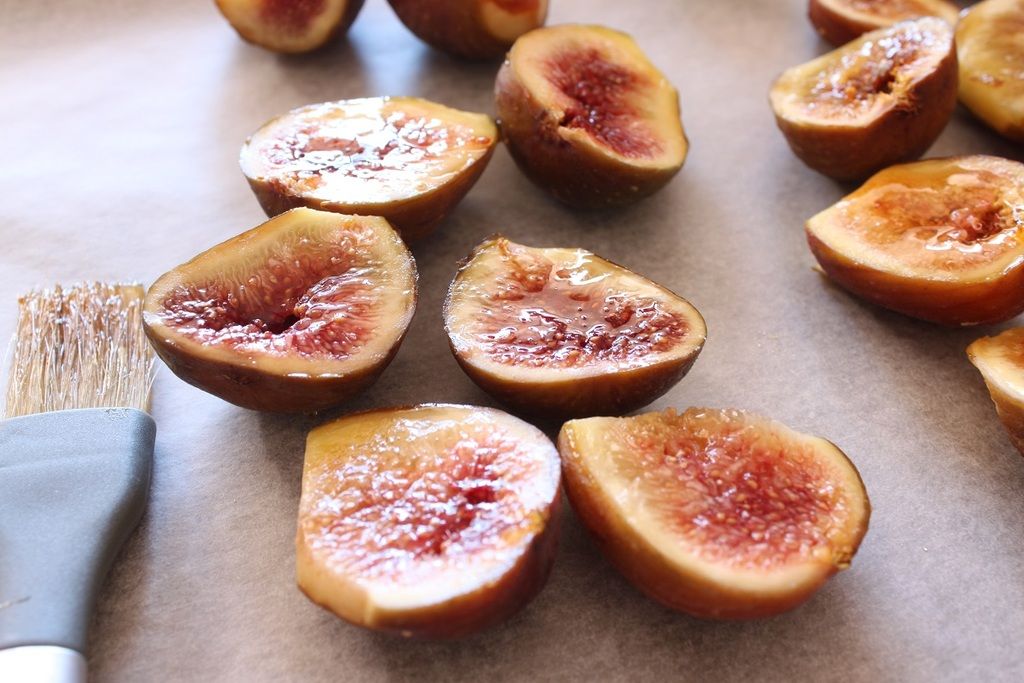
Brush each fig
half with a little honey on the cut side and pop on a tray in a 160C oven,
roasting until softened and caramelly. Remove and allow to completely cool.
Churn according to your ice cream maker's instructions, then freeze in an airtight container for a further 2-4 hours to firm up