Showing posts with label dairy free. Show all posts

Monday, January 25, 2016

An Australia Day Roast - Roast Lamb with Aperol Chickpeas

An Australia Day Roast - Roast Lamb with Aperol Chickpeas


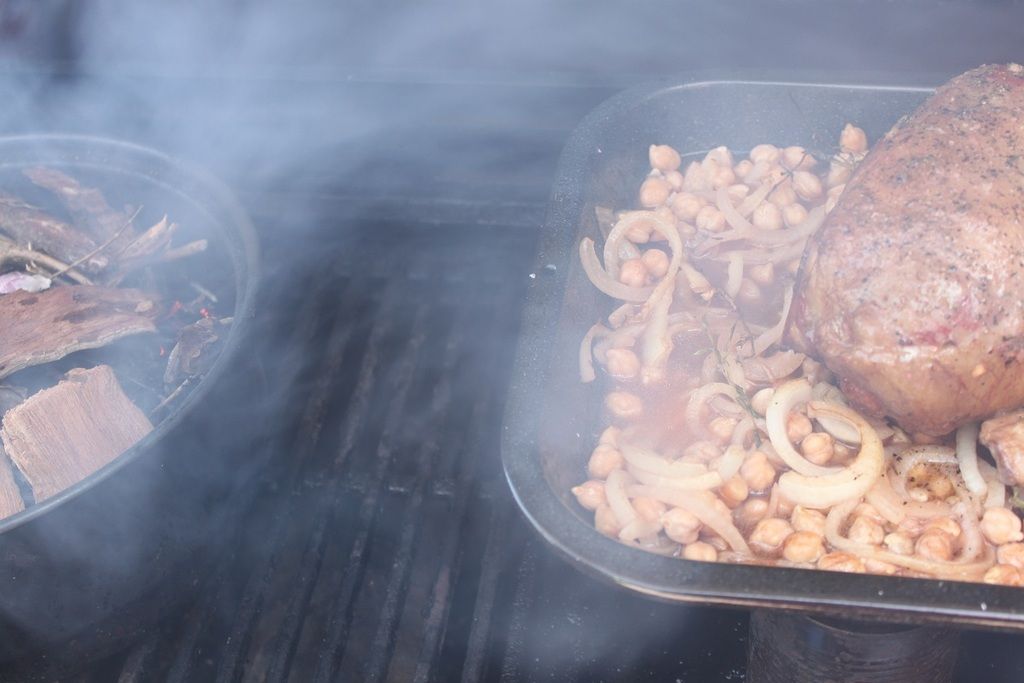
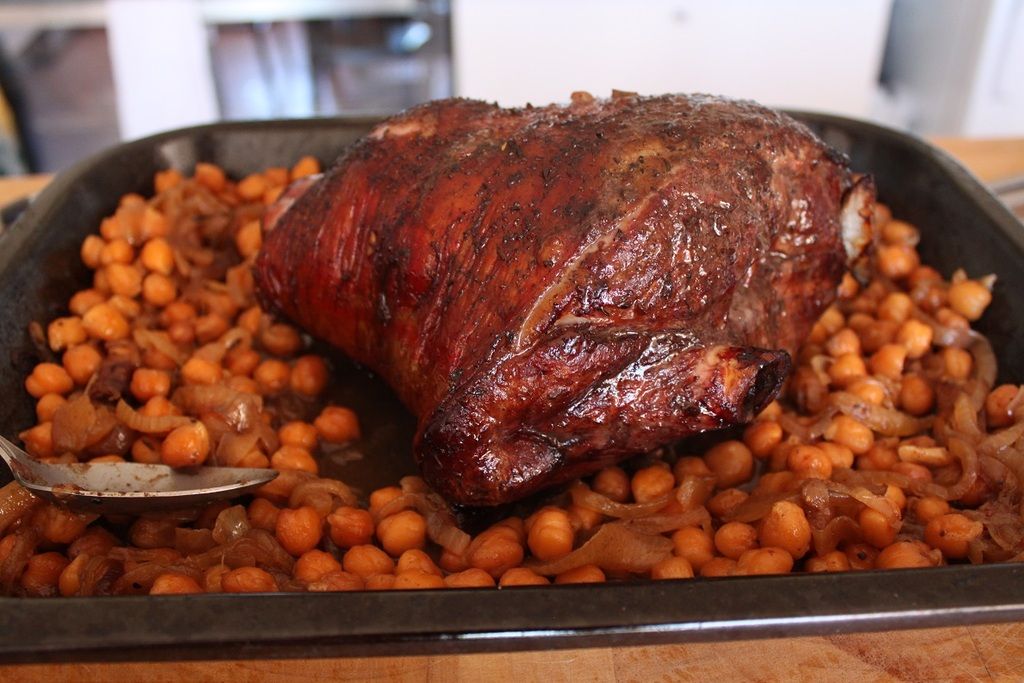
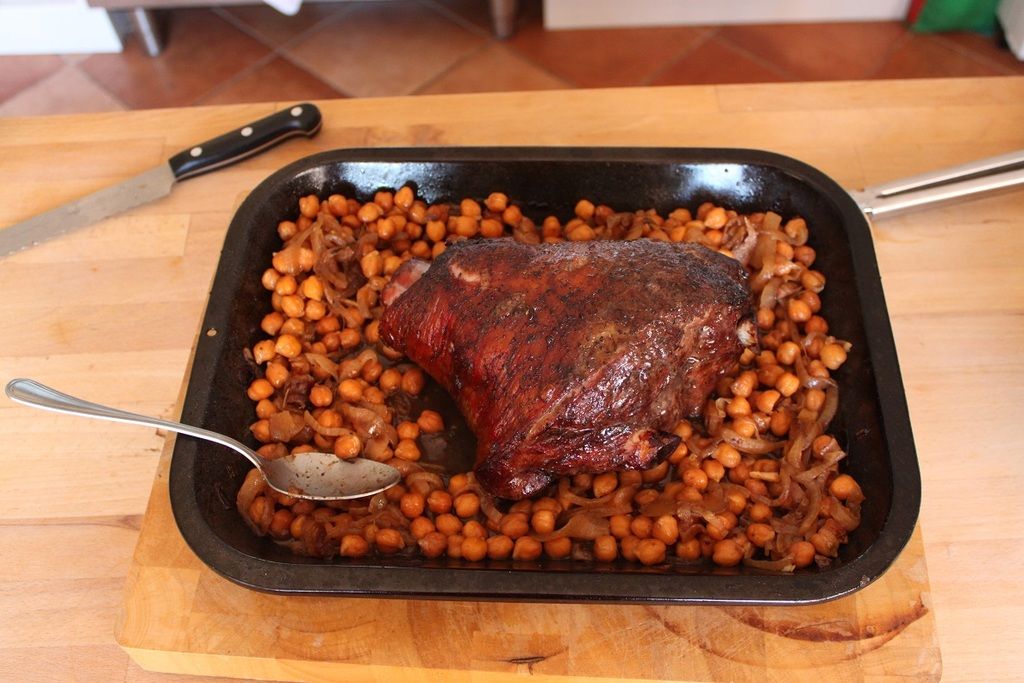
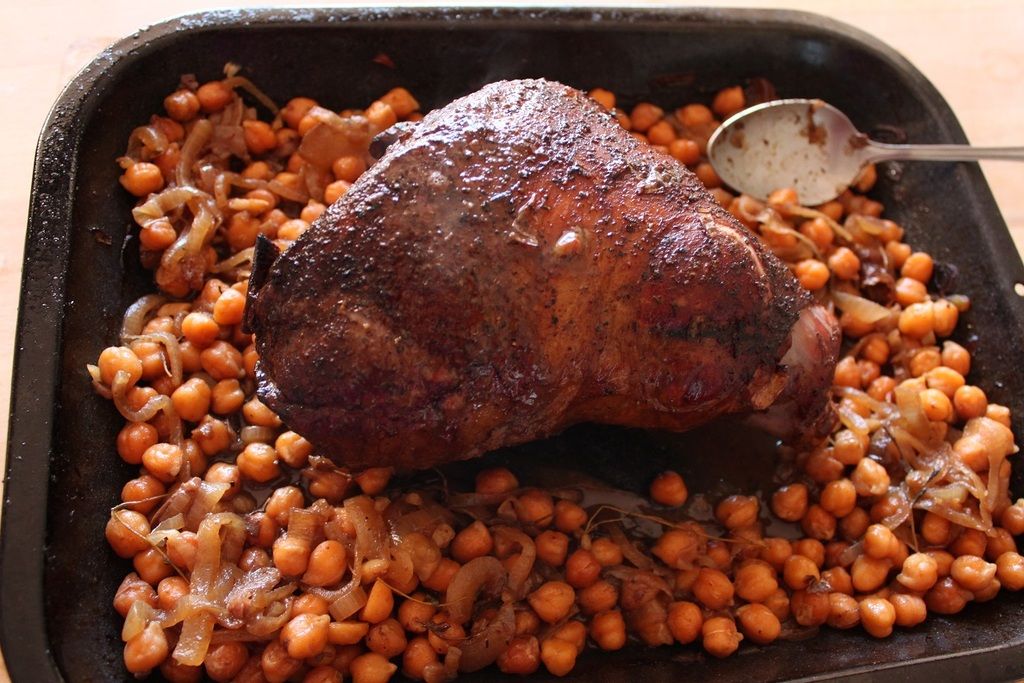
Even if the weather is hot and gross and the idea of having the oven on is unbearable, sometimes you feel like some roast lamb. That’s not just me, yeah? Thank goodness for hooded BBQs! We will actually roast in the BBQ all year around, not just in summer because Lance likes to get the smoker going to flavour, well, everything. But a smoked leg of lamb is a beautiful thing, so I do not complain. I encourage! This recipe is flavourful enough to not require the smoke, but 9 times out of 10, if you get served a roast at our house, it will be smoked. You can smoke this or not, either way it is pretty spectacular.
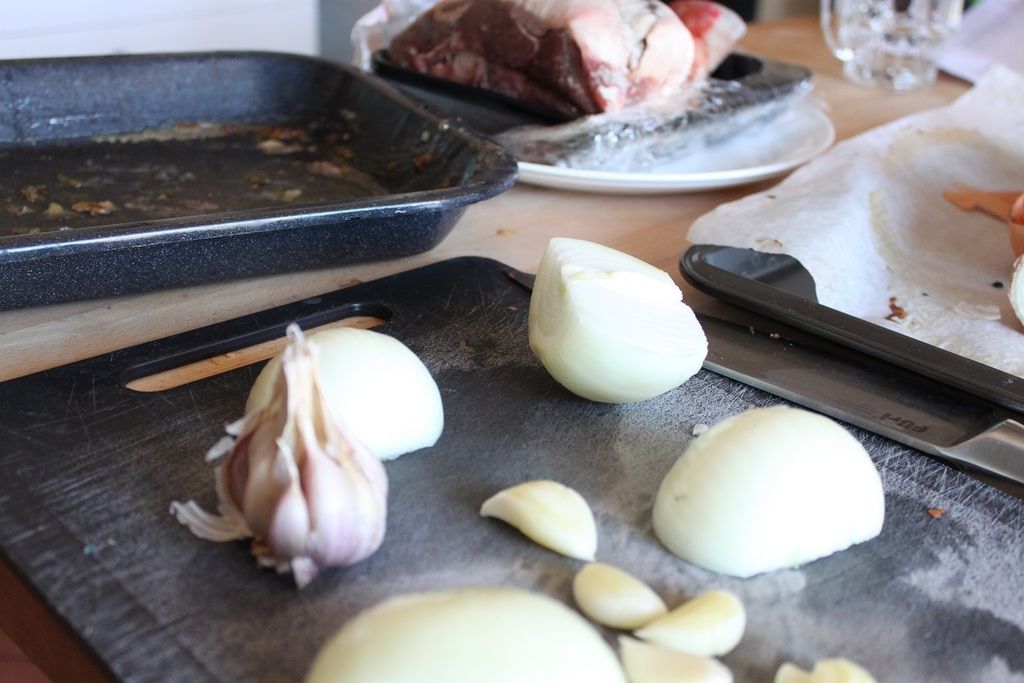
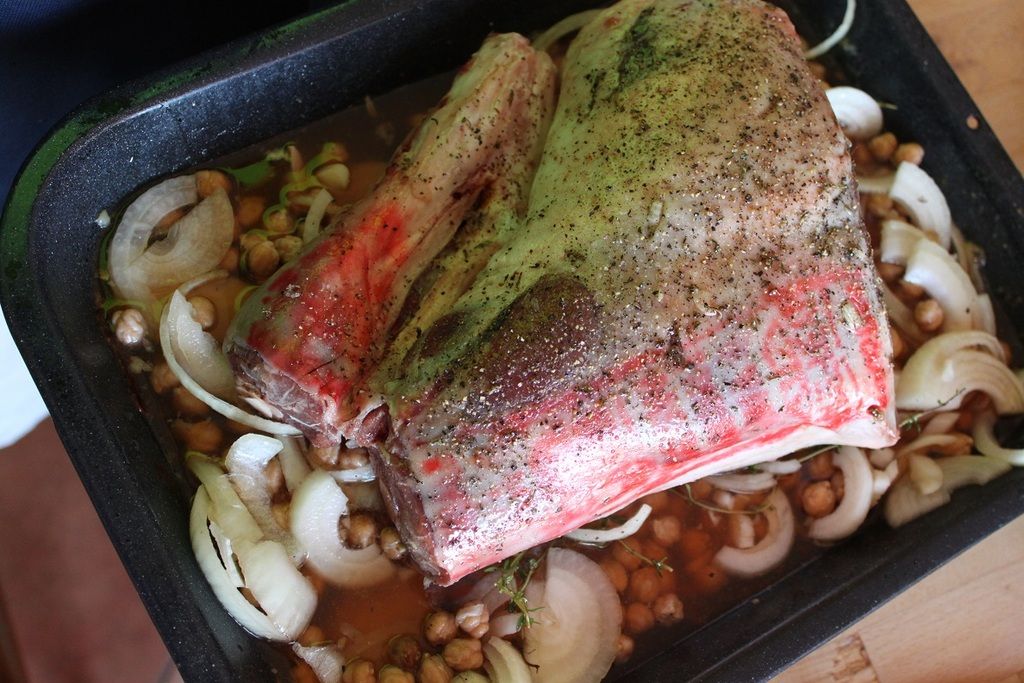
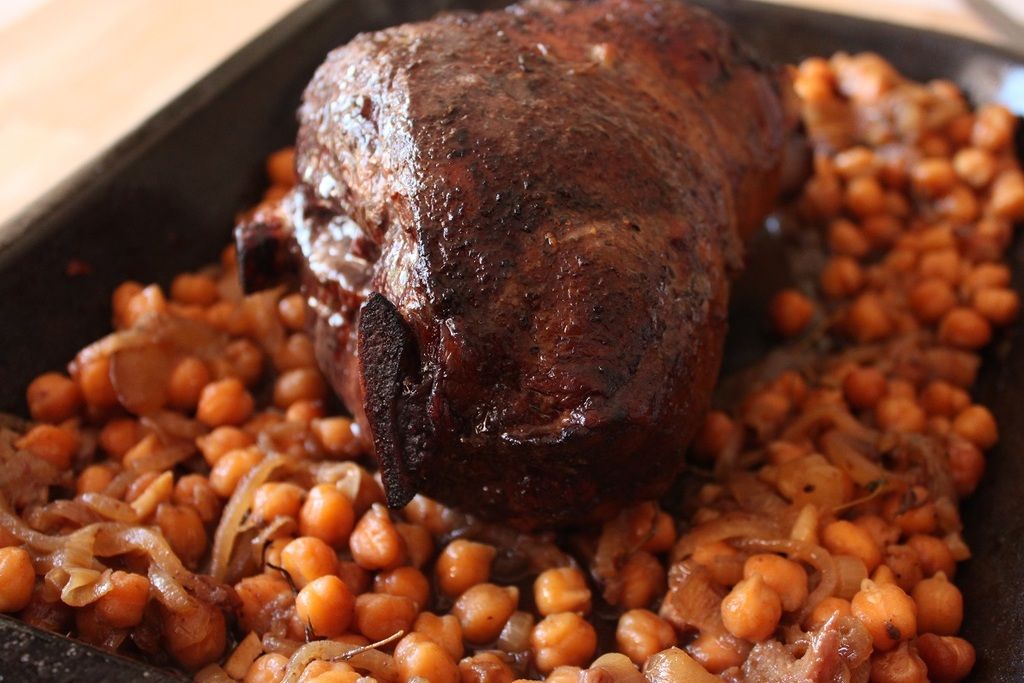
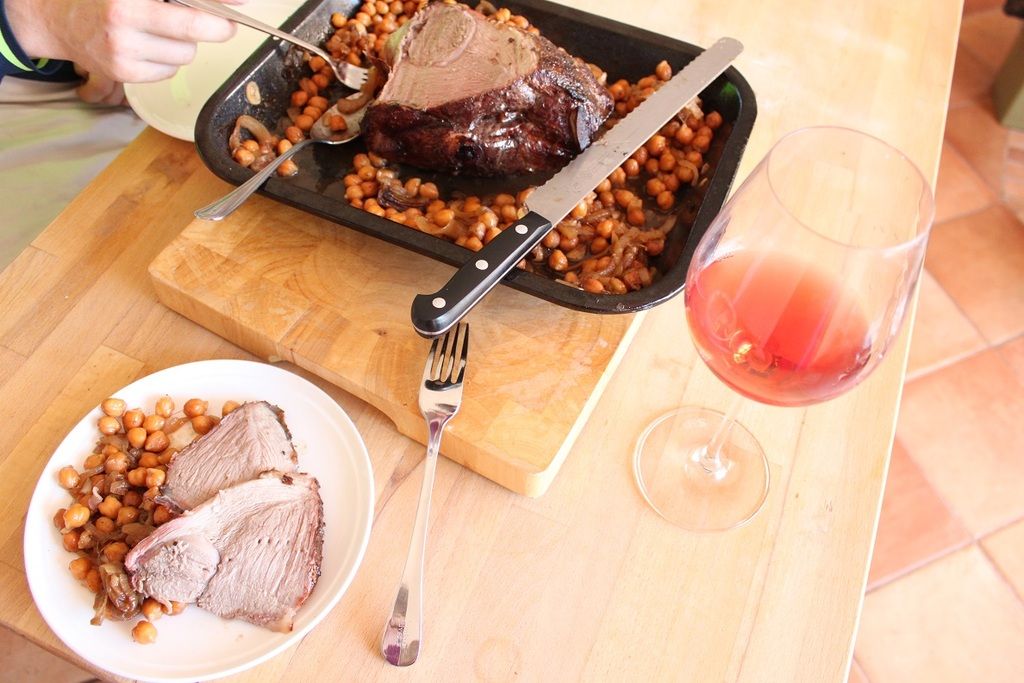
Over the past few years, aperitivos have really come into their own in WA as we embrace the bitterness in summery spritzes. I absolutely love the citrusy fresh flavours in Aperol and Campari and the like. We have spritz weather, and a particularly balmy afternoon with an Aperol and soda inspired this recipe. The basic premise of this dish is to balance a leg of lamb atop some chickpeas, onions, garlic and Aperol so that the chickpeas will soak up the delicious lamb juices as well as the boozey liquid below as they cook. It’s important to only rub salt on the top of the leg of lamb, otherwise the chickpeas develop a hard outer shell and become tough. Season the chickpeas at the end of the cooking process. The best part of this recipe is that you can just pop it in the BBQ and leave it cooking and it’s a side dish and meat in one dish. Add a green salad and you are done for dinner, folks. You can rotate the lamb a few times if you want, to ensure even cooking, but I don’t always bother (don't salt the lamb at all if you want to rotate). Still check on the liquid levels every so often to make sure the chick peas don’t dry out. I’ve also added some diced carrots and capsicum to the chickpeas to boost the vege content and that’s also worked a treat. Any leftover chickpeas can be used in salads to take to work the next day, the Aperol scent reminding you that the weekend is no more than 5 days away!

An Australia Day Roast - Roast Lamb with Aperol Chickpeas

Roast Lamb with Aperol Chickpeas

1 leg of lamb
2 brown onions, cut into thin half moons
5 cloves garlic, minced
1 cup dried chick peas, soaked overnight.
3 sprigs thyme
1 cup dry white wine (such as Sauvignon Blanc)
1 cup Aperol
1 cup water
Salt and pepper
Rinse your soaked chickpeas and place them in a heatproof bowl or pot. Boil the kettle and pour over the chickpeas. Leave for 20 minutes while you preheat your BBQ to 160C using only the burners on the grill side, not the plate side (alternatively, you can use your oven). Drain the chickpeas.
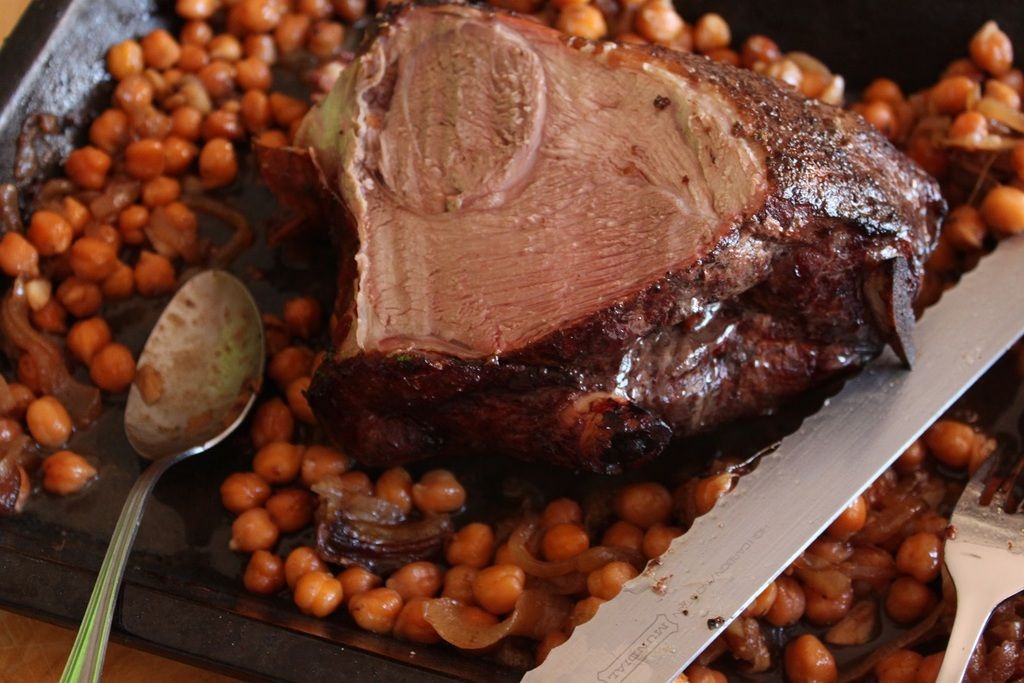
Spread the chickpeas into the bottom of a roasting pan. Add the onion, garlic and thyme. Pour over the wine, Aperol and water, gently stir it all together. Rest the lamb on top of the chickpeas, presentation side up and put on the plate of the BBQ (indirect heat) and put the lid down. After half an hour, turn the lamb upside-down carefully with tongs. After another half hour, turn the lamb back the right side up. Continue roasting for a further 30-45 minutes, depending on how well done you like your roast. All the while, keep an eye on the liquid level of the chickpeas. They will slowly be soaking up the liquid, but you don’t want them to dry and catch on the bottom, add a little extra water if necessary.

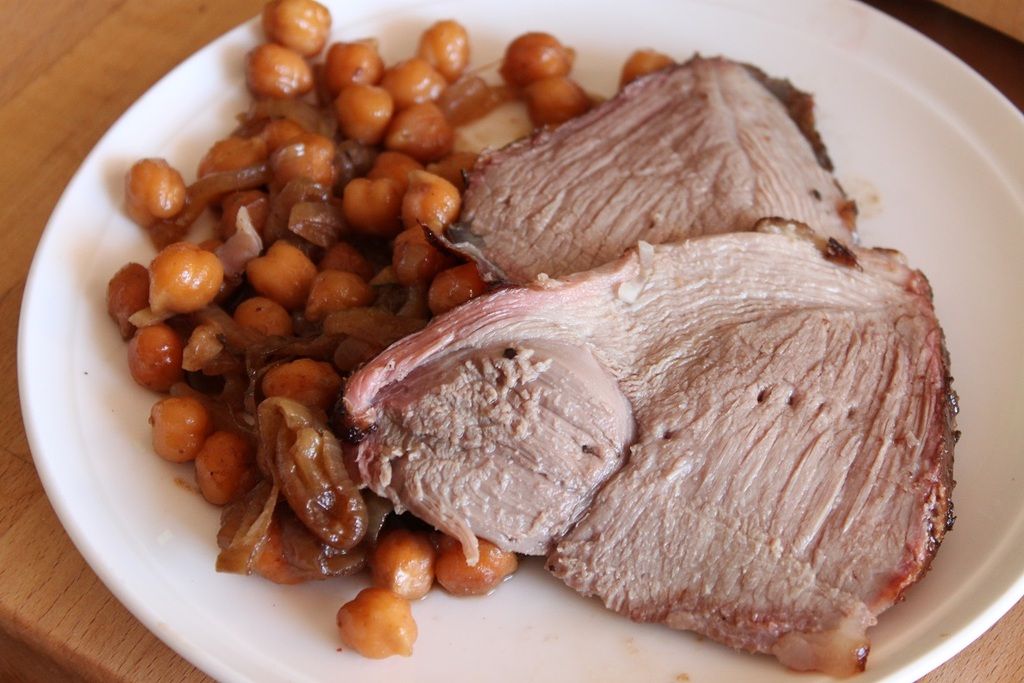
When the lamb is done, remove it from the chickpeas and set aside on a warm plate, tented in foil to rest for 20 minutes. Pop the lid back down on the BBQ, keeping the chickpeas cooking in this twenty minutes, the liquid should evaporate, leaving a sticky gravy-like onion mixture and the chickpeas should be soft. Season to taste, and serve a pile of chickpeas with a few slices of roast lamb and a green salad.
An Australia Day Roast - Roast Lamb with Aperol Chickpeas

Wednesday, September 23, 2015

Simple Sides - Pink Grapefruit Beets

Simple Sides - Pink Grapefruit Beets


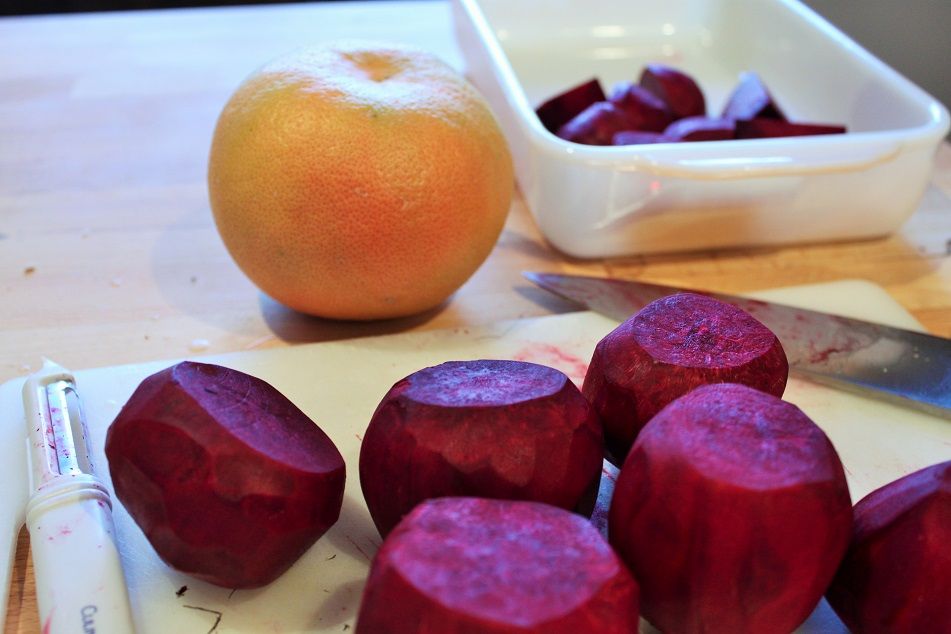
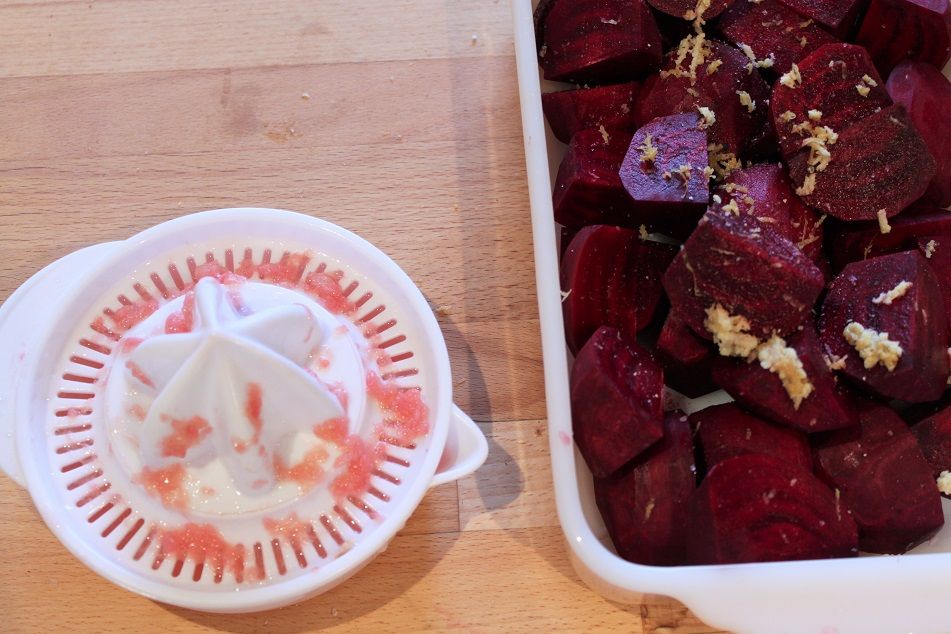
This is just a really quick post about what is one of my favourite side dishes at the moment. I really love the earthiness of beetroot, and our tree is currently laden with pink grapefruit which led to this experimentation. Ordinarily, I add a little balsamic when I roast my beets, but the grapefruit juice brings a brightness with the acidity, rather than the richness that balsamic vinegar does. The ginger adds a little bite and the pink peppercorns add a dill-like freshness to the whole situation.

This is great served alongside a roast and if you have leftovers, they make the best salad with grains and a little Greek Yoghurt or goat’s cheese.


Simple Sides - Pink Grapefruit Beets


Pink Grapefruit Beets

8 baby beets, peeled and quartered
1 pink grapefruit, zest and juice
Thumbsize piece of ginger, peeled and grated
½ tsp salt
½ tsp pink peppercorns
1 tbsp olive oil


Preheat the oven to 170C

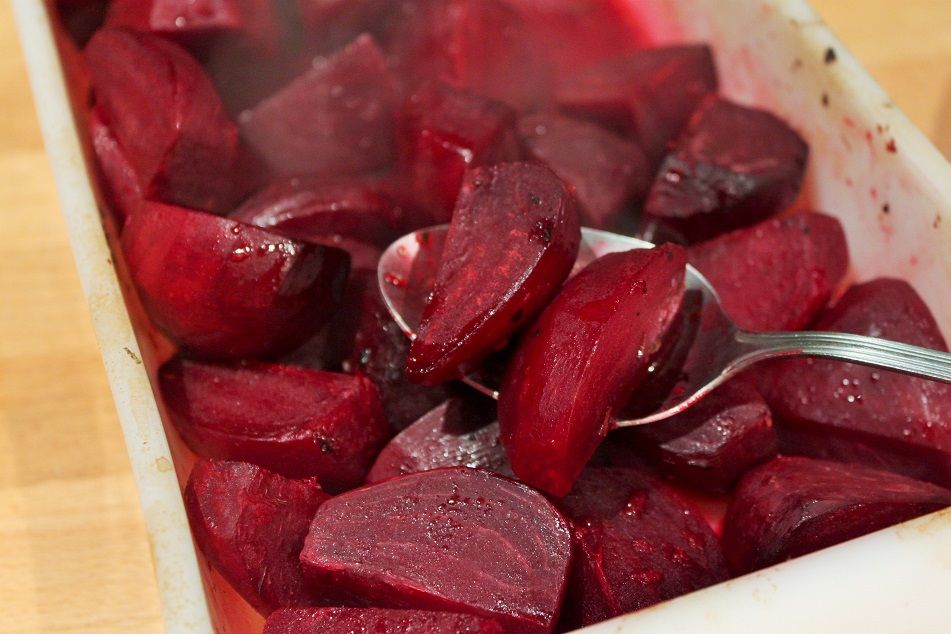
In a casserole dish, pour in the baby beets, olive oil, zest, ginger, salt and pepper and toss to coat. Pour over the grapefruit juice. Cover the casserole tightly with a lid, or alfoil, then pop in the oven for 45 minutes, or until the beets are tender.

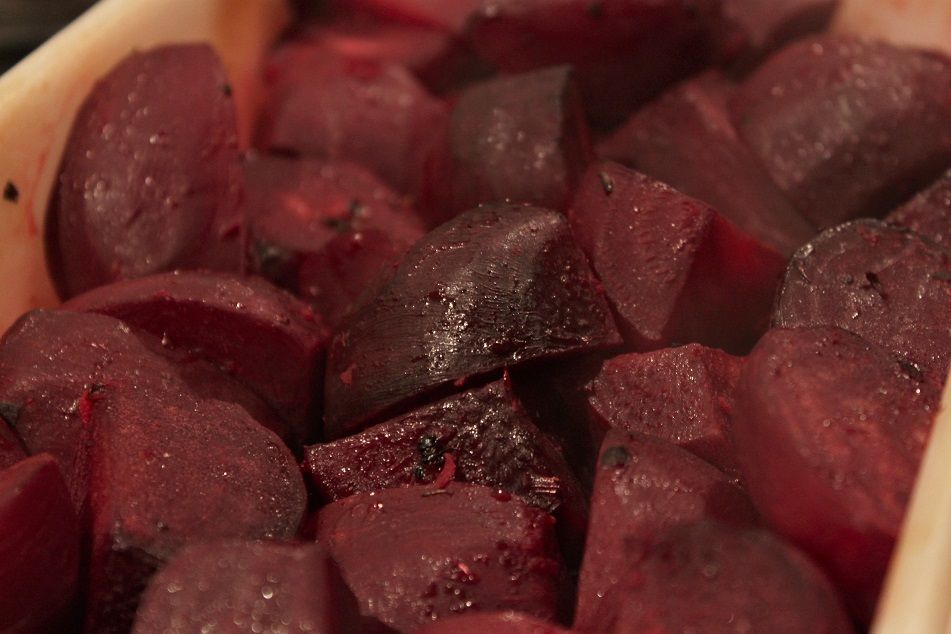
Remove the lid/alfoil and pop back in the oven for a further 15 minutes so the juice reduces a little.


Serve, drizzling with the reduced juices.


Simple Sides - Pink Grapefruit Beets

Tuesday, September 1, 2015

Experimenting with Produce - Taro Tarts

Experimenting with Produce - Taro Tarts


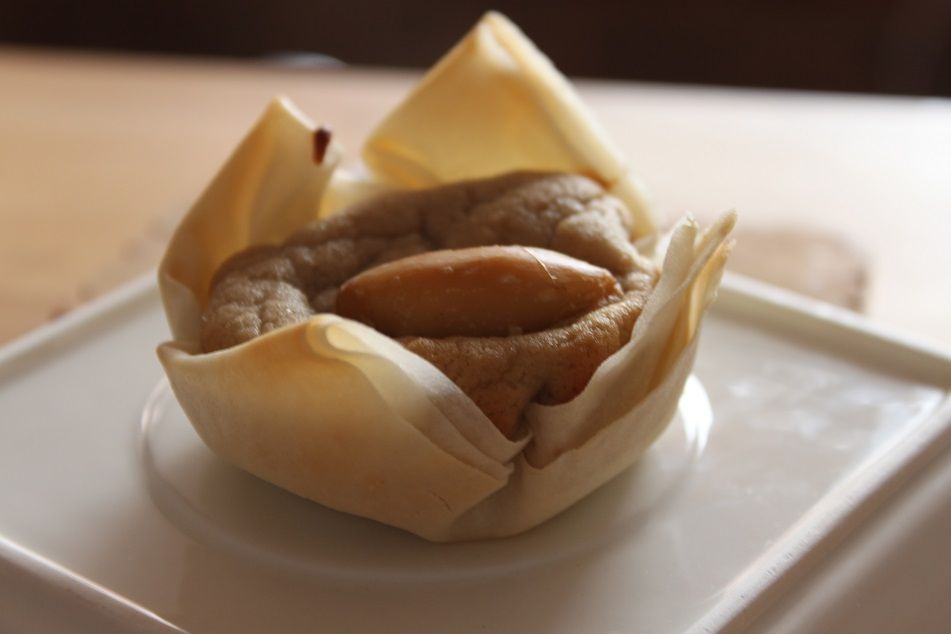
Ever since I first googled what to do with taro and saw a bunch of tarts made from it, I knew at some point I was going to give that a go. So when I saw some taro for sale at the Nanna Shop, I bought a couple. One I made into the sauce for the vege meatballs, the other I reserved for making pies. Or  tarts. I’m not sure of the difference in terms of semantics, but I know calling them Taro Tarts tickles my fancy more than Taro Pies.

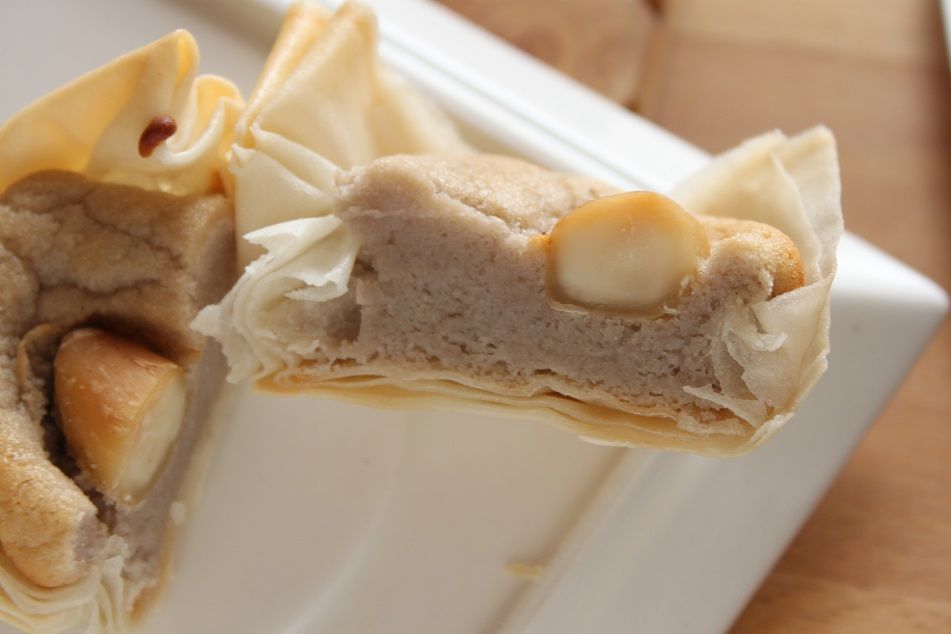
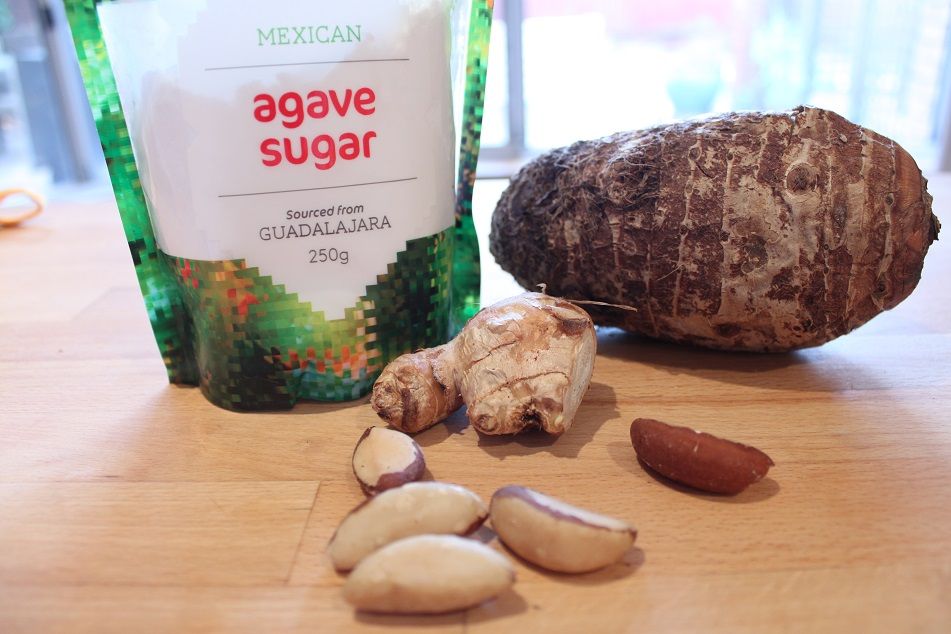
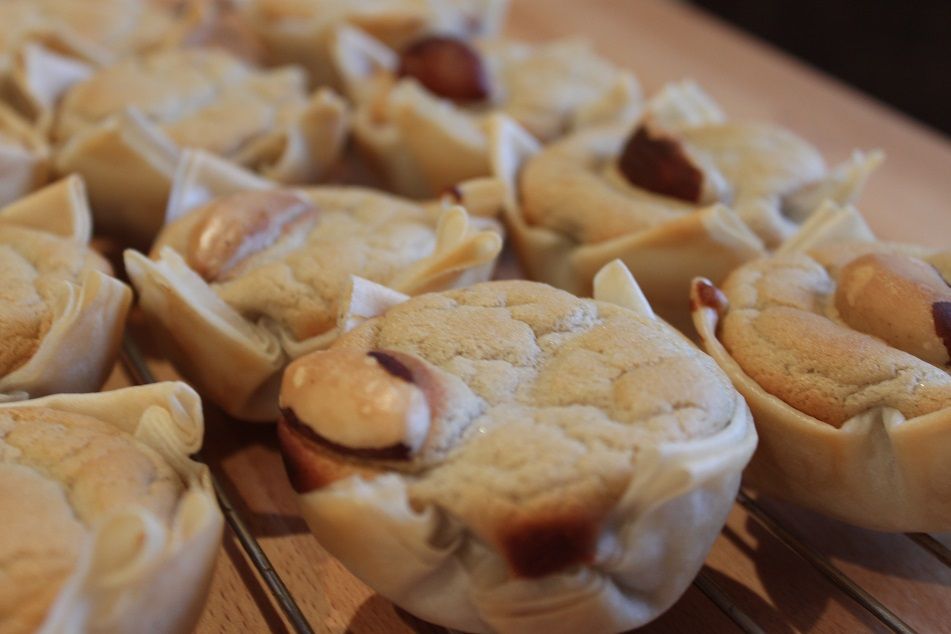
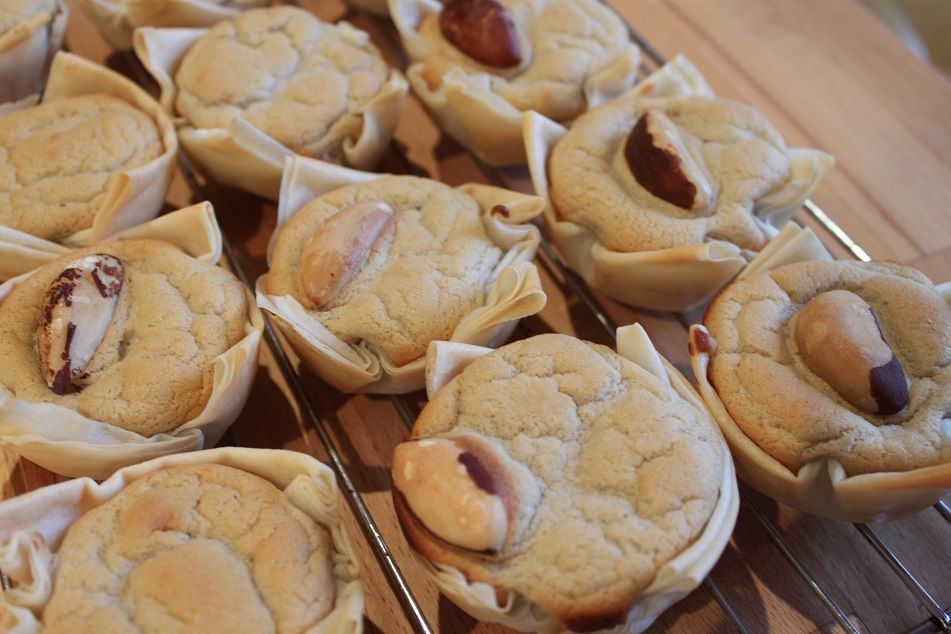
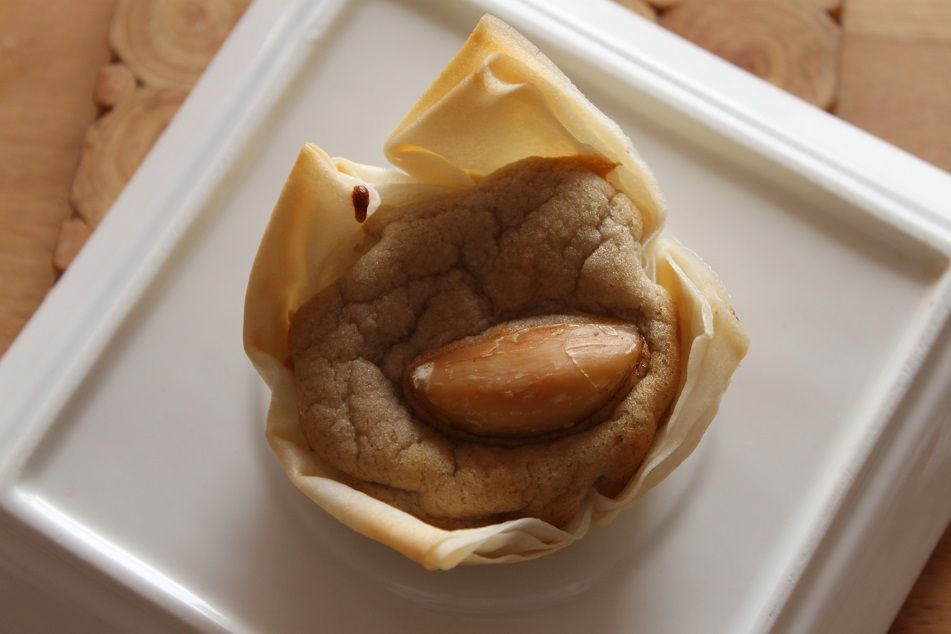
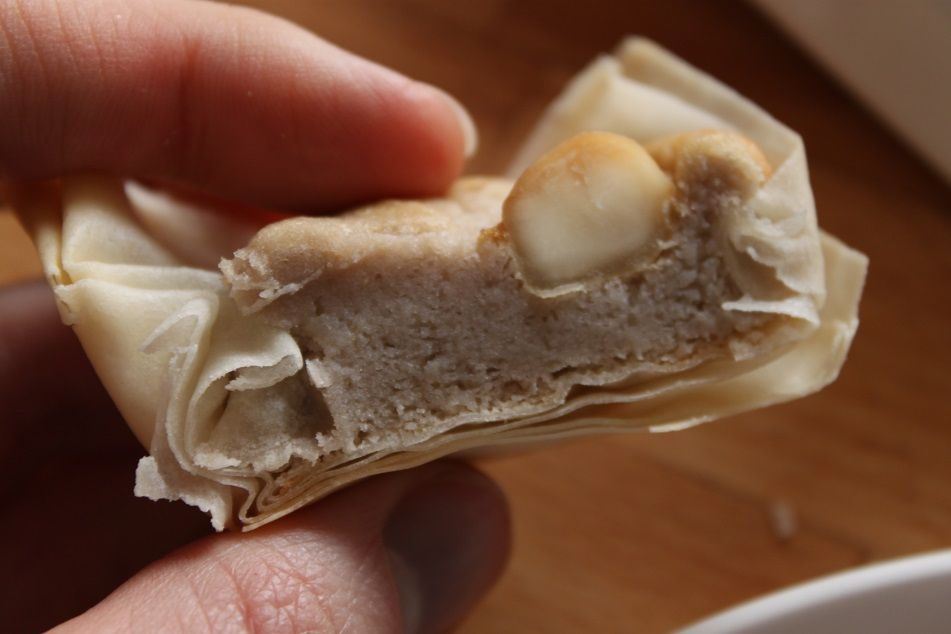
At it’s heart, this is a pumpkin pie, but made with taro puree instead of pumpkin. I kept the flavours simple, to see how the taro takes on being a dessert and I think that was a good move. It’s a subtle flavour, but quite unique. Whilst experimenting, I also used agave sugar. This sugar is very sweet, but in an almost floral way. The texture is like icing sugar, which would be a suitable substitute in the recipe.This is also a dairy-free pie (no cream), which means the taro puffs up and develops a fluffy, almost bread-like texture. The spring roll wrappers for pastry mean these tarts are best eaten the day they’re made, while the pastry is crisp. It goes chewy if you leave them.

Taro is a traditional Hawaiian tuber, I’m using Mexican sugar and Brazil nuts. So whilst this multinational tart sounds a bit geographically confused, they all get along!

Experimenting with Produce - Taro Tarts

Taro Tarts

1 ½ cups taro puree
3 large eggs
¾ cup agave sugar
½ tsp freshly grated ginger
12 Brazil nuts
12 spring roll wrappers
¼ cup coconut oil.

Preheat your oven to 170C

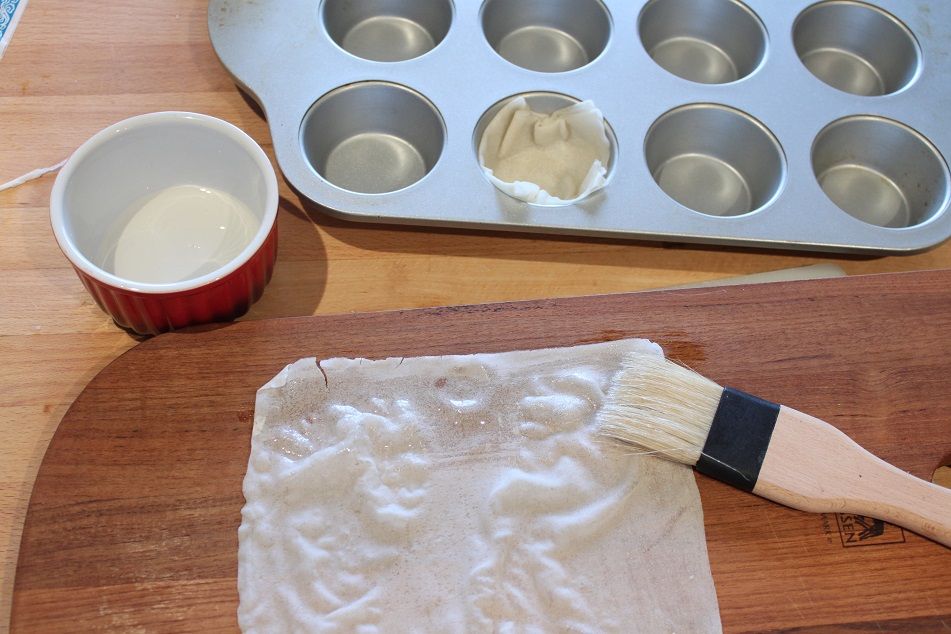
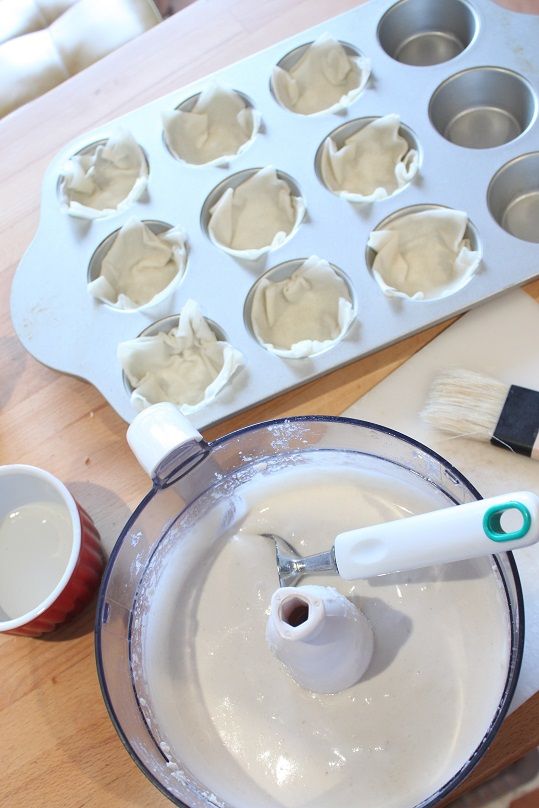
Melt the coconut oil until it’s a liquid. Take a spring roll wrapper and brush generously with coconut oil. Fold in half to make a rectangle. Brush again with coconut oil and fold in half again to make a square. Push into a muffin tin, folding the sides to make a pastry base. Repeat for all the muffin holes.
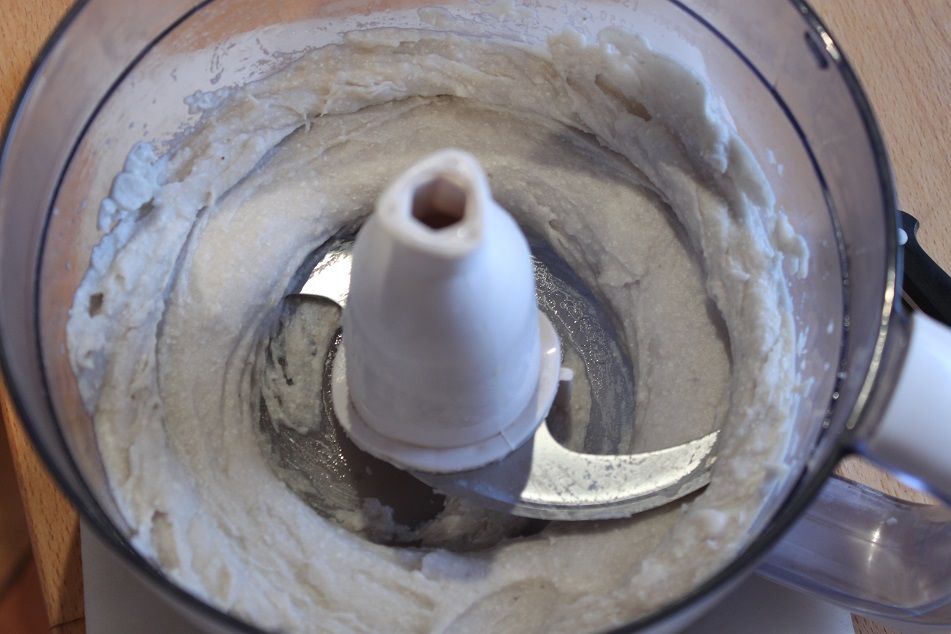
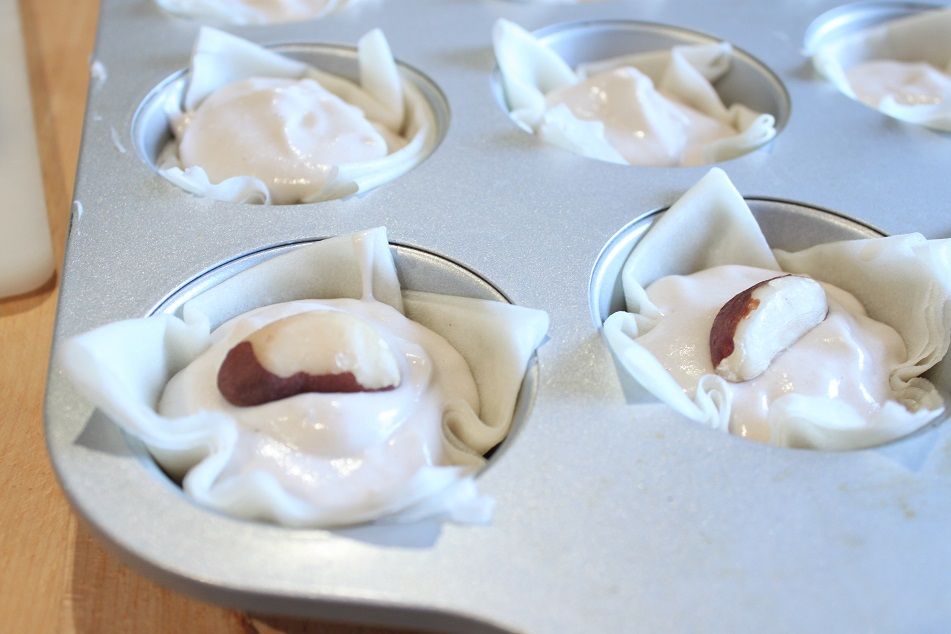
Blend the taro puree, eggs, agave sugar and ginger until smooth. Carefully pour the taro mixture into each of the bases. Gently tap the tin to remove air bubbles. Top each one with a Brazil nut.


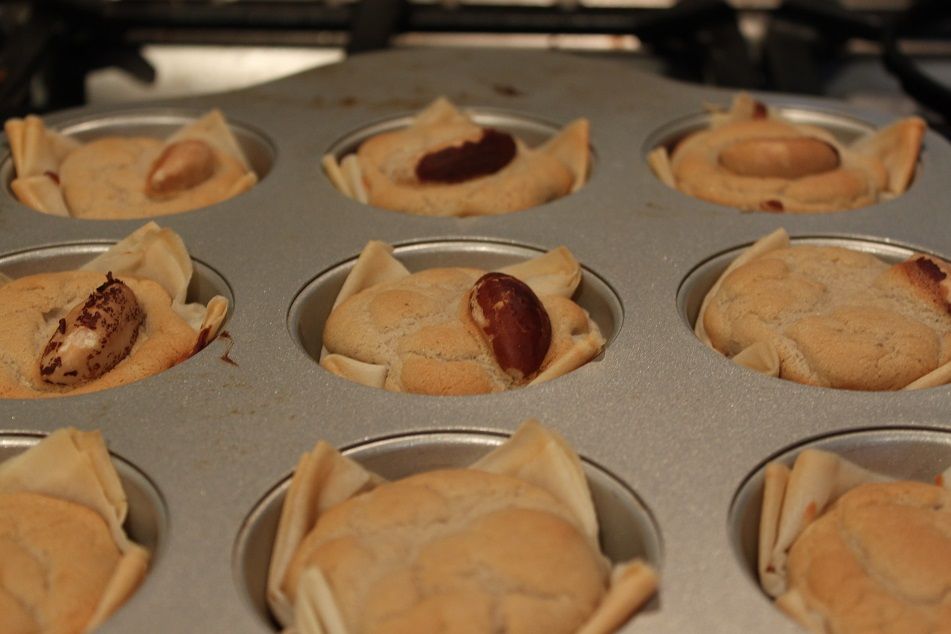
Slide into the oven and bake for 25 minutes, checking for doneness at around 20mins. When the pastry is crisp and gold, and the filling has puffed up and set, they are ready. Allow 15 minutes to cool before eating. Or eat at room temperature. Best eaten the same day as the pastry goes chewy.

Experimenting with Produce - Taro Tarts

Tuesday, August 11, 2015

Low and Slow - Cherry Pork Ribs

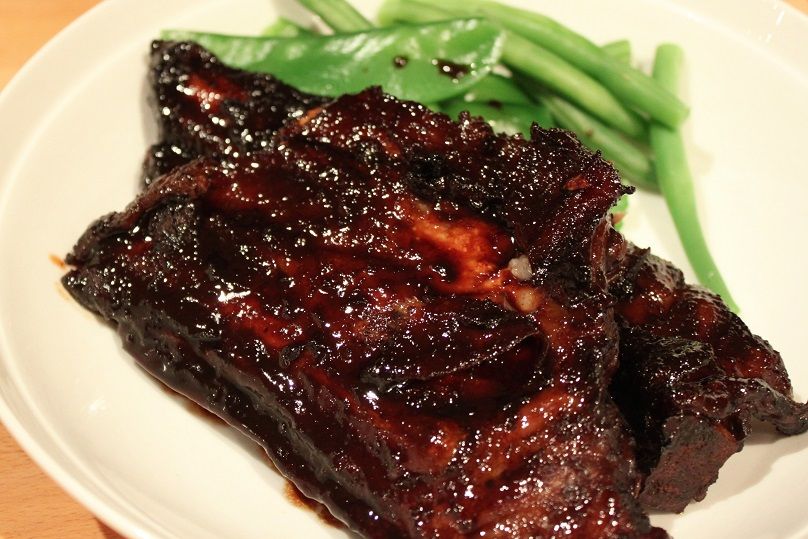
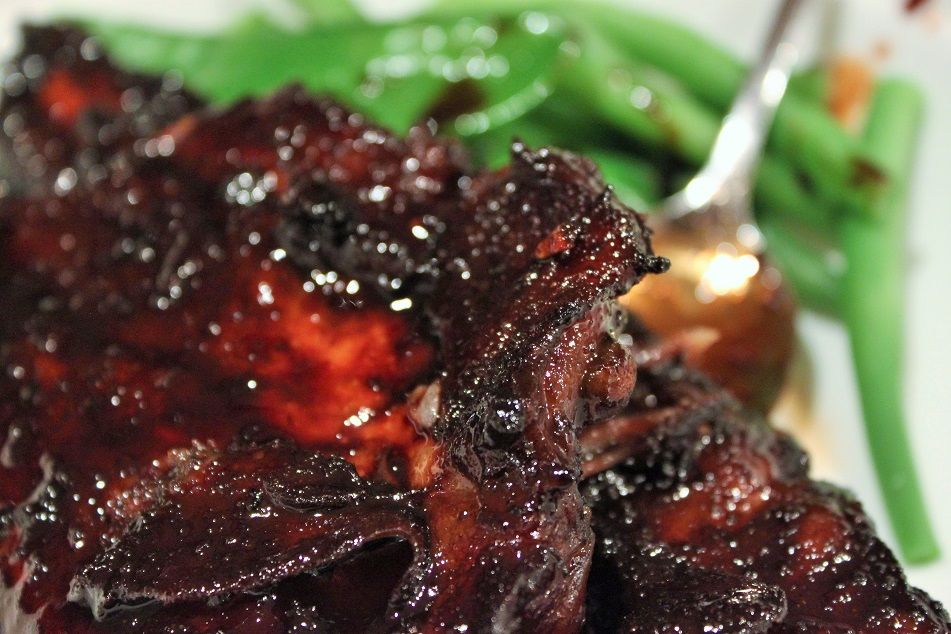
Low and Slow - Cherry Pork Ribs


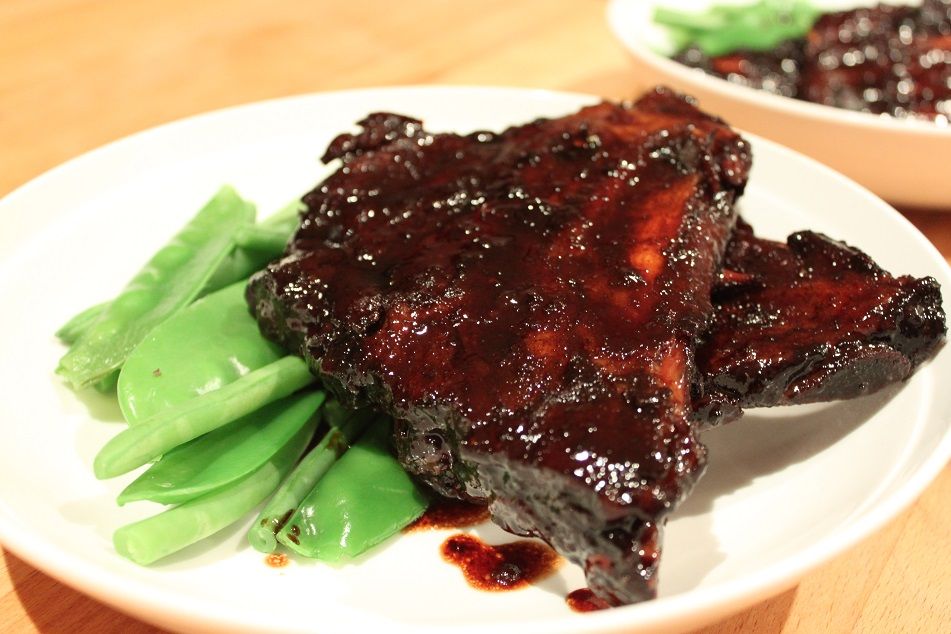
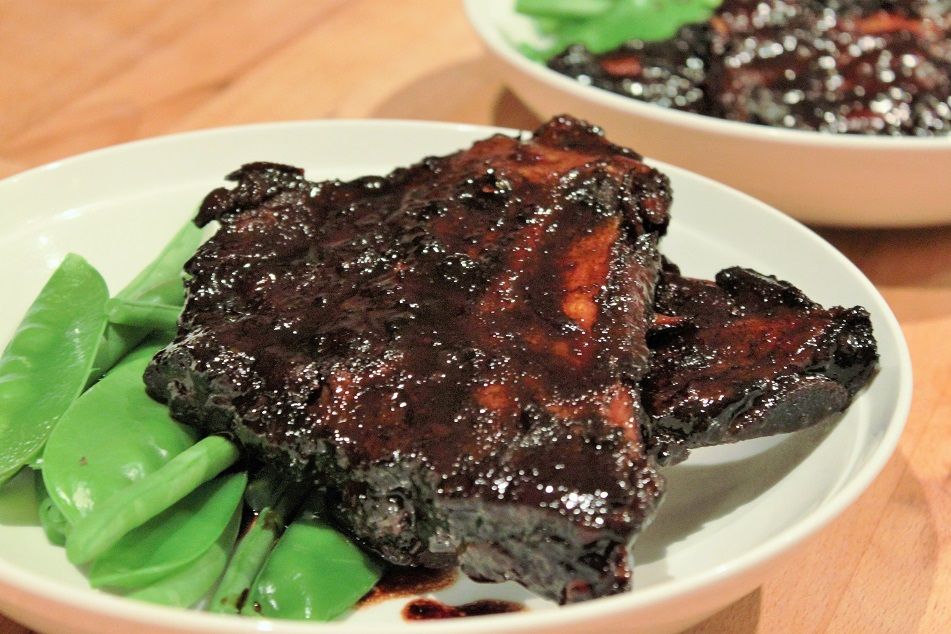
One of the best things about when I was a Stay at Home Wife (albeit temporarily!!), is that I had time for slow cooking. One of the worst things about staying home whilst things are slow cooking, is that you are tortured by the smells all day! By the time Lance got home and these ribs were sticky and done, I was FAMISHED.

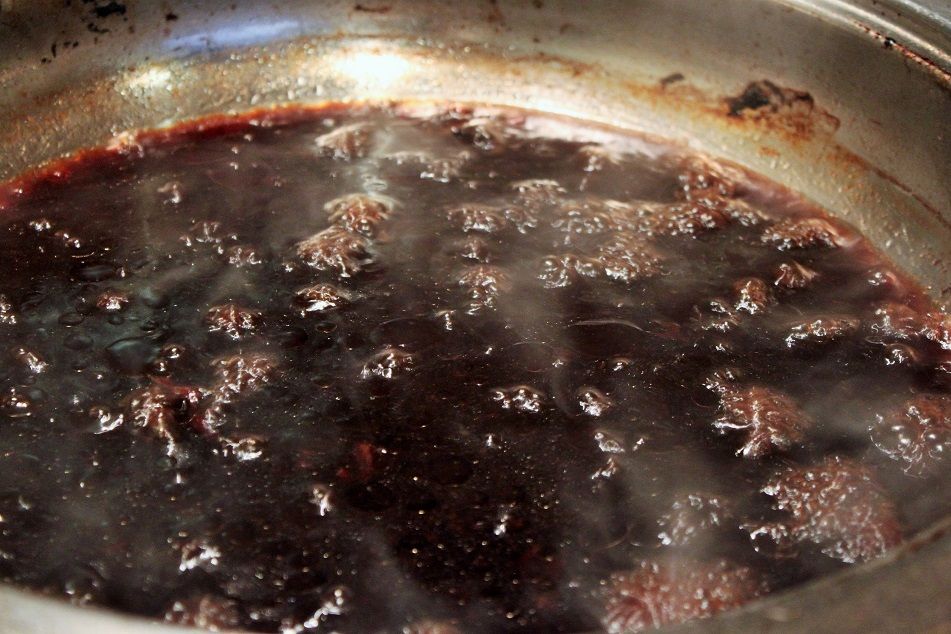
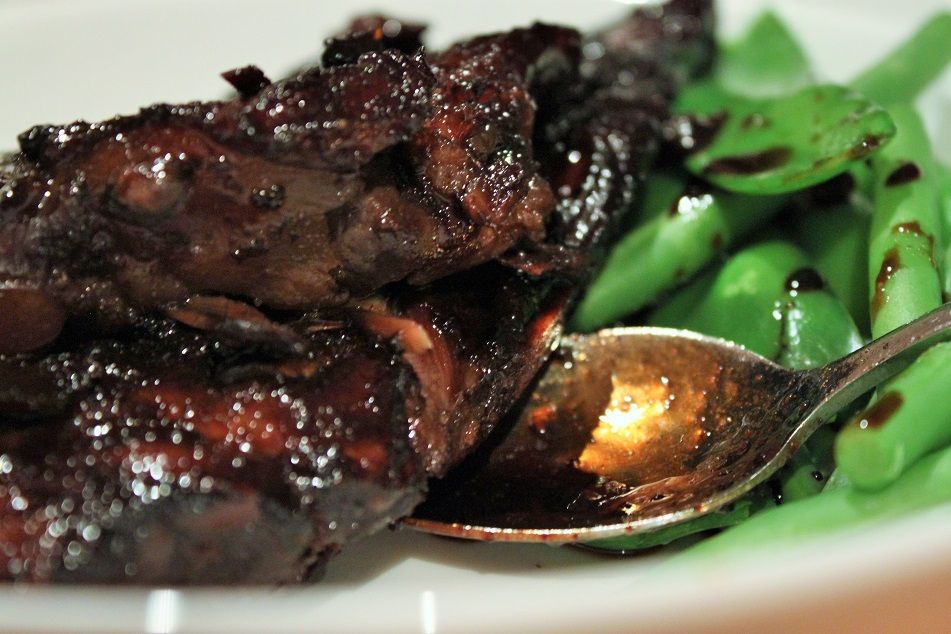
I found a bottle of cherry juice at the Nanna Shop and decided I needed to make cherry pork ribs. Pork and cherries are a great combination! The basic idea is from Alejandra’s Pomegranate Ribs – still my number 1 rib recipe. Make a rub, braise the ribs in fruit juice, reduce until sticky, enjoy. The rub spices and fruit juice have just changed! There’s very little hands-on time and the end result is definitely worth the wait (and torture!). So chuck some of these on if you are going to be home doing the housework and enjoy a fabulous dinner to reward your efforts!

If it's just Lance and I, I almost always just cook pork rib tips instead  of full racks because my butcher sells them so much cheaper. It just doesn't look quite as impressive. If you are making them for more than the family, maybe go for full racks.

Low and Slow - Cherry Pork Ribs

Cherry Pork Ribs

serves 4
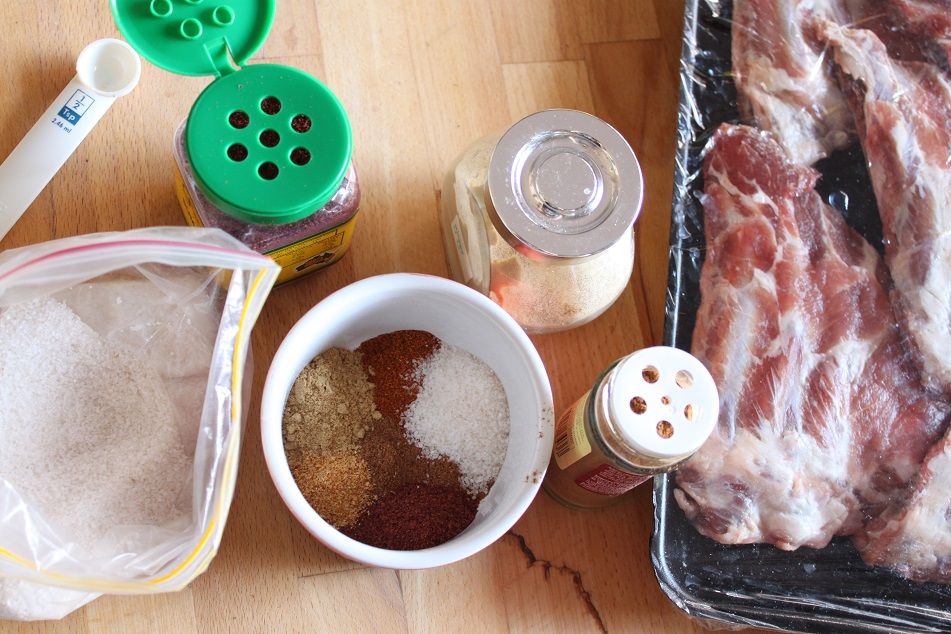
2 tsp Chinese 5 Spice
1 tsp cayenne powder
1 ½ tsp ginger
½ tsp garlic powder
1 tsp sumac
3 tsp salt
8 pork rib tips (or around 4 racks)
3 cups cherry juice (750mL)
½ cup whisky
1 tbsp oyster sauce

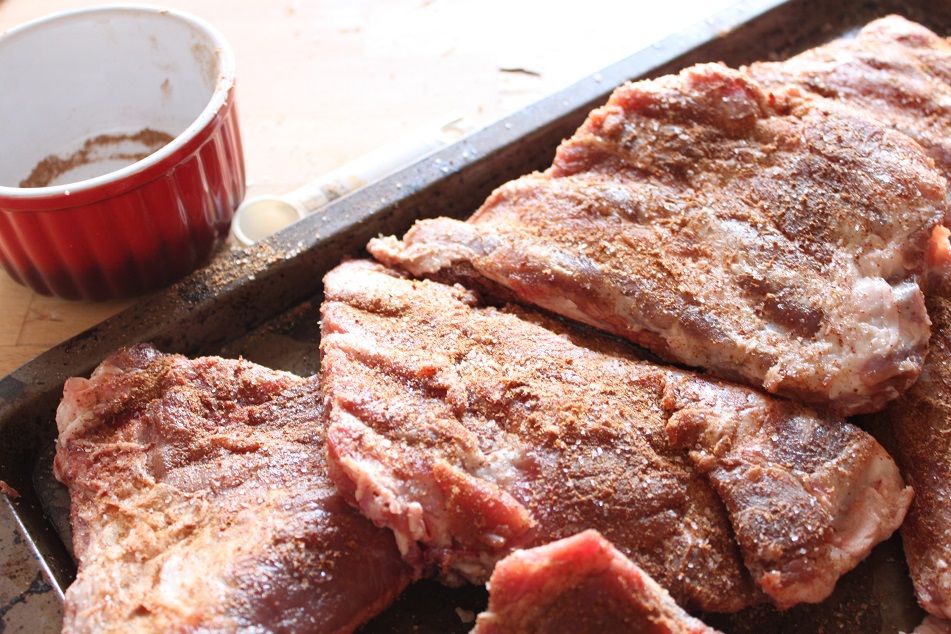
Combine all the rub ingredients, then rub generously over the ribs, place in a large oven-proof container with a lid (such as a tagine or crockpot), cover and set aside for an hour to marinade. They can overlap a little.

Preheat the oven to 125C

Remove the ribs from the tagine or oven dish and add the cherry juice, whisky and oyster sauce. Bring to a boil. Stir until the oyster sauce has dissolved, then add the ribs. Spoon the sauce over the ribs to coat before placing the lid on and sliding into the oven for 3 hours or until the ribs are tender.


When they’re done, turn the oven off, remove the ribs from the tagine and pop on a plate in the oven to keep warm. Bring the sauce to a simmer with the lid off and reduce until sticky, around 15 minutes. Place the ribs back into the sauce, serve with greens and plenty of extra sauce.

Low and Slow - Cherry Pork Ribs

Monday, June 8, 2015

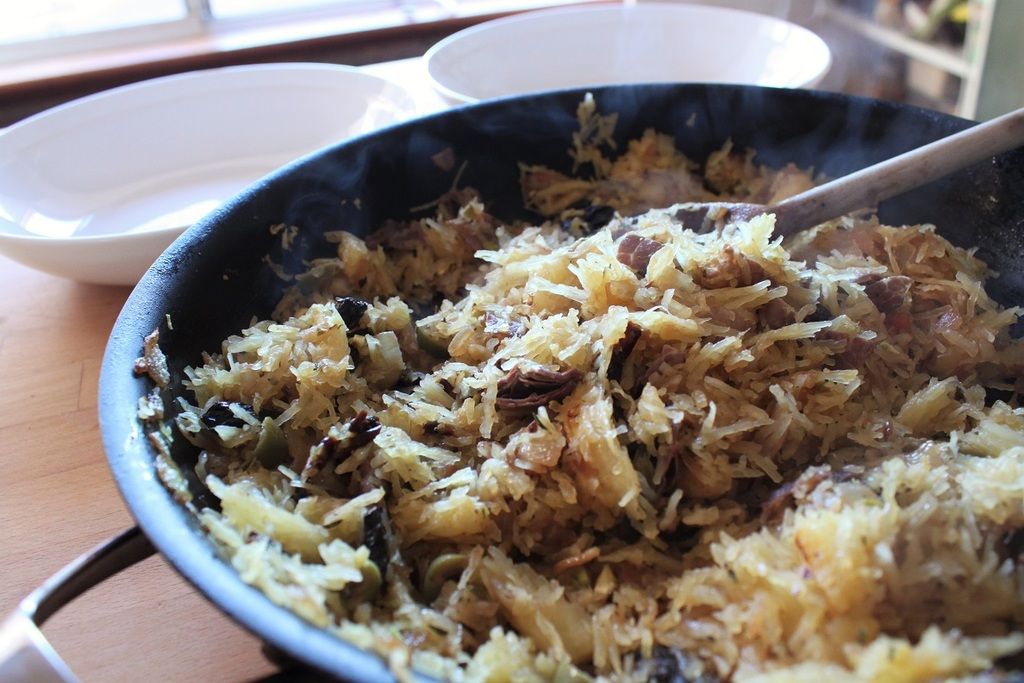
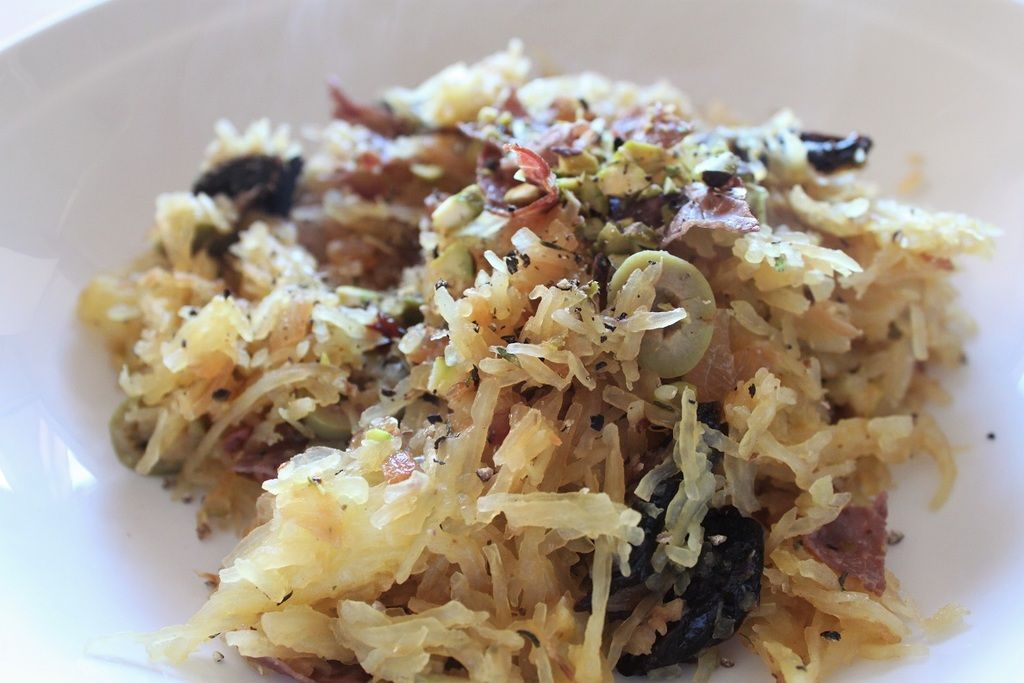
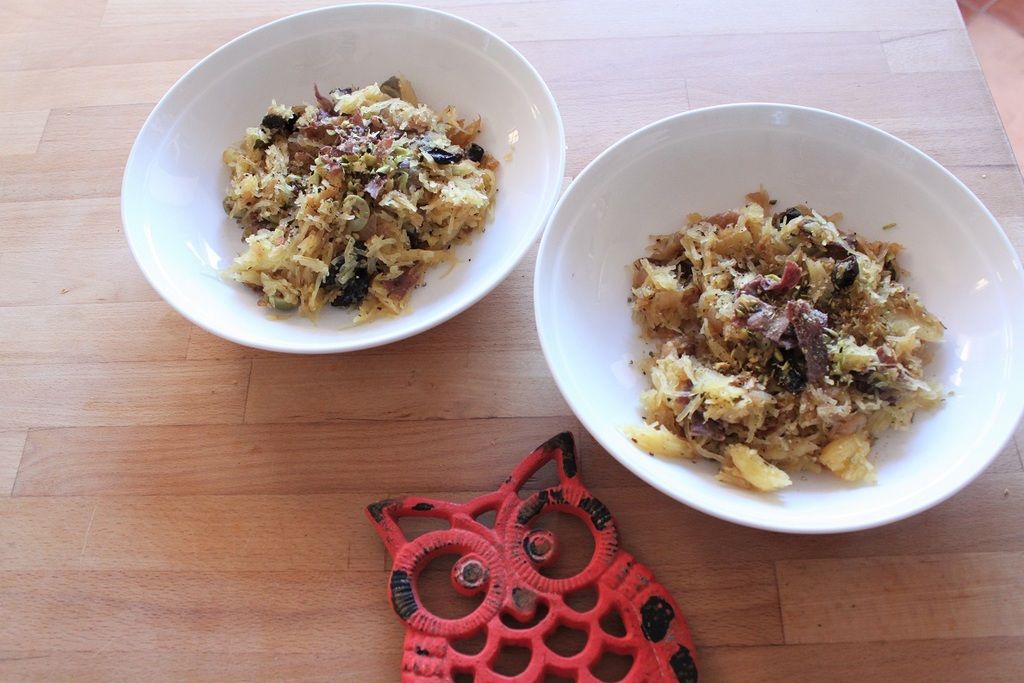
Using your Noodle - Spaghetti Squash with Olives, Prunes and Smoked Beef


Spaghetti Squash with Olives, Prunes and Smoked Beef

Spaghetti Squash with Olives, Prunes and Smoked Beef
 
Something that is a bit of a pet peeve of mine is when you see something presenting as a ‘healthy version’ of a dish by replacing the main ingredient that makes it the original dish – but still calls it the original. Like a “burger”  or ‘taco’ which uses lettuce leaves instead of a bun or tortillas. Those are lettuce leaf wraps, or even a fusion version of san choy bau. I am happy to eat them, happy for them to be a dish but don’t try and trick me by calling it a burger or a taco. Or anything called a cheesecake that doesn’t contain cheese. I love cashew cream, and the various versions of nut cake that try to simulate the cheesecake texture…but they are an entirely different category of cake!

The other main one is spaghetti using zucchini. I love zucchini ‘noodles’ as a side dish. I’ve had a huge variety of dishes with the zucchini prepared this way that have been tasty ways of eating the vegetable…but no matter how hard you try convince me otherwise, they are not a replacement for flour and egg noodles. It is not spaghetti. Call it something else. Please!

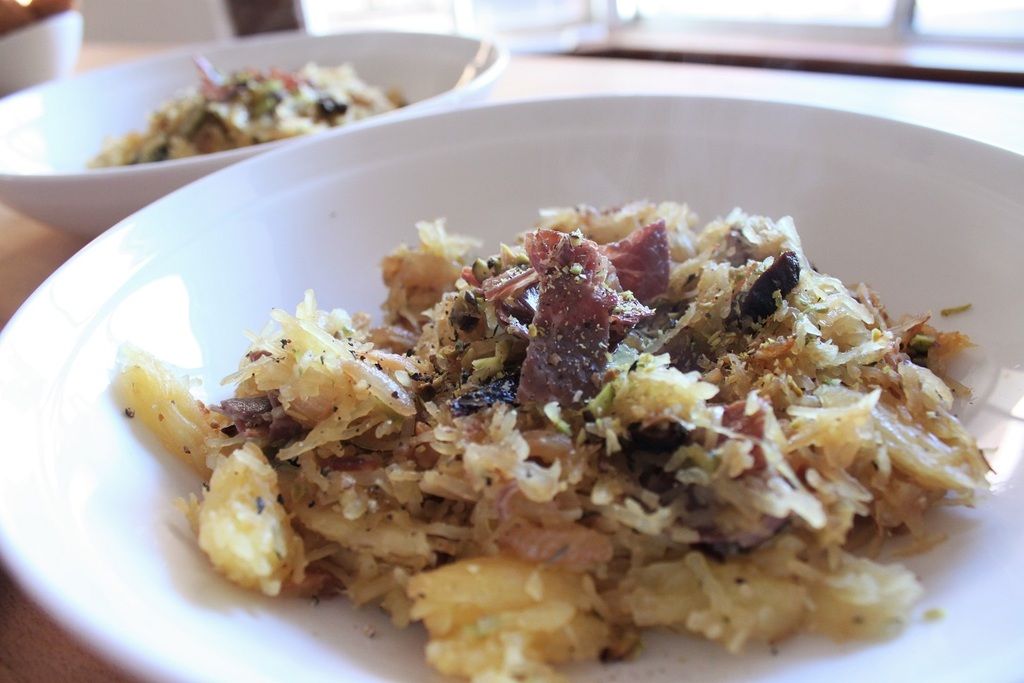
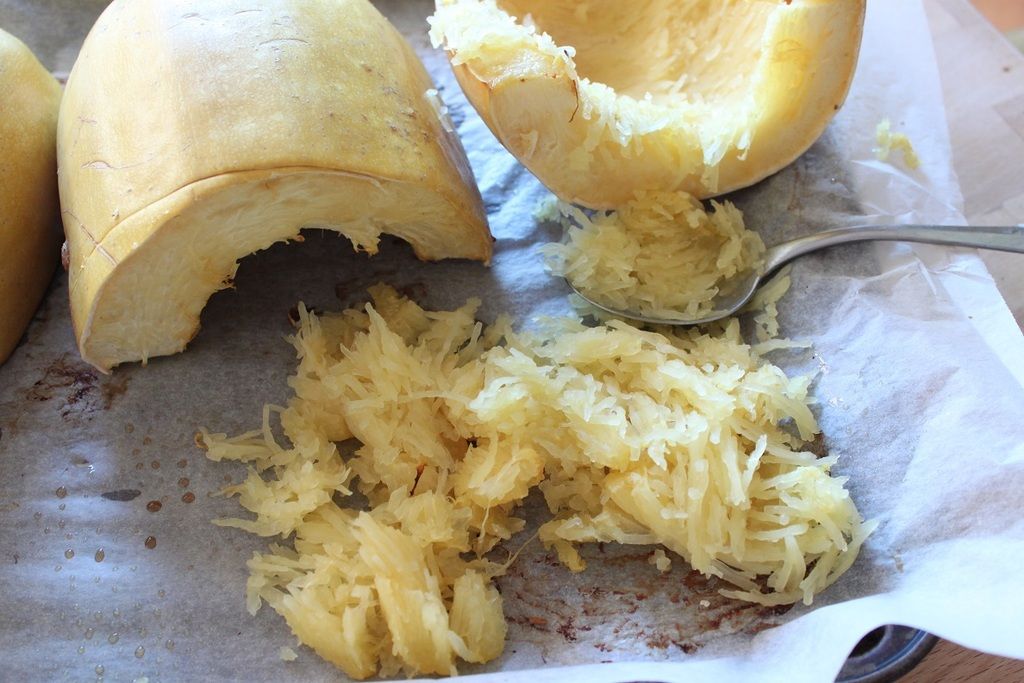
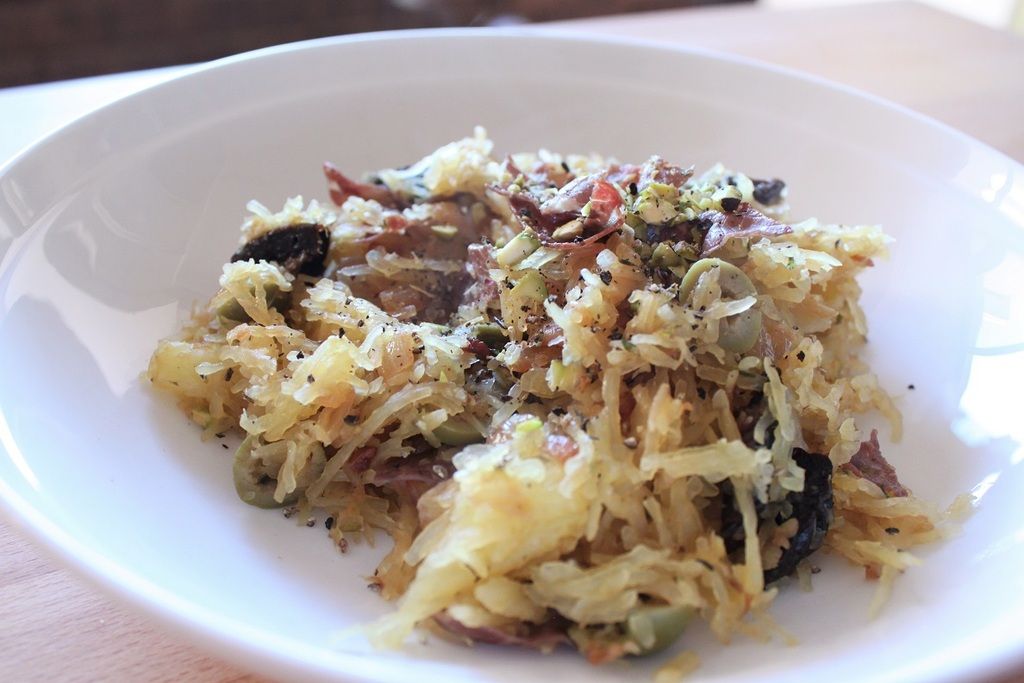
Given my mini-rant, this dish might be confusing at first because it is buttered spaghetti squash. But I am not trying to trick you into thinking it is a low-carb or gluten-free version of buttered noodles. That’s just the variety of squash that I used. Spaghetti squash aren’t hugely common in Perth although the ones I buy are grown in the Southern Forests Region (I get mine from the Nanna Shop), and they are named for the flesh that when roasted, you can pull it into strands that look, well, spaghetti-like. But, make no mistake. This is a delicious vegetable dish, it is not pasta. Although, you could make this a pasta dish by subbing in noodles for the squash.

If you can’t find a spaghetti squash, you can use Kent or butternut pumpkin diced into 1-2cm cubes and roasted until tender but not falling apart. This dish uses half a spaghetti squash, but I tend to roast a whole one each time, then use the leftover shredded flesh in another dish. Bresaola is a smoked meat you can find in good delis amongst the other cold meats. If you can’t get hold of any, prosciutto or bacon diced up and fried would work well.

Spaghetti Squash with Olives, Prunes and Smoked Beef

Spaghetti Squash with Olives, Prunes and Smoked Beef

1 spaghetti squash
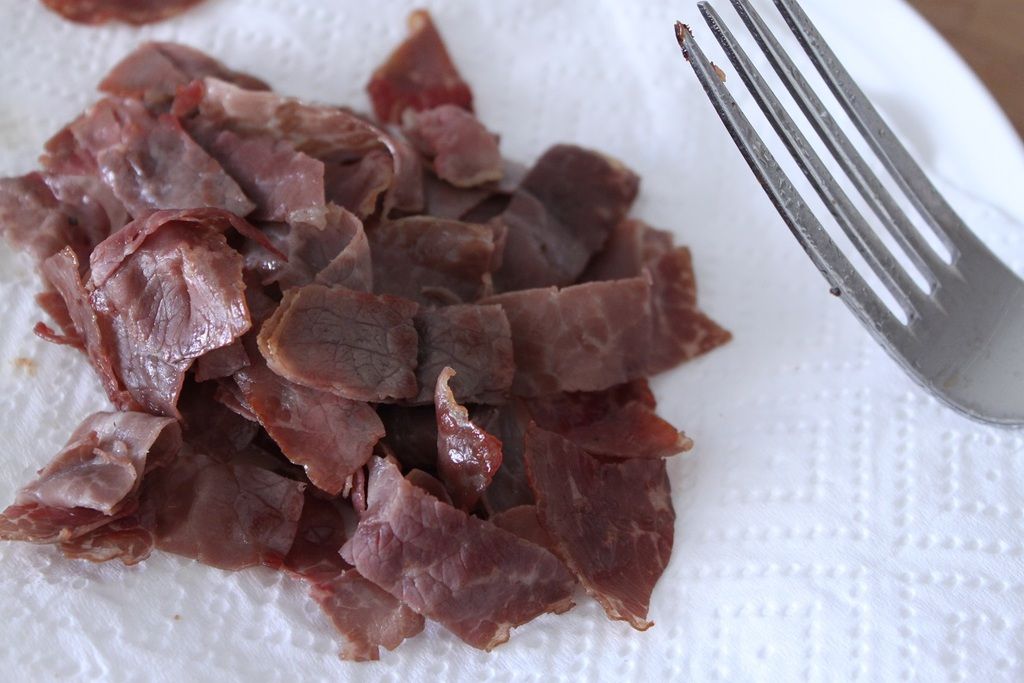
6 slices bresaola, cut into strips (if you can’t find, sub prosciutto or bacon)
3 tbsp olive oil
4 tbsp butter
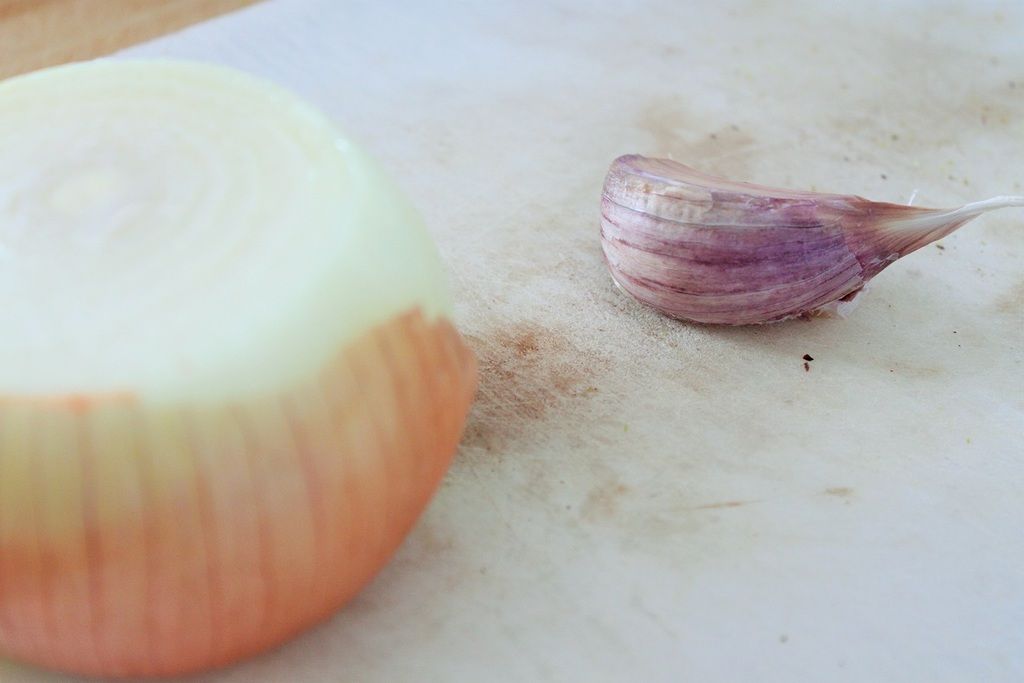
1 brown onion, thinly sliced into half moons
3 cloves garlic, minced
9 olives stuffed with pimento, sliced into rounds
5 prunes, sliced
Salt and pepper to taste
To serve
Toasted pistachios, roughly chopped

Preheat oven to 175C. Cut the spaghetti squash down the middle and scoop out the seeds. Line a baking tray with baking paper. Drizzle a little olive oil on the cut flesh of the squash and rub it over to distribute and coat thinly. Place, cut side down onto the baking tray and roast in the oven for 30-40 minutes, or until the flesh is tender. Remove from the oven and set aside to cool enough to handle.

Slice the bresaola into strips, and place into a frypan over medium heat. Cook, stirring here and there for around 2 minutes, or until some of the fat renders out, and it crisps and curls up in parts. Remove to a paper towel lined tray and set aside.

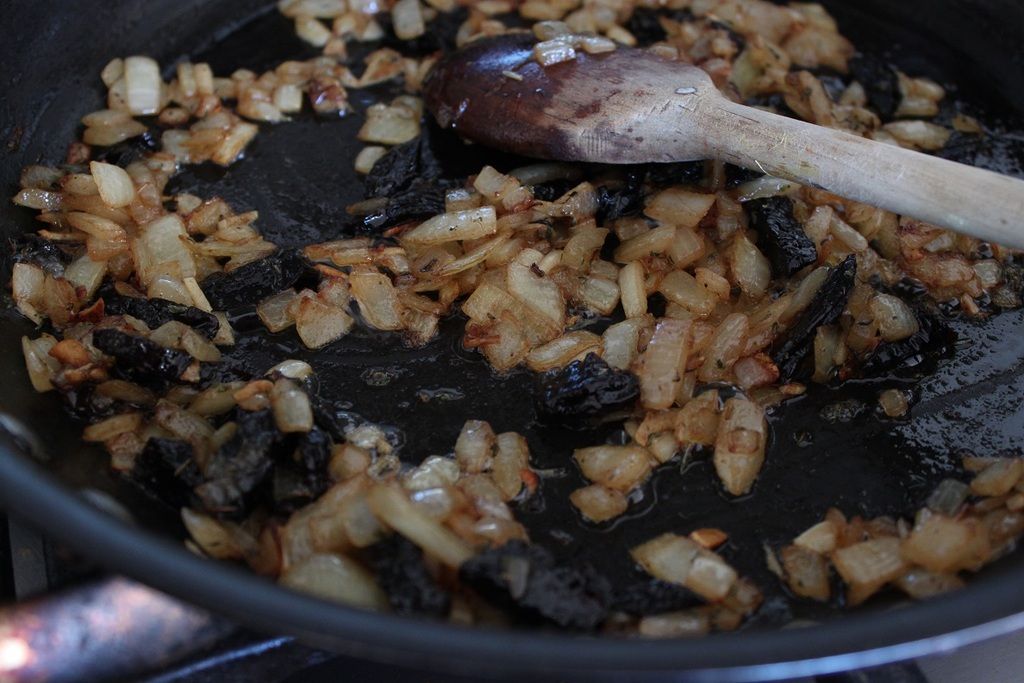
In the same pan, add the olive oil and butter, allow the butter to melt. Add the onion moons and ½ teaspoon salt and cook until translucent, 3 minutes, then add the garlic. Continue cooking until the onions become a nice golden colour, around 20 minutes.
 
Meanwhile, pull the spaghetti squash flesh into strands with a fork. Put half away in a container in the fridge for another use. The other half, stir through the buttery onions, ensuring it is all well coated. Then add the olives, prunes and bresaola and stir to evenly distribute. Check for seasoning, then serve with chopped pistachios.
Spaghetti Squash with Olives, Prunes and Smoked Beef

Tuesday, June 2, 2015

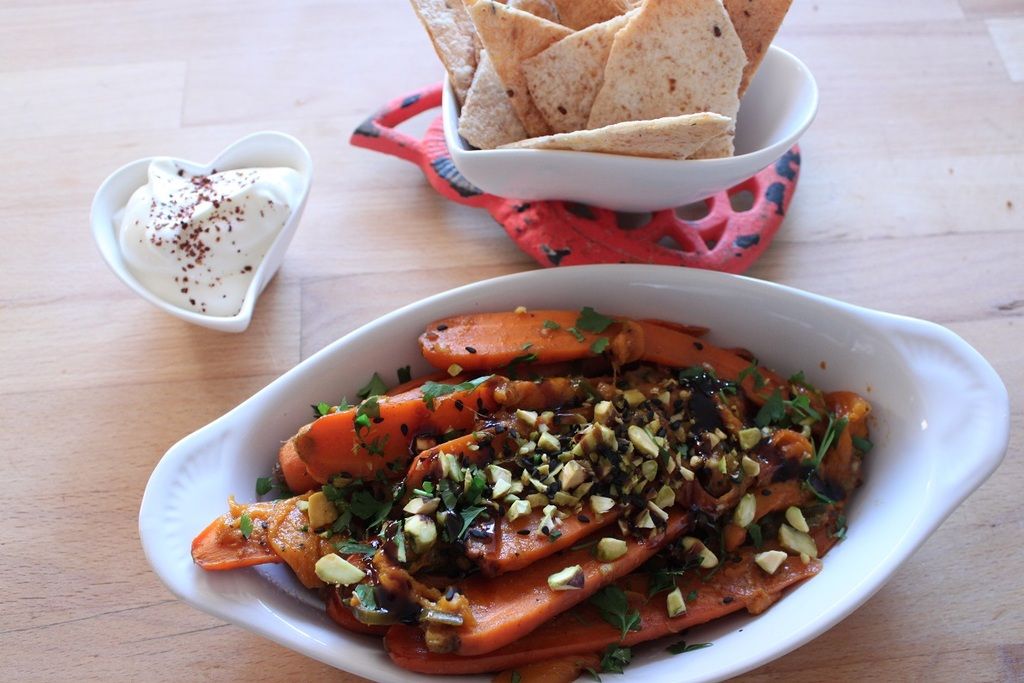
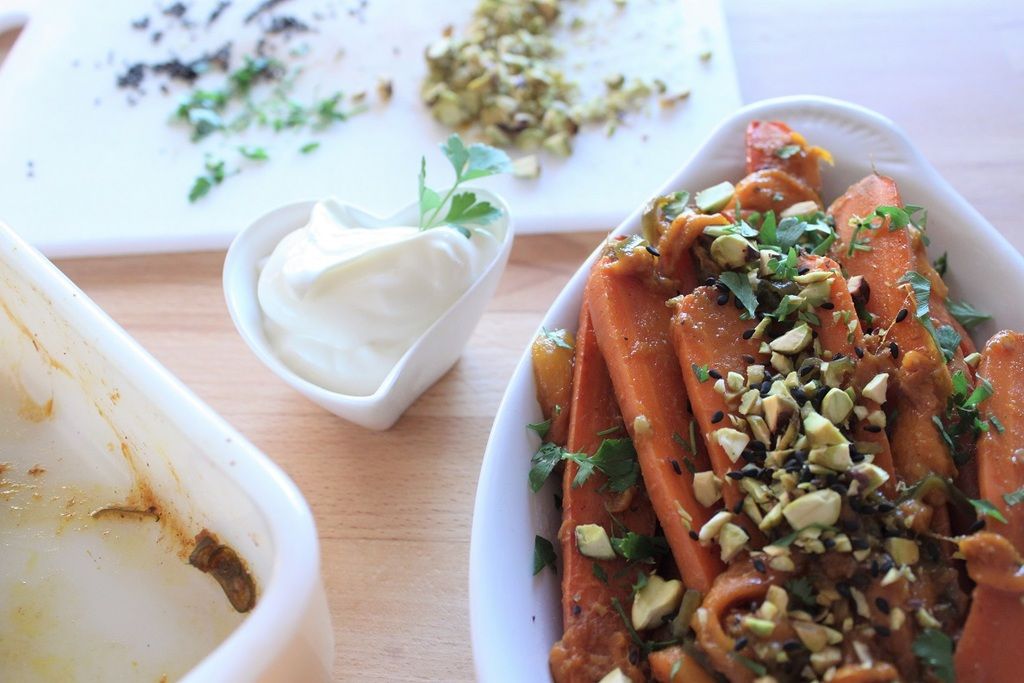
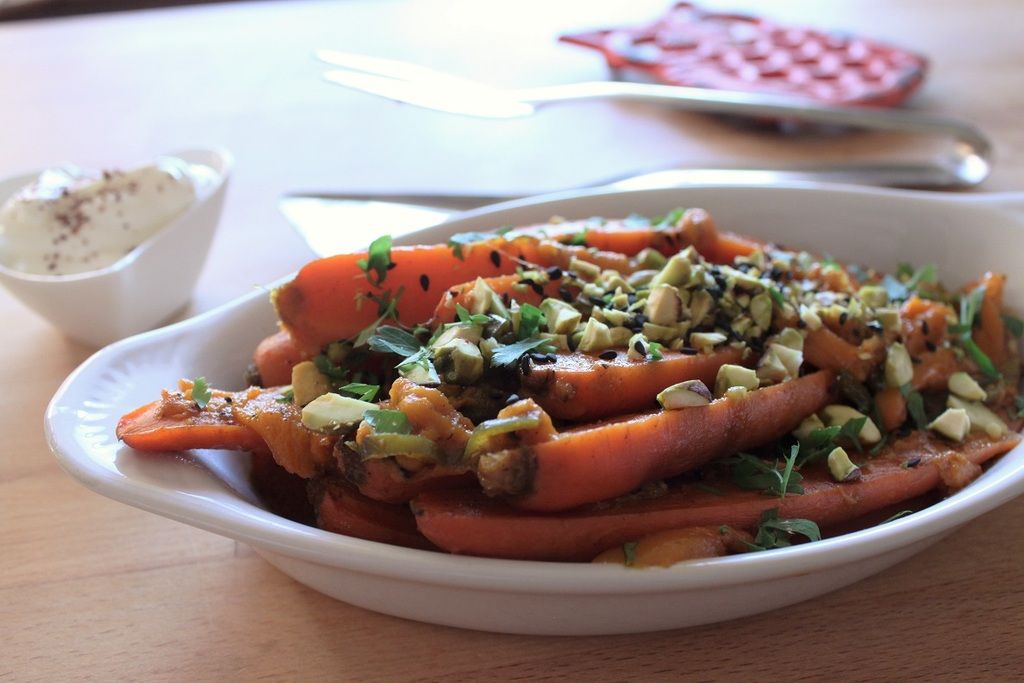
Simply Delicious - Cumin Mango Roast Carrots

Simply Delicious - Cumin Mango Roast Carrots

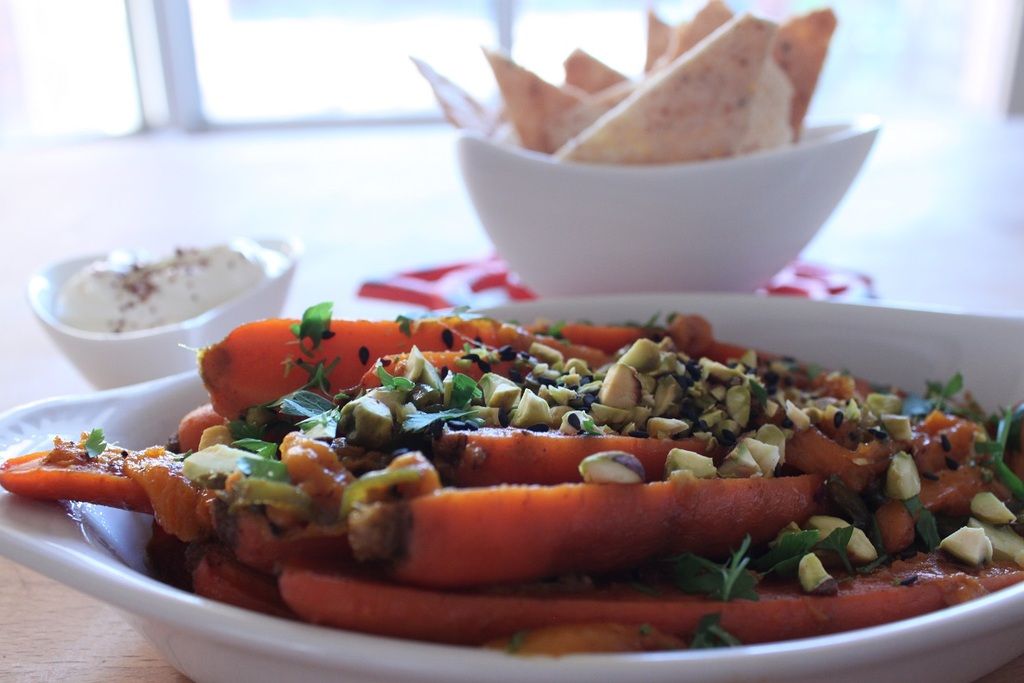
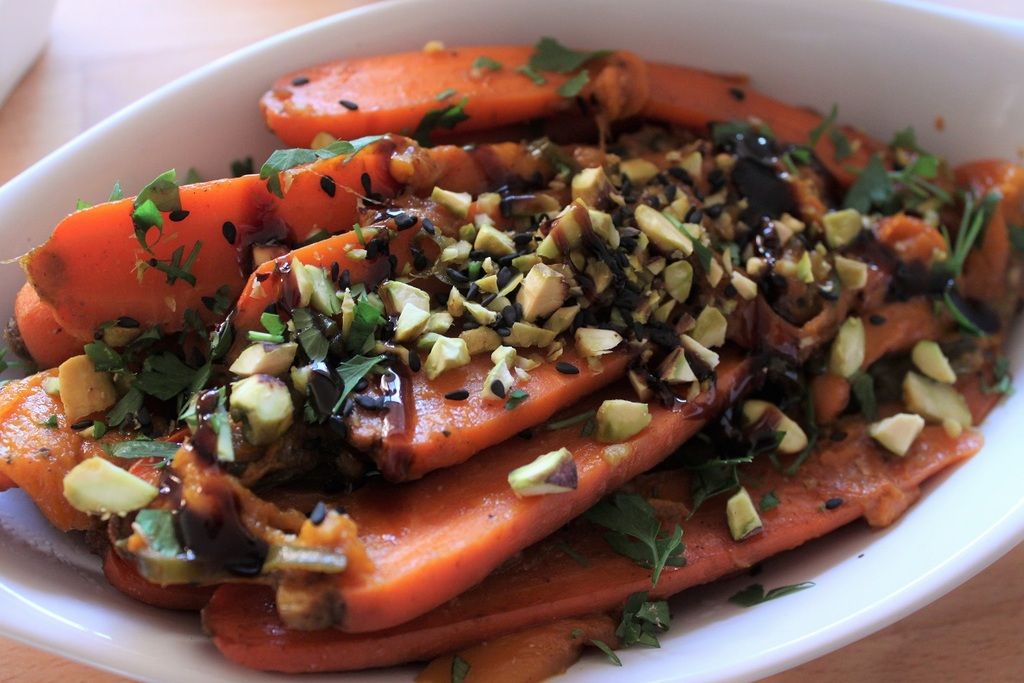
I don’t have much to say about this recipe, other than I had a bag of lovely baby carrots from the Nanna Shop. And I had a one lone mango left from my tree. And I was reading a book on Moroccan and North African cuisine. It all sort of just happened, from there. Cumin, fruit and vegetables. Simple, but tasty. Like a mango-ey version of honey roasted carrots. If you can, toast some cumin seeds in a pan and grind to a powder yourself.

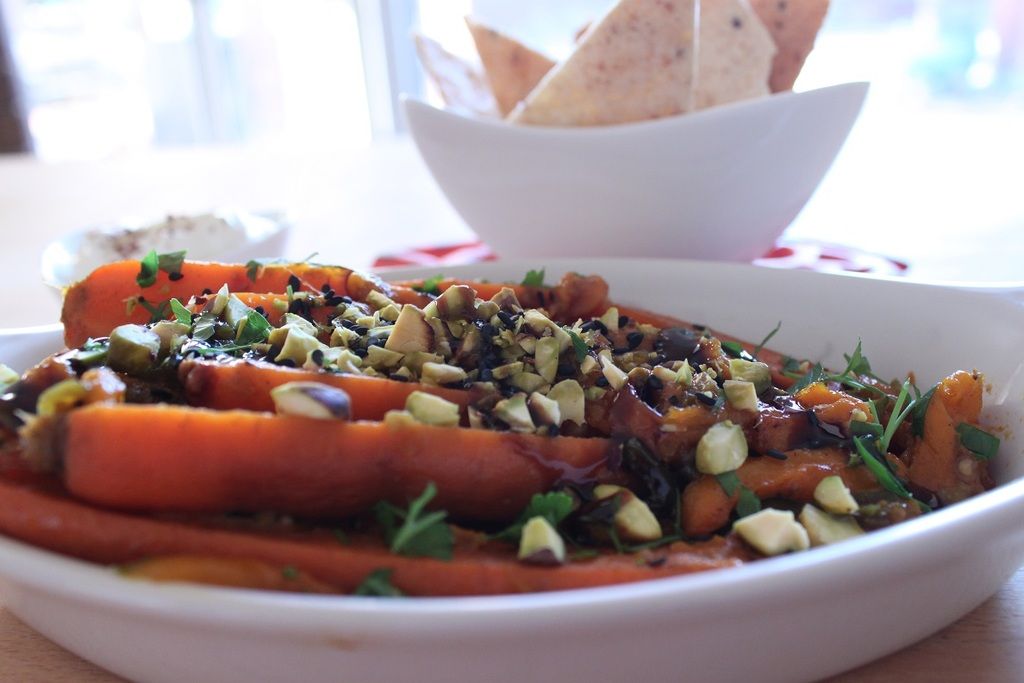
This is a sweet vegetable dish, so it’s a perfect accompaniment to richer, fattier meats like lamb. And drier style wines. We ate it with toasted tortillas, Greek yoghurt and lamb sausages. All in all, a very nice enjoyable meal.

I had leftovers with a poached egg the next day for lunch.
Simply Delicious - Cumin Mango Roast Carrots
Simply Delicious - Cumin Mango Roast CarrotsSimply Delicious - Cumin Mango Roast Carrots


Cumin Mango Roast Carrots

500g baby carrots, scrubbed
1tbsp olive oil
1 mango, peeled, sliced
¼ tsp ground cumin
¼ tsp ground cinnamon
1 jalapeno, finely sliced
Generous sprinkling sea salt and fresh black pepper

To serve:
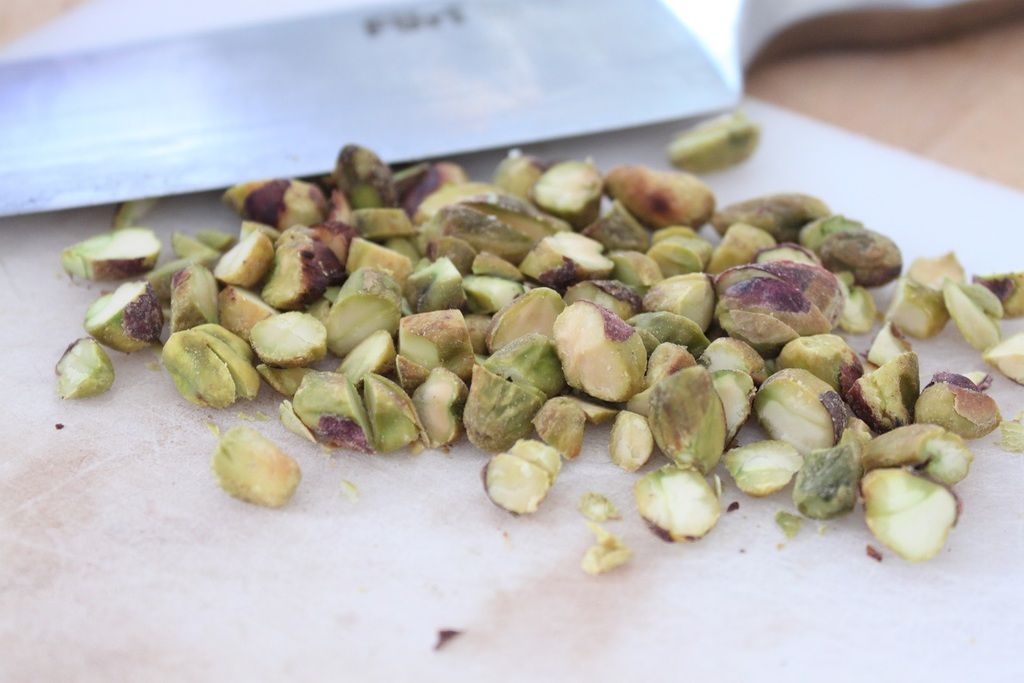
Toasted pistachios, roughly chopped
Sesame seeds (I used black, but white are fine too)
Sprig of coriander, leaves removed and finely chopped
Drizzle balsamic glaze

Preheat the oven to 170C

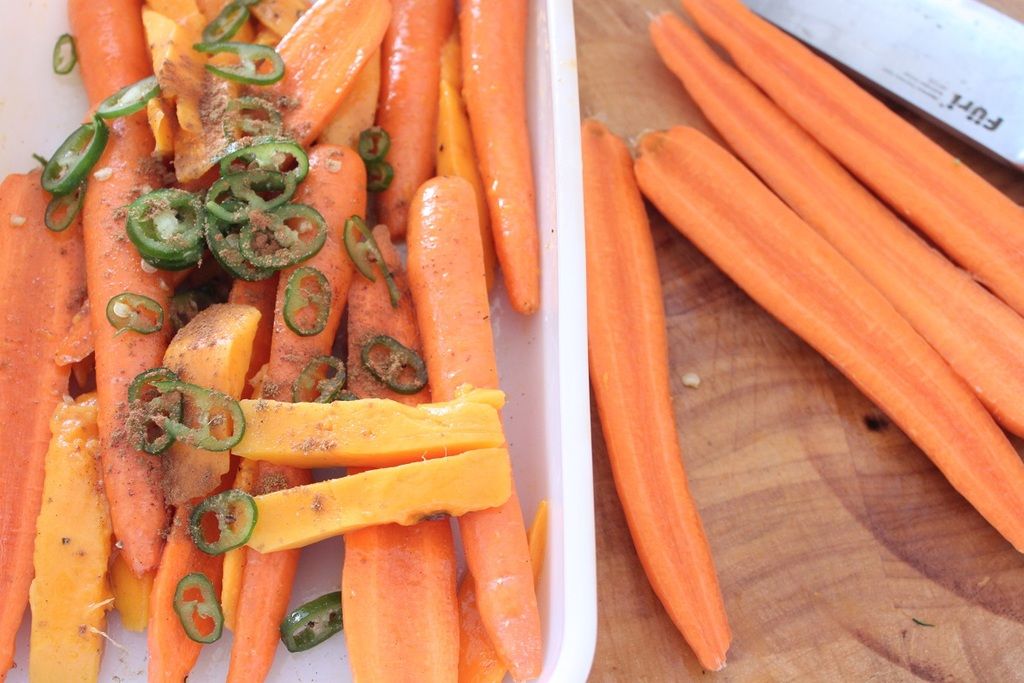
Make sure the baby carrots are approximately the same thickness, so cut in half lengthwise if necessary. Drizzle with olive oil, the cumin, cinnamon and season well with salt and pepper. Toss to coat. Add the mango and jalapeno and toss gently. You don’t want to break the mango up too much.

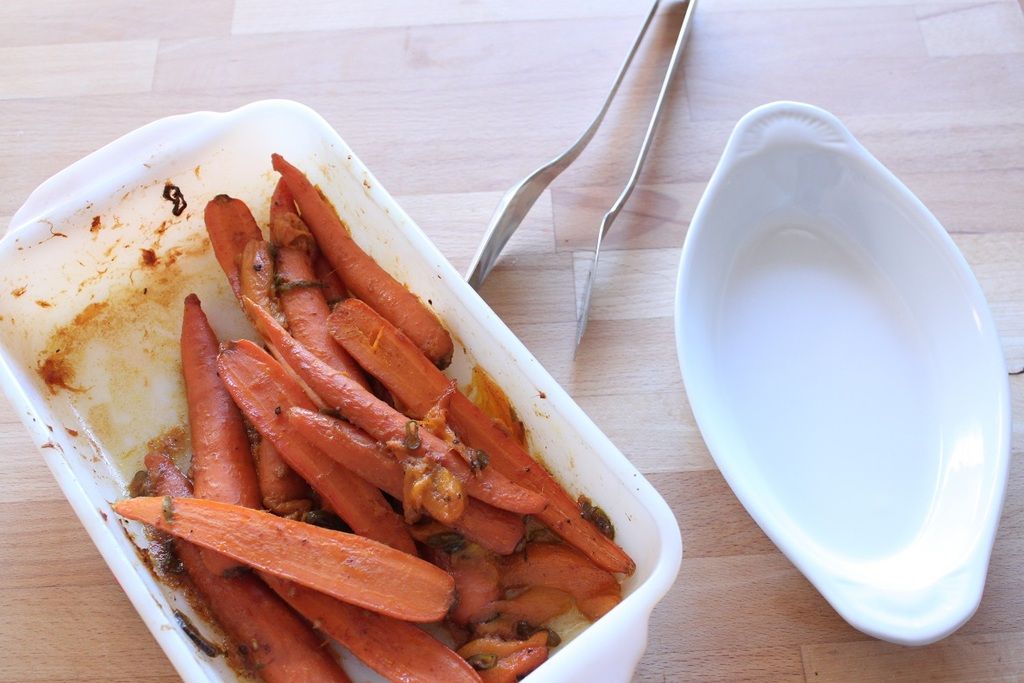
Roast for 20-25 minutes, or until mostly tender, turning at around the half-way mark and coating the carrots in the mango that’s broken down.

Turn up the oven to 200C and cook for a further 5-10 minutes, so the sugars caramelize a little.

Remove from the oven, drizzle with balsamic glaze, sprinkle with the nuts, seeds and coriander.

Simply Delicious - Cumin Mango Roast Carrots