Showing posts with label bacon. Show all posts

Monday, July 14, 2014

Produce Experimenting - Taro and Bacon Hash

Produce Experimenting - Taro and Bacon Hash

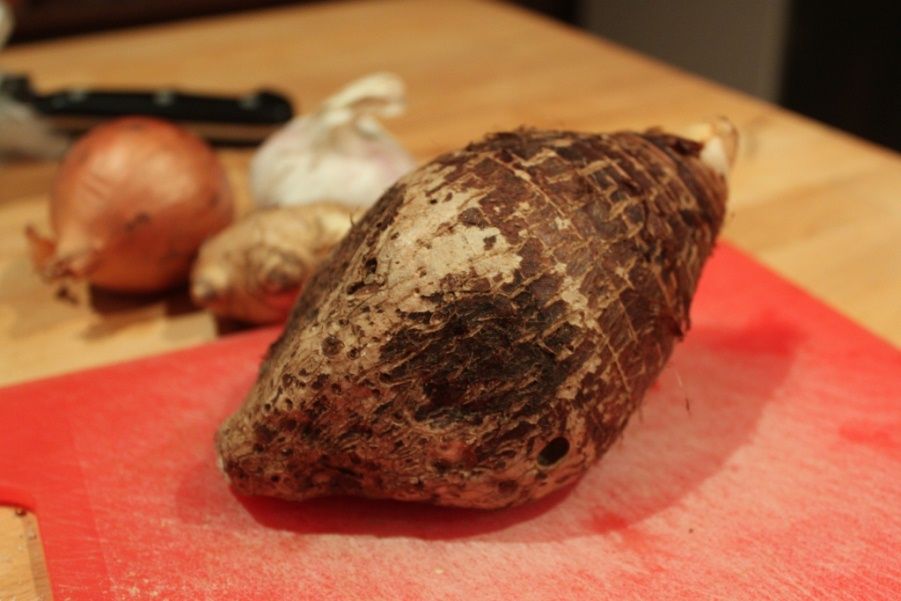
I bought a taro the other day. I saw it at the greengrocers and had never seen one before in the shops, so I got excited and bought one. Then realised I had absolutely zero idea of what I was supposed to do with it. I remember seeing it in recipes and on menus, but I couldn’t pick enough of a memory to know what to do with it. A quick google search indicated that as a tuber it can be cooked pretty much like a normal potato. But that it absolutely must be cooked to get rid of a chemical that has a toxicity that causes gout-like issues. Not a problem, I prefer my tubers cooked. It’s also used extensively to make desserts. Before I contemplate getting into taro desserts, I thought I’d cook one up in a more traditional-potato manner in order to get a feel for what it’s taste and texture is like. That also meant curries and stews were out.

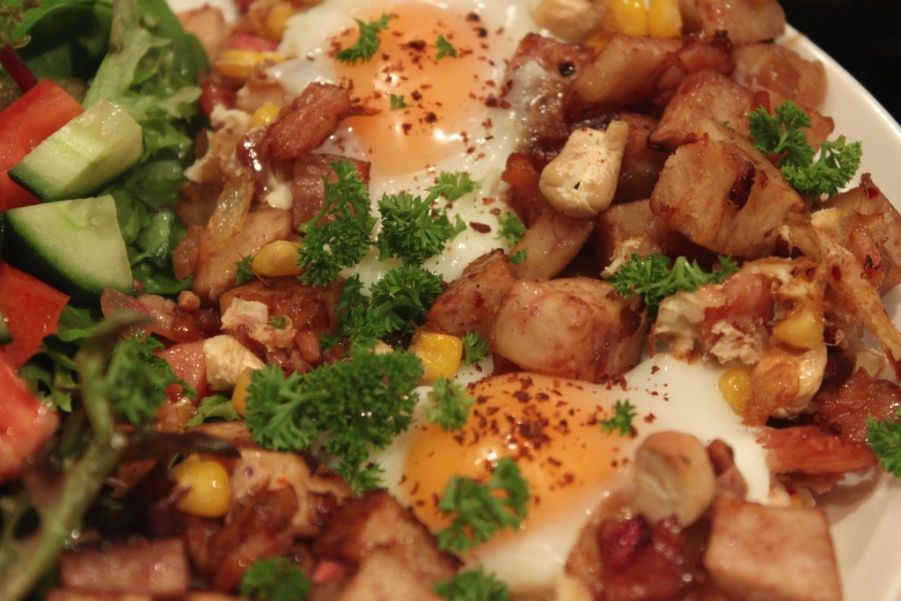
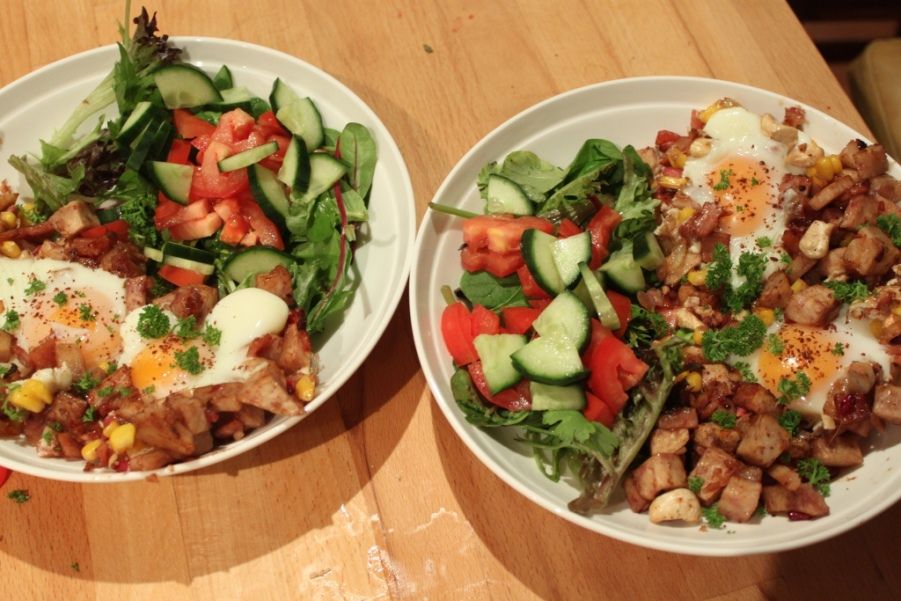
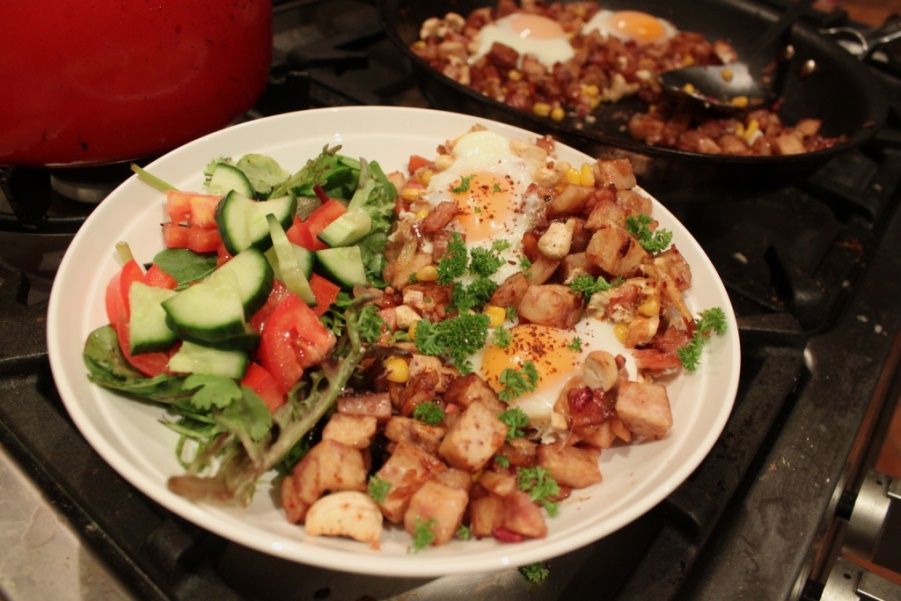
So, that somewhat narrowed down what I was going to do with it. And it was another cold, rainy night which automatically lends itself to comfort food. I have said it before and I’ll say it again…I love breakfast. So breakfast for dinner is a pretty huge comfort food for me. Taro Hash with eggs it was. Add some bacon – because it’s bacon. And some ginger, pomegranate and chilli for a pop of brighter flavours and you have a pretty amazing dish.

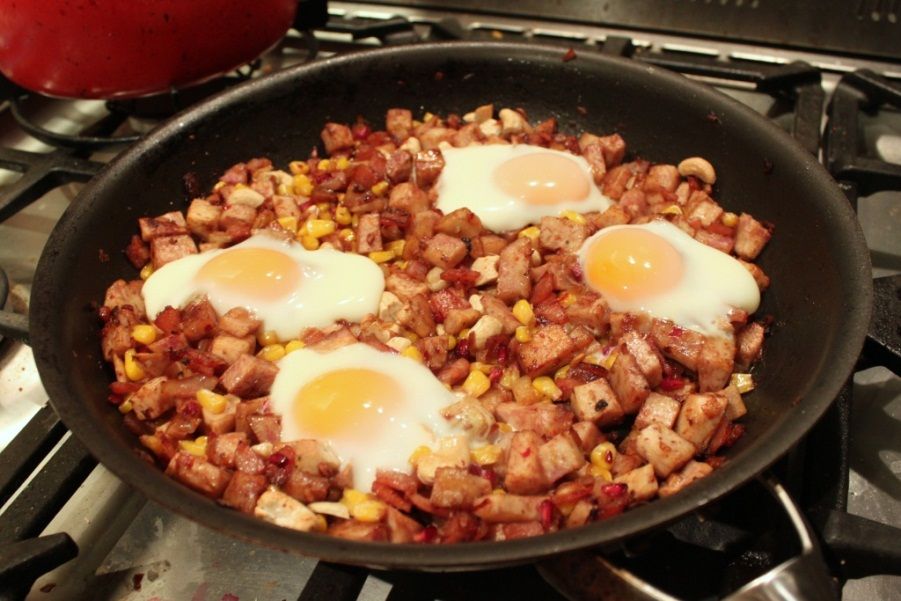
Serve with some fresh parsley and sumac scattered over the perfect yolks. Then eat with hot sauce. The taro cooked this way developed a slightly chewy texture and it has a nutty, somewhat earthy flavour which worked really well. I’m thinking I might need to try some more taro recipes in the future. Have you tried taro before? What’s your favourite way of preparing it? Comment below or email me!
Produce Experimenting - Taro and Bacon Hash

Taro and Bacon Hash

(serves 2 big servings)
1 large taro, peeled and cut into 2cm dice
1 brown onion, diced
2 cloves garlic, minced
Generous grind salt and pepper
Thumb sized piece of ginger, peeled and grated
Juice of 2 limes
1 pomegranate, seeded
4 rashers eye bacon, diced
2/3 cup corn kernels
1 chilli, minced (or to taste)
4 eggs

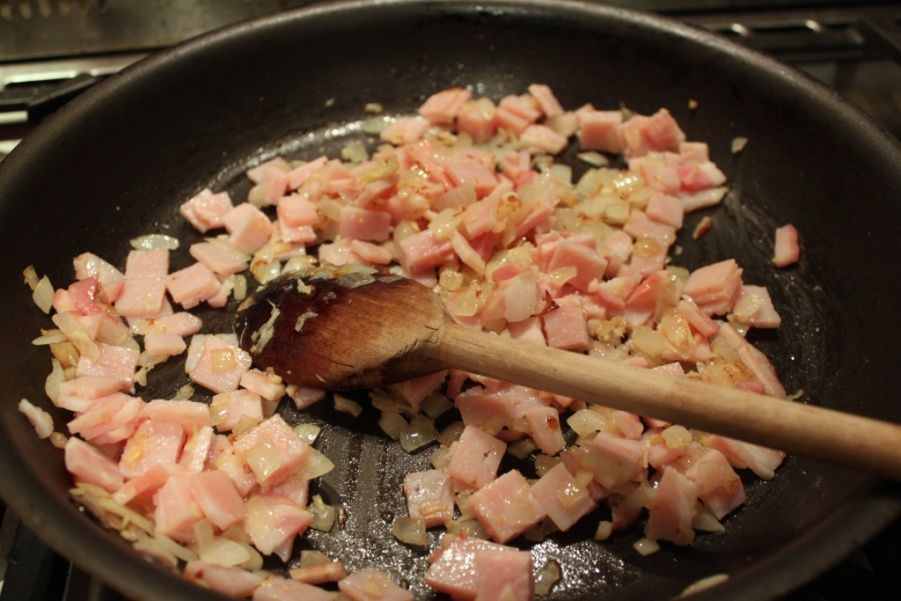
Heat a tall-sided pan that can also go into the oven to medium heat and add a generous splash of olive oil. Stir in the onions and salt and pepper, and cook 10 minutes or so until caramelising and soft and sweet. Stir here and there to make sure it doesn’t catch. Add the minced garlic and bacon and stir through.

Heat the oven to 175C

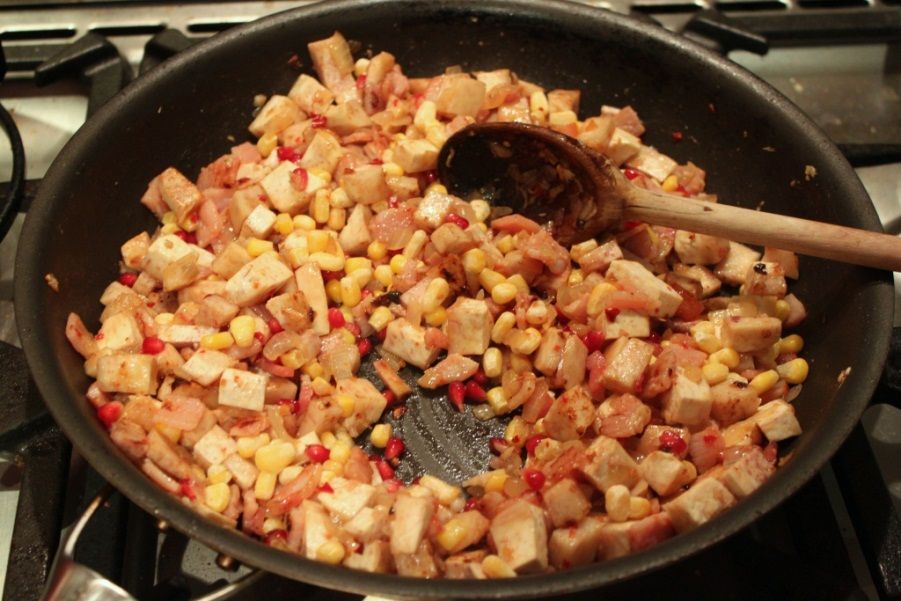
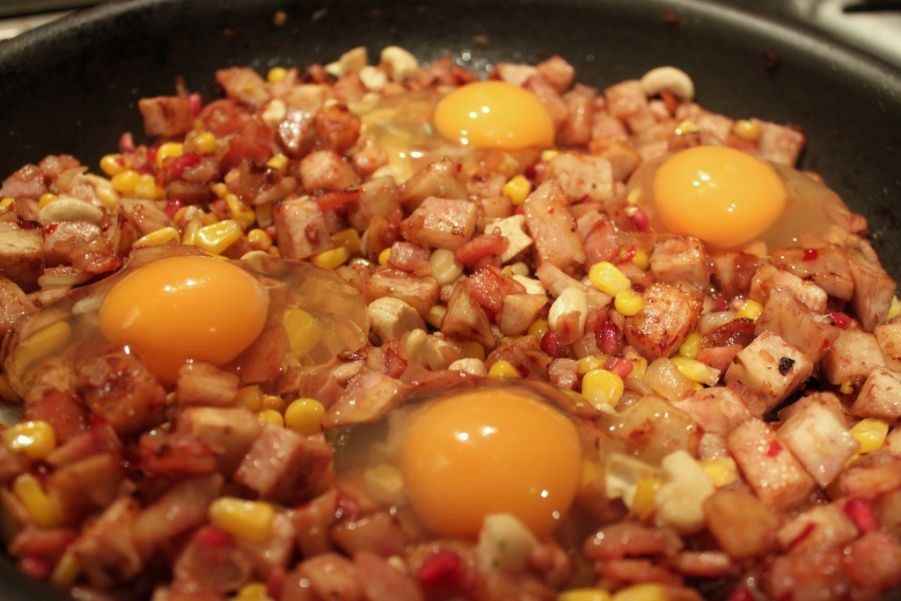
When the bacon is starting to colour and render out it’s fat, add the grated ginger, chilli and lime juice. Stir through the taro and corn, coating it in the oniony-mixture. Pop the pan into the oven and cook for 20 minutes or until the taro is mostly cooked and softer. Stir through the pomegranate seeds, then carefully crack the eggs into each ‘quarter’ of the pan. Pop back in the oven for 10 minutes or until the egg is cooked to your liking. I like runny yolks!

Sprinkle with some fresh parsley and sumac. Eat, curled up on the couch watching your favourite show!


Produce Experimenting - Taro and Bacon Hash

Monday, April 14, 2014

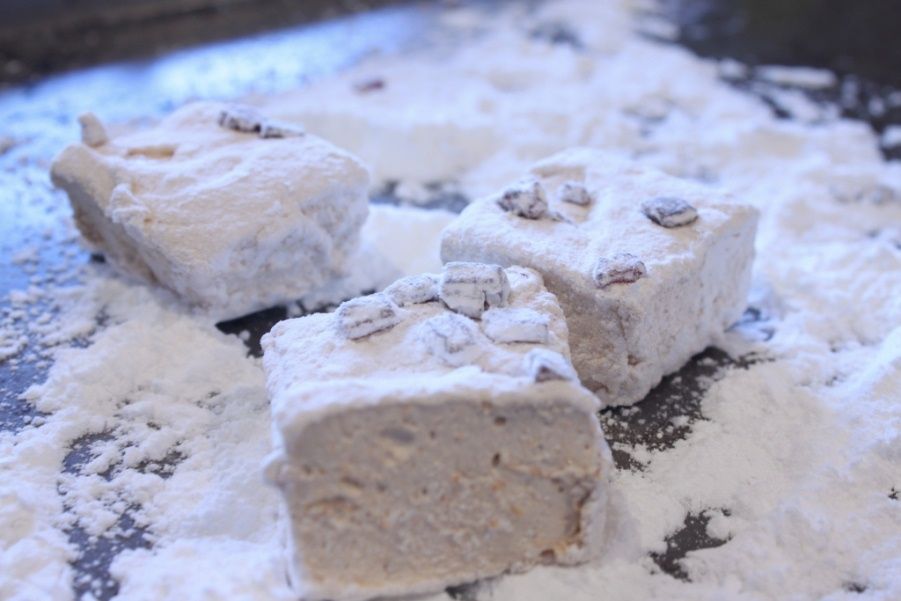
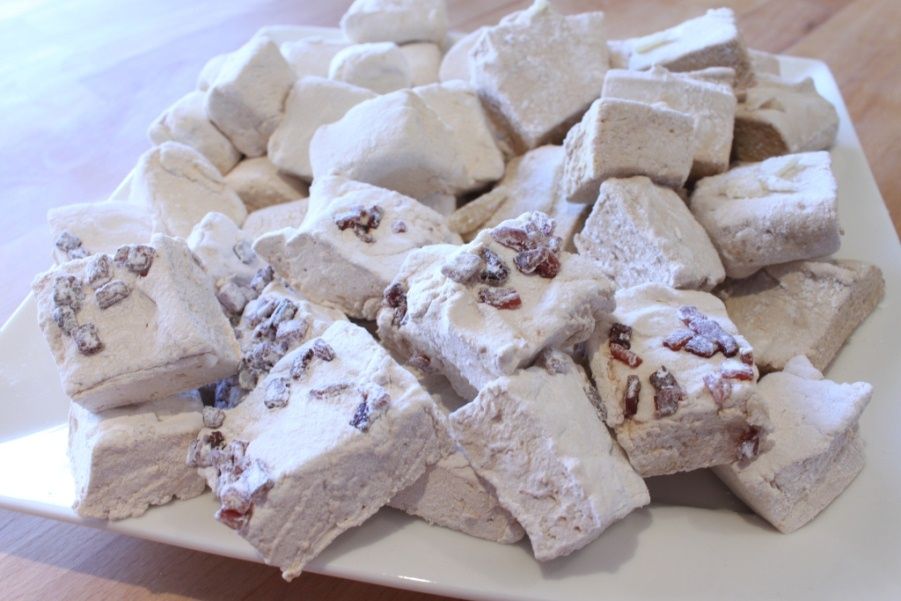
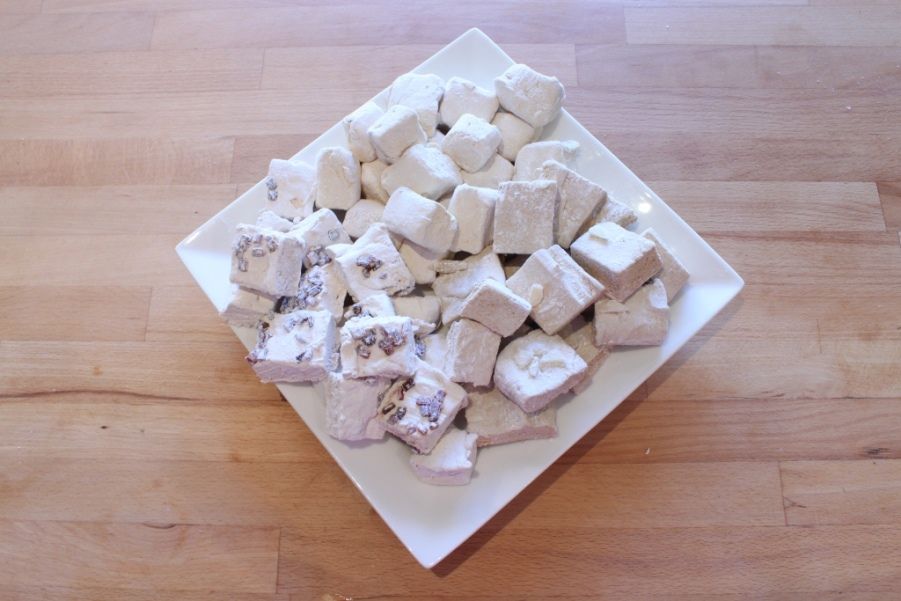
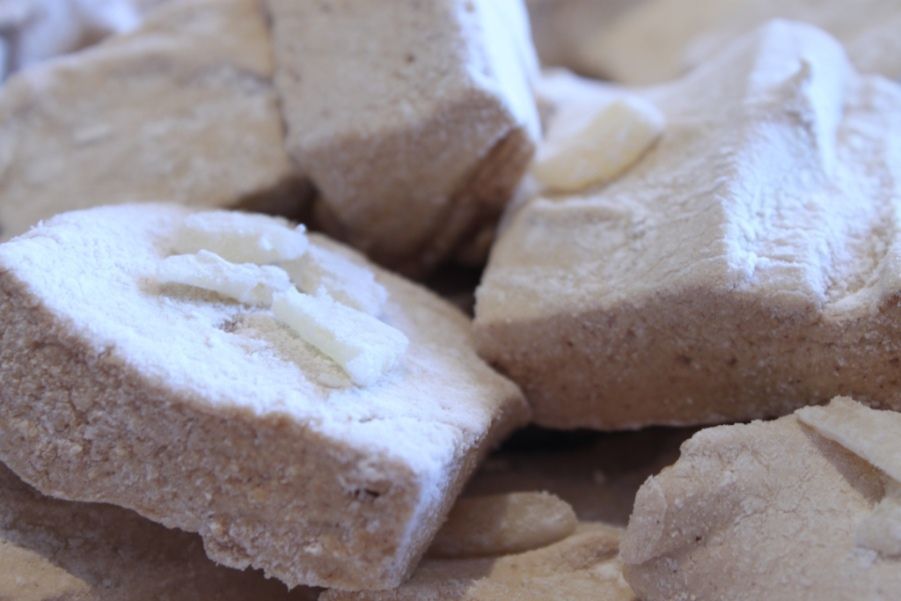
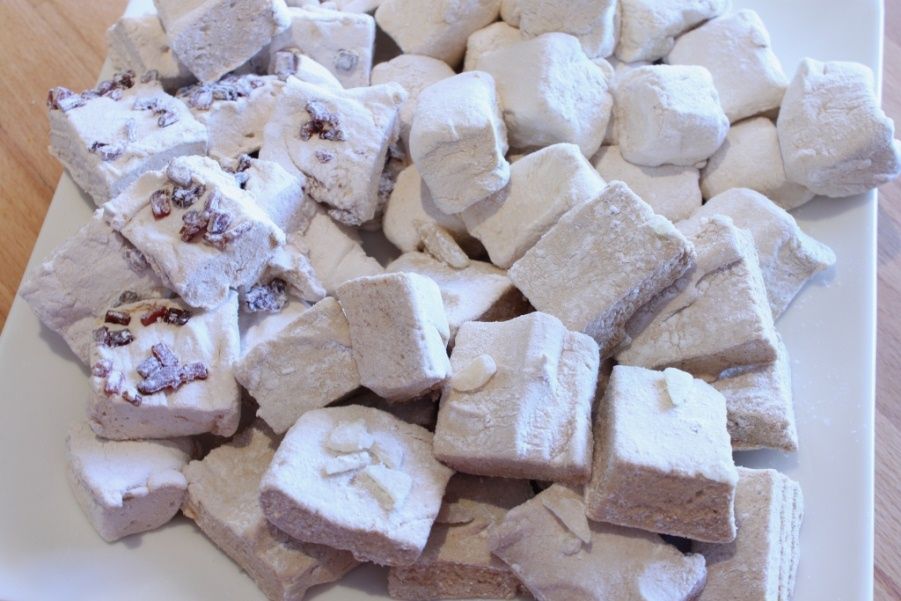
Veronica Mars(hmallow) Movie Snacks - Gingerbread Marshmallows, Pumpkin Maple Marshmallows and Rum & Raisin Marshmallows


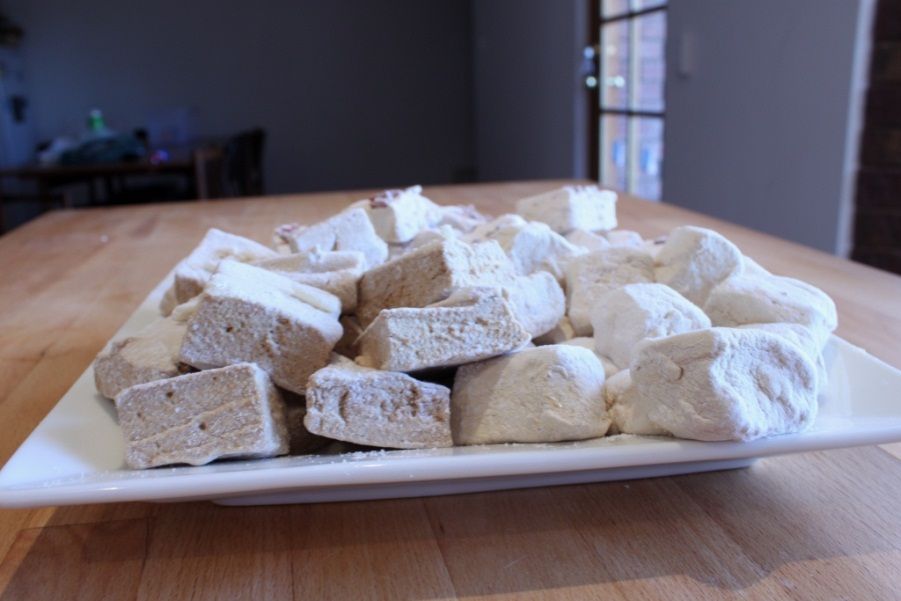
After the success of my “Much Ado About Joss Whedon” movie afternoon, I decided to have another at-home cinema experience when the new Veronica Mars movie was released. Last time we arranged various couches upstairs to create a two level cinema that seated 6. This time we went bigger and moved more couches upstairs to create a 10-seat, 2 level couch cinema. I was pretty stoked with how it turned out! It made lugging furniture up and down stairs totally worth it! Obviously such an occasion also requires snacks. And there was a quote in the original tv series about Veronica being a marshmallow (which was then echoed in the movie’s kickstarter package, and the movie)…so what a perfect excuse to experiment with making marshmallows.
 
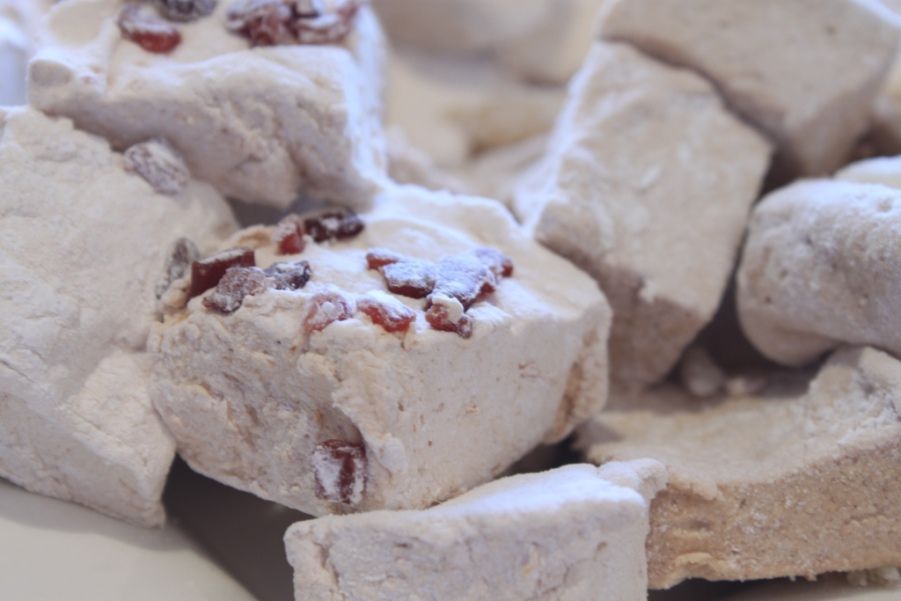
Gelatin is something that has always freaked me out. Most of my cooking is in a pinch of this, dash of that sort of style, and from what I gathered, you can’t do that with gelatin. It’s much more scientific than that in order for it to set. So it was with trepidation I approached marshmallow making. I looked up a whole bunch of recipes for marshmallows before cutting and pasting the common elements together and working out that it’s actually super, super easy. The only thing you do need is to have a candy thermometer to ensure you get the sugar part to the right temperature. And a standmixer. I made the first batch gingerbread flavoured, because, well, I like gingerbread. That turned out so easy that I immediately cleaned out my bowls and made two more batches. Pumpkin maple (with candied bacon) and rum and raisin. These were in honour of the fact that the screening day was also my brother’s birthday and he enjoys all of those things.

The basic idea of making marshmallows also makes it really easy to adapt the flavours. Take cold liquid of pretty much any description (alcohol will require more experimentation as that affects the gelatin) and add powdered gelatin. Boil sugar, water and a liquid sugar to 130C. Pour together and blend until really fluffy, try to spread it out without covering yourself and the kitchen in marshmallowy goo. Then throw icing sugar all over your entire kitchen dusting them! If you try any new and exciting flavours, let me know!

But this is an awesome and easy sweet and non-chocolate Easter treat to gift. Or if you want a chocolate-y Easter treat to gift, maybe my Bacon Bark or the chocolate Salami I made for Easter last year?


Gingerbread Marshmallows
Liquid Mix
½ cup water
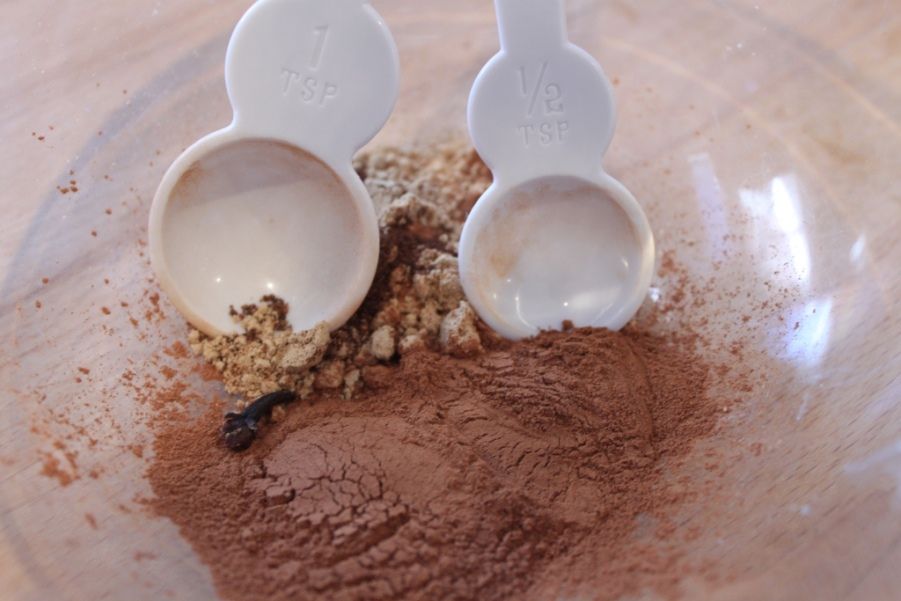
1 ½ tsp ground ginger
1 ½ tsp ground cinnamon
1 clove
pinch nutmeg
23g gelatin

Sugar Mix
1 ½ cups brown sugar
150mL golden syrup
½ cup water
¼ tsp salt

Dusting powder mix
(enough for all marshmallows)
1 cup icing sugar
½ cup corn flour

Chopped candied ginger for decorating

Add the spices and to ½ cup of hot water and leave aside to steep until it’s completely cold. Remove the clove.

Line a lamington tray or baking dish with baking paper or cling film. Make it big enough to overhang on all sides. Spray with oil to prevent sticking.

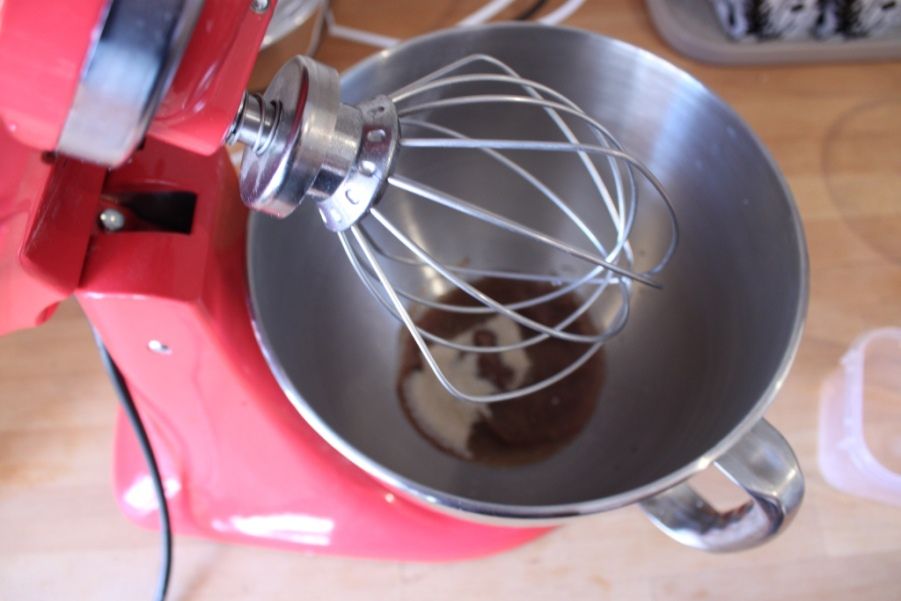
In your standmixer bowl, put the cold spice liquid and sprinkle the gelatin over the top. Leave to stand.

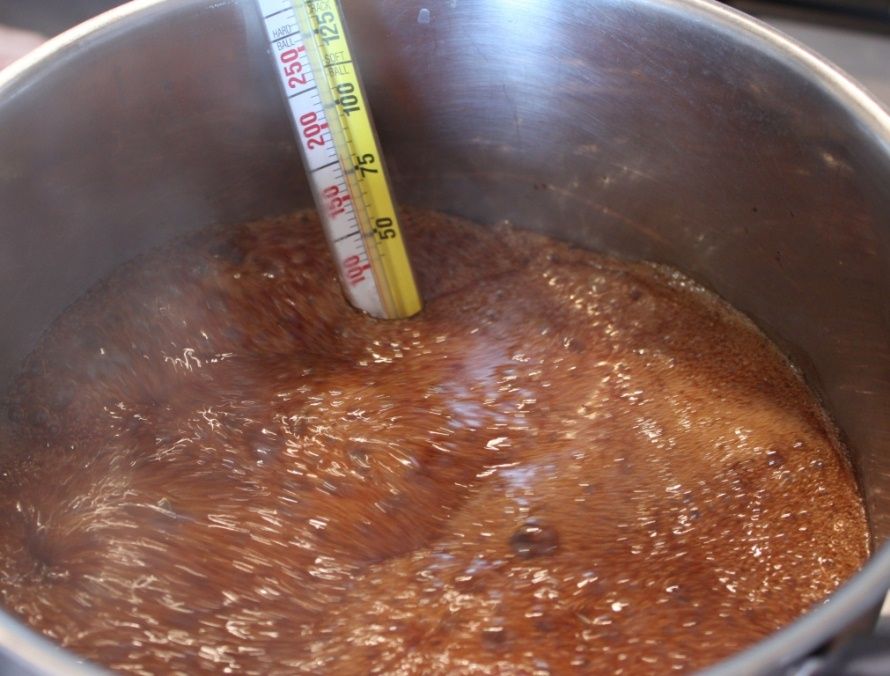
In a medium saucepan with tallish sides to cope with the bubbling, combine the golden syrup, salt, sugar and ½ cup of water. Cook over a medium heat and stir gently to dissolve the sugar. Raise the heat and boil until it reaches 130C on your candy thermometer. Keep it moving by swirling the handle, but don’t stir. When it reaches 130C, remove from the heat.

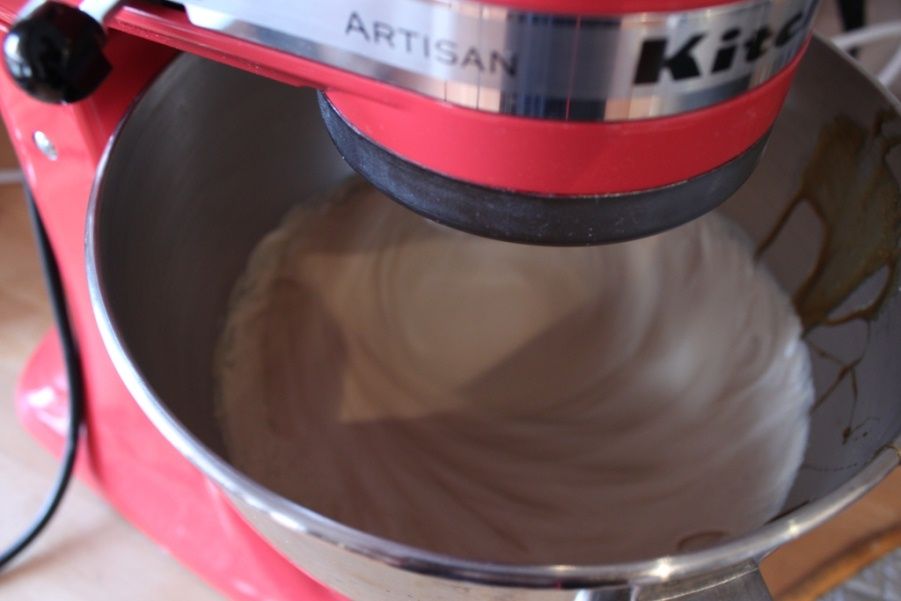
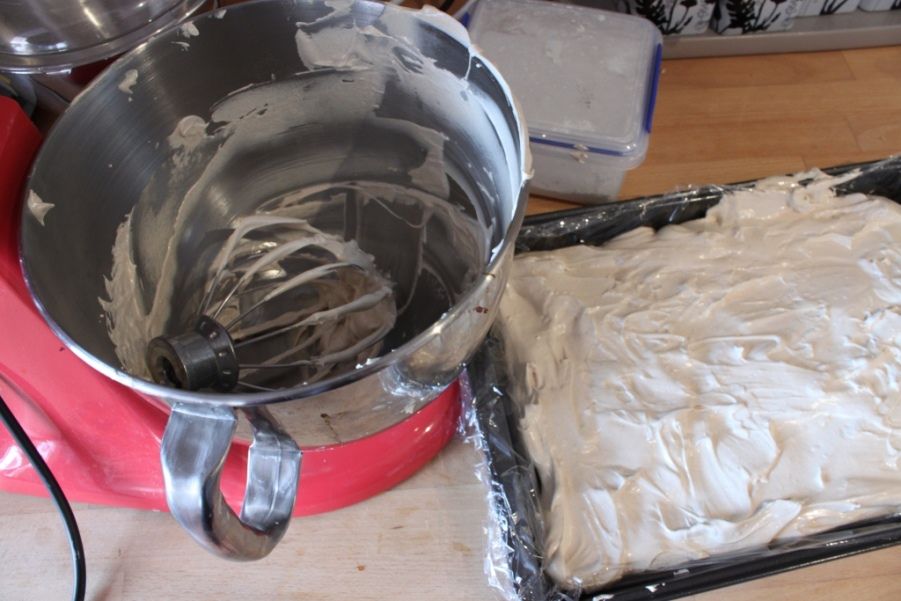
Attach the whisk to your standmixer and turn on low, mix the gelatin mixture for 1 minute, then turn the mixer up a bit faster and slowly drizzle the hot sugar mix down the side of the bowl with the mixer still going. Don’t let it touch the whisk. Increase the speed to medium/high and leave it to whisk until the mixture is pale and fluffy and looks like really sticky meringue. This will take at least 5 minutes. As it whisks, it’ll have bubblegum looking strands pull away.

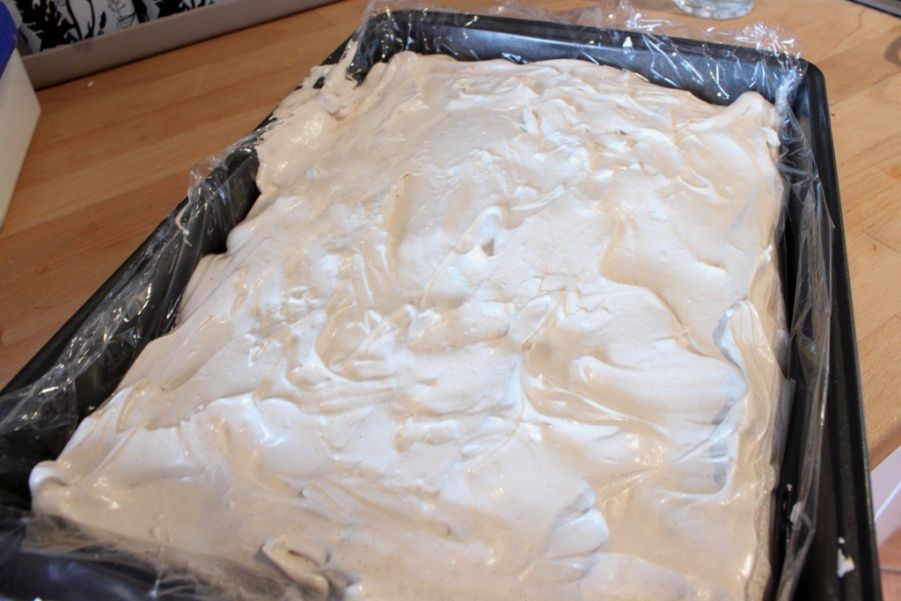
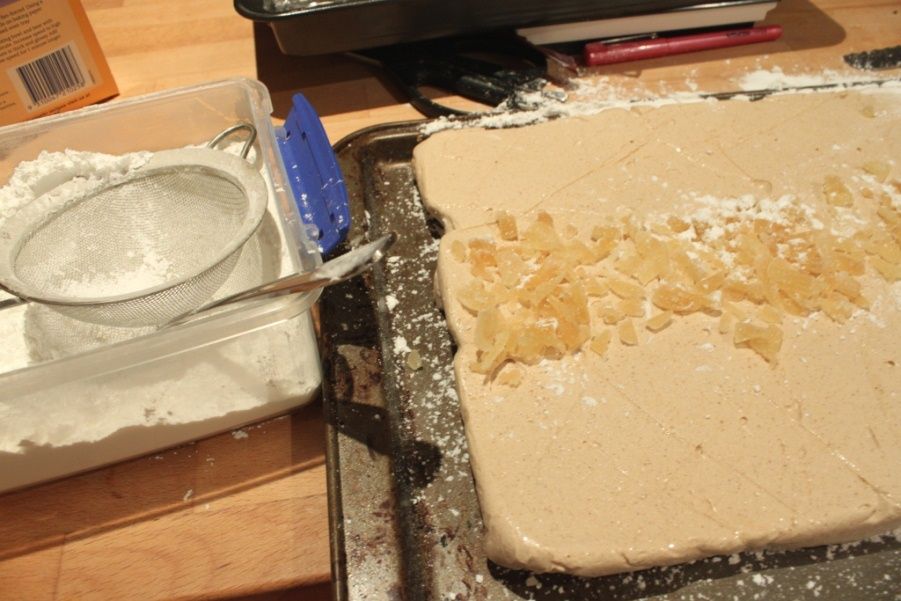
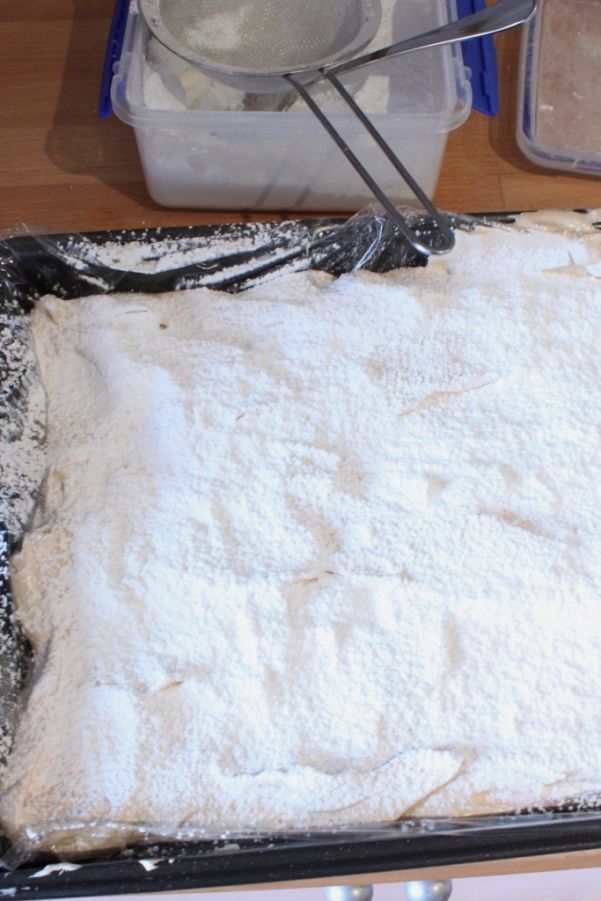
Pour the mix into the lined pan and use a spatula to smooth the top. I sprayed oil on the spatula to help it not stick. Sprinkle candied ginger on top, then dust with the dusting mix generously on top. Set aside to set, it’ll take around 4 hours.

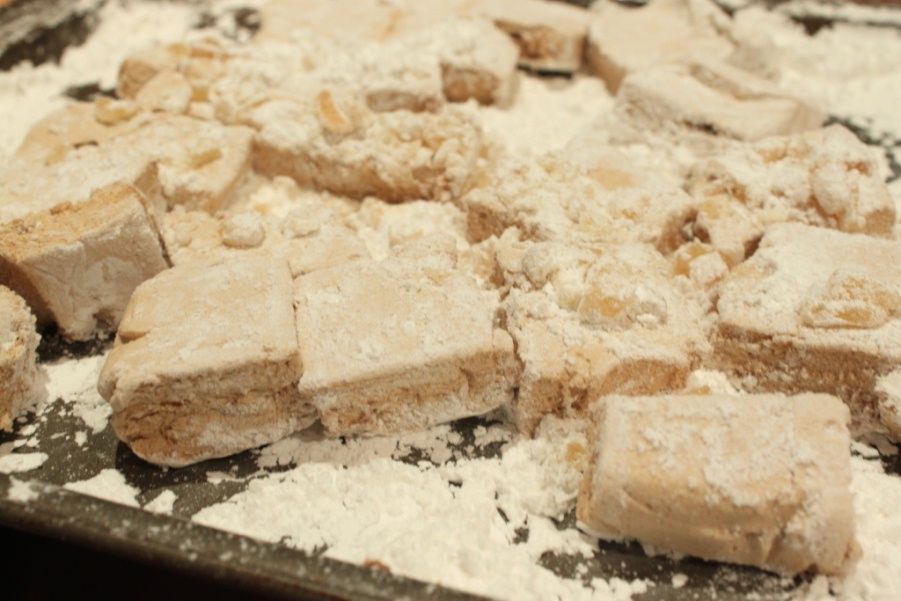
In a baking try, dust a layer of dusting mix, invert the tray and tip out the marshmallow onto it. Cut up the marshmallows and dust all exposed sides. Shake off the excess and store in airtight containers in a cool dark place. Should last around 3 weeks. If you live in a humid area (such as Perth where it’s April and still 35C), store in the fridge.
Pumpkin and Maple
Liquid Mix
½ cup pureed pumpkin
2 tbsp water
½ tsp ground cinnamon
pinch nutmeg
23g gelatin

Sugar Mix
1 cup white sugar
½ cup dark brown sugar
150mL maple syrup
½ cup water

Dusting mix
3 rashers bacon
1 tbsp maple syrup

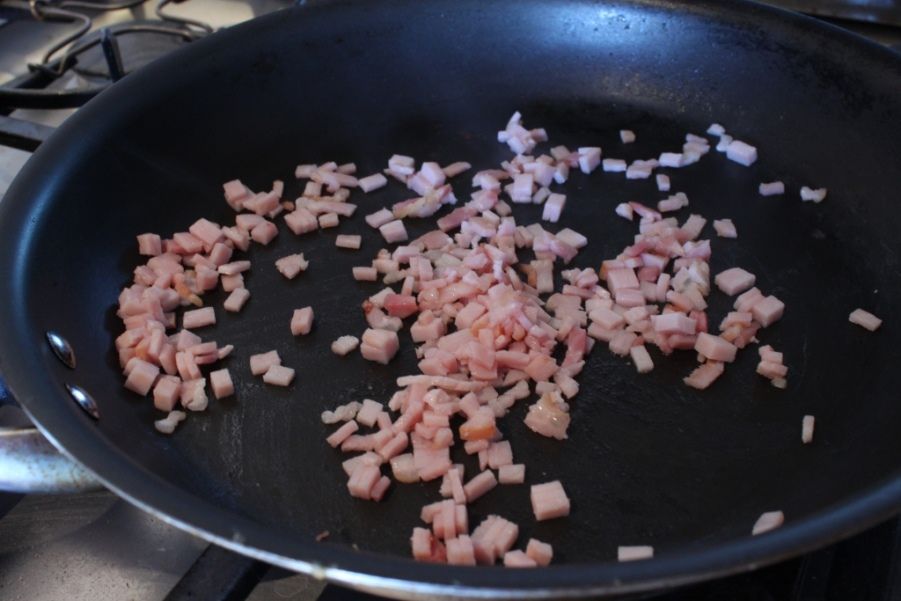
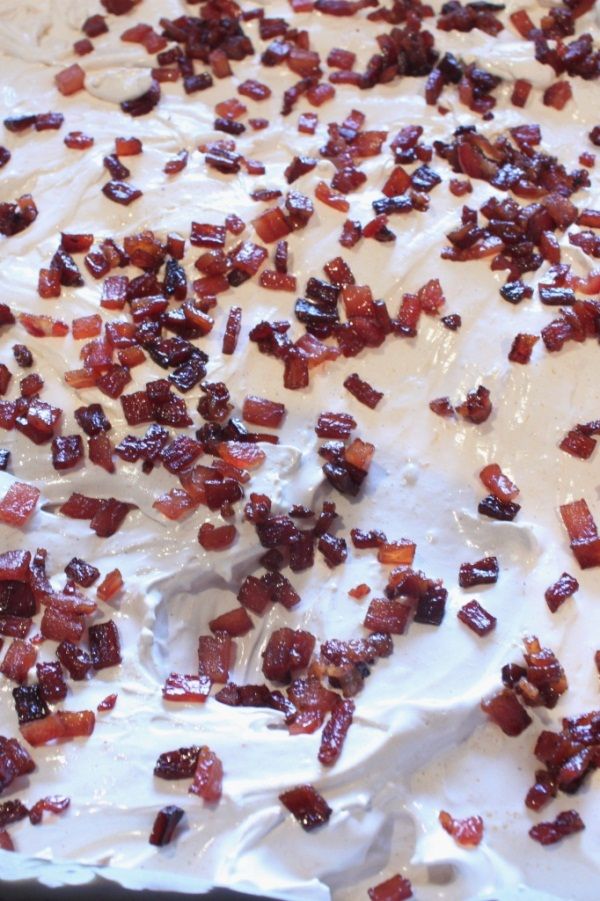
Finely dice the bacon then fry until crispy in a pan. Pour off excess oil, then add a tbsp maple syrup and cook for a further 3 minutes. Set aside to cool, spreading out on a plate to prevent it from sticking too much.

Line a lamington tray or baking dish with baking paper or cling film. Make it big enough to overhang on all sides. Spray with oil to prevent sticking.

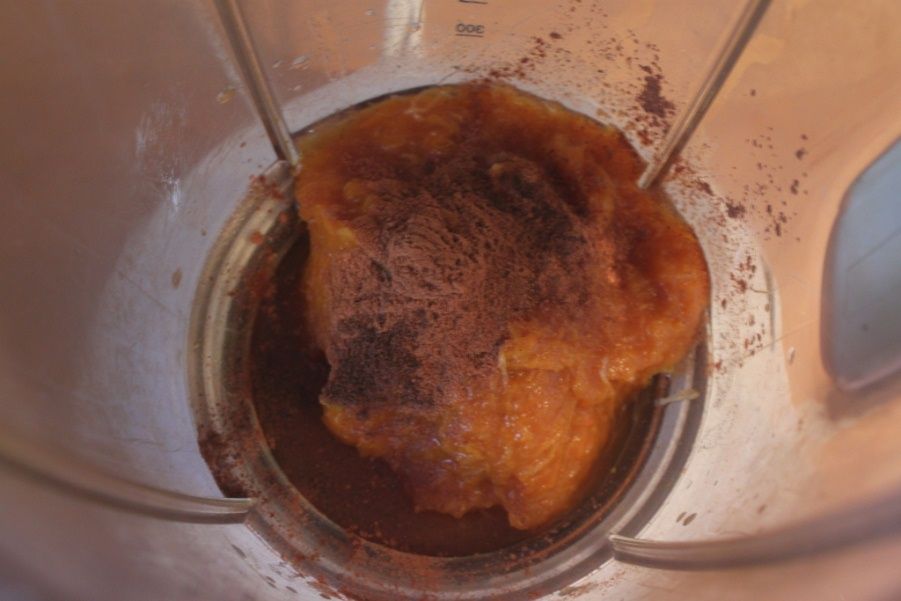
In your standmixer bowl, put the pumpkin puree, 2 tbsp water and spices. Using the whisk attachment, blend for 1 minute until well combined. Sprinkle the gelatin over the top. Leave to stand.

In a medium saucepan with tallish sides to cope with the bubbling, combine the maple syrup, sugars and ½ cup of water. Cook over a medium heat and stir gently to dissolve the sugar. Raise the heat and boil until it reaches 130C on your candy thermometer. Keep it moving by swirling the handle, but don’t stir. When it reaches 130C, remove from the heat.

Attach the whisk to your standmixer and turn on low, mix the gelatin mixture for 1 minute, then turn the mixer up a bit faster and slowly drizzle the hot sugar mix down the side of the bowl with the mixer still going. Don’t let it touch the whisk. Increase the speed to medium/high and leave it to whisk until the mixture is pale and fluffy and looks like really sticky meringue. This will take at least 5 minutes. As it whisks, it’ll have bubblegum looking strands pull away.

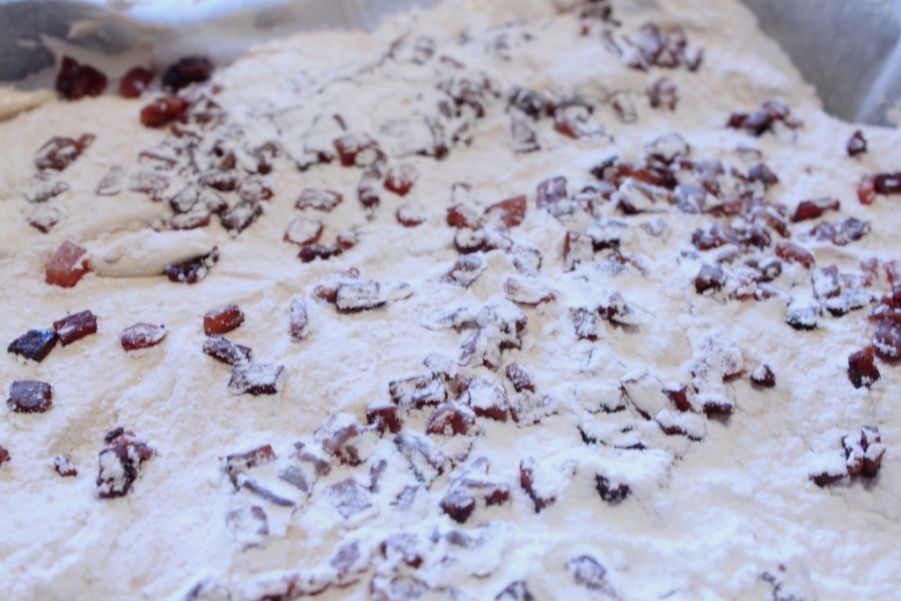
Pour the mix into the lined pan and use a spatula to smooth the top. I sprayed oil on the spatula to help it not stick. Sprinkle candied bacon on top, then dust with the dusting mix generously on top. Set aside to set, it’ll take around 4 hours.

In a baking try, dust a layer of dusting mix, invert the tray and tip out the marshmallow onto it. Cut up the marshmallows and dust all exposed sides. Shake off the excess and store in airtight containers in a cool dark place. Should last around 3 weeks. If you live in a humid area (such as Perth where it’s April and still 35C), store in the fridge.


Rum and Raisin Marshmallows
Liquid Mix
½ cup water
2 tsp rum essence
1/3 cup raisins
23g gelatin

Sugar Mix
1 ½ cups white sugar
150mL golden syrup
½ cup water

Dusting powder mix

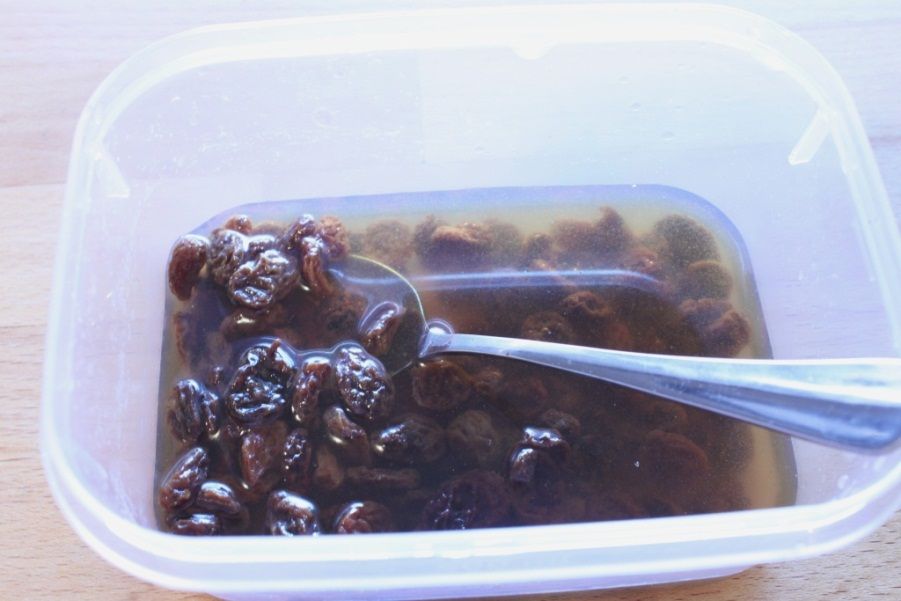
Add the sultanas and rum essence to ½ cup of hot water and leave aside to steep until it’s completely cold. Puree until a combined raisin moosh.

Line a lamington tray or baking dish with baking paper or cling film. Make it big enough to overhang on all sides. Spray with oil to prevent sticking.

In your standmixer bowl, put the cold raisin liquid and sprinkle the gelatin over the top. Leave to stand.

In a medium saucepan with tallish sides to cope with the bubbling, combine the golden syrup, salt, sugar and ½ cup of water. Cook over a medium heat and stir gently to dissolve the sugar. Raise the heat and boil until it reaches 130C on your candy thermometer. Keep it moving by swirling the handle, but don’t stir. When it reaches 130C, remove from the heat.

Attach the whisk to your standmixer and turn on low, mix the gelatin mixture for 1 minute, then turn the mixer up a bit faster and slowly drizzle the hot sugar mix down the side of the bowl with the mixer still going. Don’t let it touch the whisk. Increase the speed to medium/high and leave it to whisk until the mixture is pale and fluffy and looks like really sticky meringue. This will take at least 5 minutes. As it whisks, it’ll have bubblegum looking strands pull away.

Pour the mix into the lined pan and use a spatula to smooth the top. I sprayed oil on the spatula to help it not stick. Sprinkle candied ginger on top, then dust with the dusting mix generously on top. Set aside to set, it’ll take around 4 hours.

In a baking try, dust a layer of dusting mix, invert the tray and tip out the marshmallow onto it. Cut up the marshmallows and dust all exposed sides. Shake off the excess and store in airtight containers in a cool dark place. Should last around 3 weeks. If you live in a humid area (such as Perth where it’s April and still 35C), store in the fridge.


Friday, December 27, 2013

Bagel Bombs Part 1 - Sweet Potato & Bacon


My husband has endured many a shopping trip with me detouring us past the Kitchen Aid Mixers, while I gaze longingly at all their amazing colours, before sighing and getting on with the boring shopping. So when I told him I was entering the Summer Bake-Off recipe, he supported me but was a little less excited than he normally would be. He’s always excited for me to cook more things, because he gets to taste-test them, so it was a little unusual! I chose to make Hot Chocolate Ice Cream Sandwiches (malt ice cream sandwiched between chilli chocolate cookies) and entered the competition.  Fast forward a few weeks to my birthday, and he gives me an I.O.U...if necessary. He was going to buy me a Kitchen Aid for a present, but he’s so confident in the deliciousness of my recipe that he didn’t want to buy one and end up with me having two. He said it was actually a bit of a relief, considering the pressure of picking the right colour! He’d been trying to get me to tell him which one I wanted, but I kept liking several colours.

Sadly, I didn’t win the competition, so Lance and I went and picked out a mixer for a belated birthday present. And the first thing I wanted to make in it is bread. I have been a little addicted to breads lately, and I had tested this recipe before as something  to take to a bring-a-dish Christmas party. I remembered seeing a cheese filled bagel bomb years ago on pinterest. I can’t find the original recipe to link to, but I do remember that the dough and basic idea came from the Momofuku Milk Bar Cookbook. I didn’t get to the Milk Bar in my last NY trip, but we did have udon and pork buns at the Momofuku Noodle bar. The pork buns were amazing! So good! One of the attendees doesn’t like cheese (crazy, I know. Don’t worry, I mock her for this), so I though a vegetable filling would be better. And added bacon. In fact, if you have some, you can sub the bacon mixture from this for ½ cup bacon jam and it’d be delicious!

These are best served straight from the oven, so I par-baked them, then did the last 10 minutes at the venue.

Bagel Bombs Part 2 will be garlic and cream cheese bagel bombs! Both these and the garlic bombs have become my current most-requested dish! Any leftovers are perfect reheated for 10 minutes in the oven for breakfast!


Dough – adapted from the Momofuku Milk Bar Cookbook:
3 ½ cups flour (I used 2 cups plain, 1 cup wholemeal and ½ cup spelt)
1/2 tbsp salt
1 tsp raw sugar
1 1/8 tsp active dry yeast
1 ¾ cups water, at room temperature
1 tablespoon vegetable oil (I used rice bran oil)

Filling
2tbsp olive oil
3 medium sweet potatoes
4 rashers bacon, finely diced
1 large garlic clove, minced
½ tsp smokey paprika
½ tsp sweet paprika
½ tsp black pepper
¼ tsp cinnamon

Egg Wash Topping:
1 egg, at room temperature
¾ tsp freshly ground rock salt
¾ tsp raw sugar
½ tsp smoked paprika
sesame seeds optional garnish

Heat the oven to 150C

Split the sweet potatoes lengthwise, rub oil on the split, then place cut-side down onto  a baking tray and bake until soft – around 40 minutes. Set aside to cool.

Heat the olive oil to medium/low heat in a frypan and add the minced garlic, stir around until fragrant and starting to go golden. Add the bacon and fry for 10-15 minutes until brown and crispy. Add the spices and cook through for a minute.

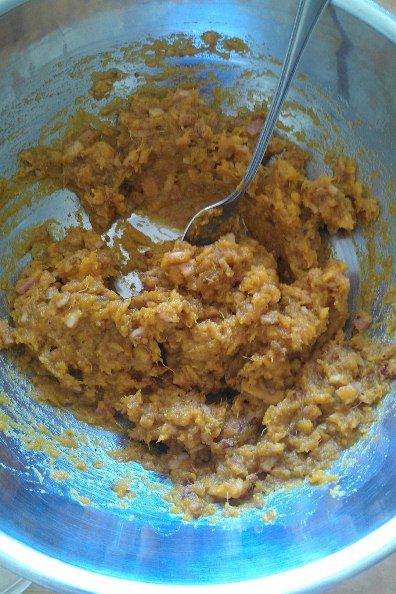
Scoop the now cool sweet potato flesh into a bowl, add the bacon mixture and mix thoroughly to combine evenly. Using two teaspoons, roll heaped teaspoonsful of this mixture between the spoons, pushing down to compact slightly and put on a tray lined with baking paper. Put in the freezer for a few hours (while you make the dough) to firm up. This makes it much easier to form the bombs later. You will need 16 balls.

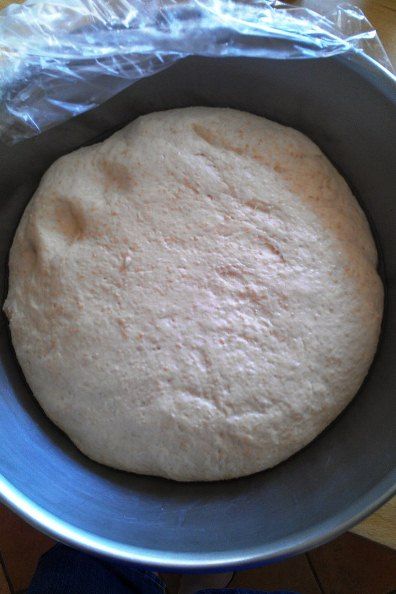
Stir together all of the dry dough ingredients with the hook of your standmixer in the bowl of your standmixer by hand. Add the water, and mix with your hand until it’s mainly come together. Attach the bowl and hook, and beat the dough on low for 5-10 minutes, until it comes together into a smooth ball.  You might need to add more flour to get the right consistency. Lightly coat another large bowl with oil and put the dough ball into it, roll to coat the dough with oil too. Cover with plastic wrap and put in a warm corner for 45 minutes until the dough has almost doubled in size.

Heat the oven to 175C

Punch down and flatten the dough on your countertop. Cut the dough into 16 pieces and loosely cover the dough you aren’t currently forming with the plastic wrap from the bowl earlier to stop it drying out.

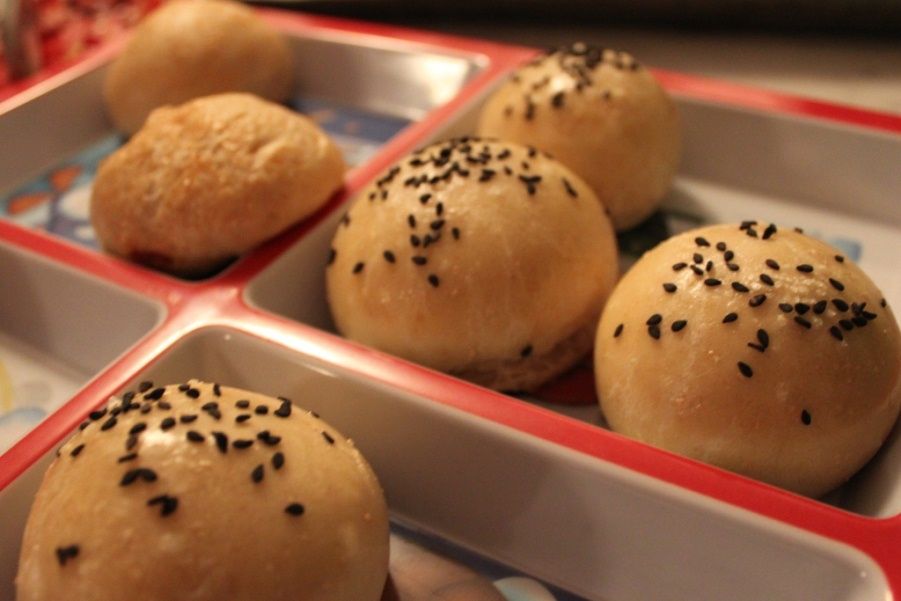
Roll each portion into a neat ball in your palms, then use your palm and fingers to stretch out into a flat disc. Place a ball of the filling in the centre, then pull all of the edges up and around the mixture. Pinch shut, then roll the ball gently in your hands to smooth into a neat ball. Place on a lined baking tray.

Whisk egg, then brush each bun with a generous amount. Mix all of the other wash ingredients together in a bowl and sprinkle over the top.

Bake for 20-30 minutes until golden, allow to cool for 5-10 minutes before eating because the filling stays quite hot!

Oh, and I chose the melon mixer


Monday, November 25, 2013

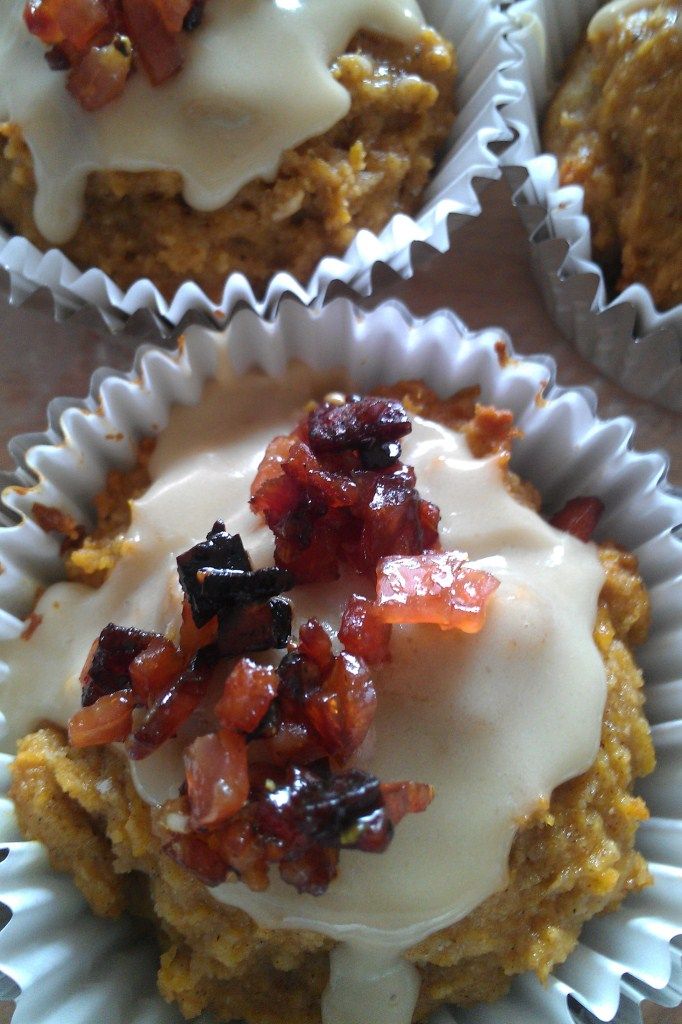
Birthday Breakfast - Pumpkin Muffins with Maple Icing and Candied Bacon


It was recently my birthday, and given there’s not currently an actual law allowing me to not be at work and still be paid…I thought I would at least make sure I had a decent breakfast. I may have stated on a few occasions that breakfast is my favourite meal of the day. I often eat breakfast at my desk at work, as I get in pretty early, and so I wanted something different for birthday morning. Something delicious. And something easy to prepare and eat. Which meant I needed something with maple syrup. With bacon. And something I can just pick up and chomp on. This has the benefit of being pretty darn healthy, too. Wholemeal flour, pumpkin, greek yoghurt, no extra butter or oil and no processed sugar. Until you add the icing, anyway. And bacon doesn’t count as being bad for you. Especially not on your birthday.

I cross my fingers that one day, Melbourne Cup Day becomes an Australia-wide public holiday so that every time it falls on my birthday I get a day off work. Until then, there are these muffins.


Pumpkin Muffins with Maple Icing and Candied Bacon
Dry
½  cup wholemeal flour
¼ cup coconut flour
2/3 cup plain flour
½ tsp baking powder
1 tsp bicarb soda

1 tsp ground cinnamon
½ tsp ground ginger
½ tsp ground nutmeg
¼  tsp salt


Wet
2 eggs, lightly beaten
1 cup pumpkin puree
½ cup Greek yoghurt
2 tsp vanilla extract
½ cup honey

Icing
5 tbsp icing sugar
2 drops aromatic bitters
3 tbsp maple syrup
1 tbsp milk (+ more if required)

Candied bacon
4 bacon middle rashers, fat removed and very finely diced
3 tbsp maple syrup
Pinch cayenne pepper
Pinch black pepper

 
Fry the bacon pieces until coloured and slightly crispy. In a small bowl, mix the cayenne pepper, black pepper and maple syrup. Pour in the bacon, stir to coat well. Spread out onto a lined baking tray. Don’t allow it to clump too much.

Preheat your oven to 350 F (175 C). Line a muffin tray with papers.

In a bowl whisk all the dry ingredients.

In a separate bowl whisk all the wet ingredients together until well combined.

Pour the dry ingredients into the wet ingredients and stir with a spatula until just combined. Don’t over mix.

Spoon the batter into the patty pans.

Bake for 15 to 20 minutes or until golden on top. Put the bacon into the oven at the same time. Bake for 10 minutes or so, until the bacon gets crispier and the maple syrup gets a toffee like consistency. Allow to cool completely.

Allow to cool for 15 minutes in the tray before putting onto a rack to cool completely.

Whilst waiting for things to cool, sift the icing sugar into a separate bowl, then add the maple syrup and milk. Whisk until smooth. If necessary, add more milk to thin out. Add the bitters and mix very well. Be careful not to add too much bitters, you really only need 2 drops.

Drizzle a little on each muffin, then sprinkle some candied bacon on top and leave for the icing to ‘set’.


Monday, March 25, 2013

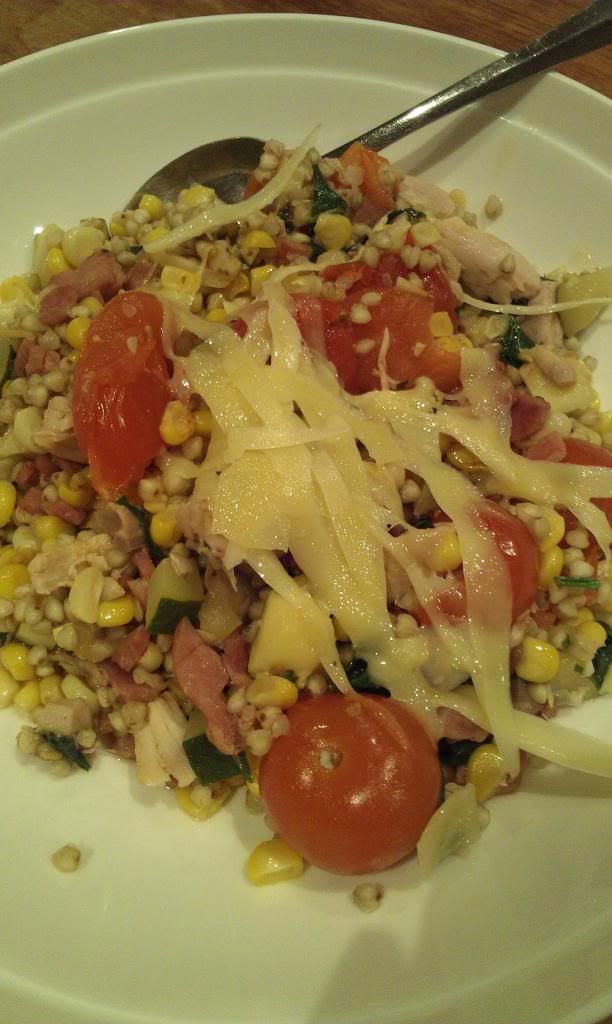
Instagrams of Yumness - Roast Chicken and Vegetable Buckwheat Pilaf

This is a weird combination of leftovers/cooked-for-another-dish/new meal that I made for dinner the other night. Confused? Haha! Me too, writing that! Let me explain. Earlier in the week, we had my in-laws around for dinner. For Christmas, they had given my husband a beer chicken frame - it's a ring thing that you put a can of beer in, and place the cavity of the chicken around it and then roast it in the BBQ. The beer steams through the chicken and subtly flavours it. It's quite delicious and seeing as we had a small chicken, my husband roasted it as a taster for them before the main meal. It's something he's planning on experimenting a lot with, I think ginger beer is next on the list! Currently his favourite way of doing it is by adding chillis and garlic into the beer. So anyway, I had about 1 cup's worth of beer-roasted chicken leftover, so that takes care of the "leftovers" part.

And that night, I was making people chocolate gifts for Easter, rather than buying them eggs. I decided on two items, Chocolate Salami and Whisky Marshmallow, Caramel Bacon Bark. I absolutely fell in love with the Chocolate Salami idea when I saw the pictures on my favourite food blog, Always Order Dessert. And the Bacon Bark, which as a vegetarian dish improved by bacon, shouldn't really need further explanation. I will do a post on both of these in the not-too-distant future. It being Easter very soon! But to make the Bacon Bark, I needed to cook bacon! So I left about a quarter cup of small diced bacon in the pan to help flavour this pilaf. So that's the "cooked-for-another-dish" portion.

Add newly roasted vegetables, and that sort of explains what I meant. But after tempering more chocolate than I've eaten all year, toasting nuts, making caramel, burning caramel, making more caramel, melting marshmallow and crushing biscuits, this hearty yet light pilaf was a delightful dinner. And it all comes together with very minimal 'active' cooking time. In fact, I was calling it a 'risotto' until I realised I didn't do the constant stir, add stock, stir that comes with real risotto cooking.


Roast Chicken and Vegetable Buckwheat "Pilaf"
1 cup cooked, shredded chicken
1/4 cup finely diced bacon bits
punnet of cherry tomatoes
kernels of 3 corn cobs
1 small zucchini, diced
2 garlic cloves, thinly sliced
splash of apple cider vinegar (or white wine)
1 cup buckwheat
2 cups water (or stock)
pecorino to taste
salt and pepper to taste

Toss the cherry tomatoes, zucchini and corn kernels in a splash of olive oil. Add the garlic slices and roast in a moderate oven for around 30 minutes. Until zucchini and tomatoes are soft and squishy and corn is golden and cooked.

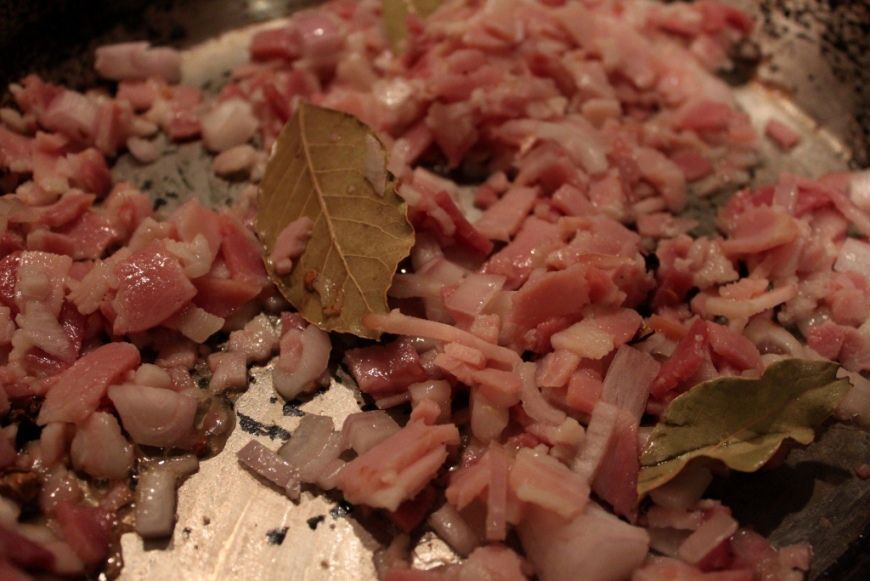
Meanwhile, fry the bacon bits in a high sided saute pan or put until crispy. Add the buckwheat and stiry around to coat in the bacon fat. Add a splash of apple cider vinegar and stir the buckwheat around in it until it's evaporated. Add the water (or stock), put the lid on and cook for half an hour or so until very almost cooked. Stir through the shredded chicken and cook for an extra 5 minutes or so until warmed. Check for seasoning.

Serve with shaved pecorino, and a fresh crack of pepper.


Thursday, March 14, 2013

Vegetarian Recipes Improved By Bacon - Stuffed Pumpkin

I don't know about you, but sometimes I get really specific cravings. I'll be sitting watching tv and really want avocado and vegemite on rye toast. Or I'll be reading and want a Corona with a splash of Creole bitters. Or sitting at work imagining a jambalaya just like I had in San Francisco 5 years ago. Or that dish that I made up a few months back that would be perfect right now. In my introduction post, I sort of forgot to say why I decided to start up this blog.  I told you a bit about who I was and where I was coming from, but not why I came to be here, doing this.

Something like this is always based on lots of reasons - wanting a creative outlet, showing off my mad skills in the kitchen (ha!) and giving back to a source that has inspired me so often are all up there. But the number one reason is because I need to have a reason to write down my recipes and what I cook. I'm a bit scatty in the kitchen, I find it difficult to follow a recipe exactly. I like to consider it 'experimental', because that makes it sound like a good thing. I change the recipe bassed on what my mouth feels like it wants, what I have stocked in the house and crazy ideas of what just might work. I can be disappointing to realise that the thing I am craving, I can't replicate exactly. I'm still a little fly-by-the-seat-of-my-apron, so most of my measurements will be a little guesstimated (mainly to save on dishes), but generally close enough is good enough.

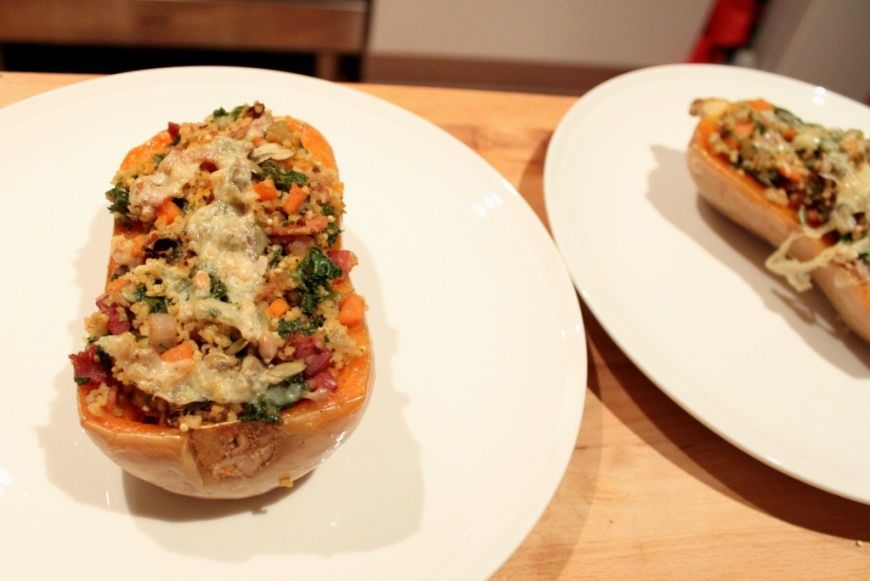
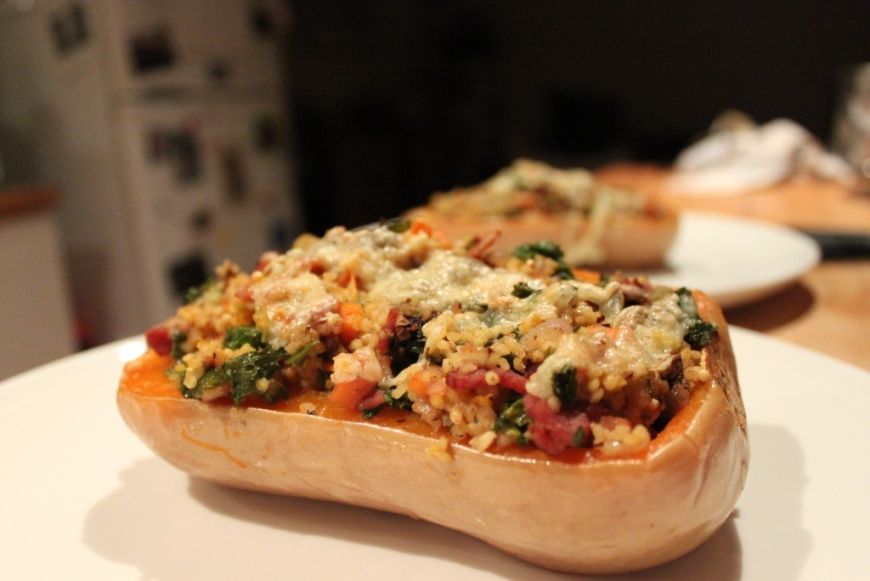
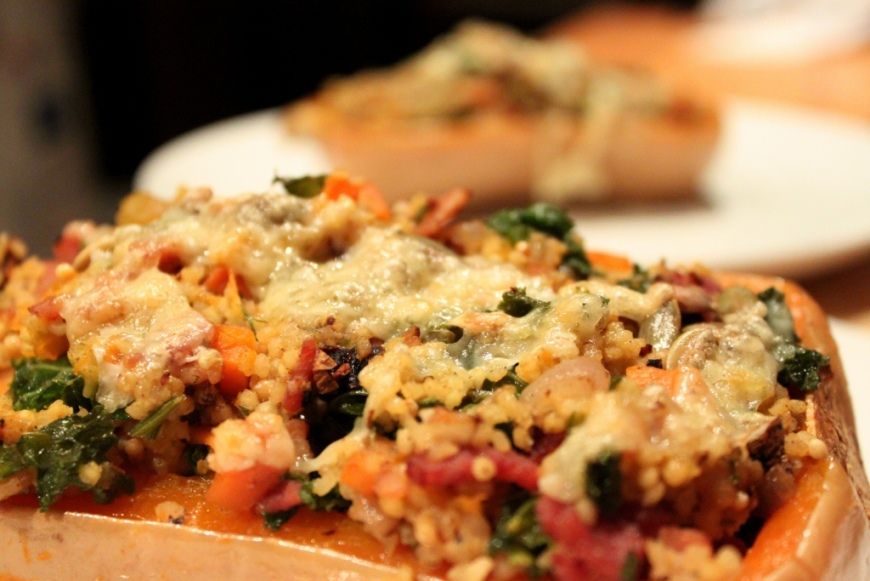
And speaking of cravings, last night I wanted roast pumpkin. And bacon. I had bought the cutest ever baby butternuts earlier in the week and it conjured up a memory of a stuffed squash recipe I'd seen in the not too distant past. Back when pinterest was full of 'Fall' recipes and I was gearing up for summer. And then that was what I wanted. But with bacon. I was so satisfied with the result that I made sure I wrote it all down. So far, so good!


Stuffed Butternut Pumpkin with Kale, Chipotle and Bacon
serves: 2-4 depending on how hungry everyone is and how big the pumpkins are. I had the cutest little ones.
2 small butternut pumpkins
2 cloves of garlic,cut in half, then lightly squished
2 chipotle chillis, cut in half

1/2 cup cooked millet
3 rashers bacon

2 shallots, minced
1 celery stalk, small dice
1 carrot, peeled and small dice
2 bay leaves
10 or so coriander seeds
½ tsp dried thyme
¼ tsp dried sage
splash of apple cider vinegar
1/2 cup water

3 leaves kale, finely shredded
3 sprigs parsley, leaves chopped fine

1/4 cup pepitas
Parmesan cheese – a few shreds on top of each half.
Pepper (I used lemon pepper – get the no added salt type)
Preheat the oven to 180C.

When I was making the millet for this, I cooked a whole big batch, because I needed some for another recipe. But generally I use a 1:2 millet:water ratio, bring to the boil, simmer for about 10 minutes, then turn off and leave the lid on for another 10 minutes. Fluff with a fork to separate the grains.

Cut the pumpkin in half lengthwise and scoop out the seeds. Place the smashed garlic cloves and chipotle peppers on a parchment lined baking sheet and cover them with the hollow of the pumpkins. Roast in the oven and cook until tender, about 30 minutes. Flip the butternuts, and spoon a bit of the cooked flesh out to make a bit more of a hole for the stuffing . Leave a decent pumpkin lining still. Finely dice the chipotle and garlic from beneath the pumpkin. Set it all aside.

While the pumpkin is in the oven, dice the bacon small, and chuck in a medium heat pan with tallish sides. As it releases some of it’s fat as oil into the pan, chuck the shallots and bay leaves in and give a good stir. Once the bacon is a bit crispy and the shallots are softened, add the carrots and celery. Cook these for about 5 minutes and then add the coriander seeds, thyme and sage. Add a splash of apple cider vinegar and scrape the bacon bits off the bottom of the pan. Add the parsley and kale, swirling around until the kale wilts a little. Add the millet and water and mix around to ensure it’s all fully incorporated. Cook until the water has evaporated. Add the pumpkin flesh you removed earlier. Chop the chipotles and garlic from beneath the pumpkin, mix it all in well.

Change the oven to grill. Fill the pumpkin hollows with as much stuffing as you can, pop some pepitas on top, and as much parmesan as you desire – I only put a tiny bit. Just enough to add flavor and that crispy/melty crunch that parmesan gets. Top with lemon pepper, then grill until cheese is melty and pepitas are toasted.

Tuesday, February 5, 2013

Tofu, nectarine and broccoli salad with toasted quinoa. And bacon.


I am a carnivore. Well, technically an omnivore, I guess. But I love meat. And I love bacon. When I was younger, I used to tell mum I could be a vegetarian if it weren’t for bacon. This is not even slightly true anymore. I was going to start listing all the meats I couldn’t do without now, but it got too long just thinking about it. And that’s without even adding seafood into the mix. But I think I’ve someone taken that initial theory on in a subconscious way. Now when I see vegetarian recipes, I almost always find myself thinking, ‘that looks so good…but it’d be so much better if it had bacon’.


This is a common theme in my cooking, so it’ll end up being a common theme in my blog. Much like the more common Meatless Mondays, I present “Vegetarian Dishes Improved by Bacon”. I’ve told a few people now that it’s my dream to write a cookbook with that as the title, and so far have 10 willing buyers. Maybe one day, I’ll get there!


Anyway, I made this summer salad with beautiful sweet nectarines, salty crispy bacon and crunchy greens for dinner on a hot, humid night and it went down a treat. Unfortunately, this was before my decision to make this blog, and therefore take more photos. Food blogging is going to be a bit of a learning curve for me. I am not hugely comfortable taking food photos - yet. I love taking photos, I love food…but somehow the idea of taking photos of the process and finished result is a bit weird and foreign to me. Despite the fact I adore food porn. That’s pretty much all I am on pinterest for. I will try and improve at this. I’ve been practicing by uploading some photos of my dishes to Instagram (follow me!). In the meantime, and for when I am too lazy to whip the camera out, I will post “Instagrams of Yumness” such as this one.


Tofu, nectarine and broccoli salad with toasted quinoa. And bacon.
Serves 2

 
Tofu slices – around 200g I believe??

3 tbps balsamic vinegar

1 tsp olive oil

¼ cup quinoa

One small onion, diced

Two cloves garlic, minced

Zest of one lemon

Finely diced green chilli

3 rashers of bacon, cut into small dice

1 small eggplant,  sliced

Large tomato, finely chopped

1 tbsp wholegrain mustard

Juice of one lemon

1 tbsp agave nectar

Big handful Italian parsley

Salt/pepper to taste

Half head broccoli

2 nectarines

Half red capsicum


Add balsamic to slices of tofu, leave to marinate for at least 15 minutes.

Meanwhile, toast ¼ cup of quinoa until slightly golden, put in a bowl

Fry the onion,  garlic, chilli and bacon in the olive oil over a medium heat. The bacon should crisp up around the edges. Add the lemon zest

Add to the quinoa, mix well and set aside to cool slightly.

Chop tomato finely, add to quinoa bowl. Then add mustard, lemon juice, agave and parsley. Mix well. Check seasoning and adjust to taste.

Chop broccoli into small florets, cut capsicum to desired size and dice nectarine,. add to quinoa bowl, mix well and put in serving bowl

Grill eggplant slices until soft, a few minutes either side. This can be done in the same pan to save dishes.

Grill tofu until desired level of crispness on the outer layer.

Dice tofu and eggplant, and arrange on top of salad


Voila! Lovely summer salad!