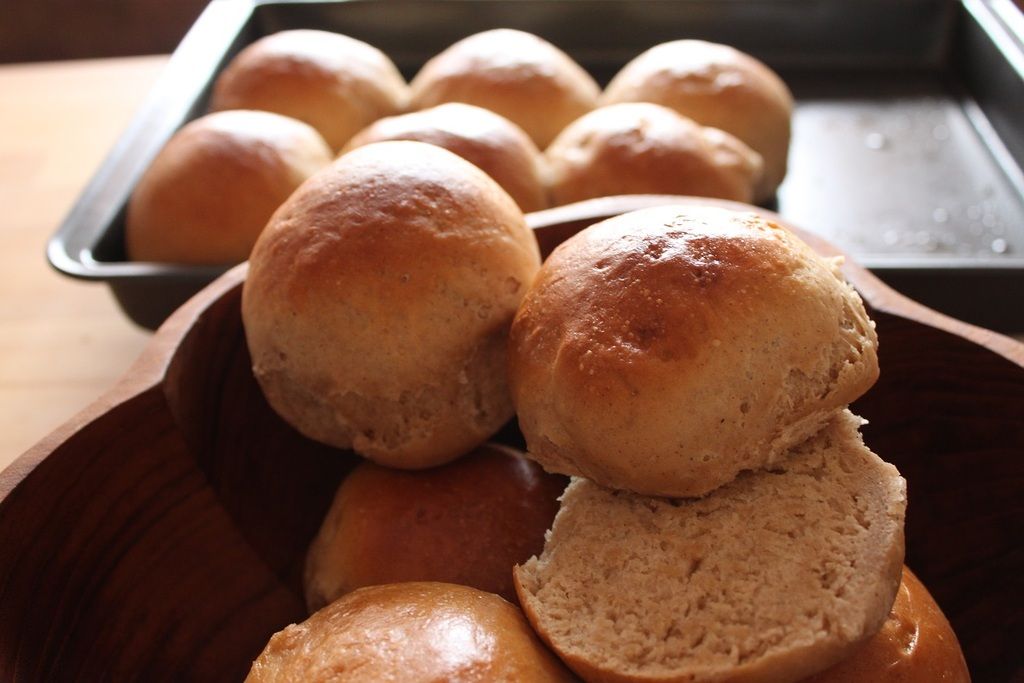
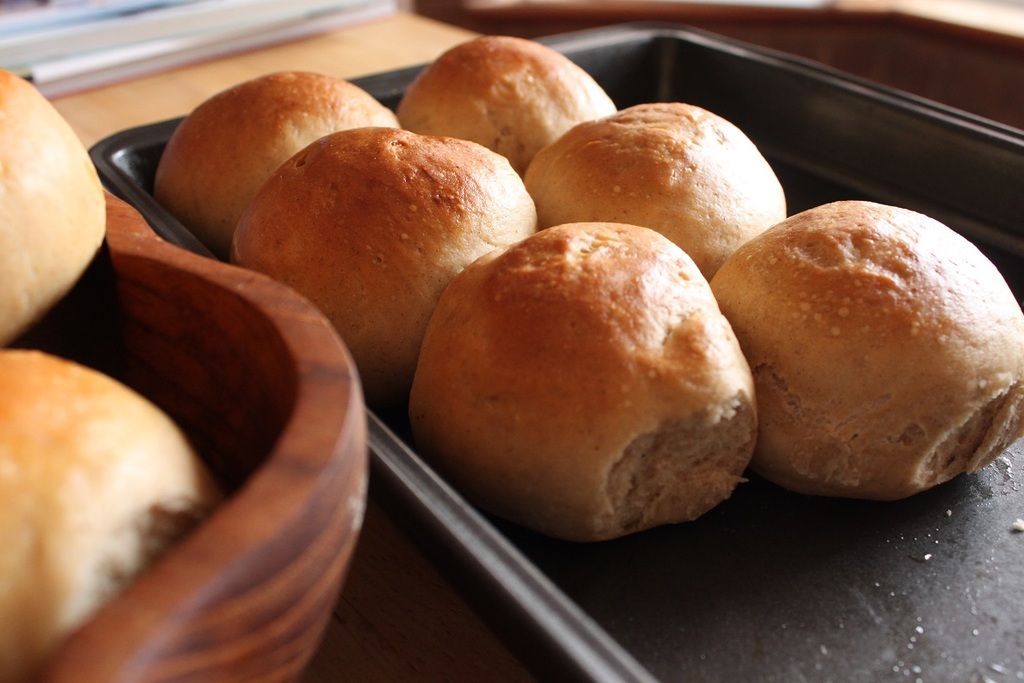
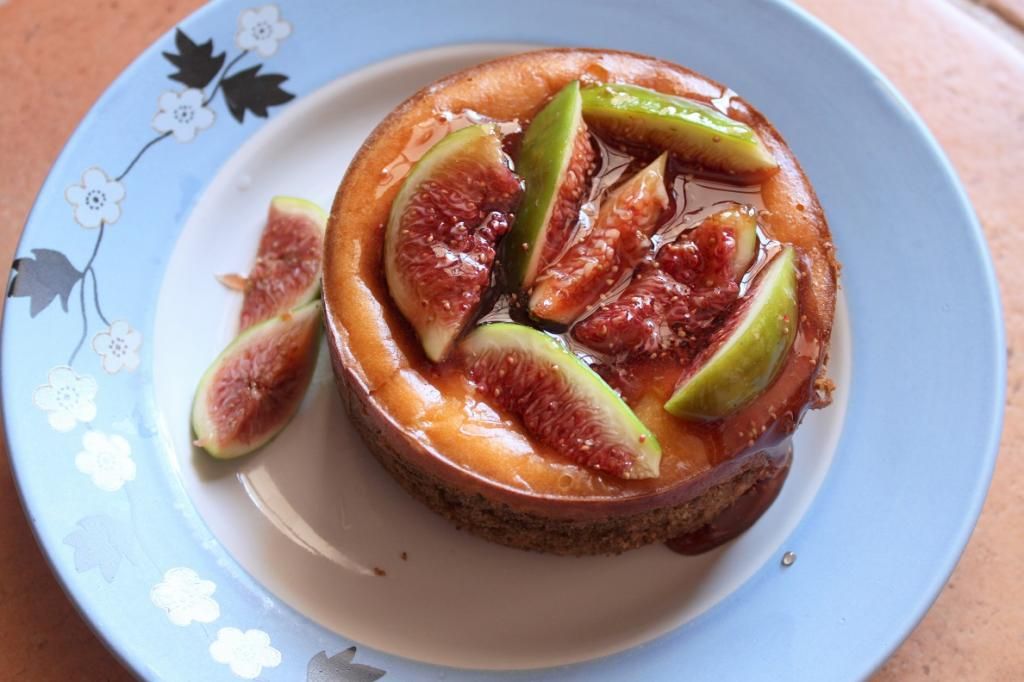
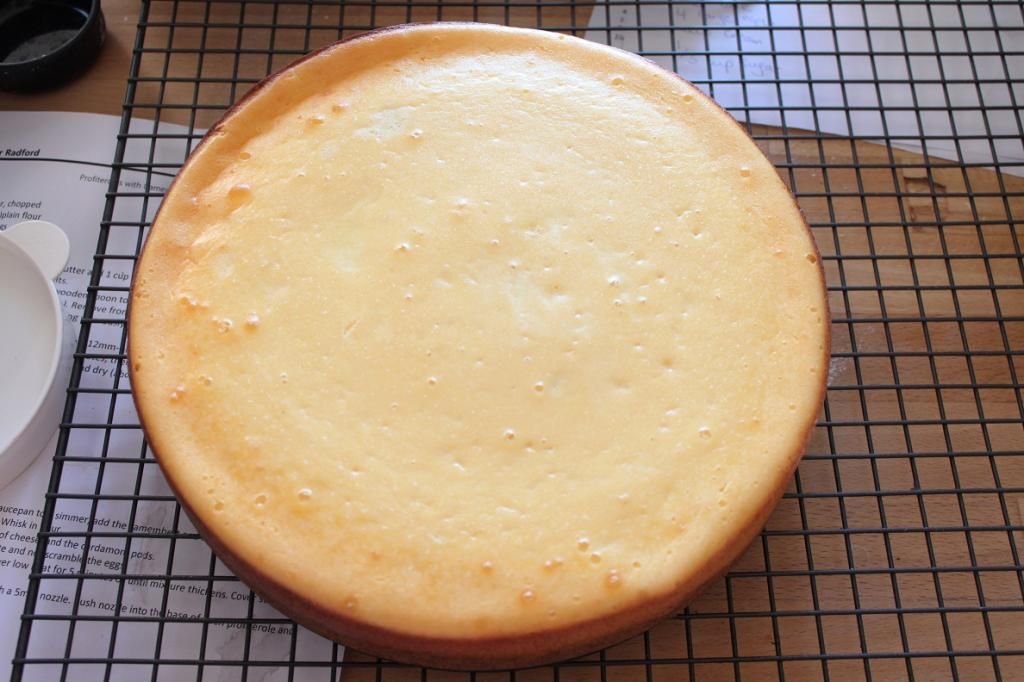
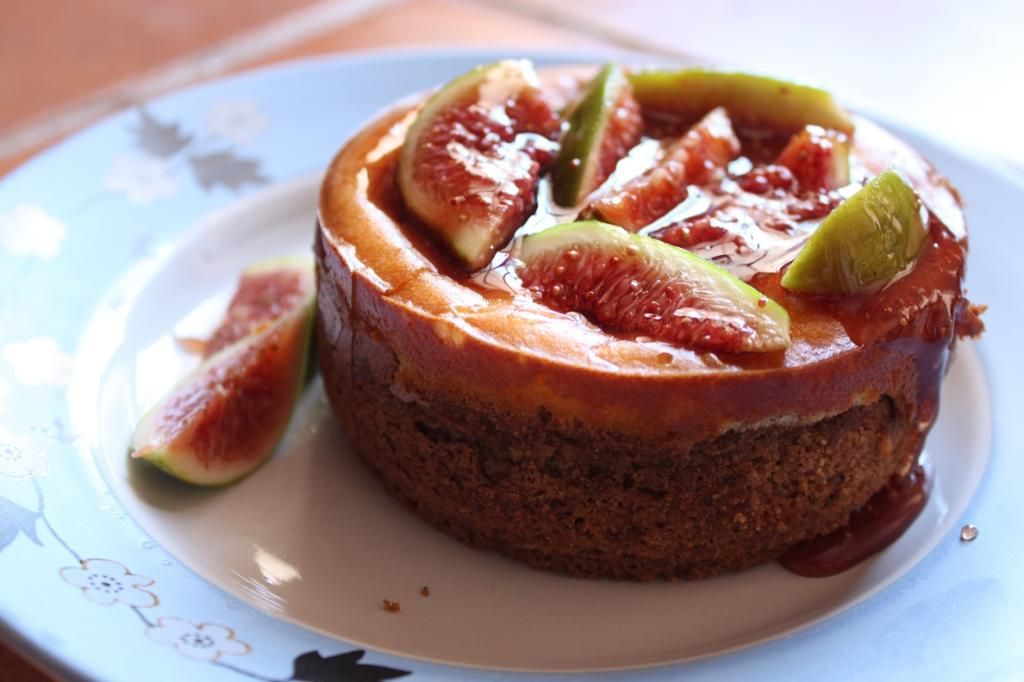
At Christmas time, I tend to get pretty adventurous around dessert. Not sure why I make an intricate dessert – I guess because if not at Christmas, then when? Last year, I made Gingerbread terrariums which I realise now never made it on to the blog. Gingerbread cake bottom, lime cheesecake “snow”, tiny Piparkoogid (Christmas biscuit) houses and marzipan trees. Time consuming and fiddly to make, but nothing terribly revolutionary in the elements. This year…this year I was genuinely worried about my dessert turning out. Because this year I had gone to the Yelp Elite Event at the new State Building and watched Sue Lewis do a little presentation on tempering chocolate that demystified the whole thing and made it seem really simple. And then I stumbled upon an Adriano Zumbo recipe for Chocolate Christmas Crackers and with this both happening a few weeks before a Christmas party, it seemed like it was something I needed to attempt. The basic idea is a chocolate cylinder, with chocolate ends designed to look like a Christmas cracker. It’s filled with chocolate mousse and a pop-rocks truffle as the “pop” of the cracker. Cute, right?
Cute but terrifying! I
was so worried about actually working with the chocolate, I actually did a
trial run. And I never do trial runs for things like this because I’m lazy! In
re-reading over the original recipe with Lance, I discovered a few things, 1. The
picture from the Adriano Zumbo recipe is inaccurate. I don’t think it’s just
styling and camera angles, I think his dimensions of a 5cm x 10cm tube is way
too fat for the pictured Christmas Cracker look. And 2, as Lance pointed out to
me – they aren’t even real. If you look carefully, they are just “bridges” of
chocolate with chocolate ends balanced up against them. The chocolate doesn’t
curl around to make a cylinder, so it’s not even the real thing. Tricksy
stylists! That scared me even more. But…it’s actually not that difficult –
given you can get a few simple items. I had a fairly infuriating trip to
Spotlight trying to find sheets and/or rolls of acetate – which is listed as a
product they stock on their website. I was sent to various corners of Spotlight
by various staff members. I had one try to sell me PVC table cloth material
instead. Described as “readily available in craft stores” by every chocolate
and cake making resource, it was so hard to get, that I didn’t. In the end, I
found a thicker acetate sheet that was designed for quilting templates. It’s
less flexible than you ideally want it to be for chocolate, so it was pretty hard to
make the chocolate coating – but with no time to search for an alternative (and
not trusting posting times this time of year), I had to make do. You can buy 10cm high cardboard tubing for making your own cardboard crackers at Riot Art and Craft (but not
acetate). You can prep ahead by making the mold elements (roll, acetate
rectangles, baking paper rectangles) way ahead of time.
The rest I simplified
somewhat to make it a bit easier on myself. Not to mention cheaper by removing
the gianduja chocolate. Instead of making a truffle centre, I made a long
‘string’ of pop-rock chocolate to simulate the cardboard ‘popper’ in a real
cracker. Like the original, it uses toasted rice bubbles to enhance the pop
quality, and I added chocolate crumb from the Milk Bar cookbook for extra
chocolate-y texture. Feel free to just use rice bubbles and pop rocks if you
can’t be bothered with the crumb. The mousse I flavoured with Chambord to play
with the berry flavour of the pop rocks I used, and because I was intending on
adding freeze-dried raspberries - but I couldn’t find any so used freeze-dried
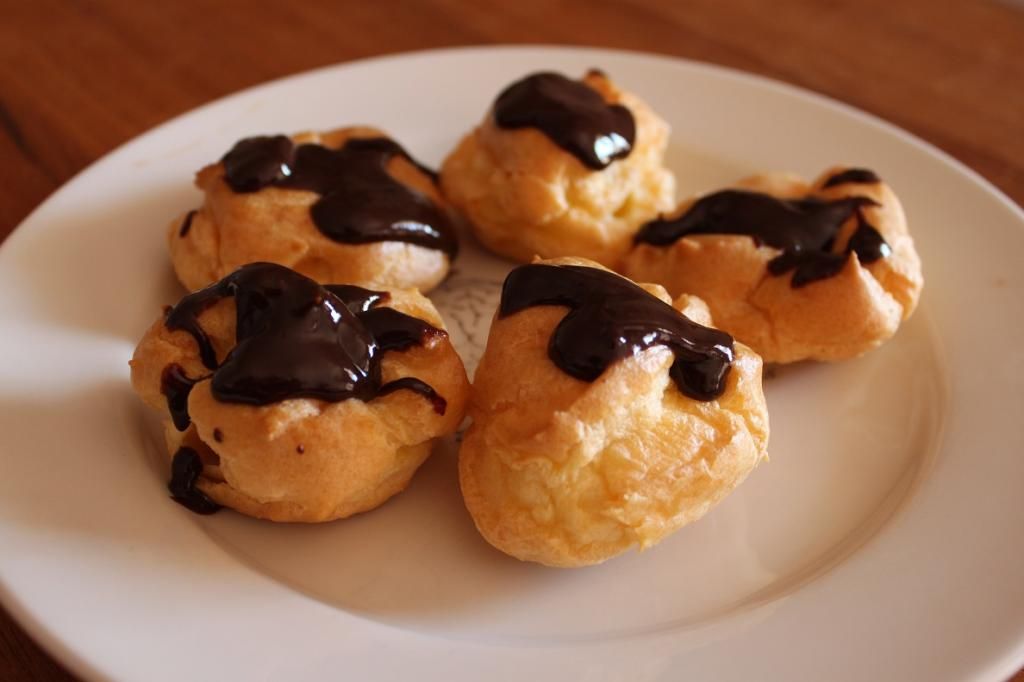
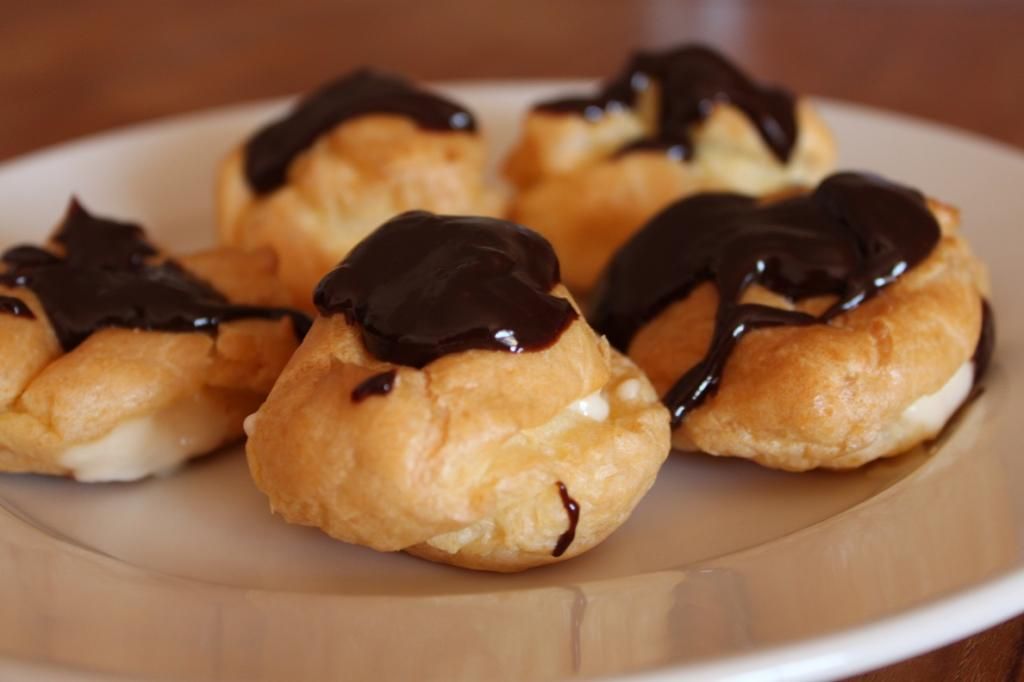
strawberries instead. The tartness of the berries adding to the 'pop' sensation - Lance's idea and it worked brilliantly. I used white chocolate instead of dark for the coating;
both so I could paint the outside in a Christmassy fashion, and to lighten up
the dessert from a fairly heavy dark-chocolate mousse with dark chocolate
truffle with dark chocolate coating.
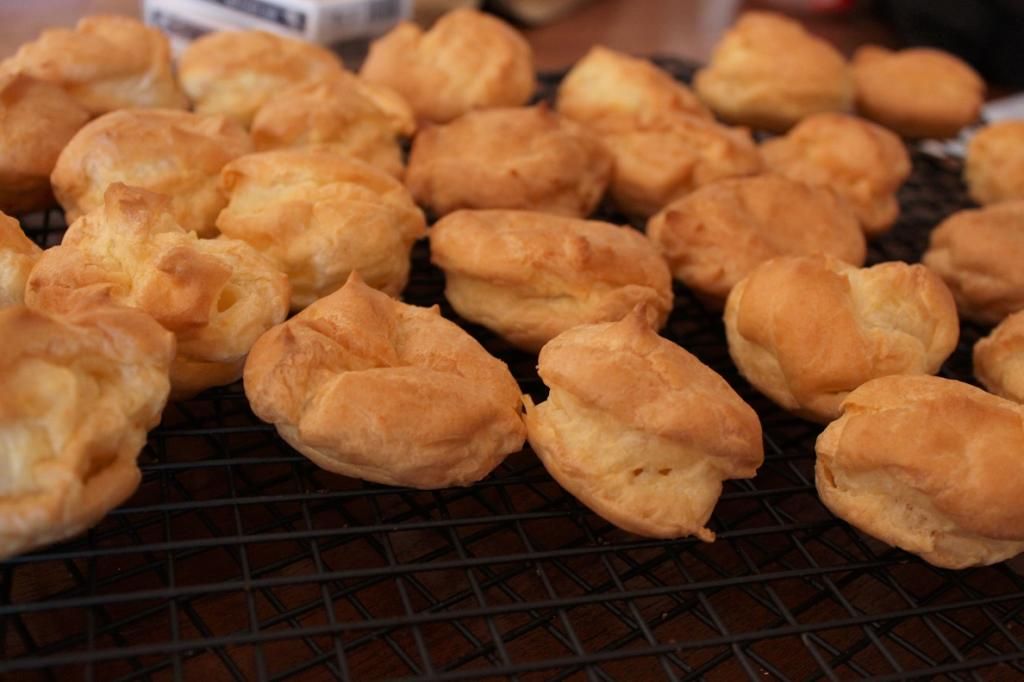
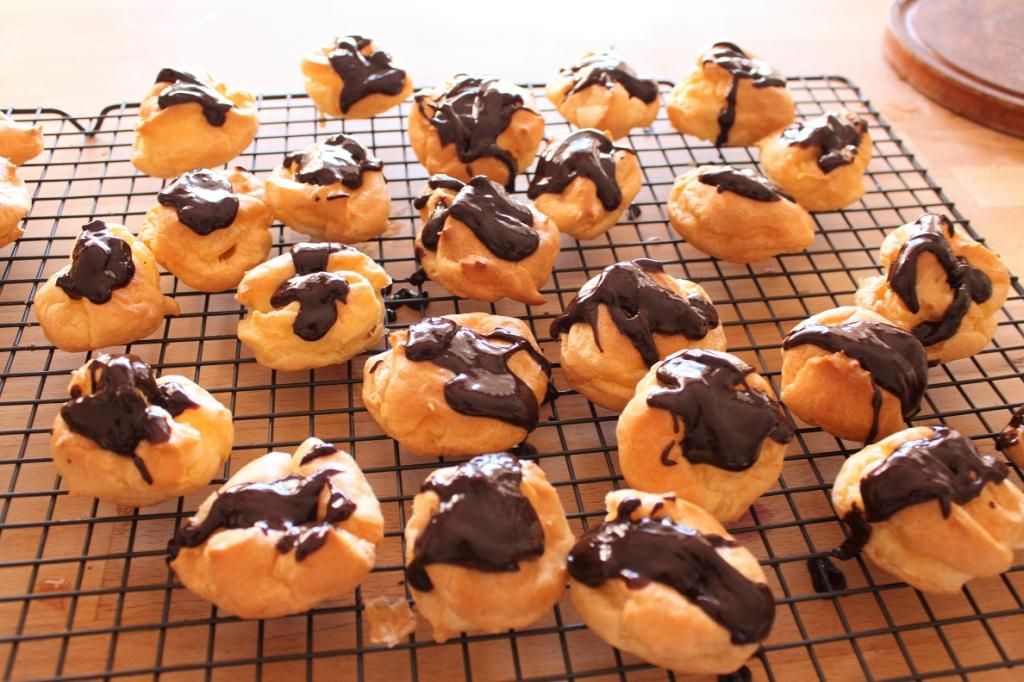
The chocolate coating is really the only hard part of this recipe, and it is heat/humidity sensitive - so I was extremely lucky to have a cooler day to temper the chocolate in. This would be easier to make for a Northern Christmas or Southern Christmas in July. They are so cool though, so it's worth giving a go. It does take a little time to do all the steps, but it can be done in stages ahead of time, and they’ll keep in the freezer for a few days – but any longer than that and the pop rocks will lose a little of their ‘pop’. The mousse makes more than you will need. Any extra can be spooned into pretty glasses/bowls and refrigerated a few hours until set.
The chocolate coating is really the only hard part of this recipe, and it is heat/humidity sensitive - so I was extremely lucky to have a cooler day to temper the chocolate in. This would be easier to make for a Northern Christmas or Southern Christmas in July. They are so cool though, so it's worth giving a go. It does take a little time to do all the steps, but it can be done in stages ahead of time, and they’ll keep in the freezer for a few days – but any longer than that and the pop rocks will lose a little of their ‘pop’. The mousse makes more than you will need. Any extra can be spooned into pretty glasses/bowls and refrigerated a few hours until set.


Skamps' Chocolate Christmas Crackers
For the “poppers”
1 cup rice bubbles70 gm popping lollies, such as Pop Rocks
200g 70% dark chocolate (I used Lindt raspberry intense)
15g freeze dried raspberries, chopped
Chocolate Raspberry mousse
660mL whipping cream (1x 600mL carton, plus ¼ cup)150mL whipping cream
8 egg yolks
100g white sugar
30mL shot Chambord
200g 48% dark chocolate, broken
100g 70% dark chocolate, broken
For the casing
500g white chocolate
Decorator pens
(optional)
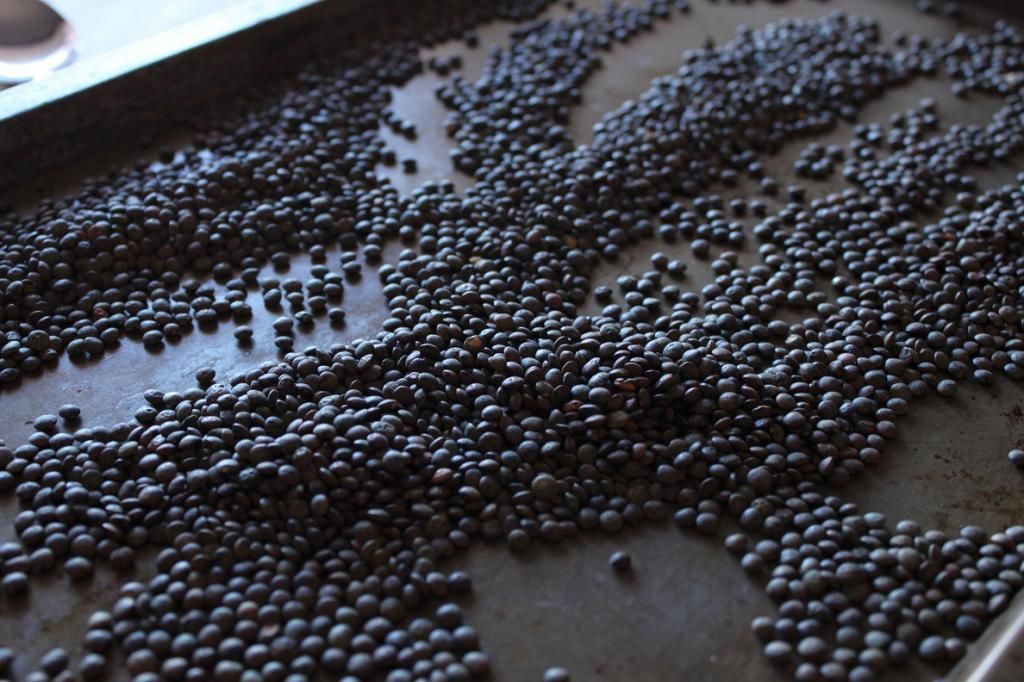
To start, make the
‘poppers’. To start making the ‘poppers’, you need to toast the rice bubbles
and make the chocolate crumb, then set aside to cool.
Preheat oven to 180C.
Spread rice bubbles on a tray and bake for only 2-3 minutes until golden. Watch
them, as they toast quickly. Reduce oven to 150C. In a mixer, blend together
the flour, sugar, salt and cocoa powder. Add the melted butter and mix until it
all comes together into a clumpy mess. Break the clumpy bits onto a lined
baking tray, then place in the oven to cook for around 20 minutes. Half-way
through, gently toss. Remove from the oven and set aside to cool and harden.
Measure out 1 cup of the crumb (breaking up any very large pieces), and freeze
the remainder for another use – such as ice cream topper!) When the rice bubbles
and crumb are completely cool, mix together in a bowl.
Set a glass bowl over a
pot with about 5cm of simmering water, making sure the bowl doesn’t touch the
water. Add 2/3 of the chocolate and leave to melt, stirring here and there.
Once it’s melted, remove from the heat and add the remaining 1/3 of the
chocolate. Leave to sit for 1 minute, then stir through to completely melt and
make smooth. Mix the pop rocks through the rice and crumb, then pour the melted
now slightly cooled chocolate over the whole mess. Mix quickly to coat
everything. You will hear a few of the pop rocks go off as they get wet then
hit the air, but if you work quickly, the popping will be minimised as they’re
coated. On a baking paper lined tray, use a spoon to create thin lines of ‘pop’
mix around 10cm long (the length of your tubes). You want them to be around 1cm thick. Pop in
the fridge to set hard.
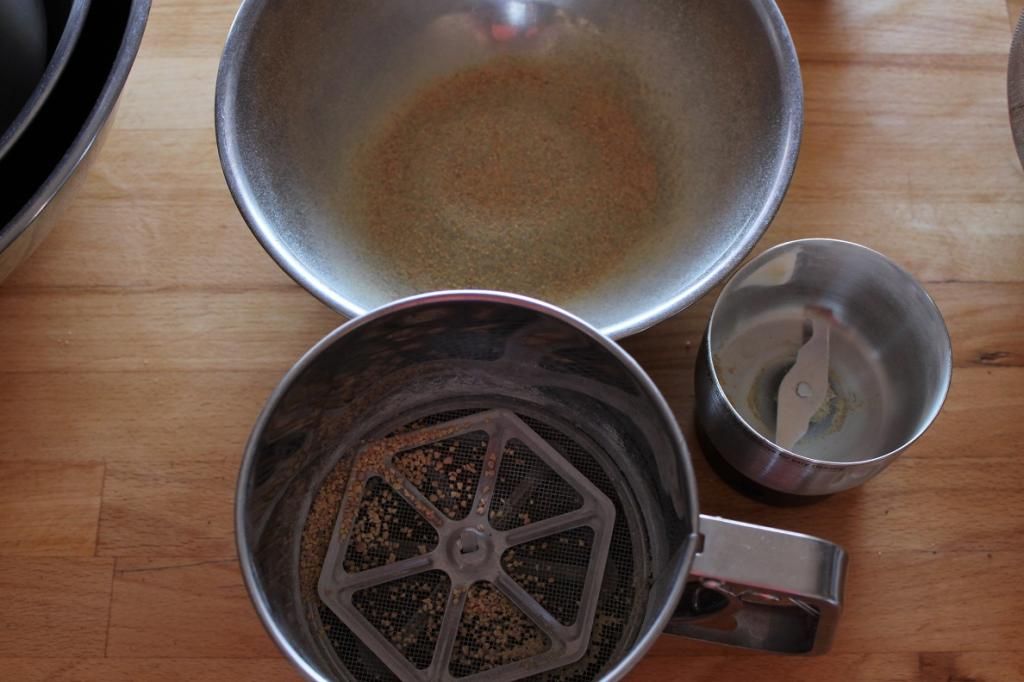
Before you can make your
mousse, make sure you have your molds ready. Cut out 12 rectangles of acetate,
10cm by 12.5cm. Roll into tubes, placing them inside cardboard tube (such as
the inserts for paper towel rolls cut to 10cm tall). Cut out 12 rectangles of
baking paper, roll into tubes and place inside the acetate. Place them standing
upright on a piece of baking paper inside a tray and set aside.
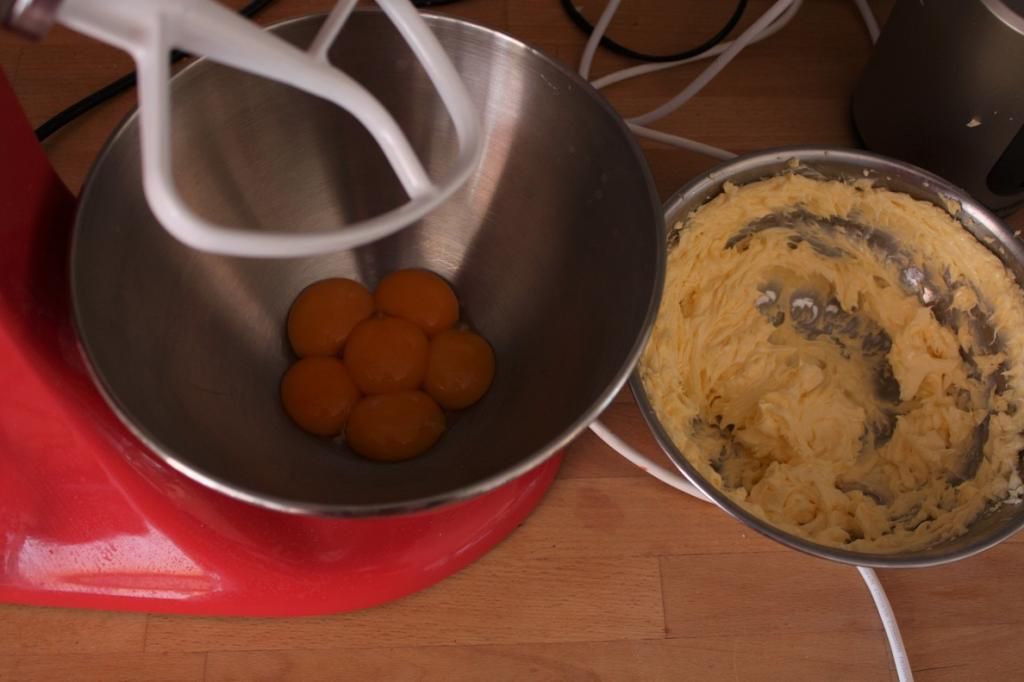
Now you’re ready to
make your mousse! Whip the 660mL measure of cream to soft peaks, set aside.
Place the whisk attachment in your standmixer and place a bowl ready. Combine
the 150mL cream, yolks, chambord and sugar in a small saucepan and whisk to
combine. Place over low heat and keep whisking until it thickens, much like a
lemon curd would – around 5-7 minutes. Scrape it into the standmixer bowl and
leave it whisking on low until it cools to room temperature, around 10 minutes.
While that whisks, add the 48% dark chocolate and leave to melt, stirring here
and there. Once it’s melted, remove from the heat and add the 70% dark chocolate.
Leave to sit for 1 minute, then stir through to completely melt and make
smooth. Stir for 2-3 minutes to cool down to around 40C. Fold the chocolate
through the whipped cream, then fold in cooled yolk mixture.
Gather your mousse,
‘pops’ and prepared mold tray. Spoon the mousse around 2/3 of the way into the
molds. Holding the mold hard against the tray, gently slide a ‘pop’ into the
centre of the mold. Tidy the top and/or top up with extra mousse if required.
Cover with cling wrap and freeze for at least 4 hours until set.
When set hard, remove
the cardboard and acetate, leaving the baking paper casings and popping back
into the freezer until needed. Wash the acetate and dry thoroughly. Absolutely
no water can remain. Temper the white chocolate by melting 2/3 of the chocolate
over heat, then take off the heat and stir through the remaining 1/3. Continue stirring to cool down to
where it is a little cooler than body temperature (dip a spoon in the melted
chocolate, and place it on your lip. It should be a little cooler than your
lip). Place it back over the heat for around 30 seconds, and check the temp
again. It should now be a little warmer than body temperature and shiny. Working with one
piece of acetate at a time, spread a thin layer (around 2mm) of melted chocolate with a
palette knife, set aside until starting to set, 3 minutes. Wrap around a
chocolate mousse cylinder, chocolate-side inward. Tape the acetate closed.
Refrigerate until chocolate is well set, remove acetate and refrigerate until
required.
Brush insides of 24 mini patty cases or the flower ice molds from IKEA with most of remaining chocolate, freeze until set, peel away the cases/pop out the molds and refrigerate chocolate cases until required. Brush underside of chocolate cases with a little more melted chocolate, attach to each end of chocolate-coated cylinders, decorate with edible decorator pens, refrigerate until required.