My mother in
law has a crazy prolific macadamia tree. It’s so awesome. She gave it a huge
haircut a few months back, and just from the branches she cut off, Lance and I
salvaged a whole ice cream container of macadamia nuts. I’ve got a few
macadamia recipes coming up over the next few weeks as I’ve tried to create
some dishes that do these delicious, buttery nuts some justice. In the
meantime, we’ve just planted a baby macadamia tree in our yard. I can’t wait
til we start getting our own. On a side note, our mango tree has just started
flowering. I was concerned because the first mango flower photos were being
posted on Instagram by other Perth folk almost two months ago! I was worried
that after our haul of 50 mangoes last year, this year our tree was going to
give up on us!
Now to today’s
recipe. This recipe can be made as a big pie, but mini desserts are always more
fun, yeah? I like making small desserts for gatherings, rather than a big cake.
Little things you can pick up and eat with your fingers. No knives and plates
and whatnot. And often I’ll make a few things so you can sample all the
desserts without feeling both ridiculously full, and having to do that awkward
‘just a *teeny* piece please’ thing…with accompanying hand gestures to indicate
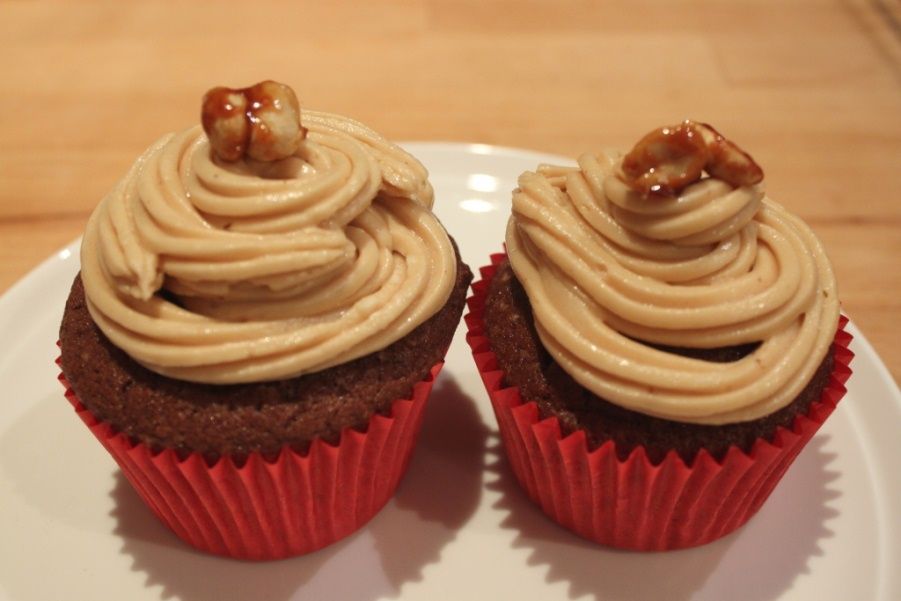
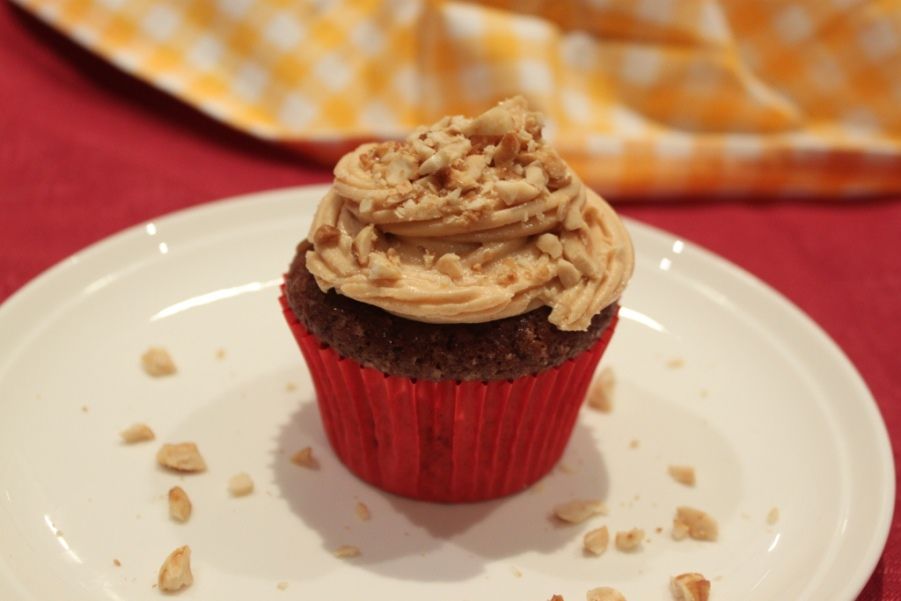
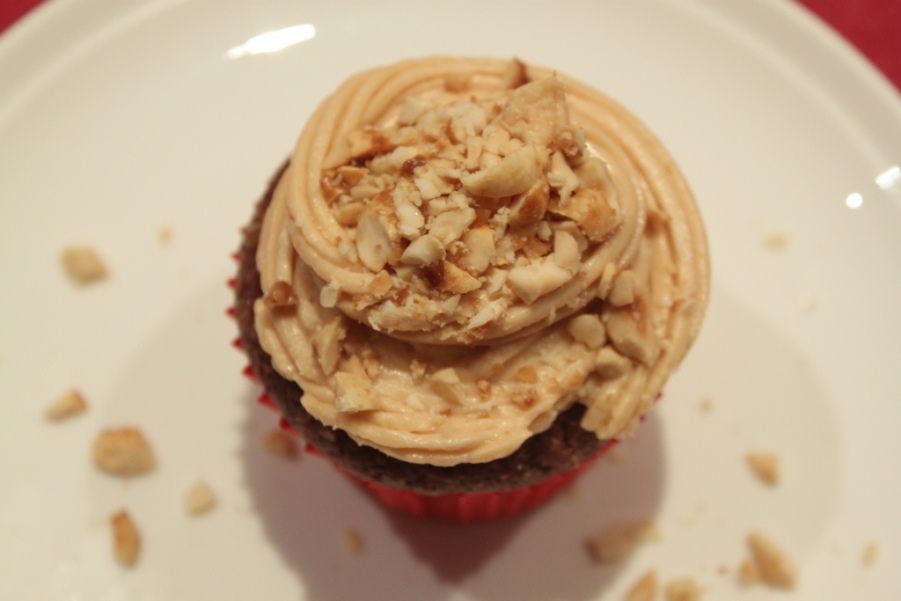
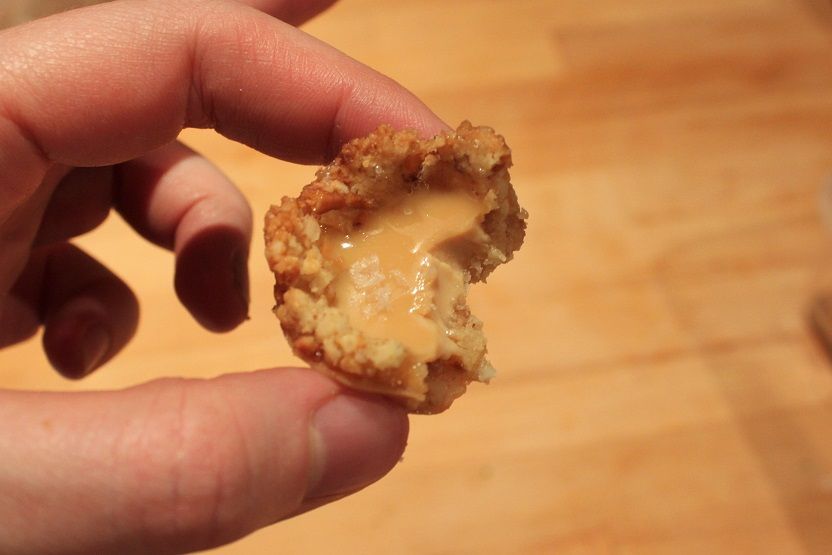
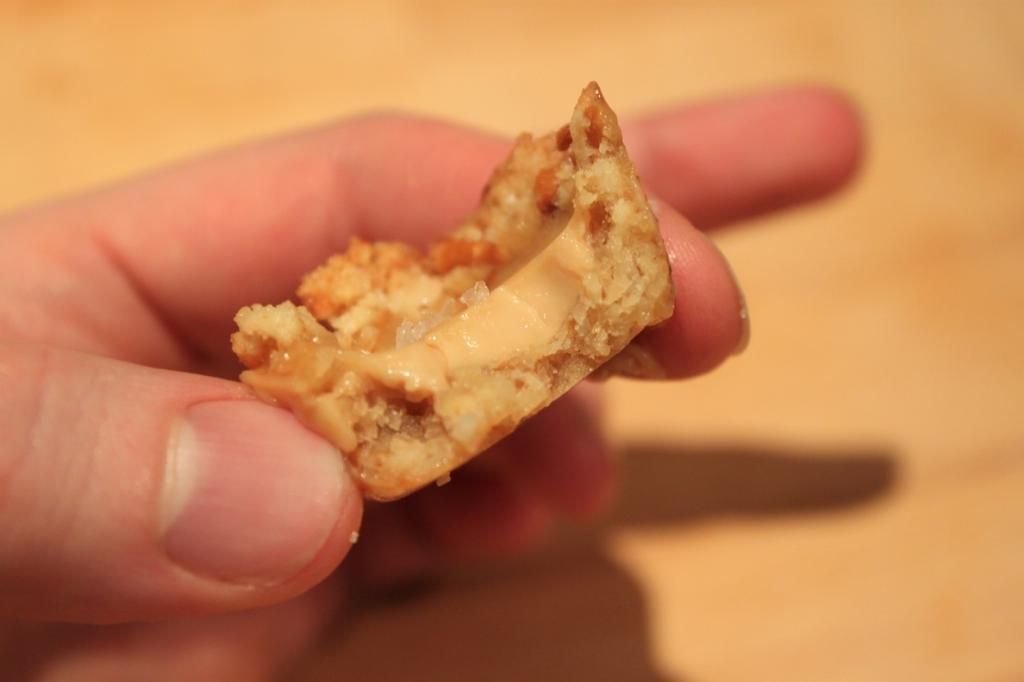
how teeny you want it. I have made these gorgeous little tarts a few times now
and they never fail to impress. They are so moreish. The perfect mix of salty
and sweet. And the macadamias add such a decadent richness to the whole
situation.
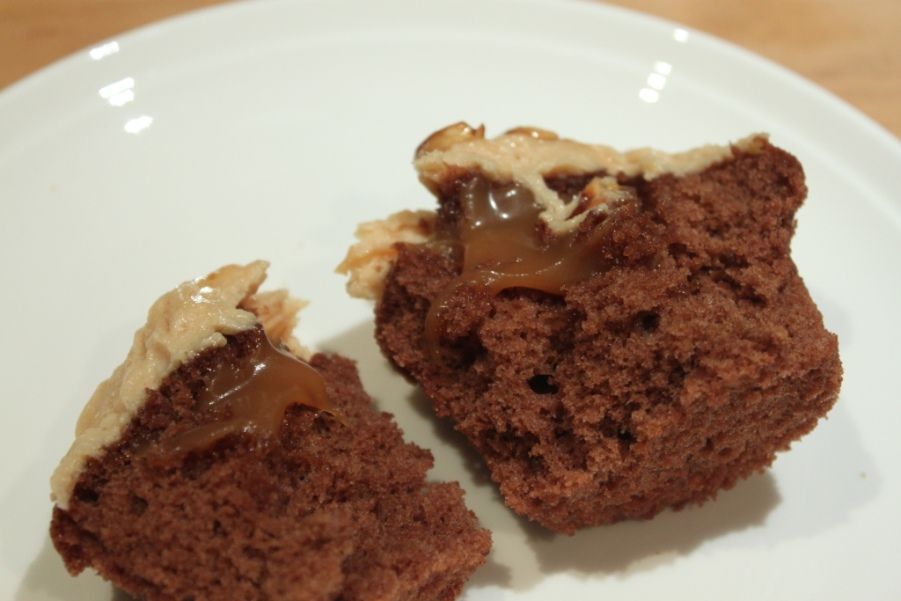
They are best
made the day of serving, as the base can go a bit soggy (still yummy though!).
But remember that the caramel will need about 2-4 hours in the fridge to set.
So the base doesn’t soak up too much of the caramel, ensure the biscuit base is
cool. And sprinkle the fine sea salt on just before serving, so it doesn’t
dissolve and you still get the delightful flakey texture. Then try not to eat
all of them before your guests come!
Macadamia
Salted Caramel Tarts
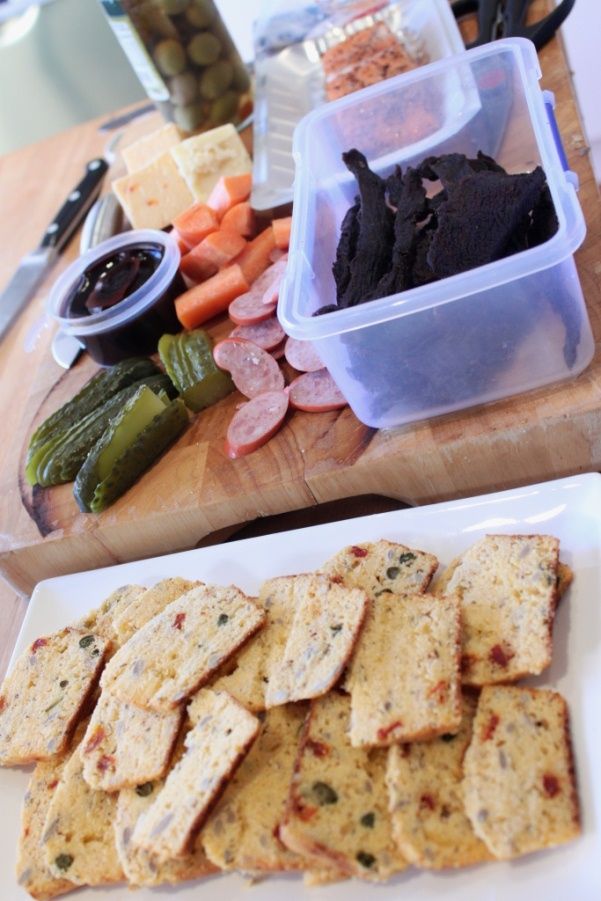
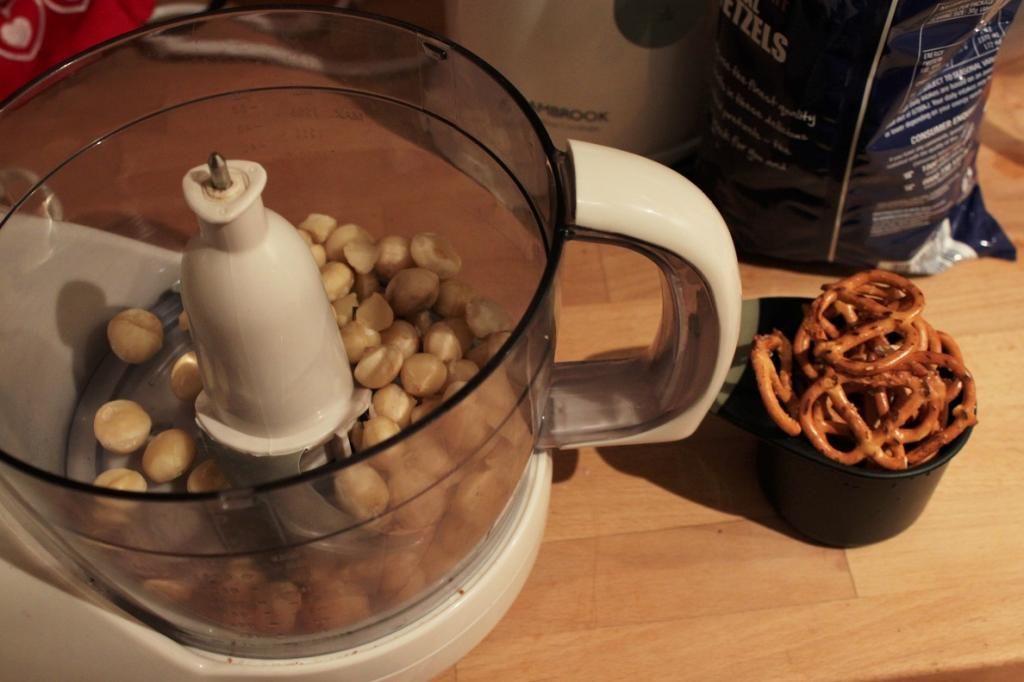
Macadamia Pretzel Base
1 cup macadamias1 cup pretzels (loaded fairly full)
2 tbsp raw sugar
2 tbsp butter
1 egg
Preheat oven
to 175C
Pulse the
macadamias, pretzels and sugar in a food processor until fairly fine, but some
chunks still remain for texture. Pulse through the butter until well mixed.
Then add the egg and process until it comes together into a dough.
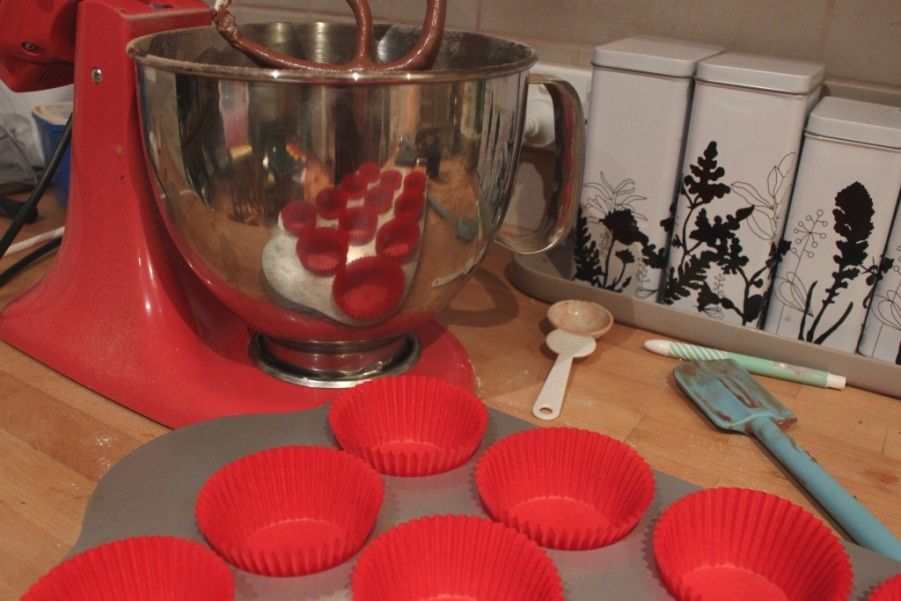
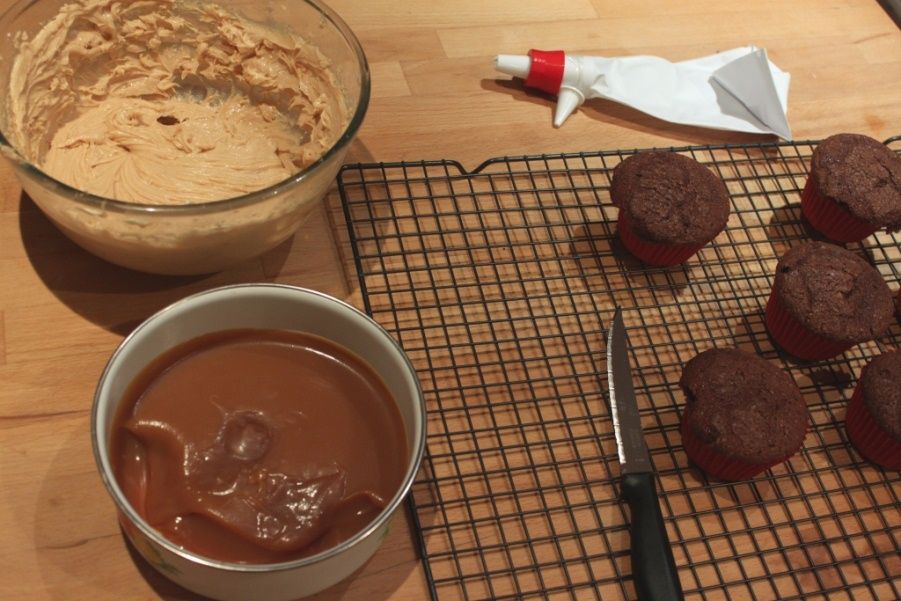
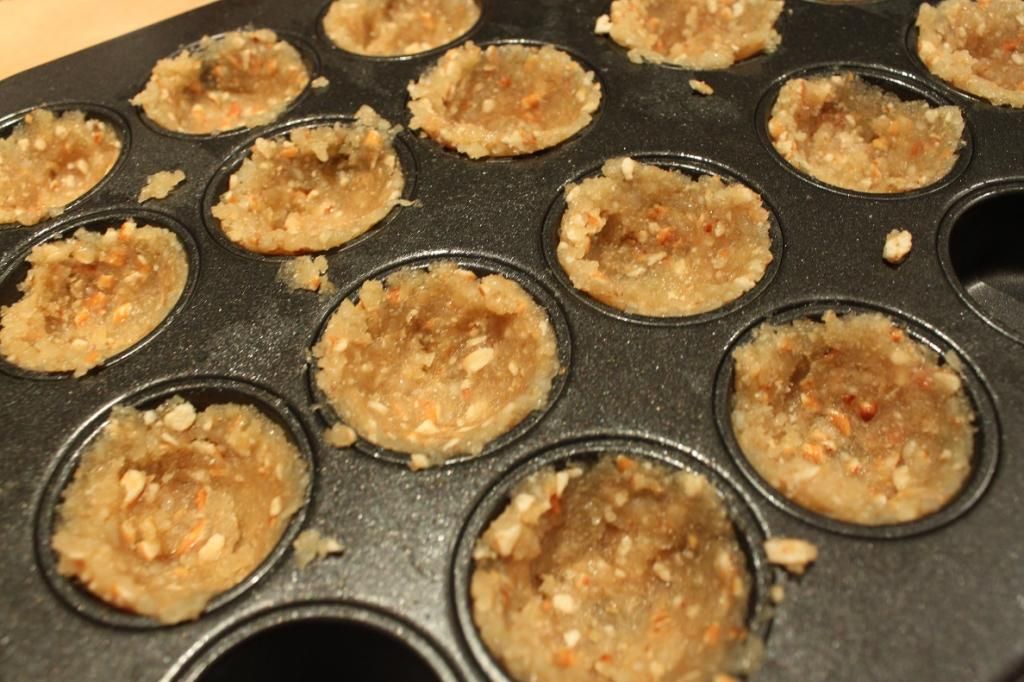
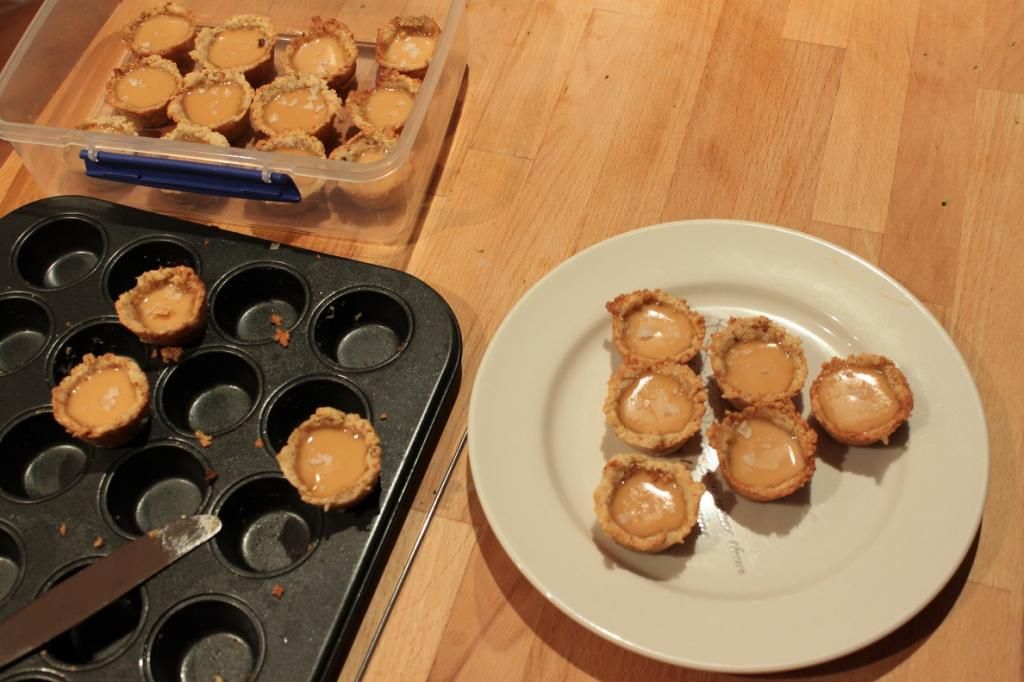
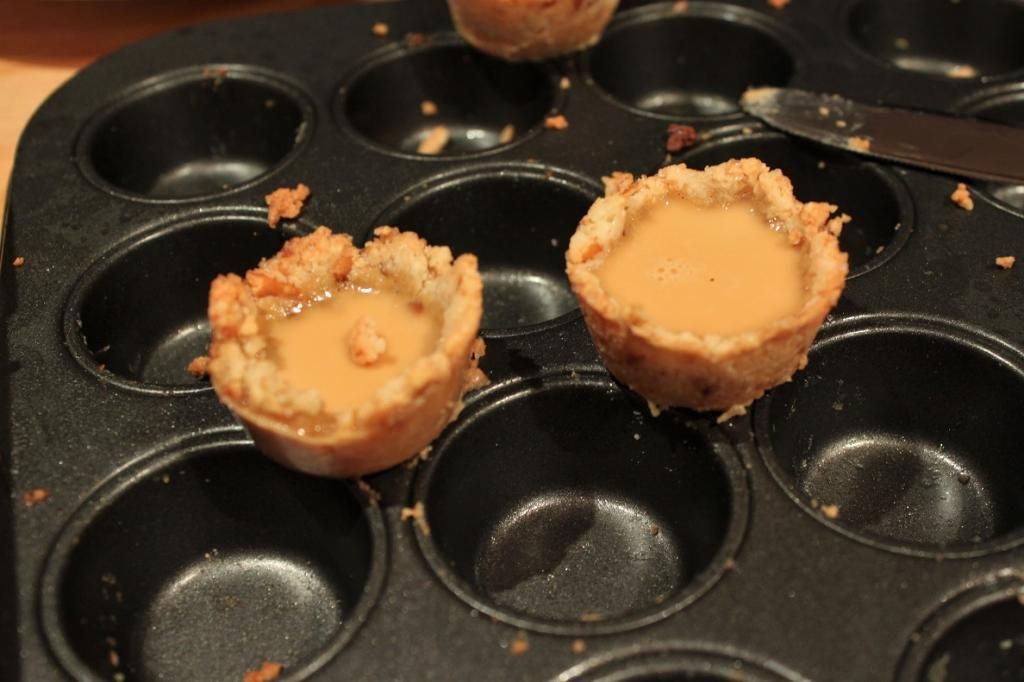
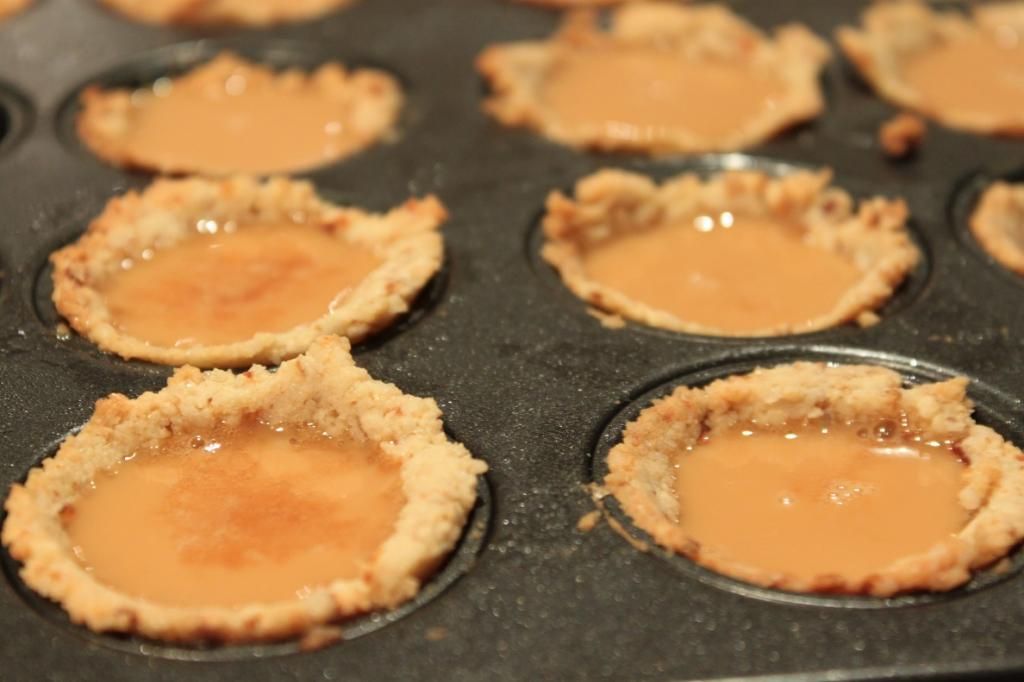
Spray mini
muffin tins with cooking spray, then press a heaped teaspoon or so into the
tin, creating the pie base. As you add the caramel as a liquid, it needs to be
a solid base without gaps.
Bake for 10-15
minutes or until golden. Check around the 7 minute mark. If they have puffed up
a lot, gently press back down and finish baking. Remove from the oven and leave
to cool in the tin.
Caramel
Filling
330mL cream85g caster sugar
5 grams leaf gelatin
Fine sea salt flakes
Soak the
gelatin leaves in a shallow bowl of cold water.
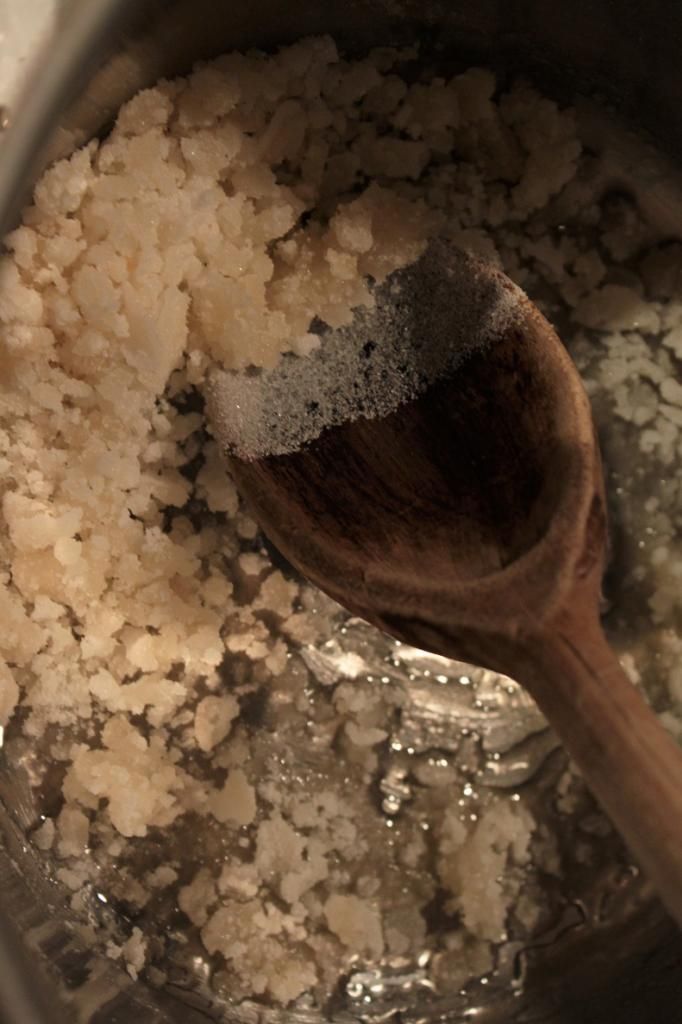
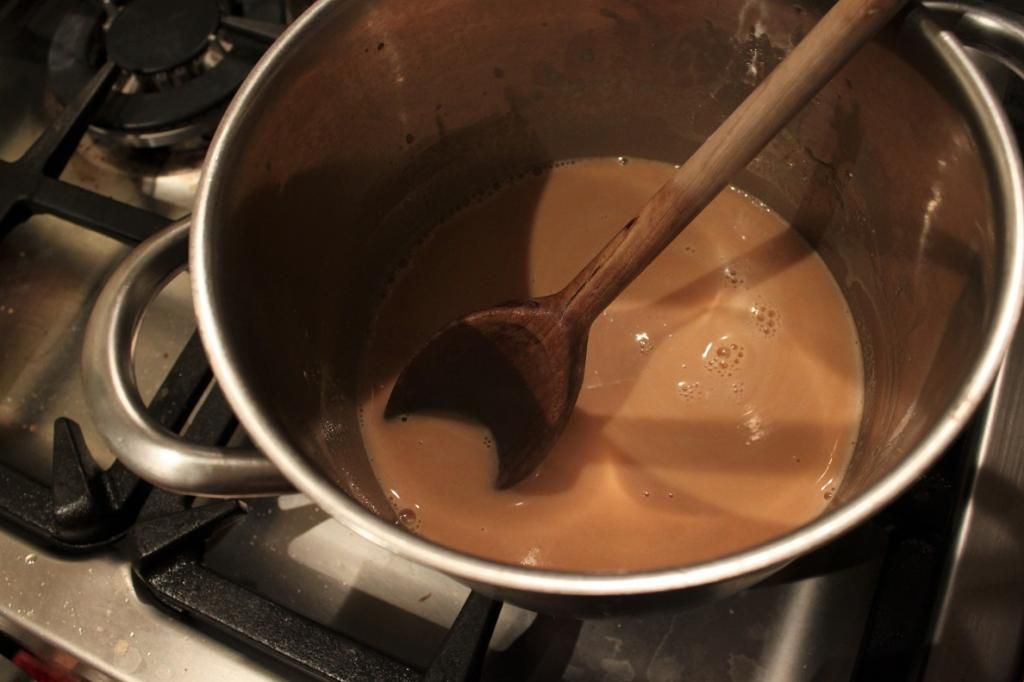
Place the
caster sugar into a large pot over a medium-high heat. Stir gently with a
wooden spoon to encourage the sugar to melt. It will become a clear liquid,
then leave over the heat and stop stirring until it goes a caramelly golden
colour, but watch carefully to make sure it doesn’t burn.
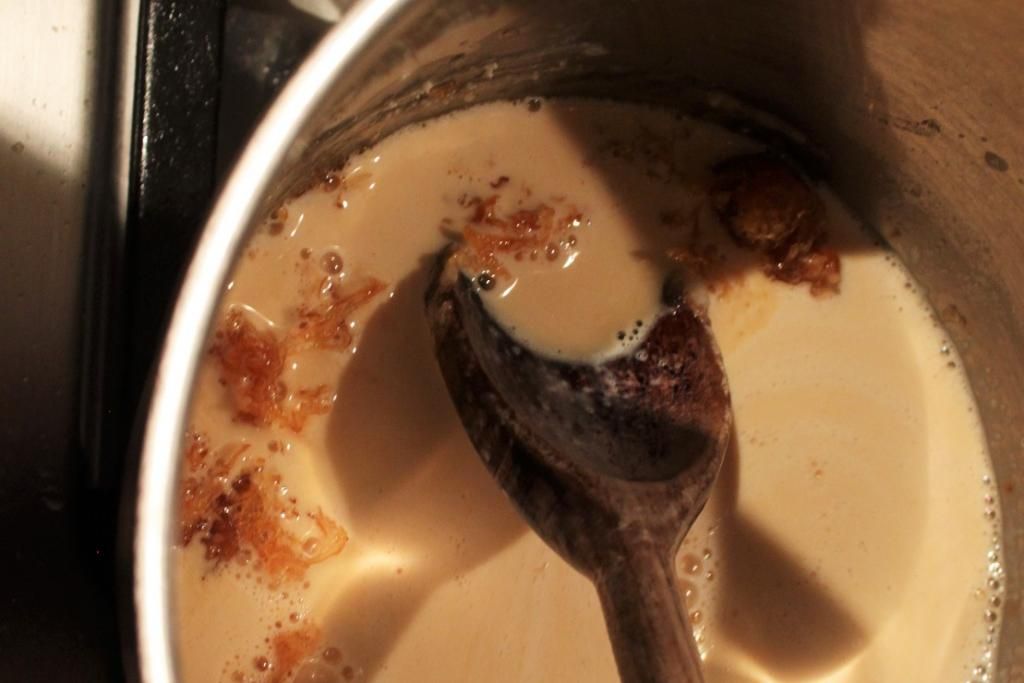
When it’s golden and it smells caramelly and delicious, carefully pour the cream in. It will spit a bit, so be careful. This will make the caramel turn hard and crunchy. Stir the cream constantly to dissolve the caramel. When all of the caramel is melted back into the cream, gently squeeze the excess water from the gelatin leaves and dissolve them one by one into the cream. Stir for a further minute then strain through a fine sieve into a jug.
When it’s golden and it smells caramelly and delicious, carefully pour the cream in. It will spit a bit, so be careful. This will make the caramel turn hard and crunchy. Stir the cream constantly to dissolve the caramel. When all of the caramel is melted back into the cream, gently squeeze the excess water from the gelatin leaves and dissolve them one by one into the cream. Stir for a further minute then strain through a fine sieve into a jug.
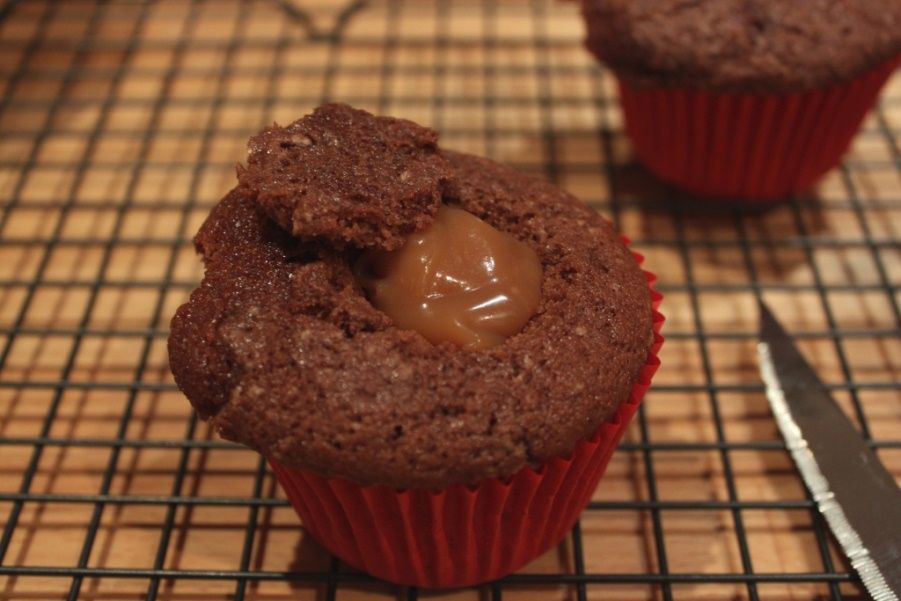
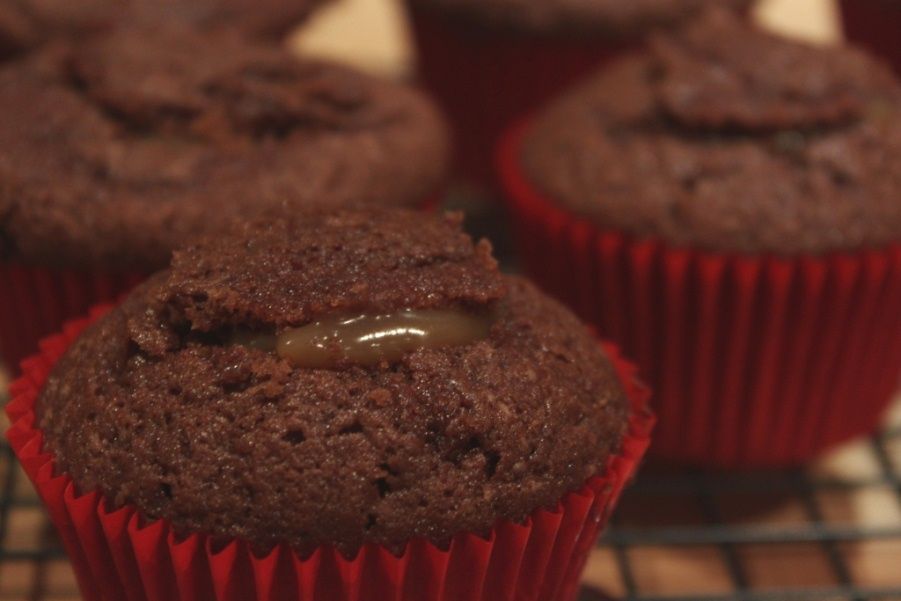
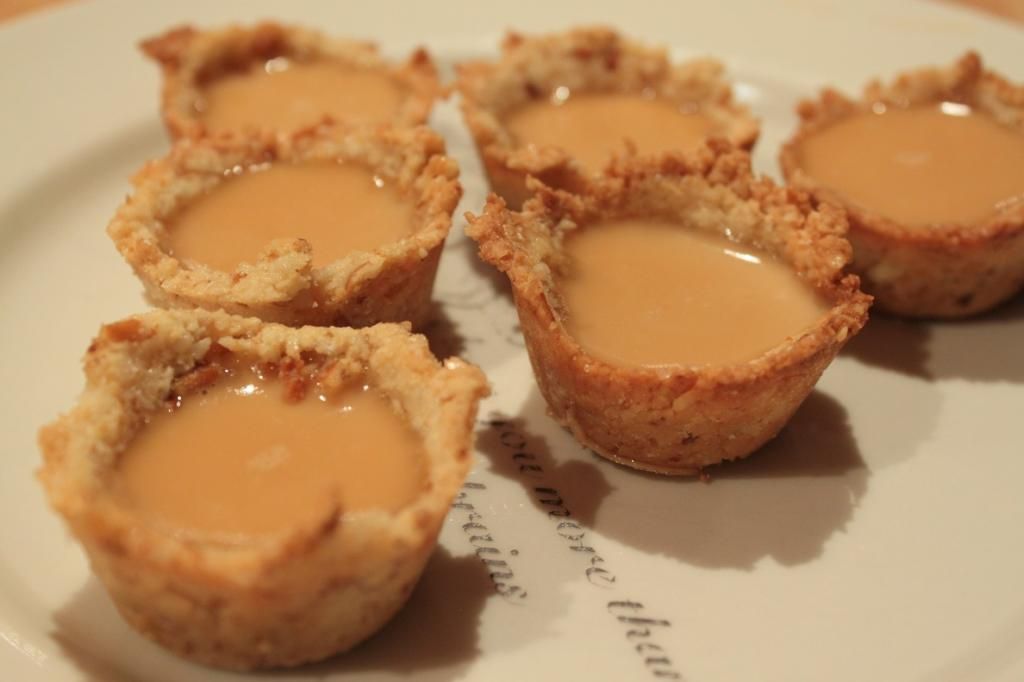
Set aside to
cool for 5-10 minutes, then carefully fill each tart base as high as you dare.
Slide the tray into the fridge to set.
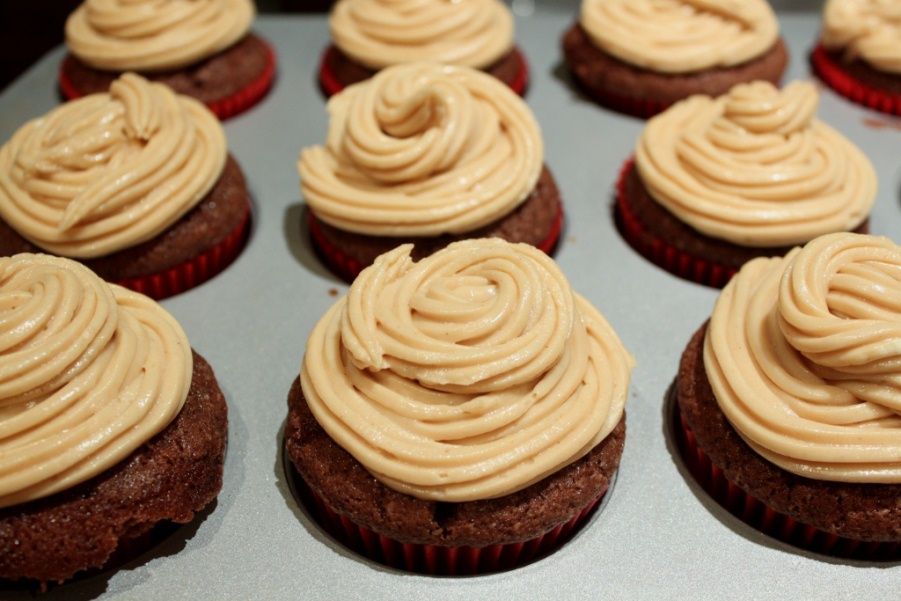
Just before serving, sprinkle a few salt flakes on each tart
P.S. The Beaufort Street Festival is on November 15th where you can buy the Recipes and Ramblings Cookbook!

Just before serving, sprinkle a few salt flakes on each tart
P.S. The Beaufort Street Festival is on November 15th where you can buy the Recipes and Ramblings Cookbook!