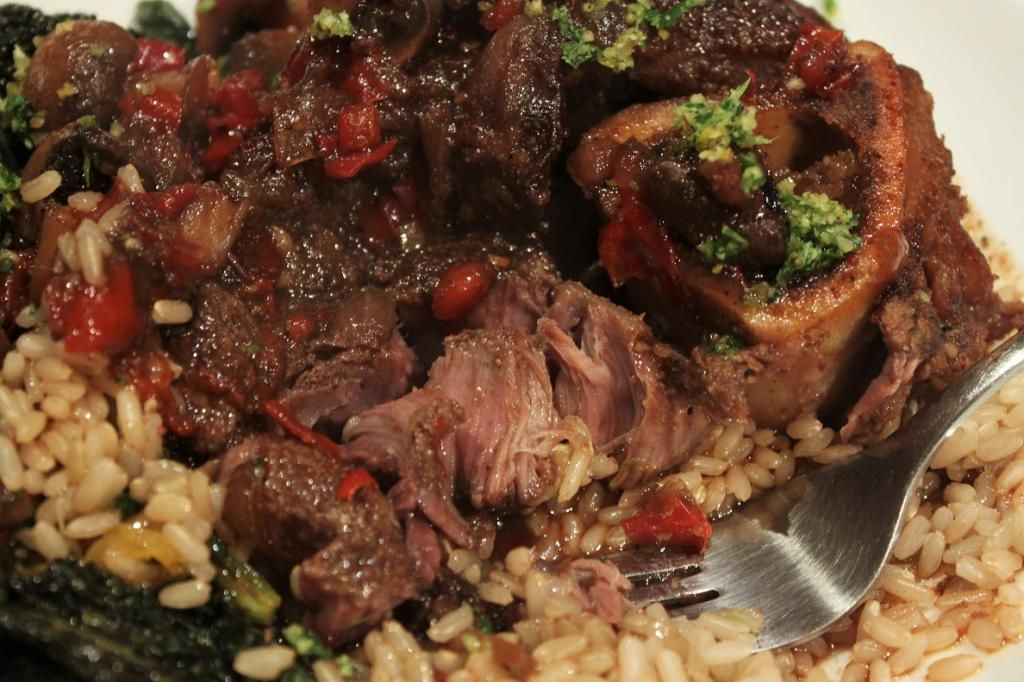
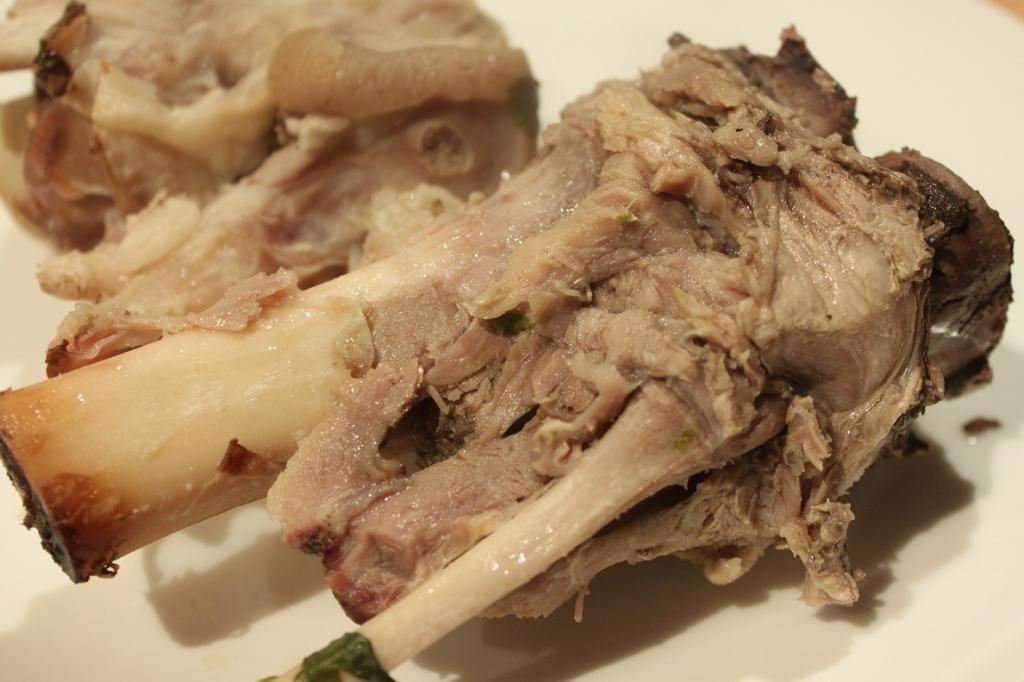
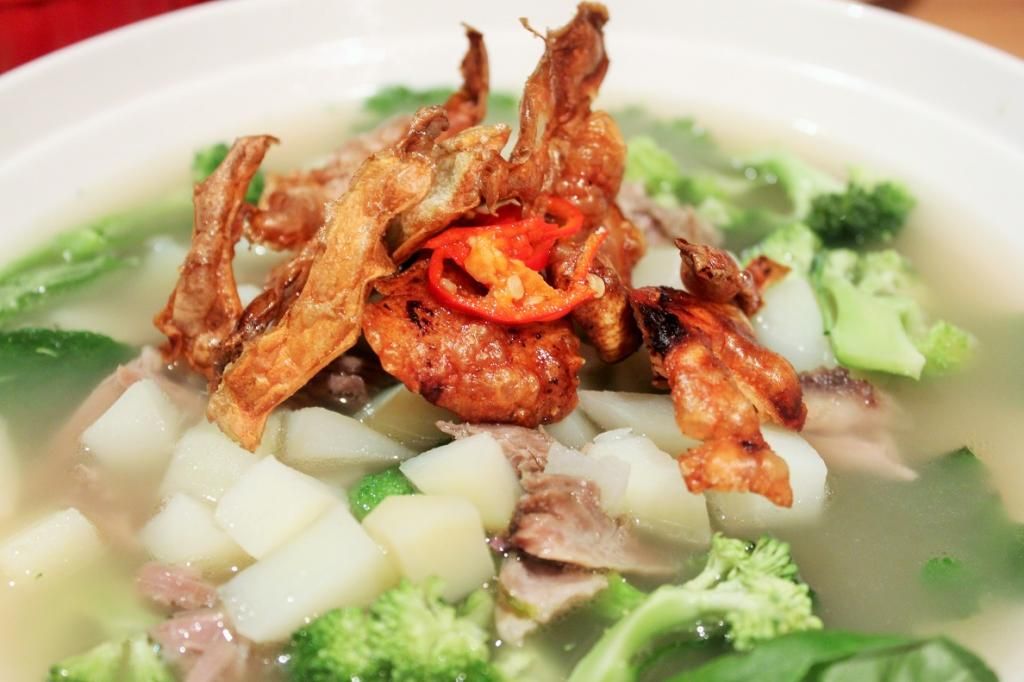
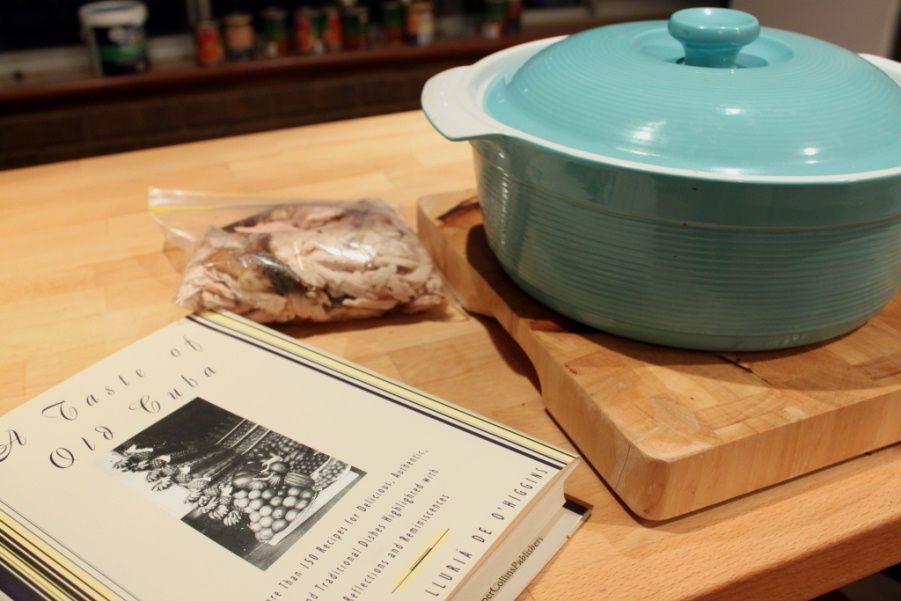
Where do you stand on bone marrow? I know it tends to be a fairly divisive kind of food. Personally, I love it. Sucking the marrow out of the shank on a lamb roast is one of life’s joys (that I have to take turns with Lance on). It’s so rich and delicious. If you have a family that requires sharing the marrow, osso bucco is a perfect way of everybody getting some bone marrow, without forking out for just marrow bones and paying just for the bones. Osso Bucco is generally a fairly cheap cut of meat, as quite a few of the slow-cook meats are, but it is so delicious.
Traditionally, osso bucco is cooked in Italian
style flavourings. Tomato and oregano and garlic. This dish is a little
different in that it uses Asian style spices instead. It’s a bit sweet, a bit
spicy and still totally rich and soul-satisfying in the way that all good casseroles
should be. This is a prep and forget kind of dish, once you’ve got everything
in the pot, it can be left alone to cook itself. Don’t let the longish list
of ingredients put you off, they’re mainly flavouring ingredients that just get
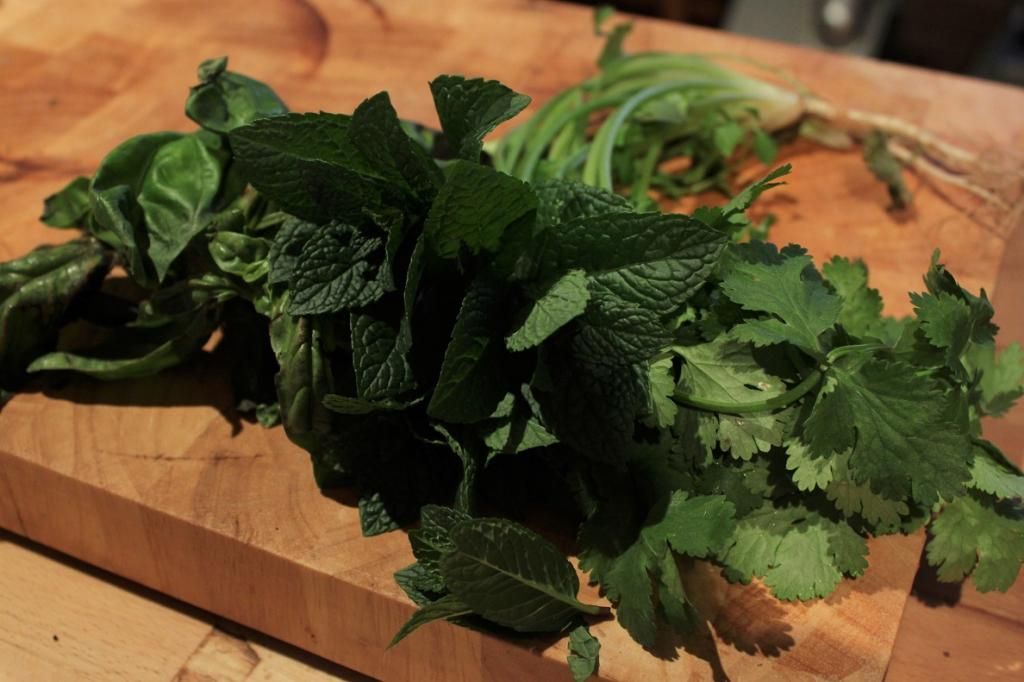
stirred together. The coriander gremolata adds a fresh hit
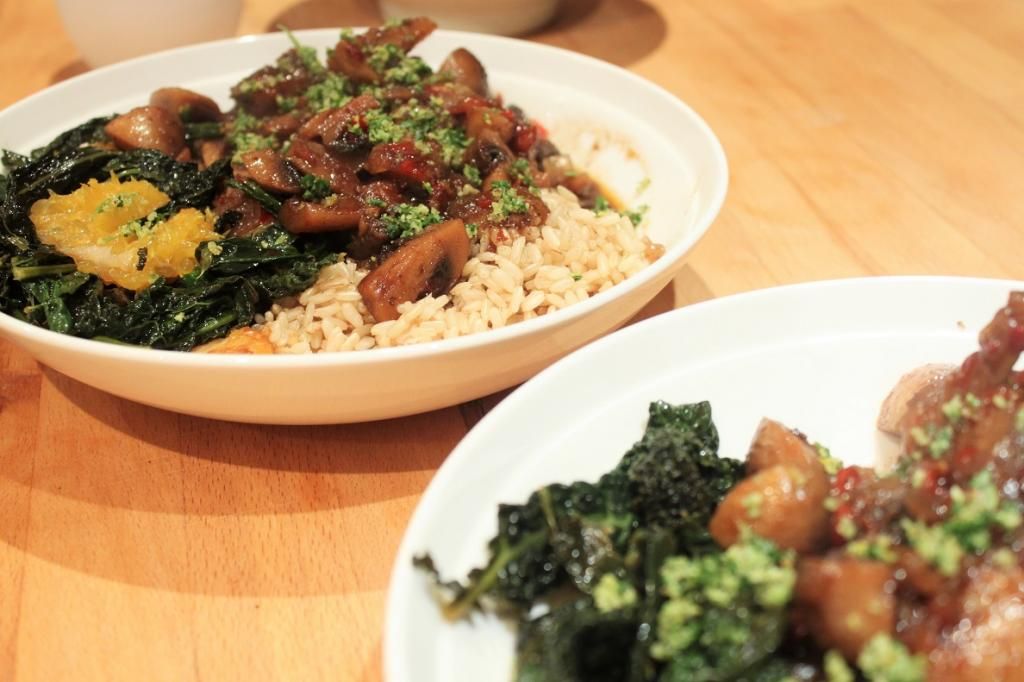
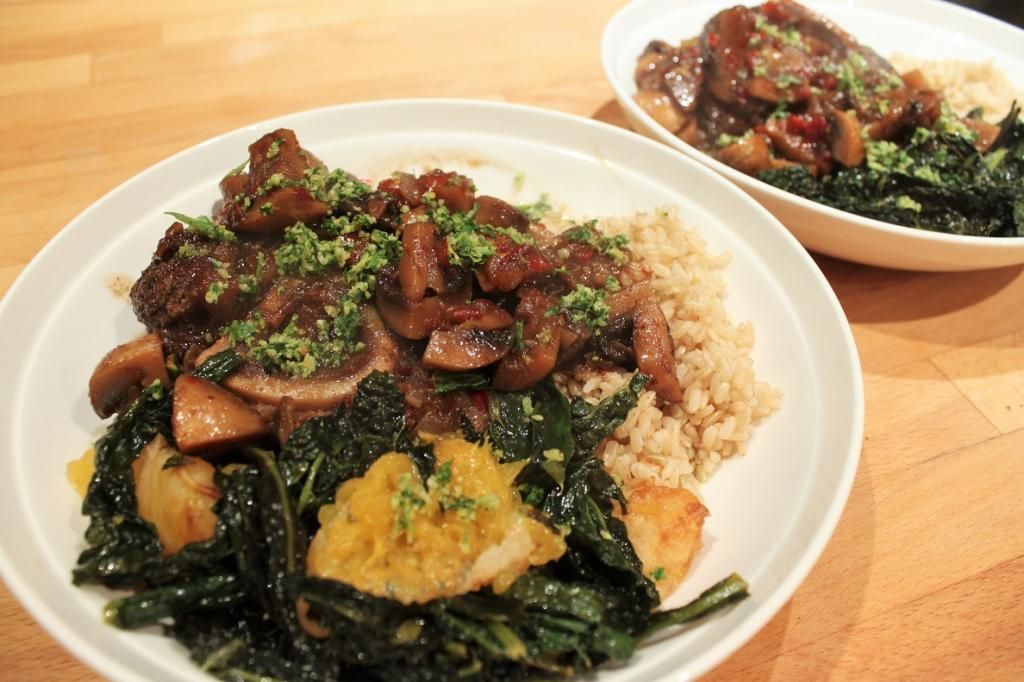
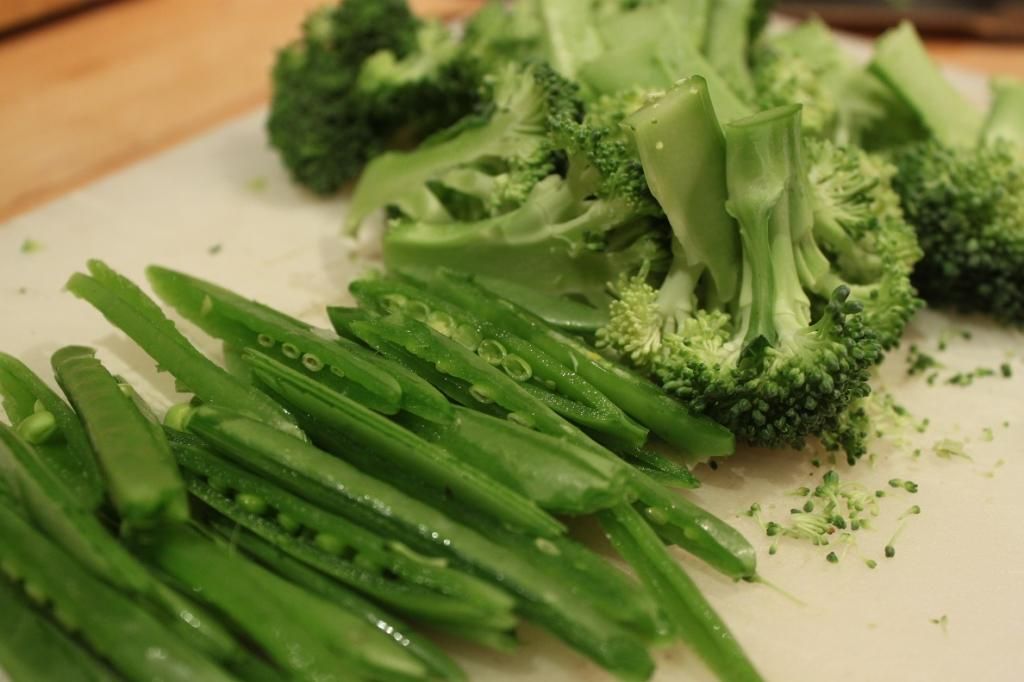
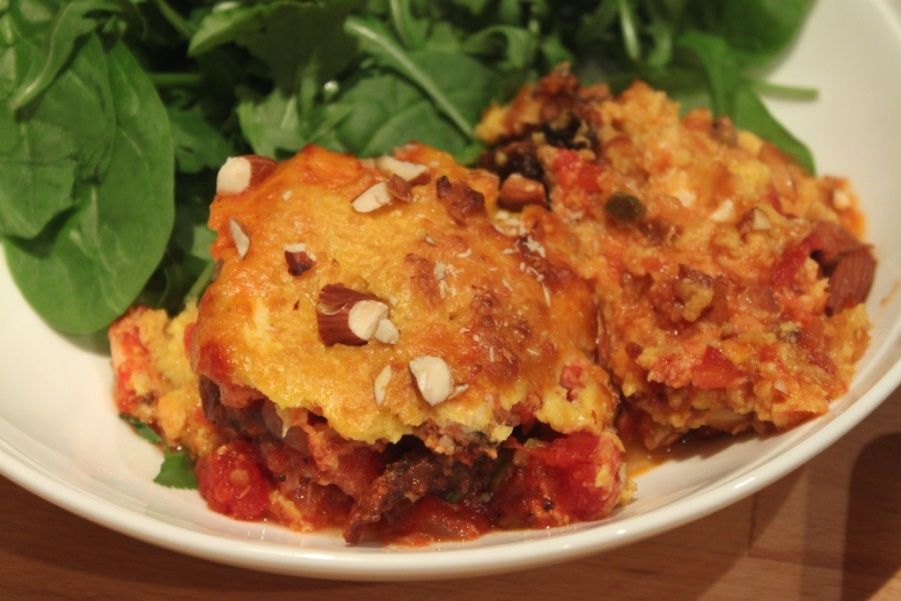
against the richness. I wouldn't skip this. I've added a recipe for orange braised kale that goes well, but isn't necessary for the dish.
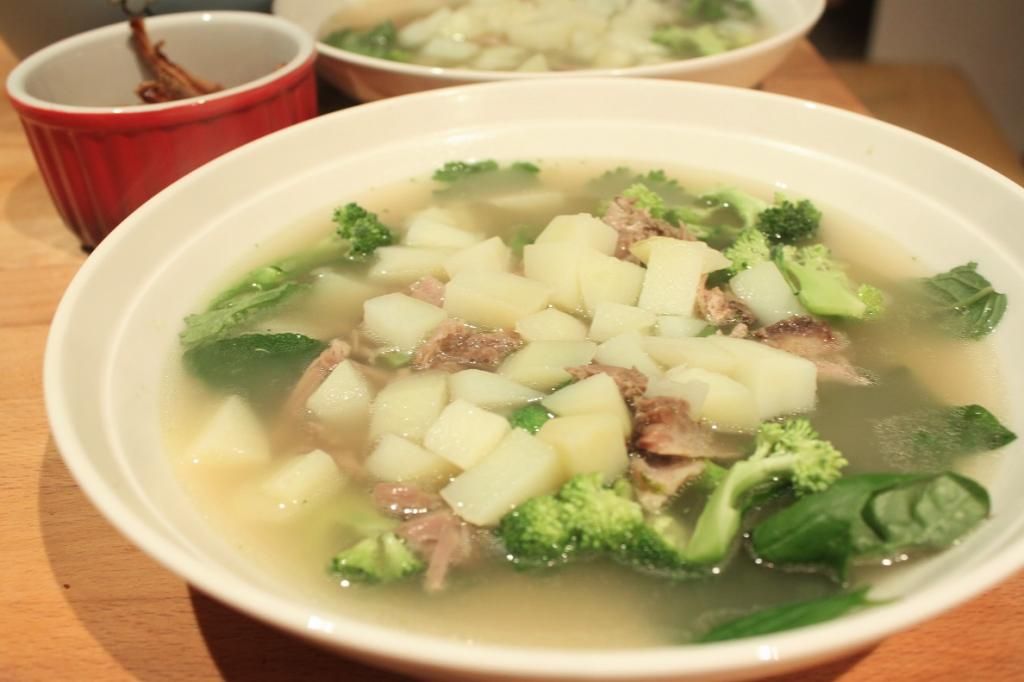
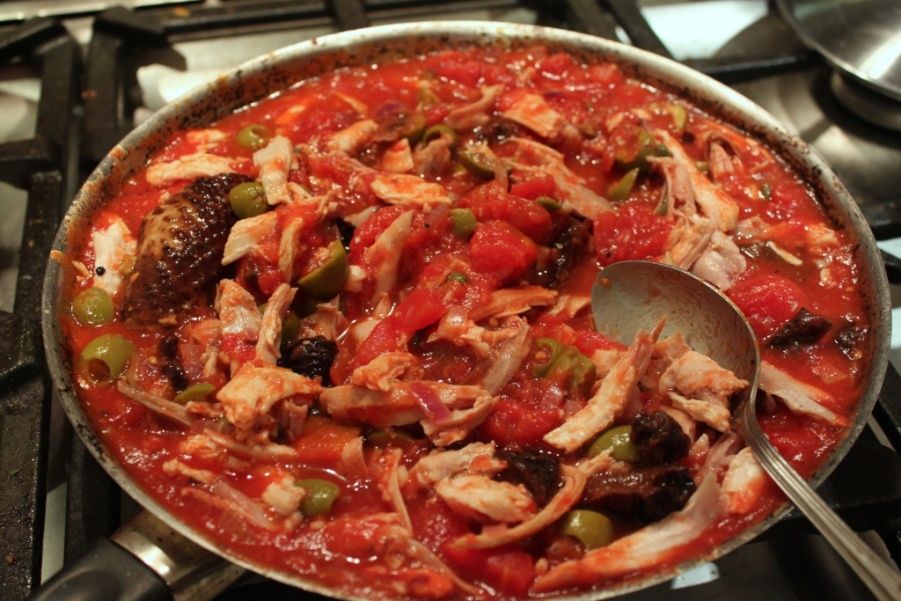
If you don’t like bone marrow, you can remove
the bones and shred the meat into the sauce before serving. I did this for a
dinner party and then Lance and I stood over the kitchen island and sucked out
the bones.
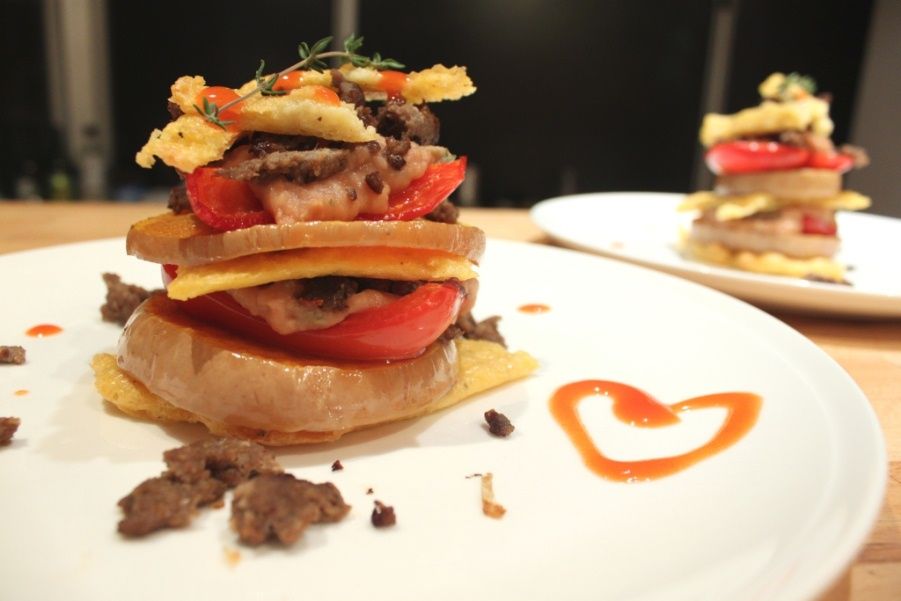
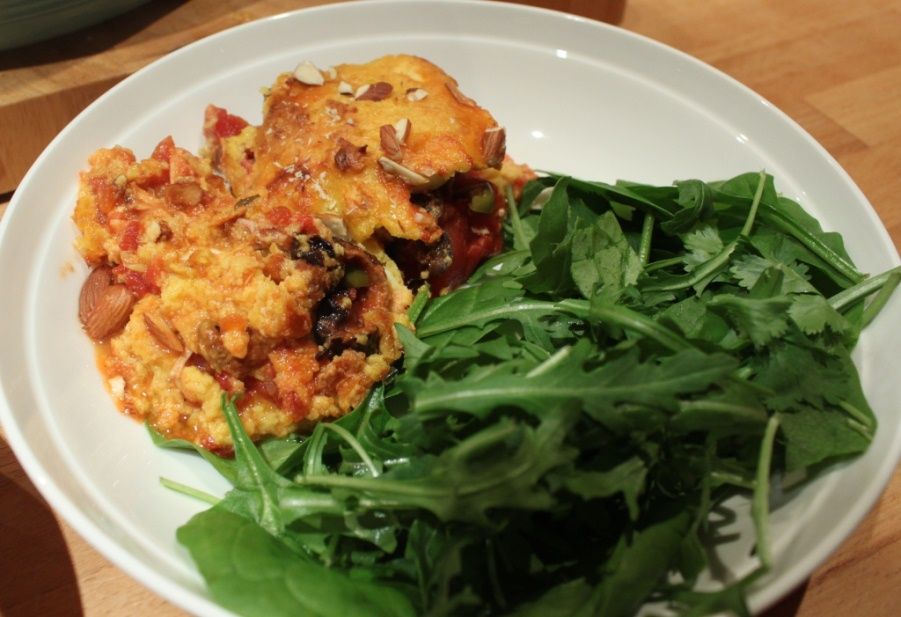
I’ve also made this exact dish with a large cubed sweet potato in place of the mushrooms. Also worth doing.
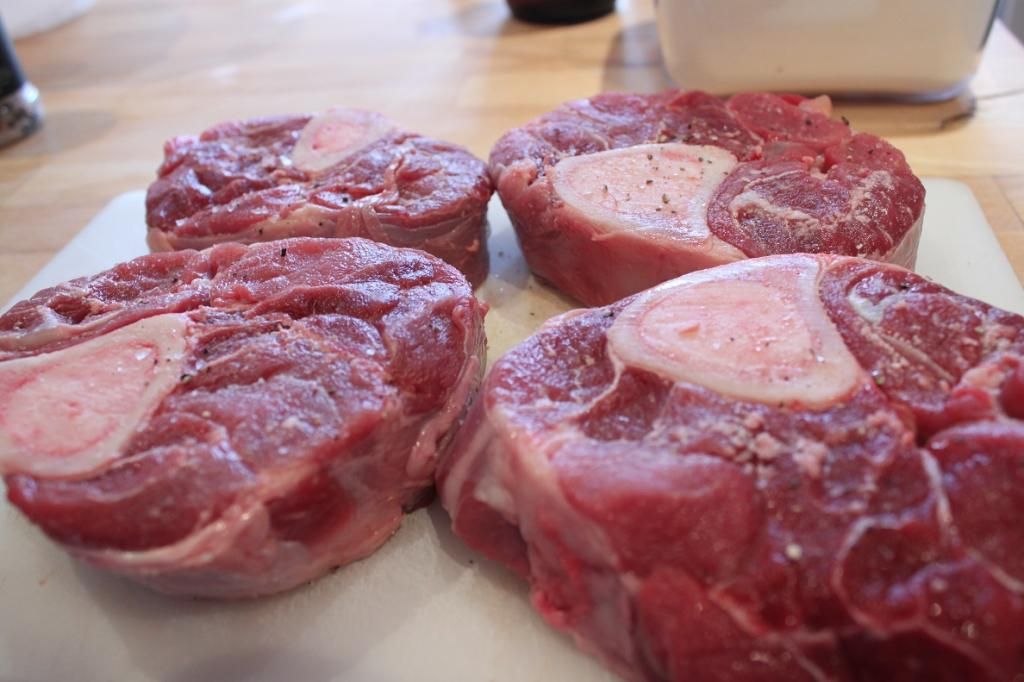

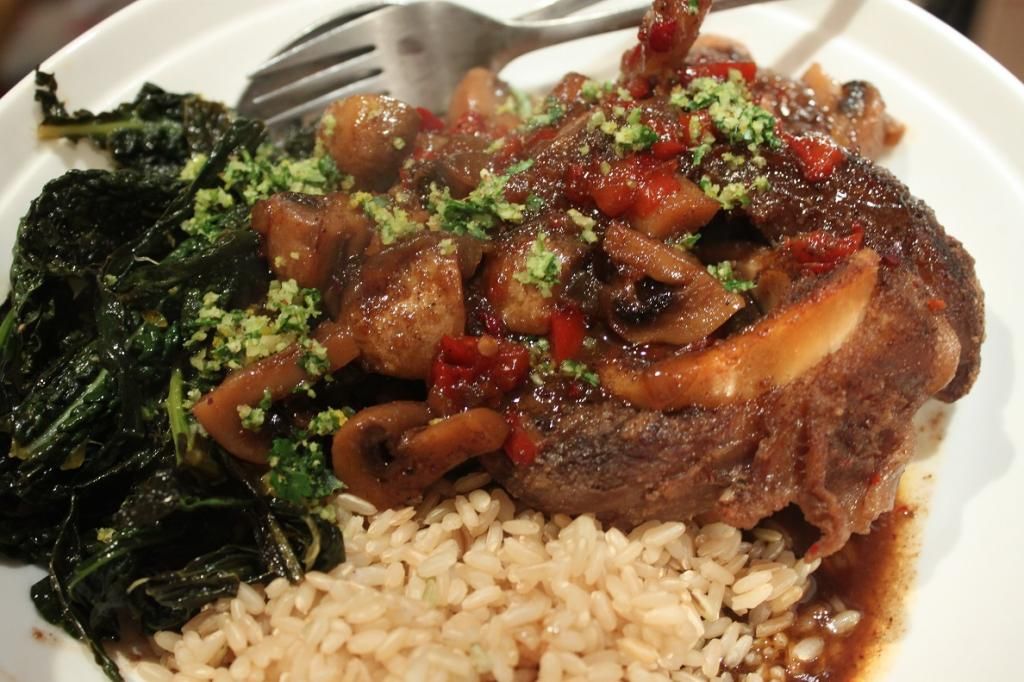
Chinese 5 Spice Osso Bucco
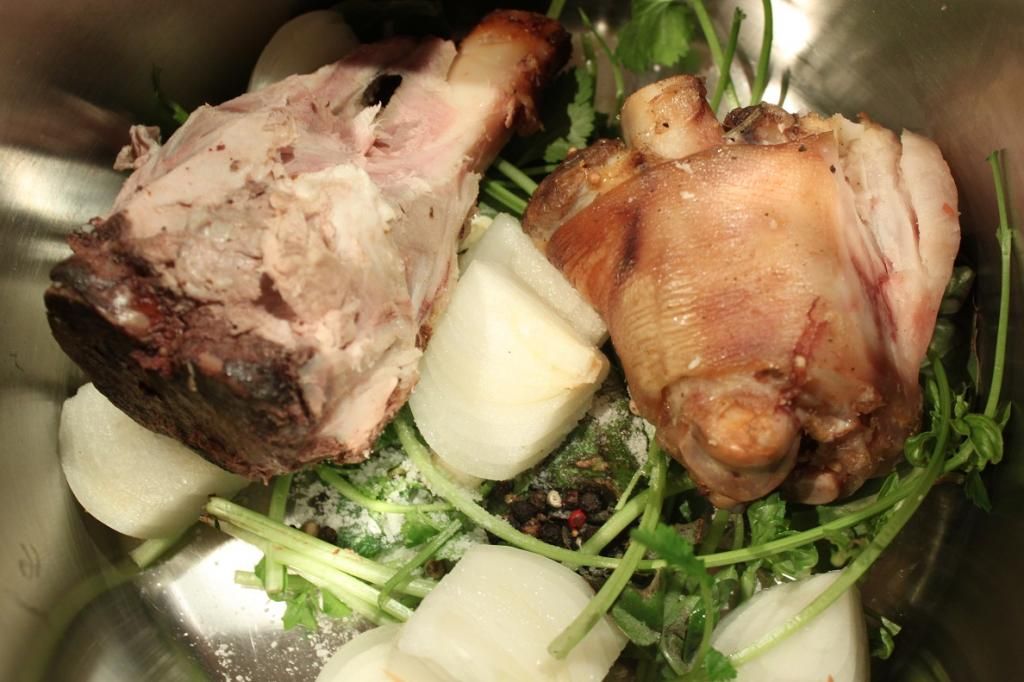
4 osso bucco
2-3 tbsp coconut flour (can sub cornflour)Olive oil
½ cup rice vinegar
½ cup honey
½ cup rice wine (from Asian grocers)
1 ½ tbsp. five spice
1 tbsp ground ginger
2 red chili, finely minced
1 tbsp salt
1/4 cup raw sugar
1 tbsp oyster sauce
500mL water
1 onion, diced
3 cloves garlic, minced
1 capsicum, diced
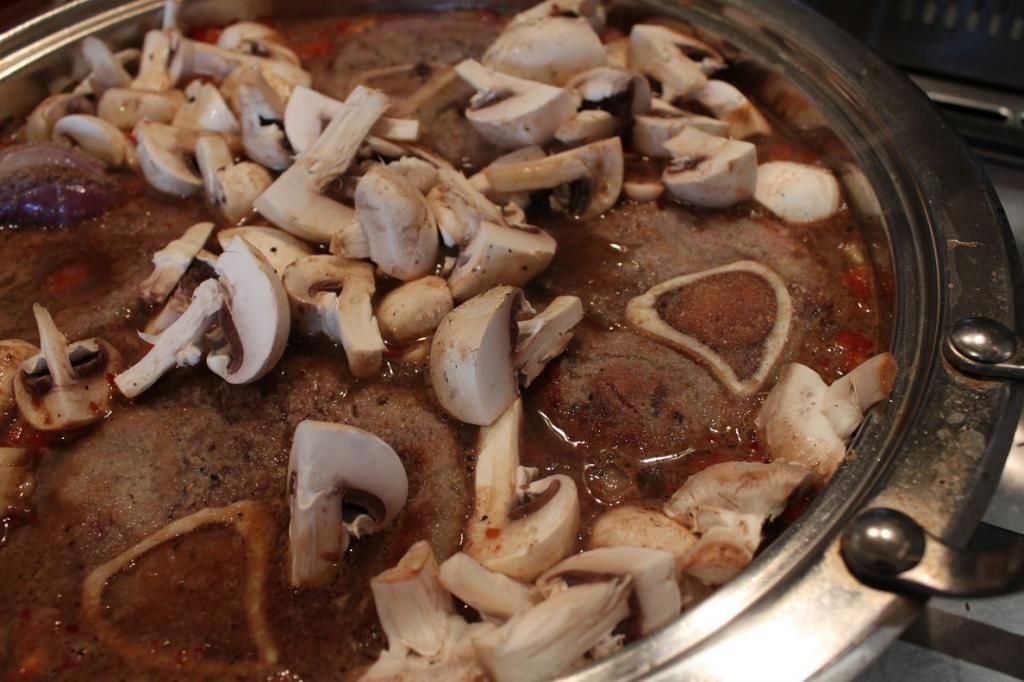
300-400g button mushrooms, quartered.
Steamed brown rice
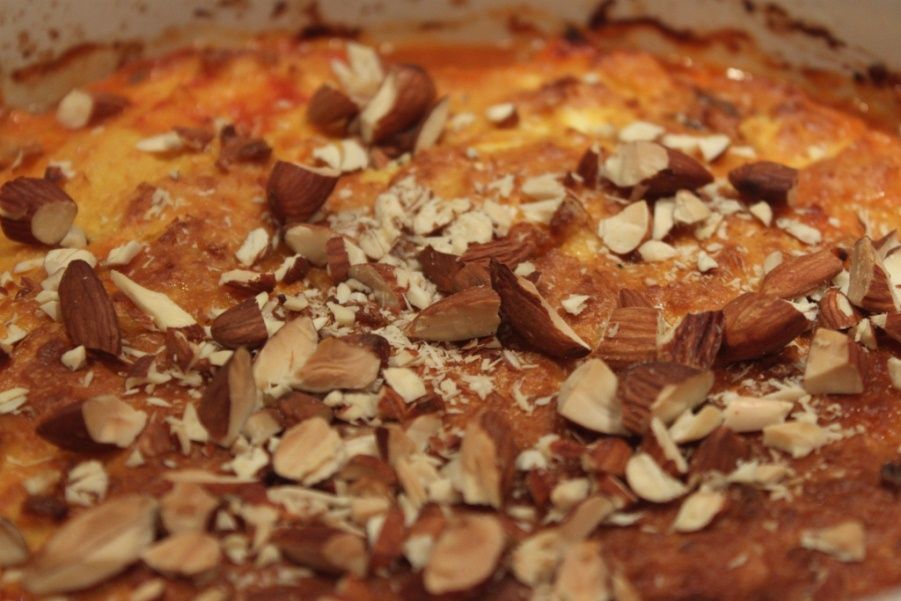
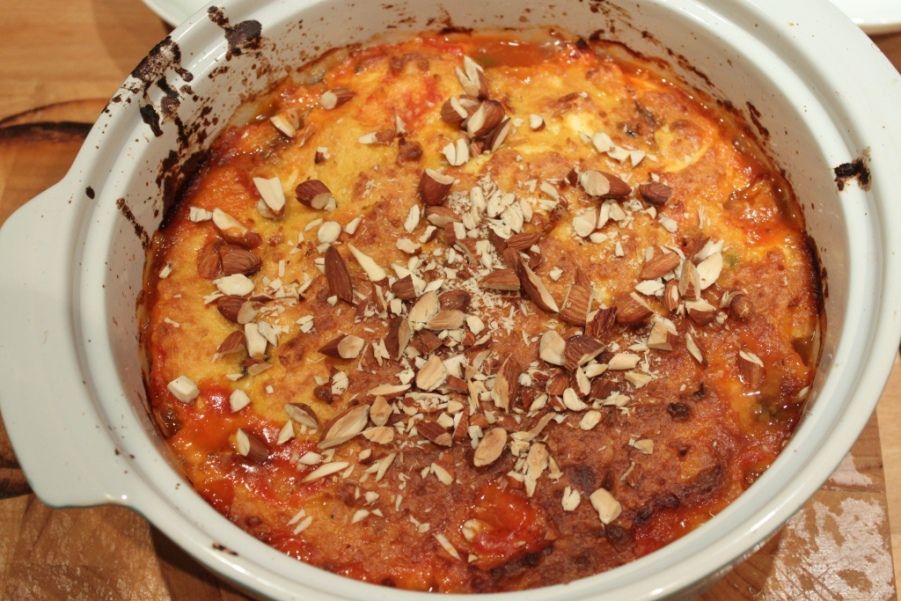
Coriander Gremolata
2 tbsp hazelnut meal
Zest one orange
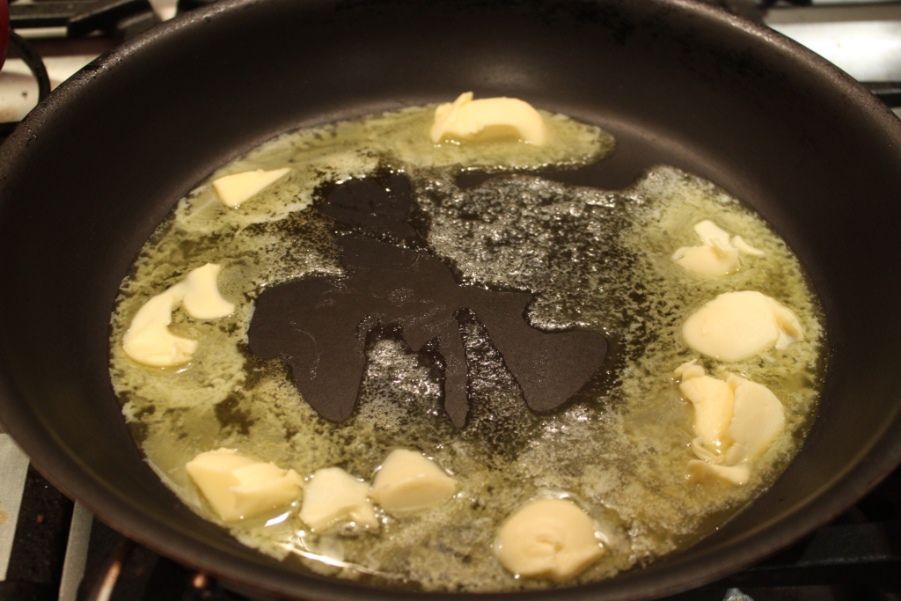
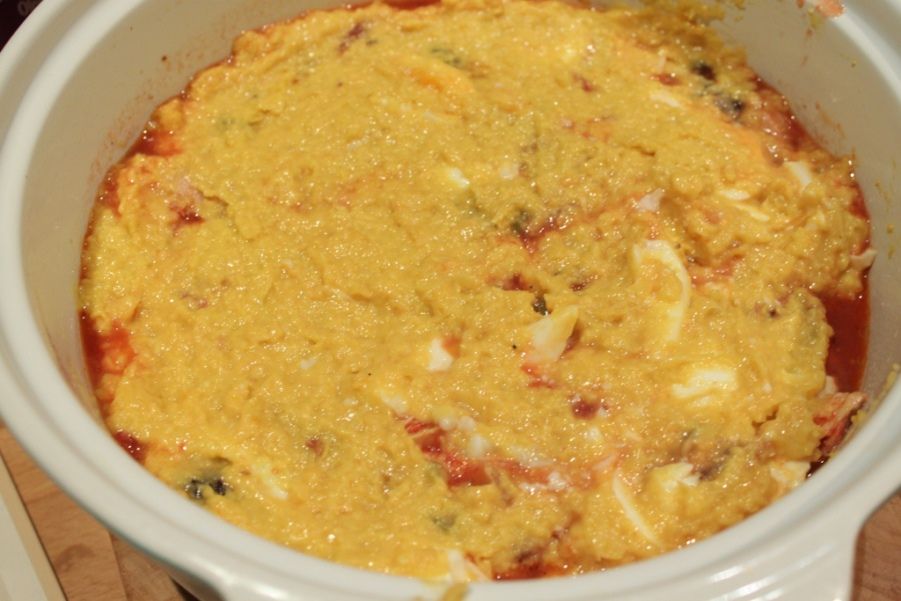
Season the osso bucco with salt and pepper, then dust in coconut flour. In the base of a lidded casserole or tagine that can go on the stove and in the oven, heat a layer of oil to medium high heat. Brown the osso bucco on both sides – around 3 minutes per side. Remove to a plate.
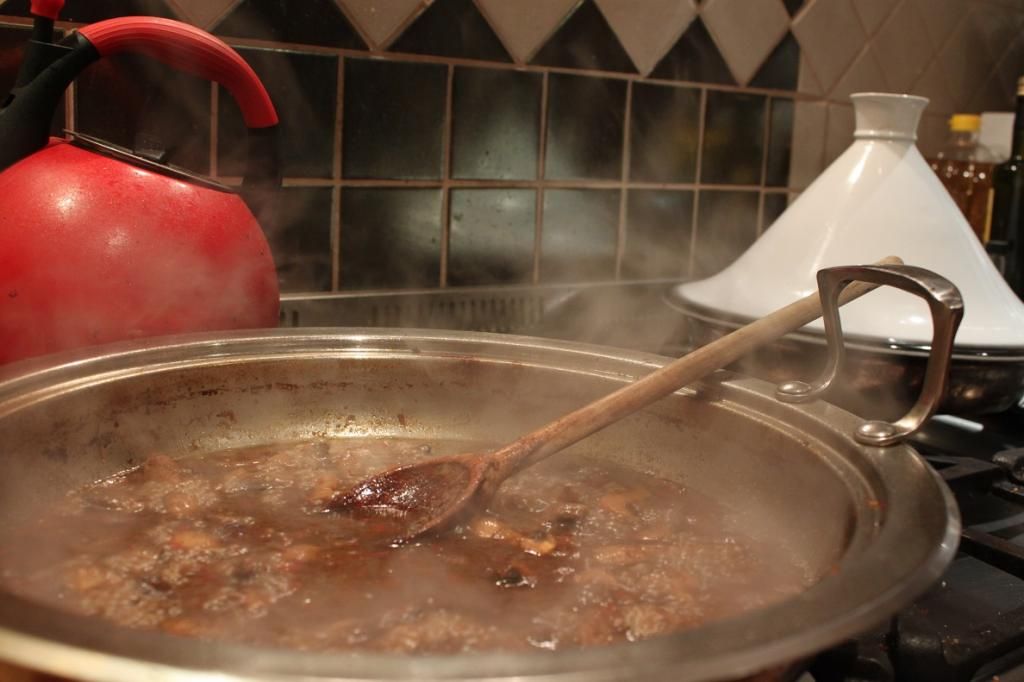
Add the onion to the same pot and cook the onion for 10 minutes, stirring often until caramelised. Add the garlic and capsicum and cook another 5 minutes, until the capsicum has softened. In a bowl, whisk together the rice wine, rice wine vinegar, five spice powder, ground ginger, oyster sauce, chilli, salt, sugar and water. Add this liquid to the pot and turn the heat up to high. Bring to the boil, then add the osso bucco back to the pot. Scatter the mushrooms around the osso bucco in the casserole. Add the lid, then put it in the oven and cook for 2 hours, or until the meat falls off the bone.
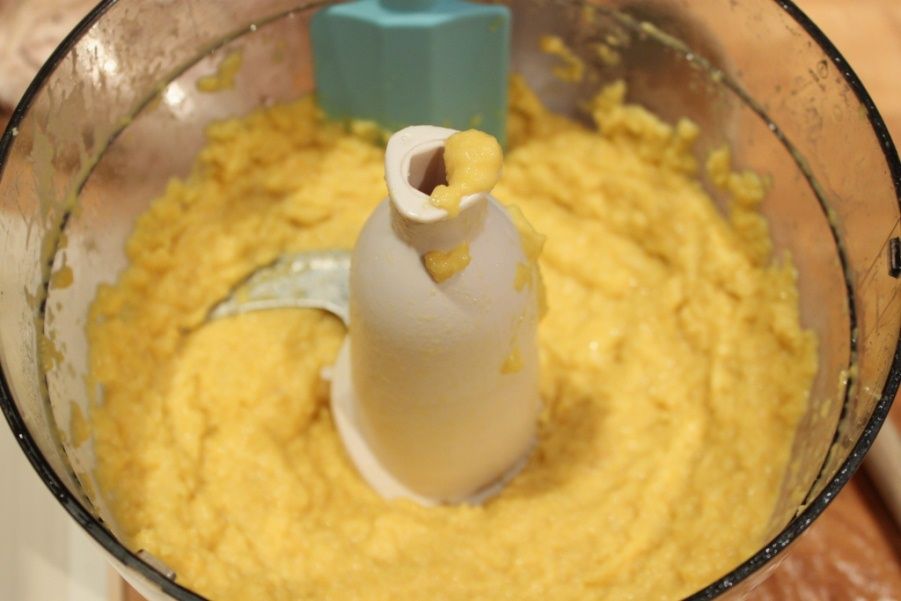
Meanwhile, pulse the coriander, hazelnut meal and orange zest in a processor, then put in a container in the fridge until ready to serve.
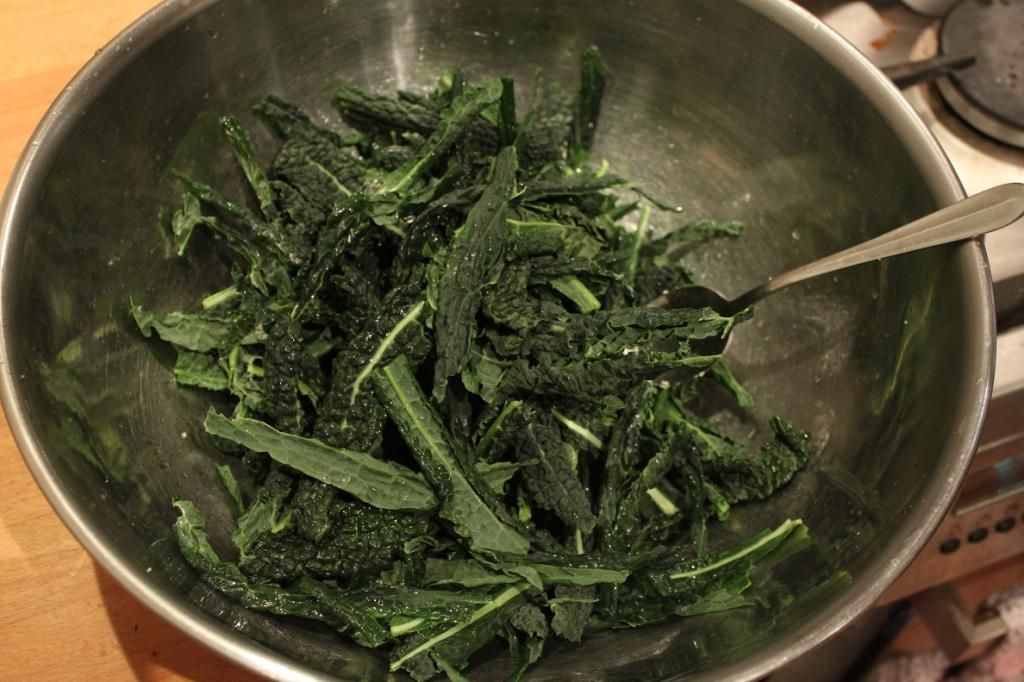
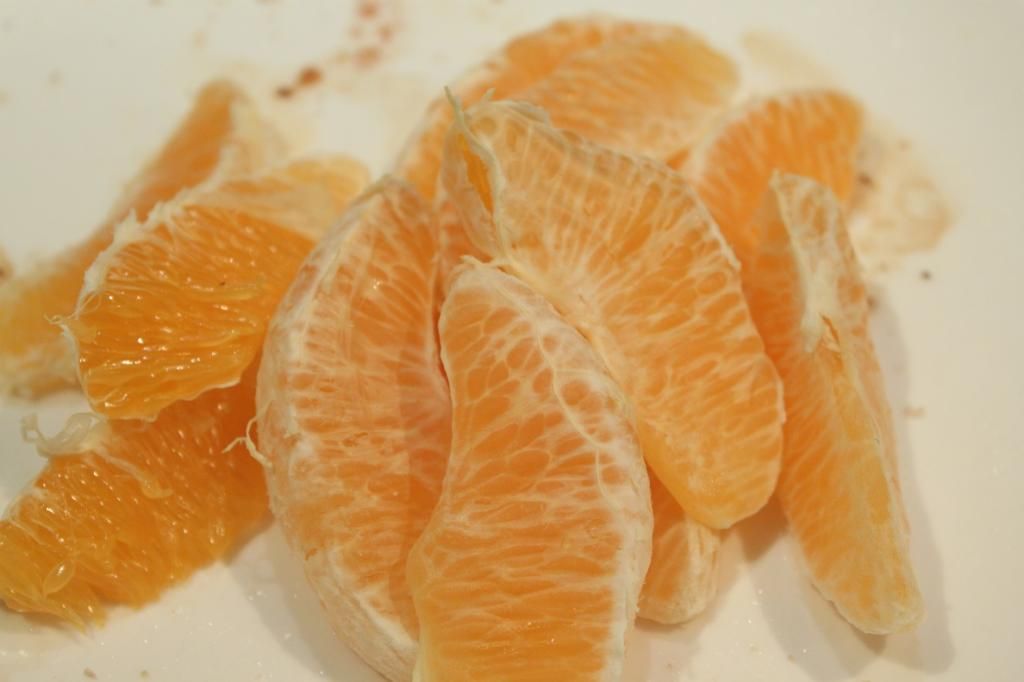
Orange Braised Kale
1 orange, peeled and segmented
Juice one orange¼ cup stock
2 tbsp butter
1 Tuscan Kale bunch
Cut the leaves off the ribs on the kale, then
shred. Heat the butter in a frypan over a medium-low , then add all other
ingredients and stir well. Cook, uncovered for 15 minutes or until the kale is
soft, and the liquid has reduced to almost nothing.