Showing posts with label main meal. Show all posts

Monday, February 16, 2015

Summer Sensations - Chipotle Crab Pasta


Summer Sensations - Chipotle Crab Pasta


So, I did mention that our new car was amongst other activities, chosen for crabbing trips. However our first crabbing trip this year coincided with the day we picked up the Zoolander. Now, I’m not precious about a clean car – but I did want the car to be clean for at least one full day. So we took my sister-in-law’s car. It wasn’t our most successful trip, but we managed to catch enough for a feed for the 4 of us that went. I’m hoping we can go back later in the season so that all of the undersize ones have had a chance to grow into monsters!


After crabbing, cleaning off the gear and boiling up the crabs in plenty of water with a splash of vinegar and hot English mustard, we showered and finally got to bed around 5am. Then as has been tradition, Lance and I set up a shelling station in front of a tv. Then with a movie playing, we sit and peel all of the crabs. This year it took us 1 and a half movies. This equated to about 400g of crab flesh. I divided it into 2, then froze half for a later dish.


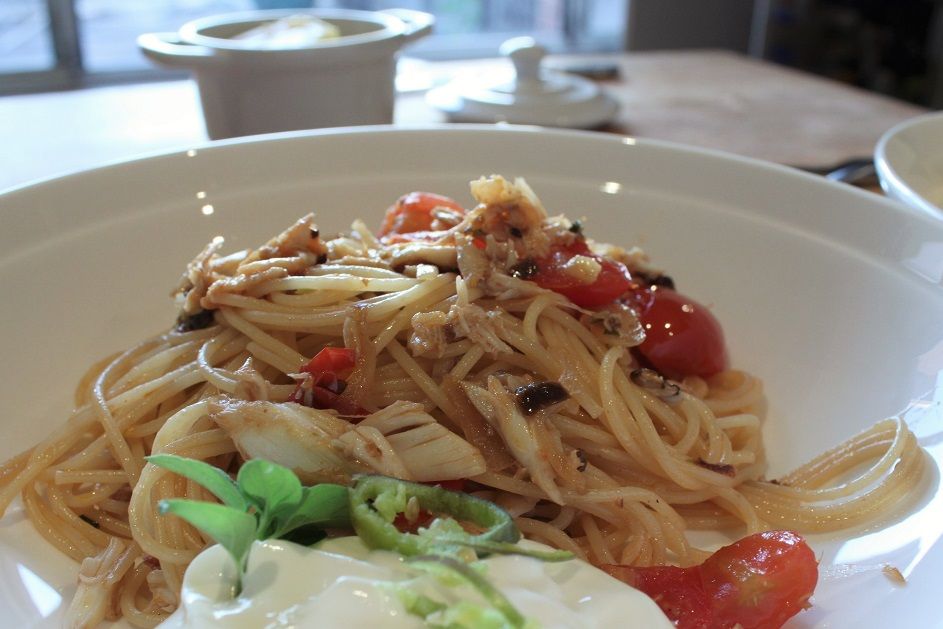
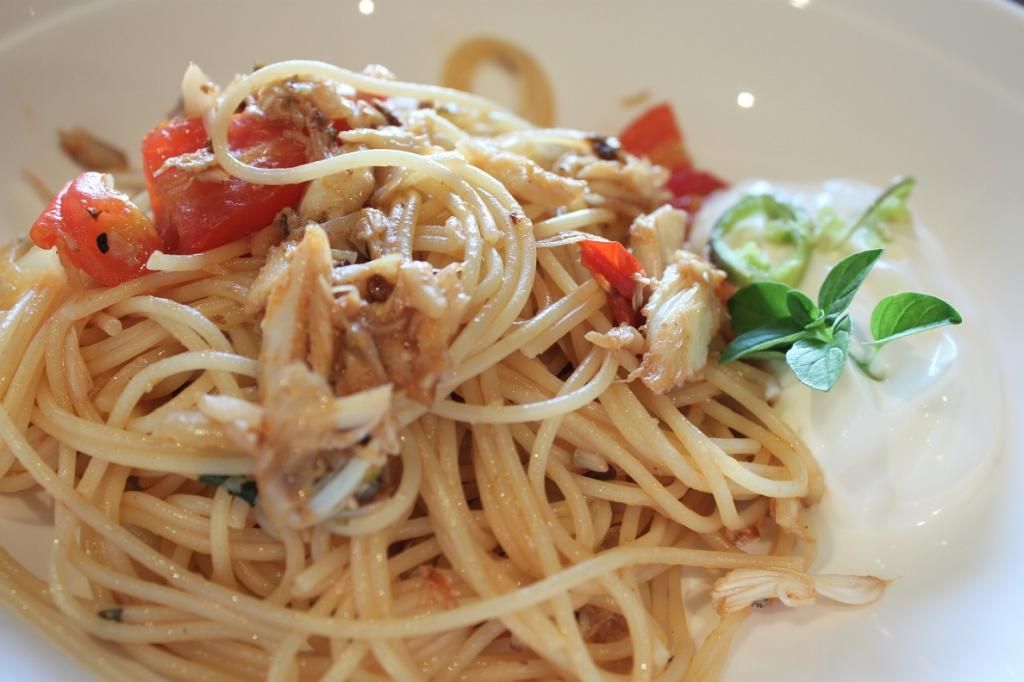
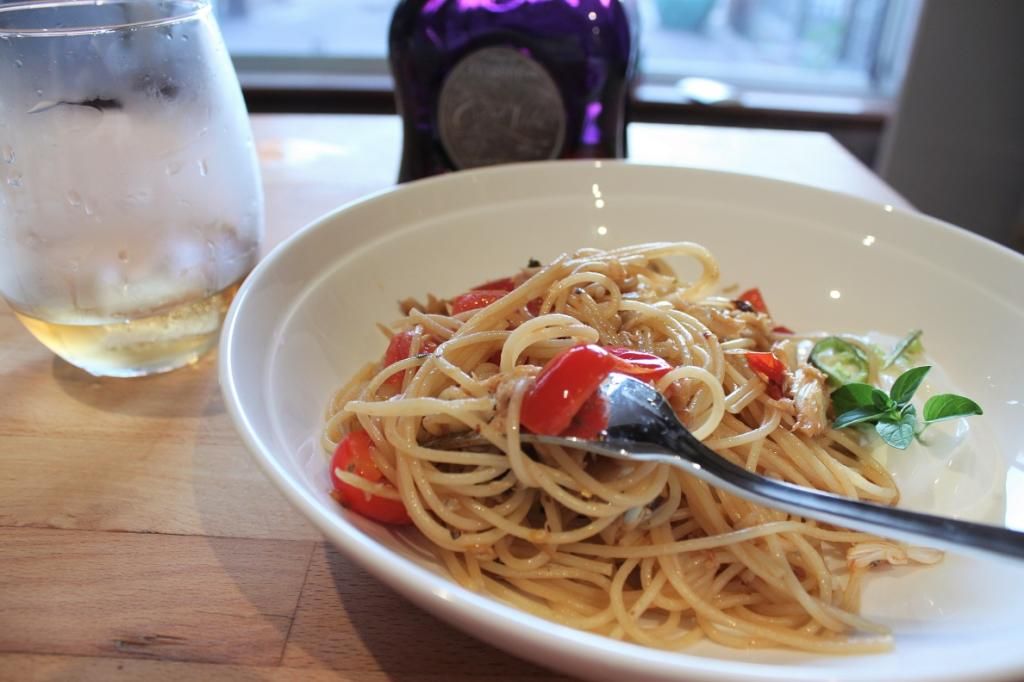
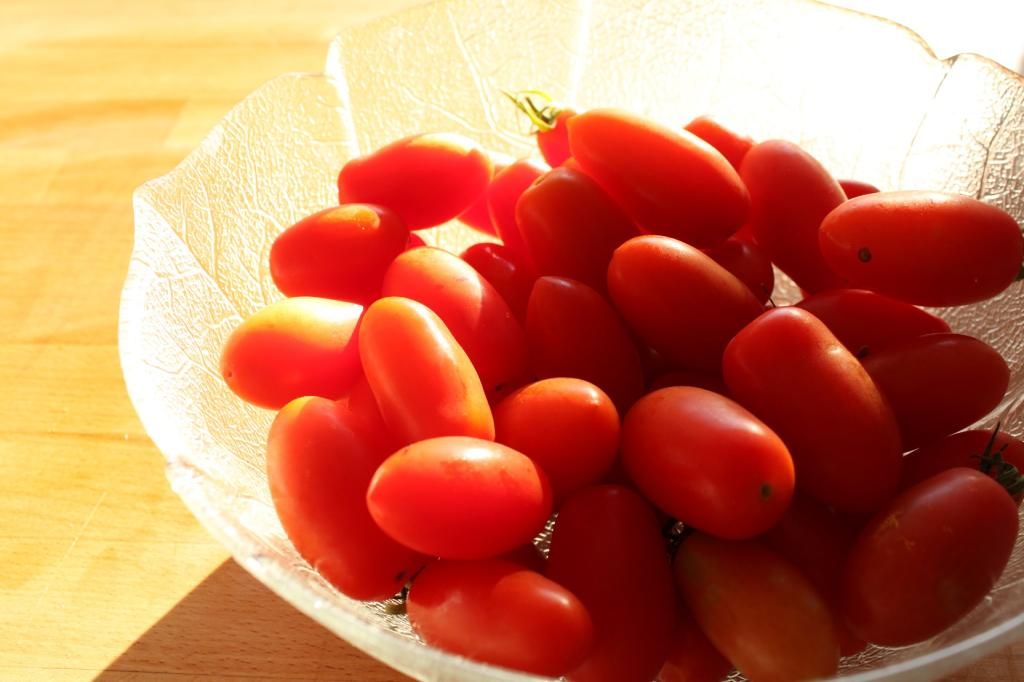
That night I cooked this very simple chili crab pasta. This pasta took it’s form from two of the things growing prolifically in our garden this summer – grape tomatoes and oregano. The grape tomato that Lance planted and lovingly waters every day has rewarded us with buckets of fruit. Some days we pick over 2 dozen! Then the flavours of the rest of the dish are Mexican, in a wonderfully fusion-food kind of way. It became like my riff on a Sopa Seca – or “dry soup”. A Mexican noodle dish flavoured with chipotles in adobo and served with sour cream and a smokey salsa. It was the perfect thing on a tired Sunday night with a lovely anejo tequila on the side.
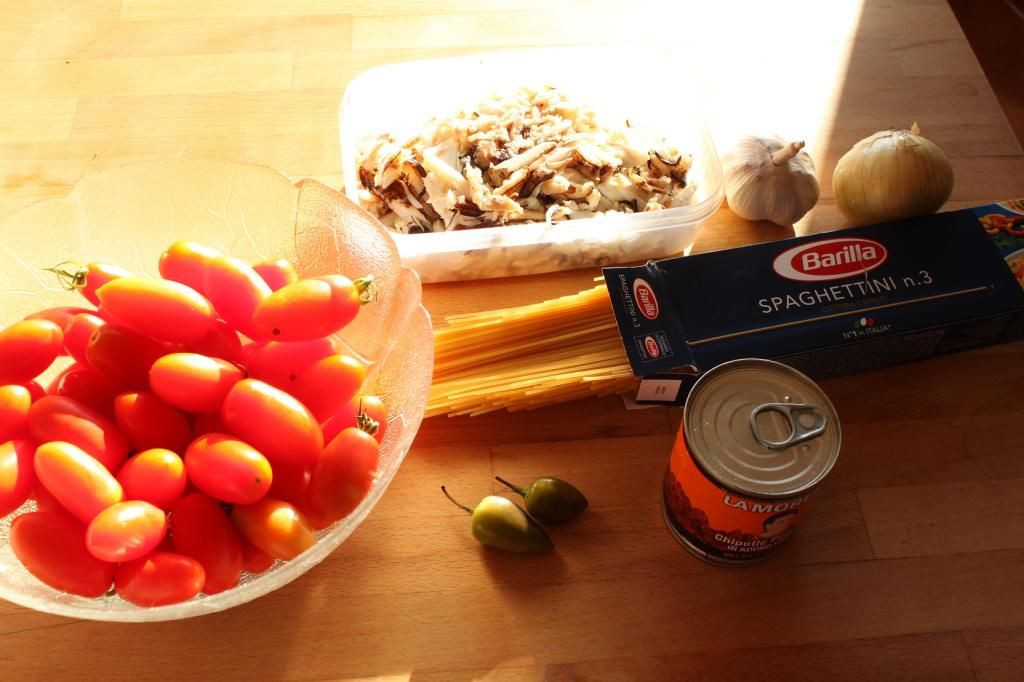
Summer Sensations - Chipotle Crab Pasta
 Summer Sensations - Chipotle Crab Pasta

Summer Sensations - Chipotle Crab Pasta

Summer Sensations - Chipotle Crab Pasta


Chipotle Crab Pasta

(serves 4)
200g crab flesh, picked through for cartilage
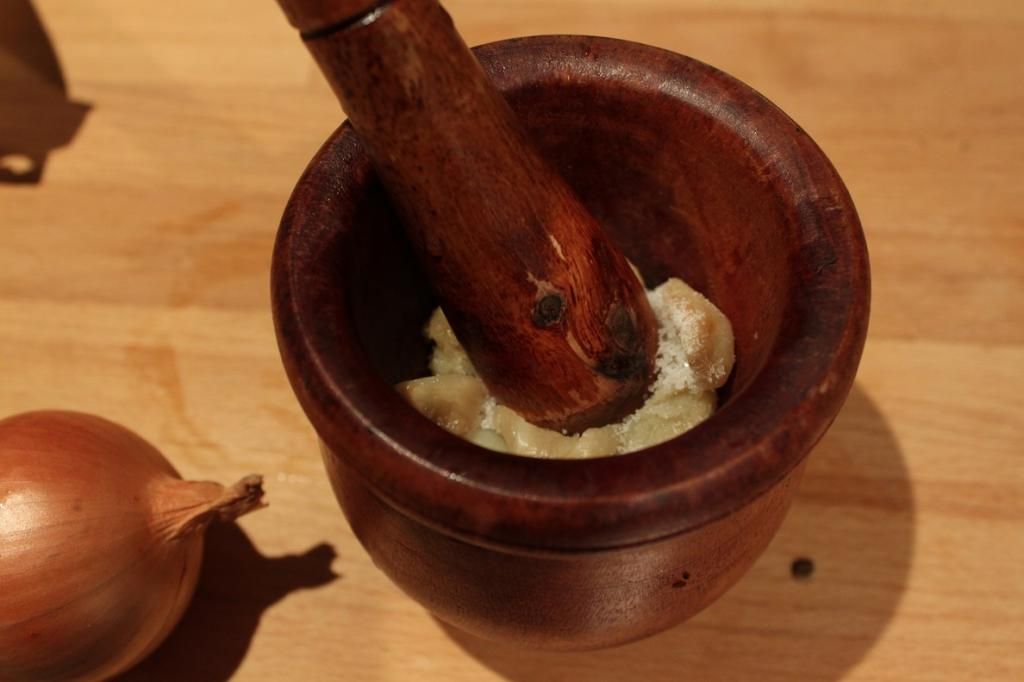
One brown onion, diced
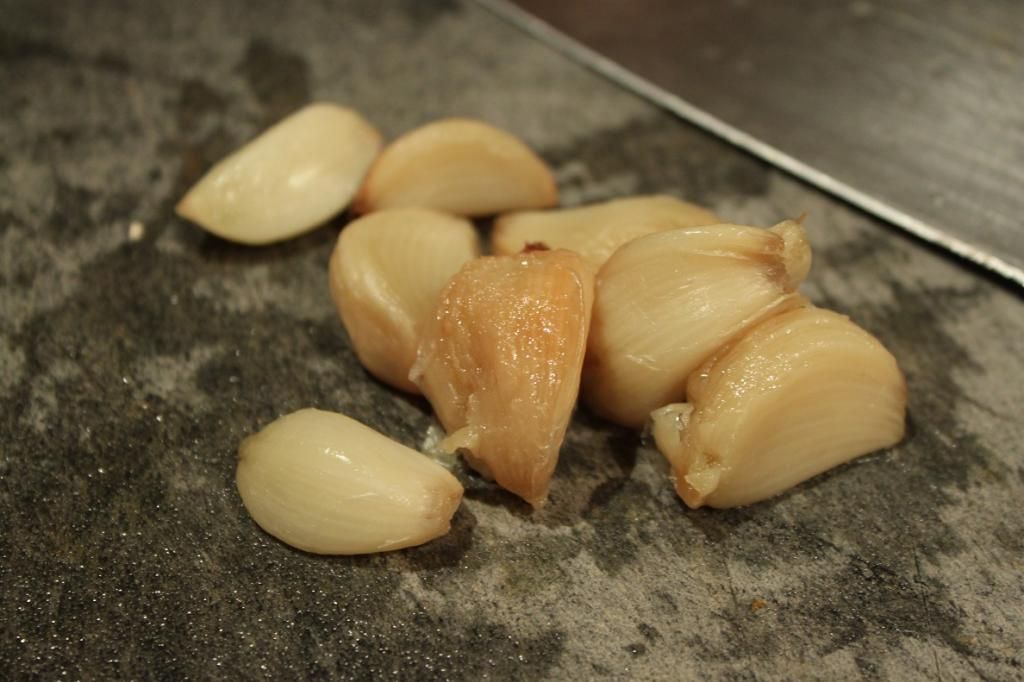
5 cloves garlic, minced
2 chipotles in adobo sauce, plus 1 tbsp adobo sauce
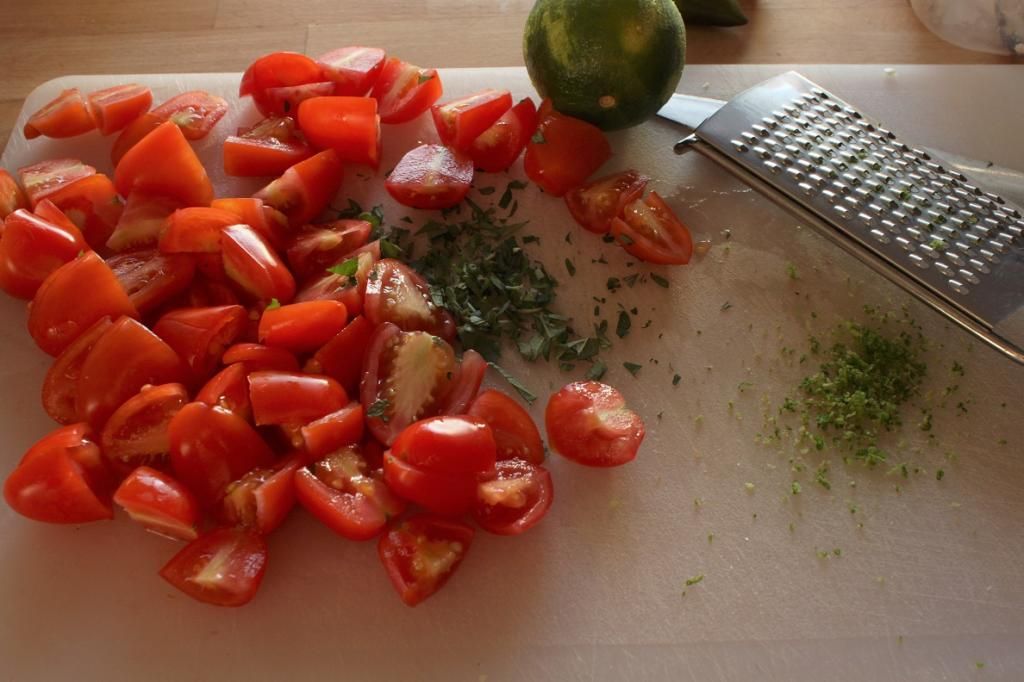
20 grape tomatoes, roughly diced
2 tbsp chopped fresh oregano
Big knob of unsalted butter (around 100g)
50mL reposado tequila
Zest and juice of one lime
Sea Salt
500g angel hair pasta
To serve
Greek yoghurt
Jalapeno slices


Bring a pot of water with a decent pinch of salt to the boil.


Heat a splash of olive oil in a large sauté pan or wok. Add the onion and cook for 10 minutes or so until soft and golden. Add the garlic and cook a further 5 minutes. Add the tomatoes to the pan and cook until soft and breaking down.


At this point, the pasta water is probably boiling. Add the pasta.


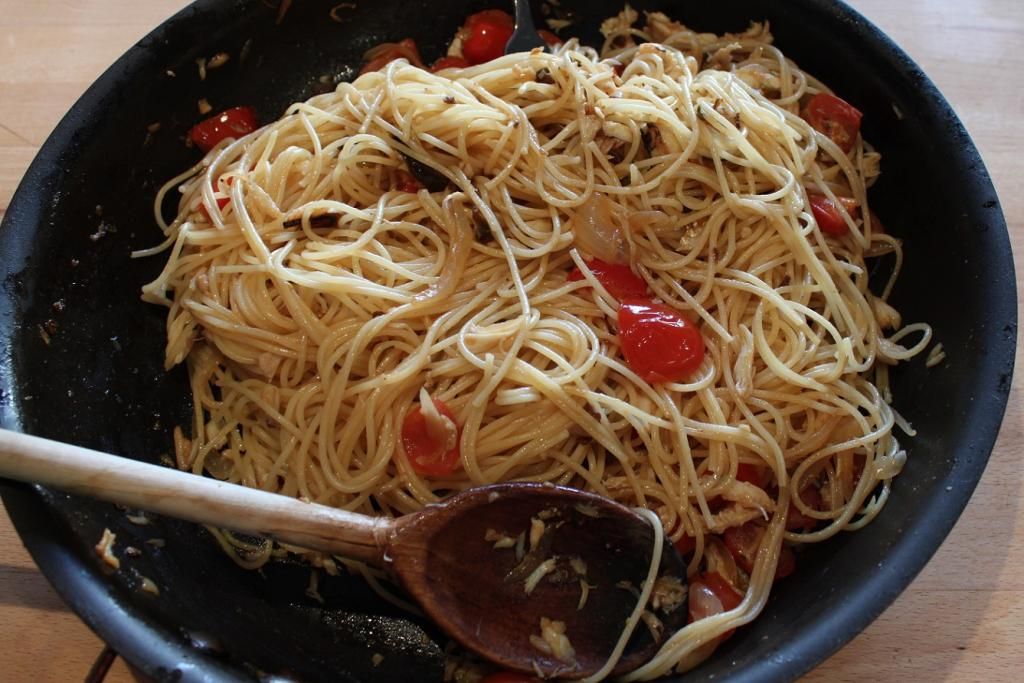
Add the tequila and lime juice and zest and stir through, scraping up bits that might have stuck to the bottom of the pan. Reduce the liquid by half, then add the butter and whisk through to melt and emulsify into a thick, glossy sauce. Stir through the chipotles, adobo sauce, oregano and crab. Cook for 5 minutes, or until the crab is heated through.


Drain the pasta, then stir through well to evenly coat with the sauce.


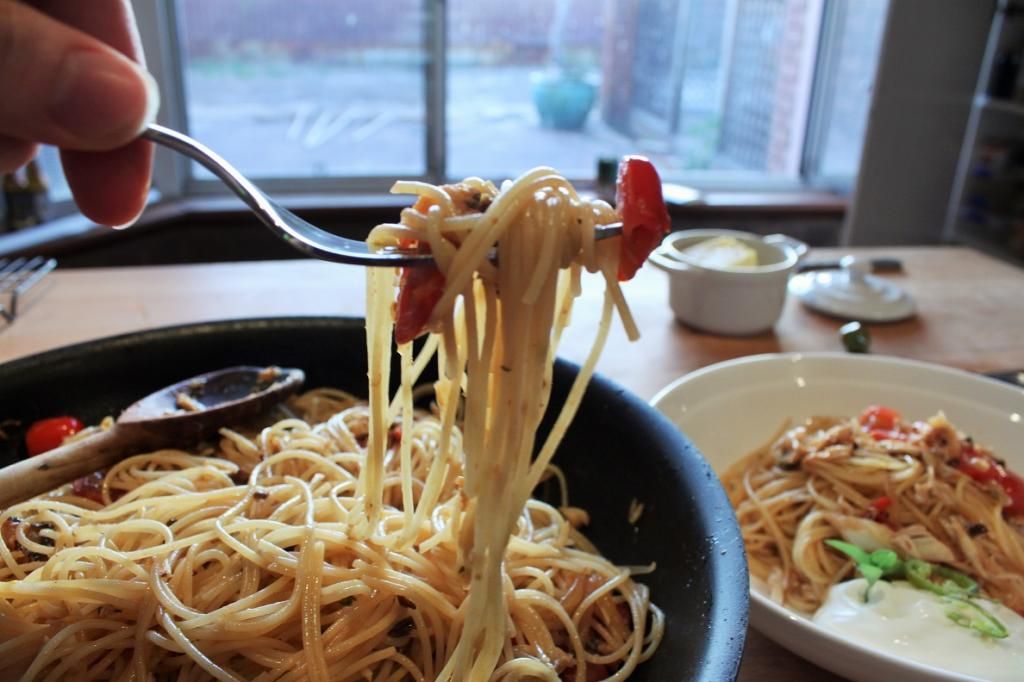
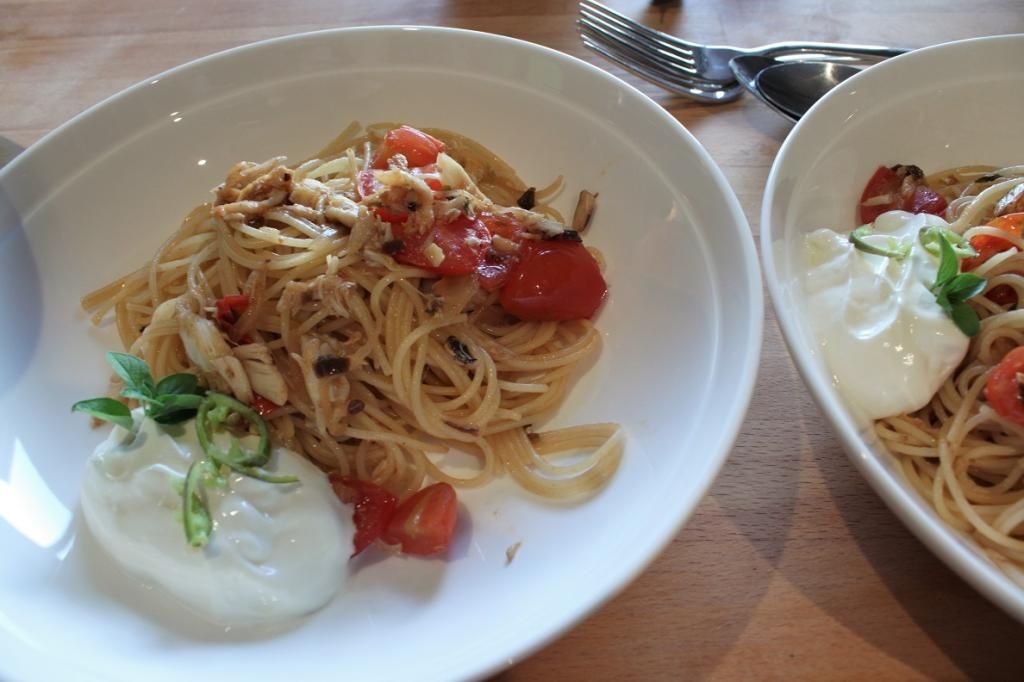
Serve with a dollop of Greek Yoghurt and sliced jalapenos. And maybe a lovely glass of tequila on the side!

Summer Sensations - Chipotle Crab Pasta

Summer Sensations - Chipotle Crab Pasta
 Summer Sensations - Chipotle Crab Pasta
Summer Sensations - Chipotle Crab Pasta


Thursday, January 29, 2015

Summer Eating - Prawn Burgers with Tomato Mango Salsa

Summer Eating - Prawn Burgers with Tomato Mango Salsa

Remember my badly photographed DIY Slider Bar party that my friend and I hosted last year? We had 4 different types of burgers, with a table full of salads and condiments so you could build your own set of sliders. And it was brilliant. One of the slider options we had that day were prawn burgers. And that same prawn patty is still my favourite non-beef burger. And it’s probably my most made burger at home. I’m not going to lie, this recipe is really, really similar to the KrabbyPatties recipe that I posted last year. But these prawn burgers are where it all started. These are my favourite burger patty. The sweetness of the prawn, the smokiness of the paprika. I love mango added into that flavour profile, but instead of a mango guacamole, I made a simple mango tomato salsa to go with it. Lance has been growing me some grape tomatoes and they are no good for slicing up into burgers, but make for a delicious condiment in them!

It was crazy hot the day I cooked these, so they were done outside on the BBQ. You do need to add a little oil to your cooking surface. I don’t always bother when BBQing, but prawns are practically devoid of fat, so it helps to make a nice crisp outer layer and stop it sticking. Something that’s not as big a deal when cooking beef or lamb patties.

Summer Eating - Prawn Burgers with Tomato Mango Salsa

Mango Tomato Salsa

1 small mango, diced
Half punnet grape tomatoes, diced
2 chipotle pepper, finely chopped
Pinch salt and pepper
Juice of one lime

Mix all ingredients together. Set aside for the flavours to meld while you cook your burgers.


 Summer Eating - Prawn Burgers with Tomato Mango Salsa
Summer Eating - Prawn Burgers with Tomato Mango Salsa
 Summer Eating - Prawn Burgers with Tomato Mango Salsa

Prawn Burgers

(makes 6 patties)
500g prawns
1/2 cup panko breadcrumbs
1/2 cup coconut flour (or fine shredded coconut - unsweetened)
1 egg
2 tbsp dijon mustard
2 garlic cloves, minced
1 tsp salt
1/2 tsp black pepper
1/2 tsp basil
1tsp smoked paprika
to serve
6 buns (toasted, if desired)
mayo
salad ingredients
mango tomato salsa

Dice the prawns into small pieces and throw in a bowl. Mix the mustard, garlic, salt, black pepper and basil until all the prawn pieces are well coated. Mix through the egg to get everything wet, and finally add in the breadcrumbs and coconut.

Divide into 6 equal portions and, using clean hands, form into round patties and squish to flatten. Set aside in the fridge for 30 minutes.

Heat a pan or BBQ plate to medium high and lightly coat with oil. Cook each patty for around 5 minutes, or until golden. Flip over and cook for a further 3-5 minutes until cooked through.

Serve with Mango Tomato Salsa and your favourite burger ingredients.

Summer Eating - Prawn Burgers with Tomato Mango Salsa

Tuesday, January 13, 2015

Ugly but Delicious - Corn, Almond and Roast Garlic Stuffed Silverbeet (Chard)

Ugly but Delicious - Corn, Almond and Roast Garlic Stuffed Silverbeet (Chard)

This recipe was inspired by two other recipes that are on my blog. It’s a combination of the Cuban Chicken and Corn Pie (remember the one with the awesome crust made from corn?) and my Stuffed Silverbeet Rolls. I was really craving the Cuban Pie in particular, but I just couldn’t be bothered with getting out food processors and whatnot that is required to make the pie. Given I had a lovely bunch of fresh silverbeet from the markets, I decided to use those flavours and make stuffed silverbeet rolls instead.

To roast the garlic cloves, put a whole head of garlic into the oven on a baking tray while the oven is pre-heating. After 15 minutes or so (for me, it’s ready by the time it is required to be added), the garlic will be squishy and the cloves will easily slide out of their skins. Doing this really sweetens the garlic and completely takes away the harshness that garlic can sometimes have. Then use half the cloves for this dish, and save the other half for another dish.

Photos prove this isn't the prettiest meal - but it sure was delicious!

Ugly but Delicious - Corn, Almond and Roast Garlic Stuffed Silverbeet (Chard)


Corn, Almond and Roast Garlic Stuffed Silverbeet (Chard)

3 cups corn kernels
1 brown onion
6 cloves roast garlic
½ tsp salt
6 caperberries, sliced
2 eggs
1 cup almond meal
1 bunch silverbeet, ribs removed
¾ cup water
1 tbsp lime juice
3 tbsp Monty’s Muscat
 

Heat the oven to 170C

Dice the onion, and fry in a splash of olive oil and the salt over medium heat until translucent. Add the corn kernels and cook for 10 minutes, stirring here and there, until just barely starting to brown. Remove from the heat. In a mortar and pestle, crush the roast garlic cloves into a paste. Stir through the corn mixture, then add the almond meal and lightly beaten eggs and capeberries, making sure the mixture is completely combined.

Take each silverbeet leaf and add a few tablespoons of mixture to the top of the leaf. Fold the ‘leg parts’ together to make it a solid sheet, roll the edges in, and the whole thing down lengthwise, like you are rolling a spring roll, or burrito. Place seam side down in a casserole dish. Continue until all of the leaves and filling is used up.

Mix the water with the lime juice and Muscat, pour over the completed rolls. Cover loosely with foil and place in the oven. Bake for 15 minutes, then gently turn over the rolls. Leave the foil off and bake for a further 10 minutes.
 
Remove the rolls and reduce the liquid in a pan (I save on dishes just by using the first pan) until it’s syrupy and pour over the top

Ugly but Delicious - Corn, Almond and Roast Garlic Stuffed Silverbeet (Chard)

Thursday, January 1, 2015

Starting the Year off Right - Bourbon Molasses Braised Duck

Starting the Year off Right - Bourbon Molasses Braised Duck


I have mentioned before that Lance has been experimenting a lot with smoking. Meat. He gets some funny looks when he tells people he’s really into smoking. He built a tray holder and bought a rotisserie and turned one of our garden sheds into a smoker. Last time he did a great big smoke, we had around 50 sausages, half a kilo of bacon, 6 chorizo links, a roast pork and a whole chicken. We now have a few piles of various woods drying out, ready for him to experiment with, things like macadamia and plum. As well as the traditional hickory blocks that we buy from the store. As an offshoot from that, he’s started experimenting more with roasting meats on the rotisserie in the BBQ. Or “rotisserating” them, as he likes to say.


This style of cooking is most suited to things with an outer layer of fat, so when it rotates, that layer of fat gets crunchy and delicious, whilst the interior meat is protected and stays gloriously moist. Even if you slightly overcook a roast, it stays moist inside. Lamb and pork legs and whole chickens have all had the rotisserated treatment to great effect. He’ll often throw some hickory and mesquite chips in to add an extra flavour boost. He did a whole baby pig for my sister-in-law's 30th!


This passion and experimentation has led him to the idea of rotisserating a whole beef fillet which is almost entirely devoid of fat, so he wants to encase it in a layer of duck fat and see how that changes the flavour profile and generate moistness in a roast that is notorious for drying out. He figures if duck fat roasted potatoes are the holy grail or roast potatoes, then surely the same will be true for duck fat roasted beef. Which led to a Sunday afternoon of kitchen prep side-by-side. Me making baked bean casserole and banana bread for the week ahead. Him skinning a duck. Yep. He skinned a whole duck. Which meant I needed to find a way to cook a skinless, fatless duck.


Obviously that rules out roasting it. The general consensus of all my cookbooks is that you can cook duck breasts quickly and to medium, and that duck legs you slow cook into confit style dishes and the rest of the duck is pretty useless for anything but stock. There isn’t a great deal of meat on ducks beyond the breasts and legs. My Peruvian cookbook had largely tomato based dishes, which didn’t really jump out at me. A Mexican cookbook had some slightly more inspired spice-based dishes. My Treme cookbook had slow roasted duck with bourbon molasses sauce and sweet potato fries. Bingo! I used the same base flavours, but changed the dish to suit my skinless duck. Opting to section it, brown it, then braise it.


To make life easier, you can get an already segmented duck and either pull the skin off yourself which will be a lot easier than skinning it whole. Or, you can still brown each piece leaving the skin and fat on, but you’ll need to brown it for longer on the skin side, and removed the majority of the fat from the pan before adding the liquids.


This resulting dish is rich and sweet and sticky and moreish just all kinds of perfect. I deep-fried some sage leaves in duck fat for garnish, and instead of making fries, I made a sweet potato mash with orange and cinnamon that complimented the sweetness just so. Although that as a dish by itself makes a fantastic side. I lazily made it in the microwave and it takes less than 10 minutes. Couldn’t be simpler!


And as a side note, molasses can be hard to find, but I really suggest you seek it out. The flavour profile is so much richer than any other sweetener you would try using as a substitute and it really makes the dish. In the end, I found it in a Woolworths, but I had gone to the Nanna Shop, a Coles and an IGA before I found some.


Starting the Year off Right - Bourbon Molasses Braised Duck


Bourbon Molasses Braised Duck

(adapted from the Treme Cookbook)
1 duck, approx. 2.2 kg, sectioned into about 8 pieces and skinned
2 tbsp reserved duck fat (from skinning the duck)
1 brown onion, sliced into half moons
4 garlic cloves, minced
2 shallots, diced
8 large sage leaves, plus 1 tbsp chopped sage leaves
1 tbsp thyme leaves
2 tsp black pepper
1 cup chicken stock
½ cup molasses, divided in two
½ cup bourbon, divided in two
¾ cup apple cider vinegar (plus a splash)
330mL bottle apple cider
Salt and pepper


Place the duck fat in a large lidded pan (I used my tagine) and bring up to a medium high heat. When the majority of the fat has rendered out, remove the little bits that remain and discard. Carefully drop the whole sage leaves into the hot oil, they will sizzle and crisp up in about 30 seconds. Remove to paper towel and set aside.


Season the duck pieces with salt and pepper and in batches, brown on each side in the duck fat. Around 3-5 minutes per side should do it. Set aside on a plate.


Add the onion to the pan and cook until golden, stirring here and there so it doesn’t catch too much. Around 10 minutes. Add a splash of apple cider vinegar to deglaze the pan if necessary, then add the shallots and garlic cloves. Cook until translucent, around 3 minutes.


Add the sage, thyme, pepper, chicken stock, ¼ cup of molasses, ¼ cup of bourbon, apple cider vinegar and apple cider to the pan. Stir well to combine, then add the duck pieces back into braising liquid. Cover and cook for 30 minutes, turn the duck over, re-cover and cook for a further 20-30 minutes or until the meat is falling off the bone.


When cooked, remove the duck from the pan and add the remaining ¼ cup of molasses and ¼ cup bourbon and leave simmering with the lid off to reduce.


Shred the duck meat from off the bone, discarding the bones.


When the sauce is a thick, syrupy consistency, check for seasoning, then stir the duck back through the sauce.

Serve with Orange Cinnamon Sweet Potato Smash and crispy fried sage leaves


Starting the Year off Right - Bourbon Molasses Braised Duck

Thursday, December 18, 2014

Thanksgiving in a Bun - Turkey and Cranberry Burger

Thanksgiving in a Bun - Turkey and Cranberry Burger

I watched all the traditional Thanksgiving dishes come and go on pinterest and then Instagram as people in the Northern Hemisphere started their holiday period. Obviously, it's not a holiday we have down under, and it's Spring/Summer here, not Autumn/Winter, so the flavours and style of food aren't necessarily seasonal at the moment. But it doesn't stop me drooling! Luckily the Perth climate means a lot of things do grow year round, like butternut pumpkins. 

So, in the spirit of the holiday we don't have, I created these burgers which is like a whole Thanksgiving dinner in a bun. The patties have turkey and cranberry and I've paired it with a roast pumpkin slice. The patties are also gluten free, using the nutty flavour of chick pea flour sees to that.

Easy to make, easy to eat, and great in warmer weather. As with most of our meals, I didn't have any buns when I made these, so I served in bread rather than buns. But buns would be better. Use buns. 


Thanksgiving in a Bun - Turkey and Cranberry Burger


Turkey and Cranberry Burgers

1 red onion, diced
1/2 tsp salt
generous twisting of pepper
1/2 tsp dried thyme
2 cloves garlic, minced
1/4 cup dried cranberries
1 cup chick pea flour
1/2 butternut pumpkin, sliced in to rings


to serve
red cabbage
pickle
fetta
mayonnaise
bread or buns


Shred the cabbage and pickle and mix together. Cover with a few tablespoons of the pickle juice and set aside to soften the cabbage a little.

In a frypan on medium heat, heat a little oil and add the red onion, salt and pepper. Sweat the onion until it's translucent. Add the garlic and thyme and cook for a further 5 minutes. The onions should be golden at this point. Add the dried cranberries and 2 tbsp water, stir it all together and cook until the liquid has cooked off. Set aside in a bowl to cool.

Mix the turkey mince into the onion mix. Add the chick pea flour, starting with half a cup and adding more as required to create the correct consistency.  Form the mixture into patties and set aside in the fridge to cool and 'set' for half an hour.

Brush the butternut pumpkin rings with oil and cook for 10 minutes on each side in the same pan, or until soft. Set aside, and cover to keep warm.

Add a little oil to the frypan and, without crowding the pan, cook the burgers. 5-10 minutes on the first side, then flip when golden. Cook for a further 8 minutes or so until cooked through.

Assemble the burgers, adding your favourite sauce if desired and enjoy.


Thanksgiving in a Bun - Turkey and Cranberry Burger