After the success of my “Much Ado About Joss Whedon” movie afternoon, I
decided to have another at-home cinema experience when the new Veronica Mars
movie was released. Last time we arranged various couches upstairs to create a
two level cinema that seated 6. This time we went bigger and moved more couches
upstairs to create a 10-seat, 2 level couch cinema. I was pretty stoked with
how it turned out! It made lugging furniture up and down stairs totally worth
it! Obviously such an occasion also requires snacks. And there was a quote in
the original tv series about Veronica being a marshmallow (which was then
echoed in the movie’s kickstarter package, and the movie)…so what a perfect
excuse to experiment with making marshmallows.
Gelatin is something that has always freaked me out. Most of my cooking
is in a pinch of this, dash of that sort of style, and from what I gathered,
you can’t do that with gelatin. It’s much more scientific than that in order
for it to set. So it was with trepidation I approached marshmallow making. I
looked up a whole bunch of recipes for marshmallows before cutting and pasting
the common elements together and working out that it’s actually super, super
easy. The only thing you do need is to have a candy thermometer to ensure you
get the sugar part to the right temperature. And a standmixer. I made the first
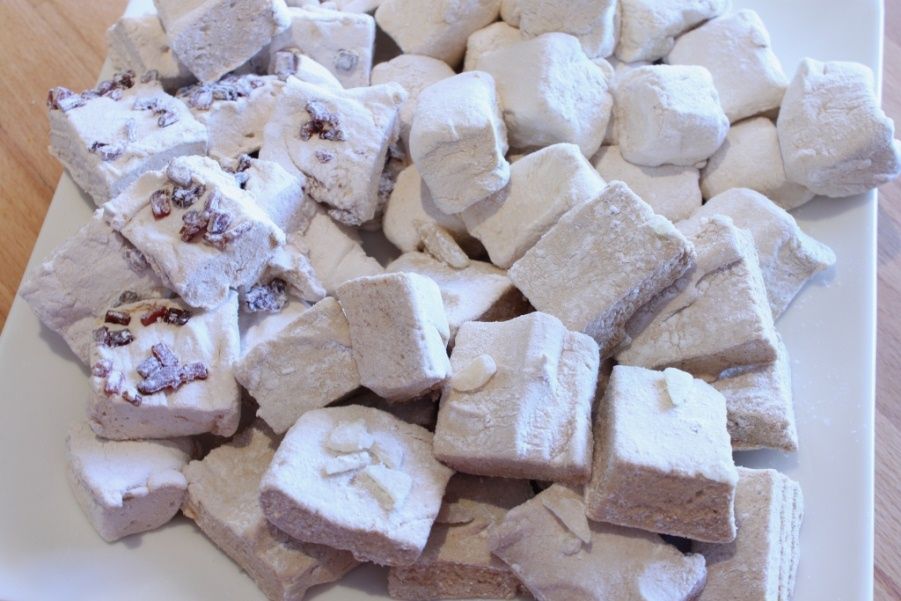
batch gingerbread flavoured, because, well, I like gingerbread. That turned out
so easy that I immediately cleaned out my bowls and made two more batches.
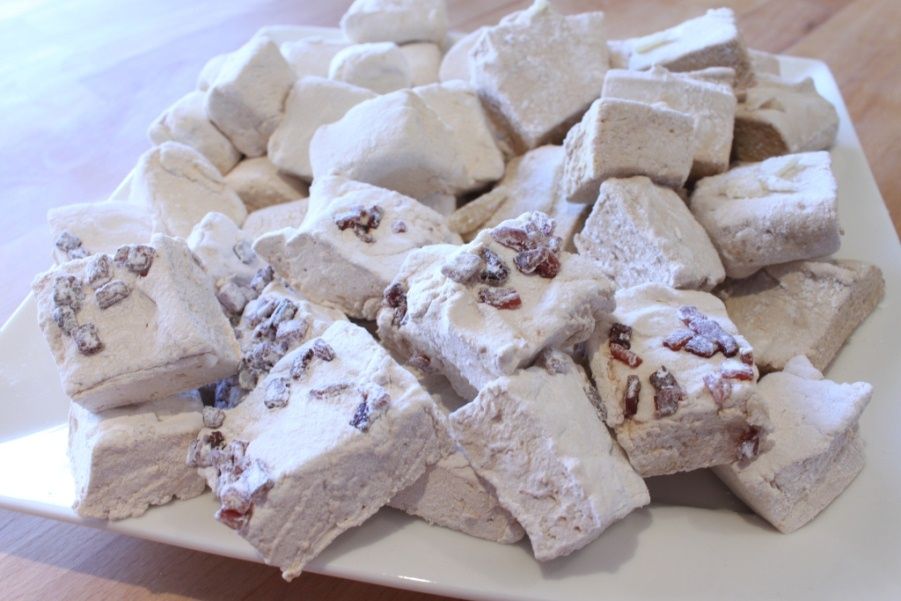
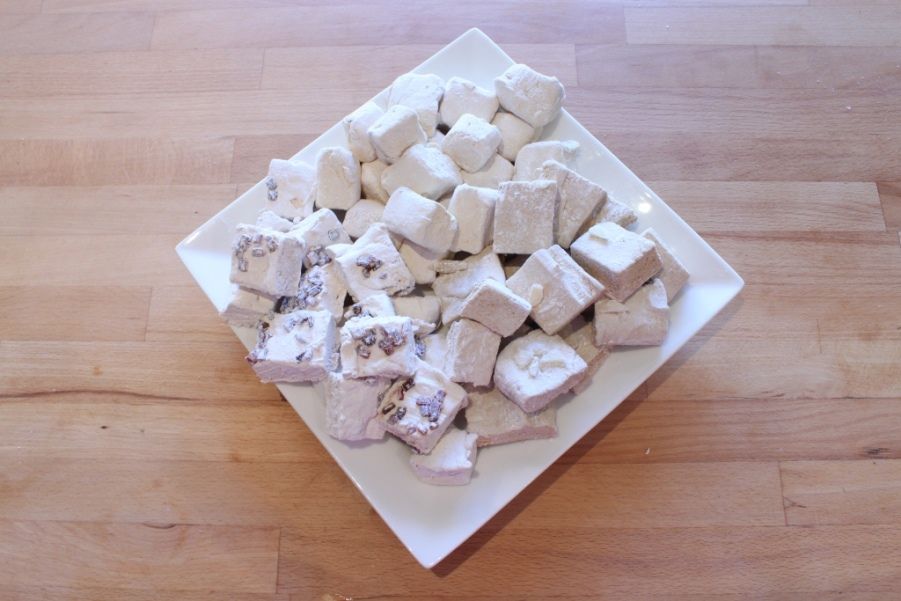
Pumpkin maple (with candied bacon) and rum and raisin. These were in honour of
the fact that the screening day was also my brother’s birthday and he enjoys
all of those things.
The basic idea of making marshmallows also makes it really easy to adapt
the flavours. Take cold liquid of pretty much any description (alcohol will
require more experimentation as that affects the gelatin) and add powdered
gelatin. Boil sugar, water and a liquid sugar to 130C. Pour together and blend
until really fluffy, try to spread it out without covering yourself and the
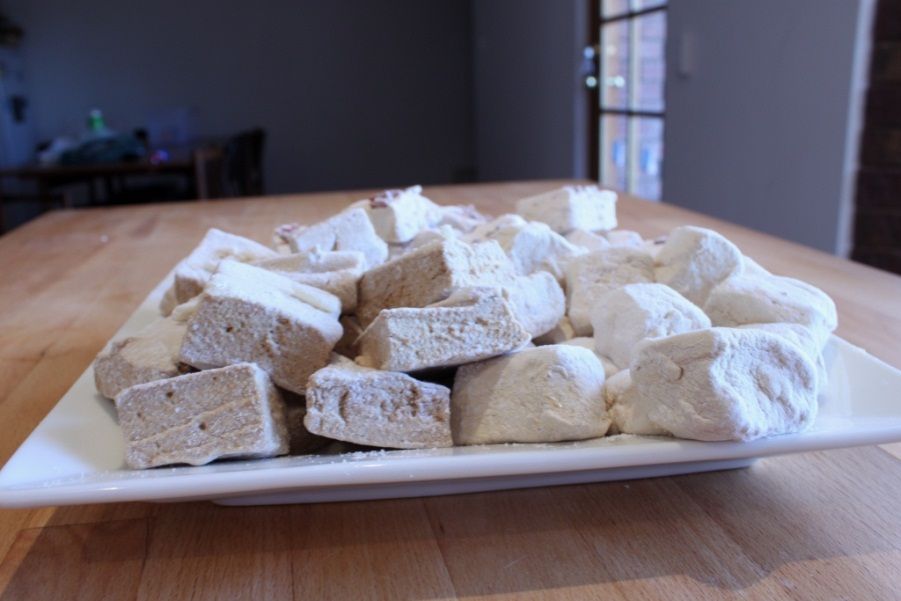
kitchen in marshmallowy goo. Then throw icing sugar all over your entire
kitchen dusting them! If you try any new and exciting flavours, let me know!
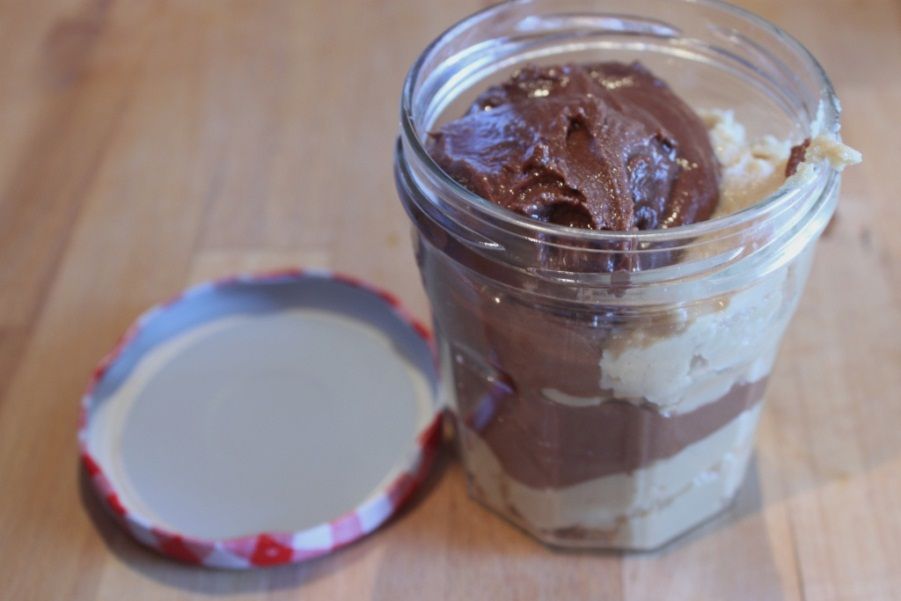
But this is an awesome and easy sweet and non-chocolate Easter treat to
gift. Or if you want a chocolate-y Easter treat to gift, maybe my Bacon Bark or the chocolate Salami I made for Easter last year?
Gingerbread Marshmallows
Liquid Mix
½ cup water
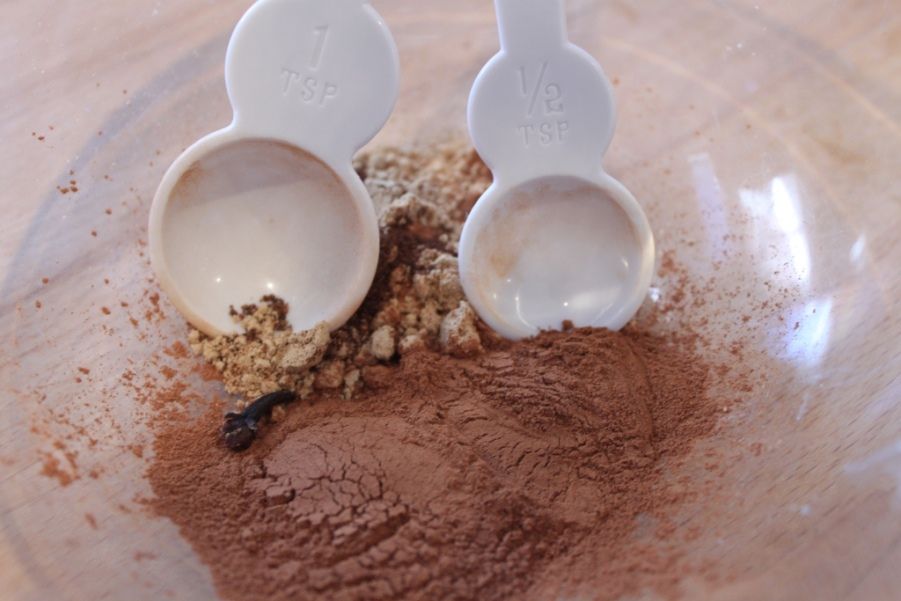
1 ½ tsp ground ginger
1 ½ tsp ground cinnamon
1 clove
pinch nutmeg
23g gelatin
Sugar Mix
1 ½ cups brown sugar
150mL golden syrup
½ cup water
¼ tsp salt
Dusting powder mix
(enough for all marshmallows)
1 cup icing sugar
½ cup corn flour
Chopped candied ginger for decorating
Add the spices and to ½ cup of hot water and leave aside to steep until
it’s completely cold. Remove the clove.
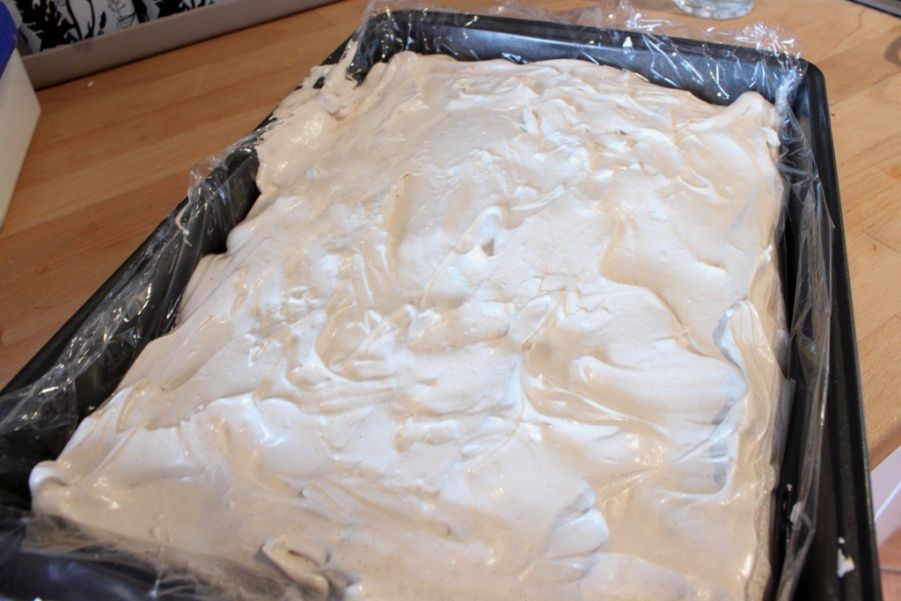
Line a lamington tray or baking dish with baking paper or cling film.
Make it big enough to overhang on all sides. Spray with oil to prevent sticking.
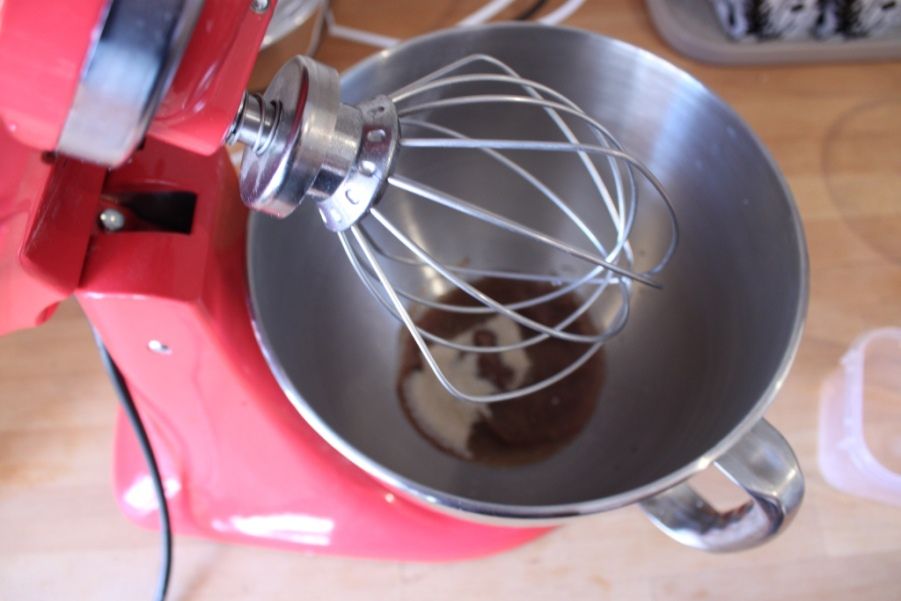
In your standmixer bowl, put the cold spice liquid and sprinkle the
gelatin over the top. Leave to stand.
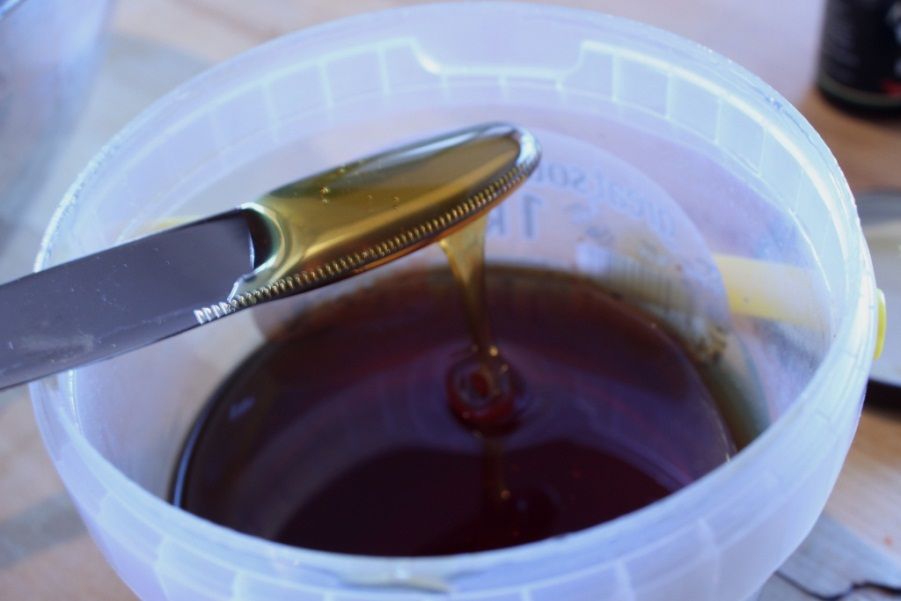
In a medium saucepan with tallish sides to cope with the bubbling,
combine the golden syrup, salt, sugar and ½ cup of water. Cook over a medium
heat and stir gently to dissolve the sugar. Raise the heat and boil until it
reaches 130C on your candy thermometer. Keep it moving by swirling the handle,
but don’t stir. When it reaches 130C, remove from the heat.
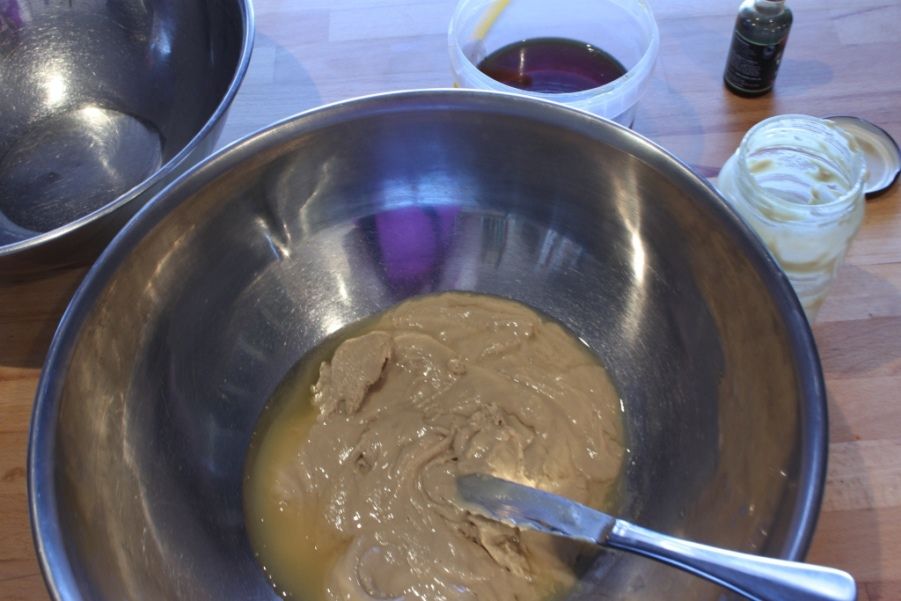
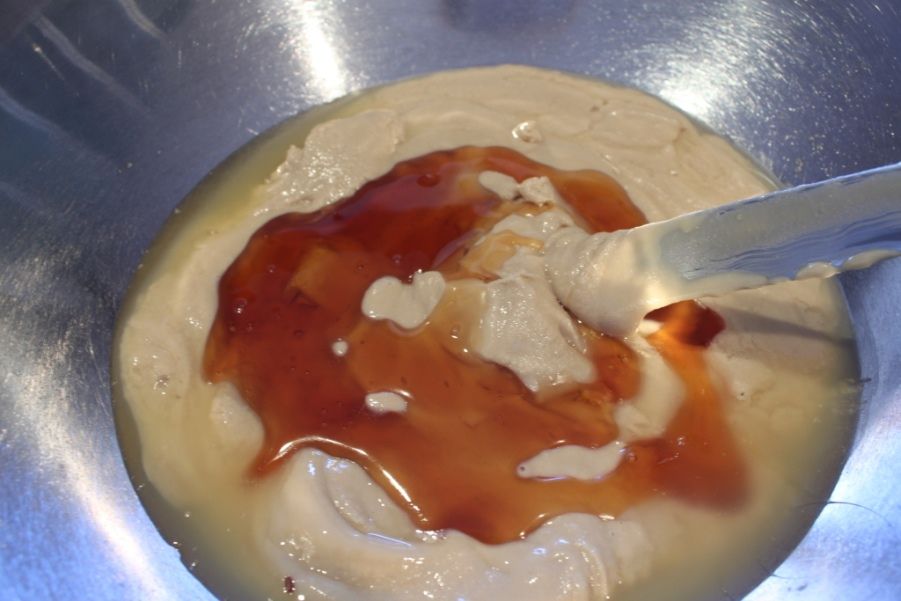
Attach the whisk to your standmixer and turn on low, mix the gelatin
mixture for 1 minute, then turn the mixer up a bit faster and slowly drizzle
the hot sugar mix down the side of the bowl with the mixer still going. Don’t
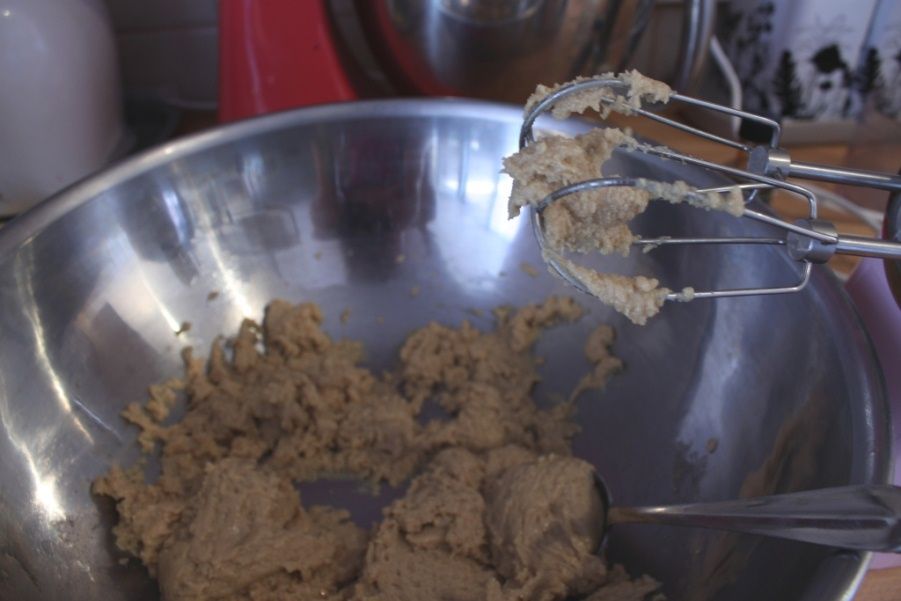
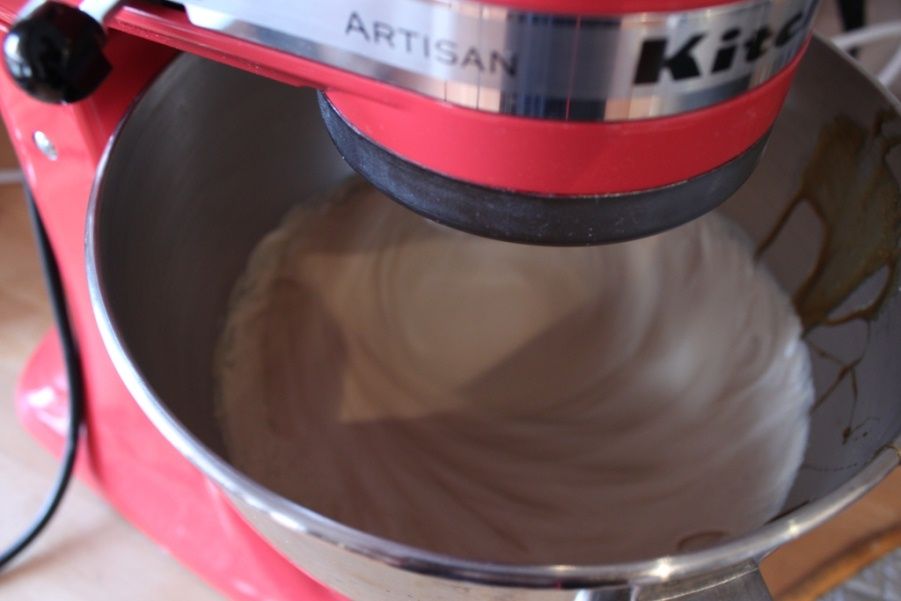
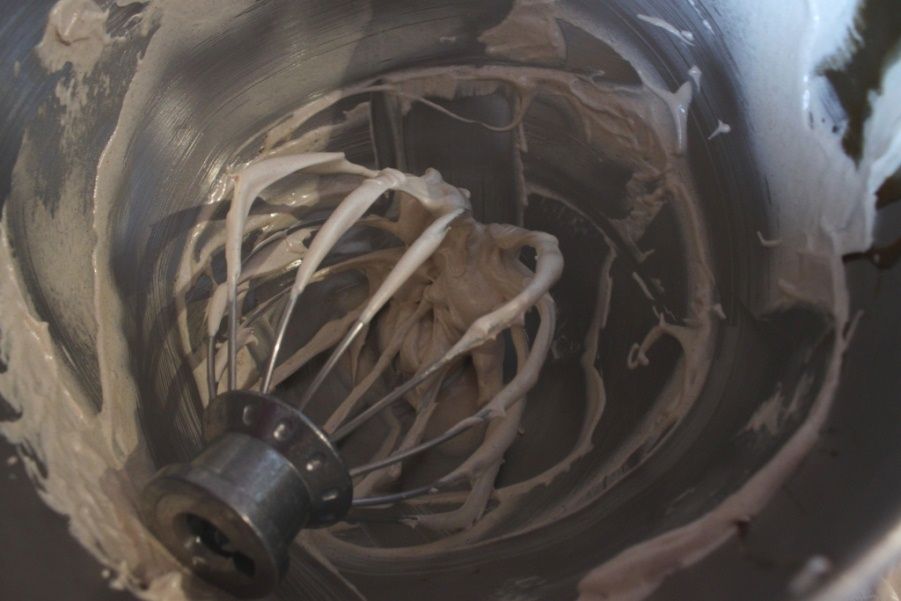
let it touch the whisk. Increase the speed to medium/high and leave it to whisk
until the mixture is pale and fluffy and looks like really sticky meringue.
This will take at least 5 minutes. As it whisks, it’ll have bubblegum looking
strands pull away.
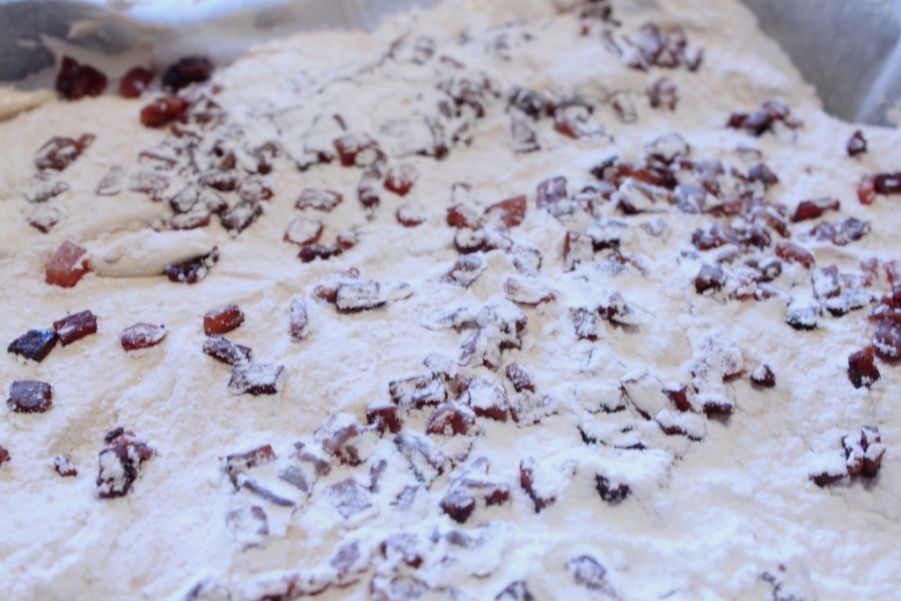
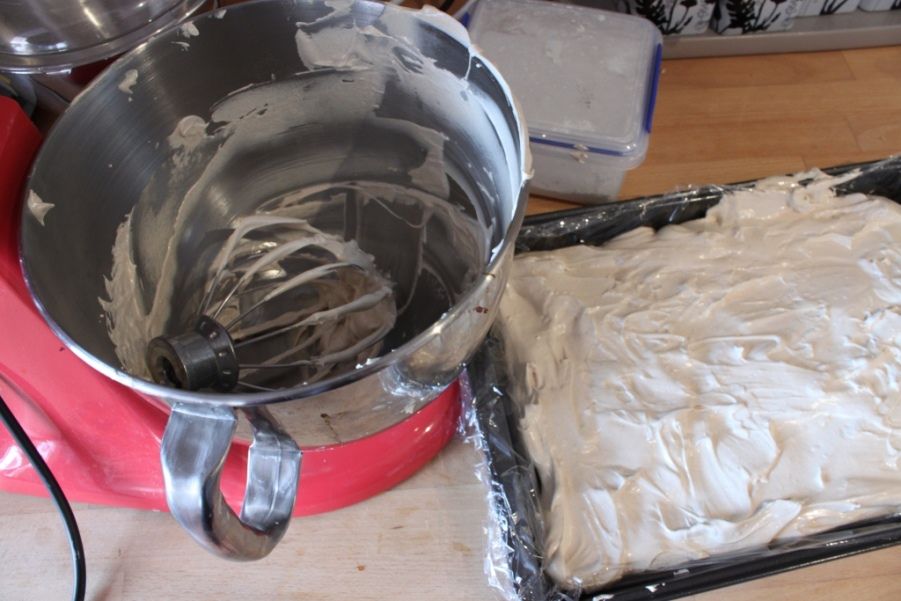
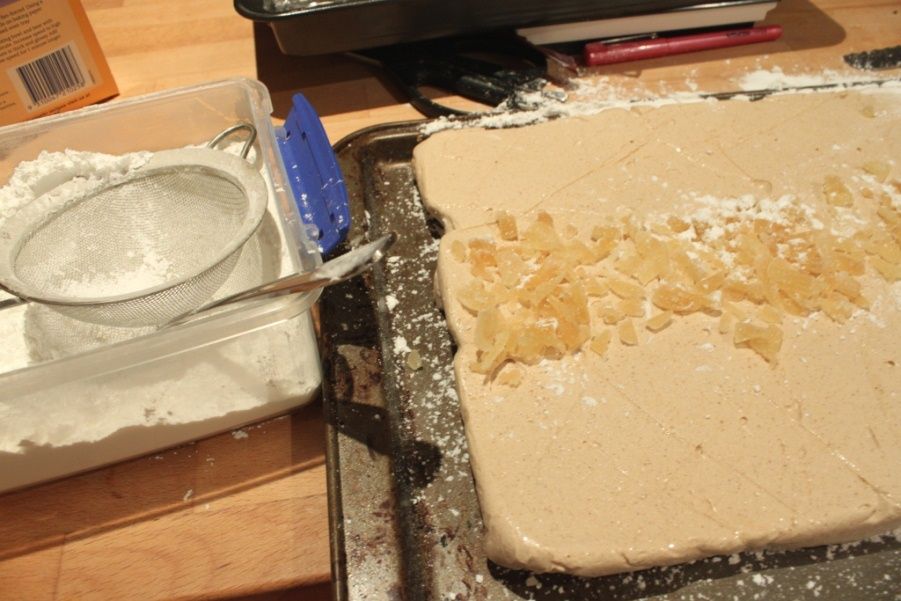
Pour the mix into the lined pan and use a spatula to smooth the top. I
sprayed oil on the spatula to help it not stick. Sprinkle candied ginger on
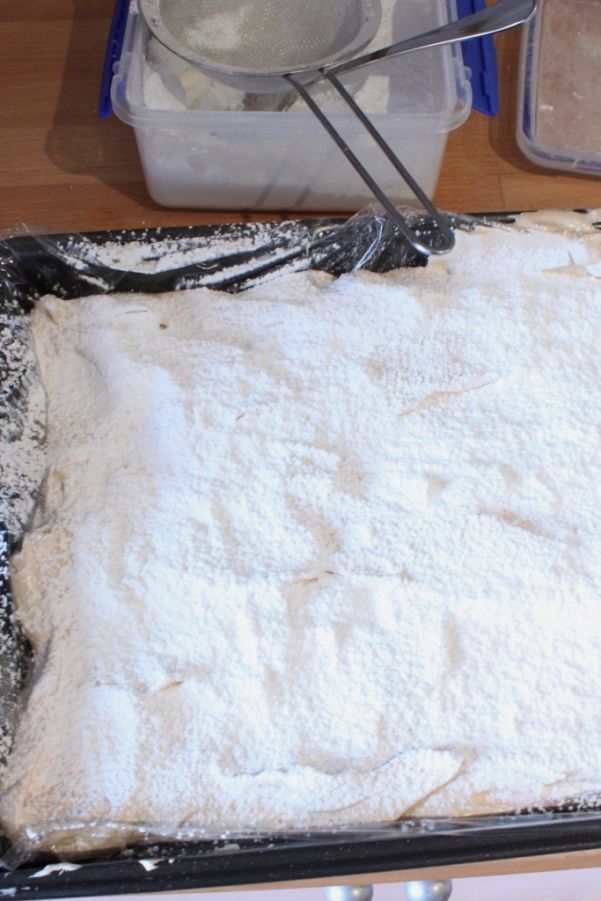
top, then dust with the dusting mix generously on top. Set aside to set, it’ll
take around 4 hours.
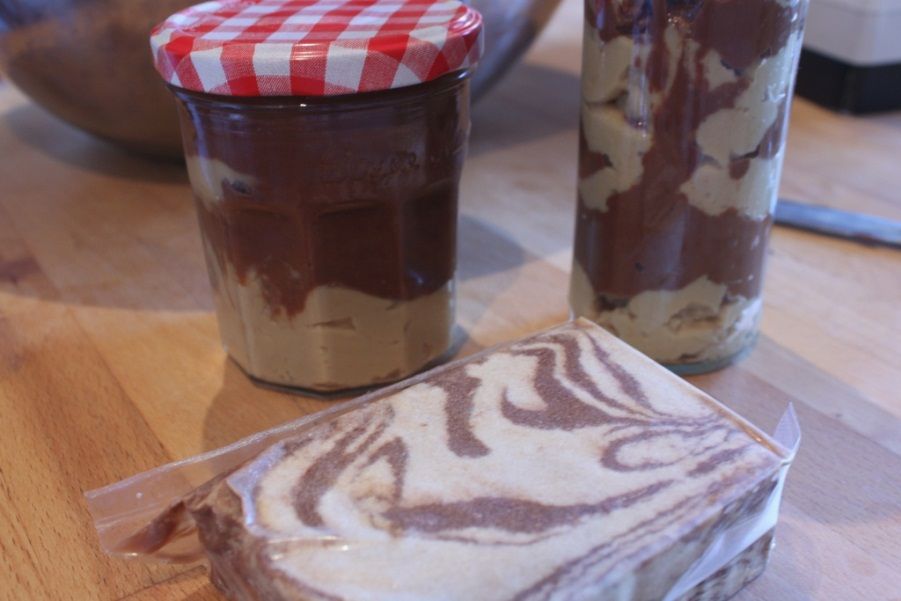
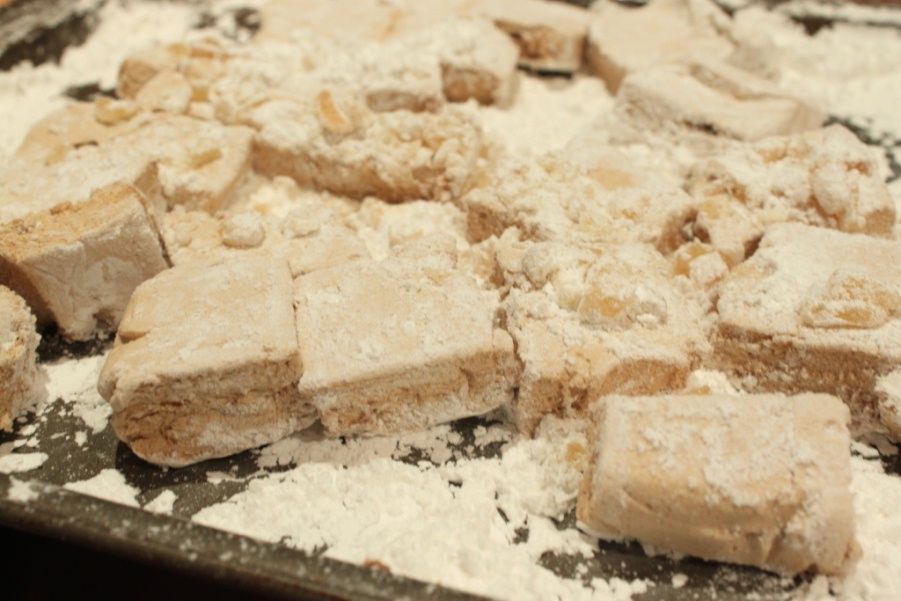
In a baking try, dust a layer of dusting mix, invert the tray and tip
out the marshmallow onto it. Cut up the marshmallows and dust all exposed
sides. Shake off the excess and store in airtight containers in a cool dark
place. Should last around 3 weeks. If you live in a humid area (such as Perth
where it’s April and still 35C), store in the fridge.
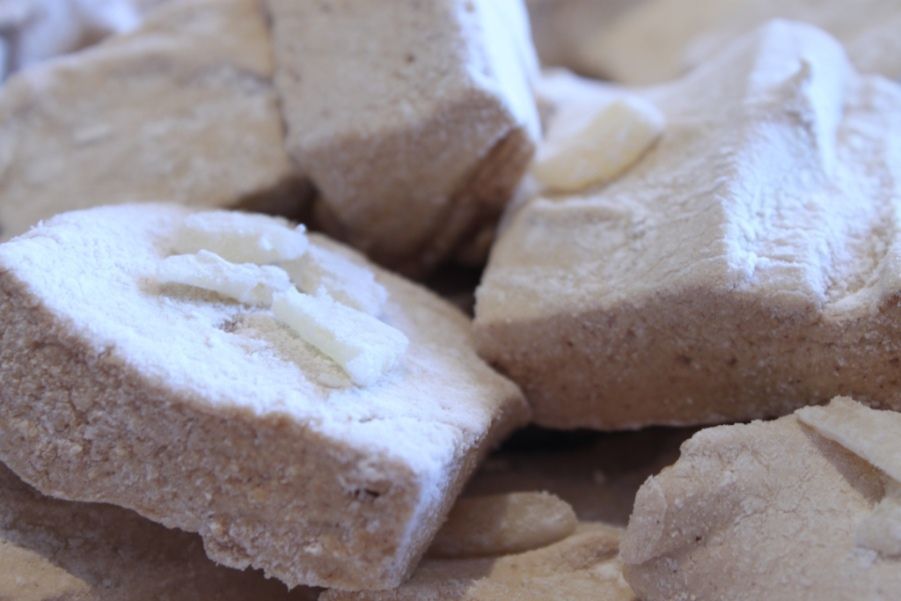
Pumpkin and Maple
Liquid Mix
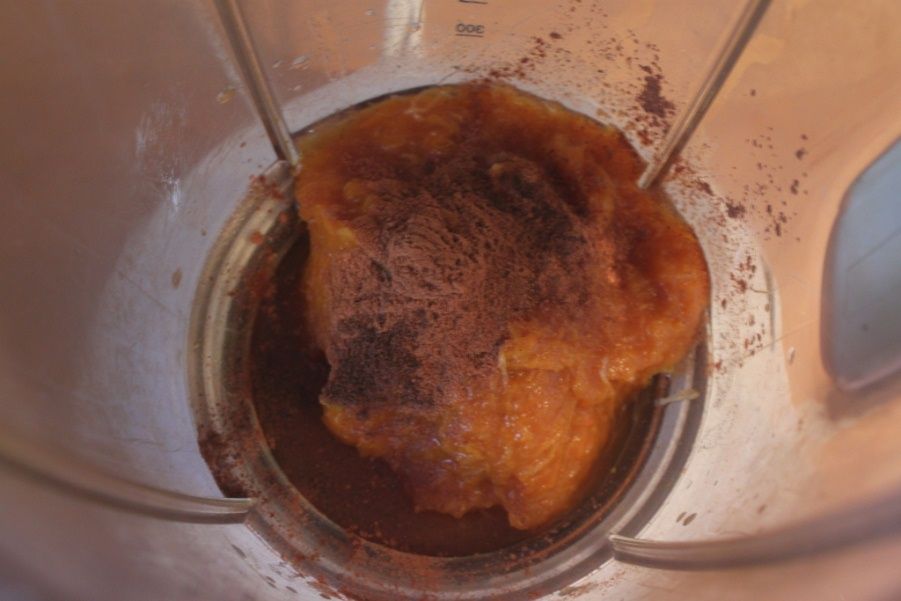
½ cup pureed pumpkin
2 tbsp water
½ tsp ground cinnamon
pinch nutmeg
23g gelatin
Sugar Mix
1 cup white sugar
½ cup dark brown sugar
150mL maple syrup
½ cup water
Dusting mix
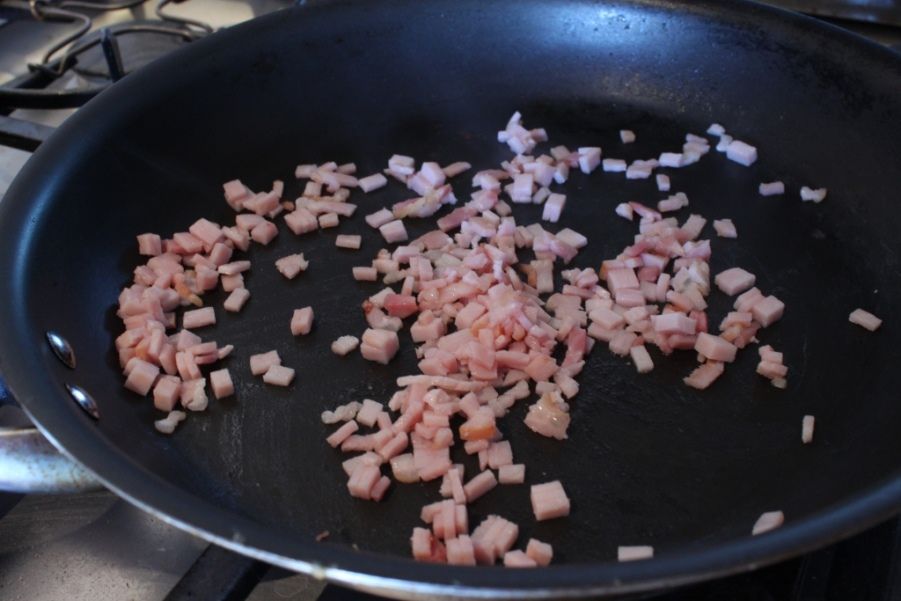
3 rashers bacon
1 tbsp maple syrup
Finely dice the bacon then fry until crispy in a pan. Pour off excess
oil, then add a tbsp maple syrup and cook for a further 3 minutes. Set aside to
cool, spreading out on a plate to prevent it from sticking too much.
Line a lamington tray or baking dish with baking paper or cling film.
Make it big enough to overhang on all sides. Spray with oil to prevent
sticking.
In your standmixer bowl, put the pumpkin puree, 2 tbsp water and spices.
Using the whisk attachment, blend for 1 minute until well combined. Sprinkle
the gelatin over the top. Leave to stand.
In a medium saucepan with tallish sides to cope with the bubbling,
combine the maple syrup, sugars and ½ cup of water. Cook over a medium heat and
stir gently to dissolve the sugar. Raise the heat and boil until it reaches
130C on your candy thermometer. Keep it moving by swirling the handle, but
don’t stir. When it reaches 130C, remove from the heat.
Attach the whisk to your standmixer and turn on low, mix the gelatin
mixture for 1 minute, then turn the mixer up a bit faster and slowly drizzle
the hot sugar mix down the side of the bowl with the mixer still going. Don’t
let it touch the whisk. Increase the speed to medium/high and leave it to whisk
until the mixture is pale and fluffy and looks like really sticky meringue.
This will take at least 5 minutes. As it whisks, it’ll have bubblegum looking
strands pull away.
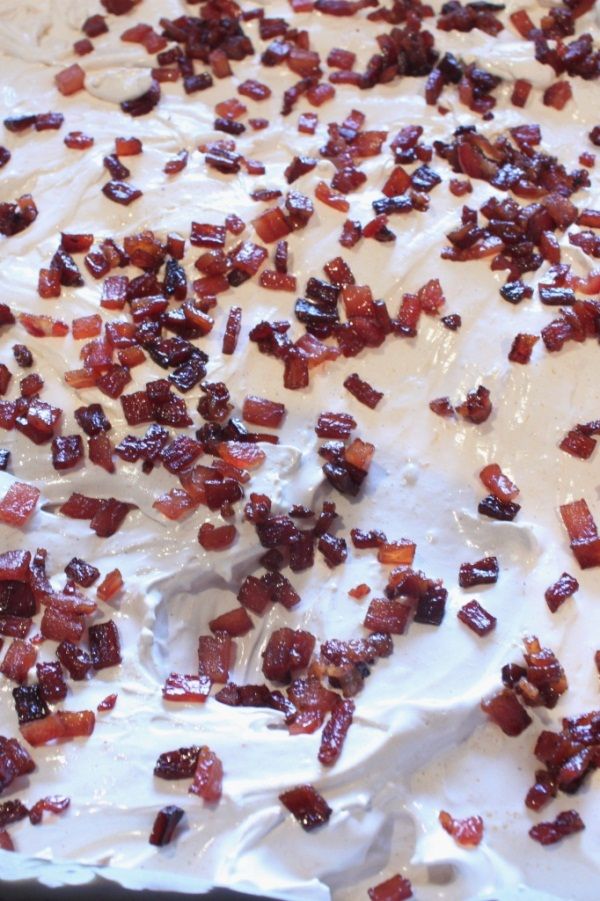
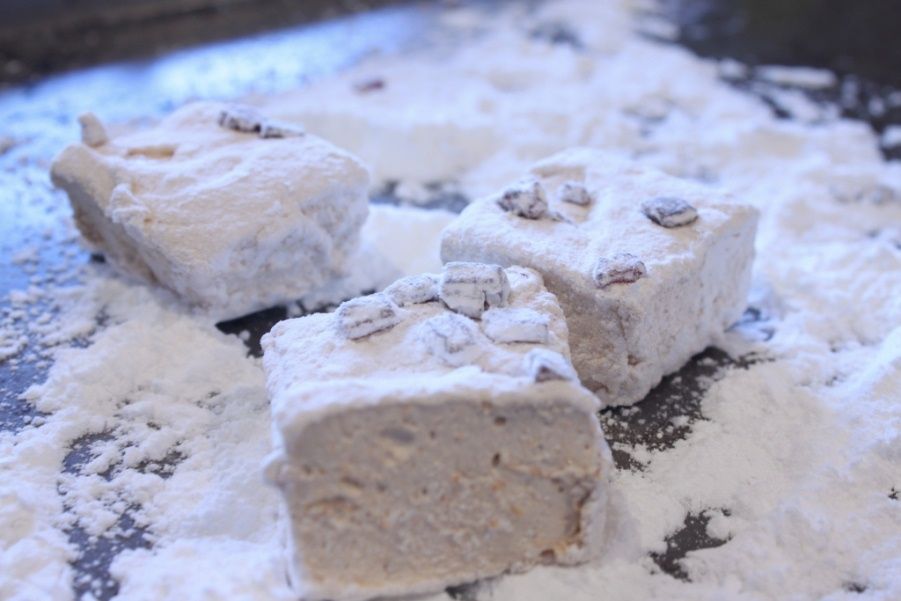
Pour the mix into the lined pan and use a spatula to smooth the top. I
sprayed oil on the spatula to help it not stick. Sprinkle candied bacon on top,
then dust with the dusting mix generously on top. Set aside to set, it’ll take
around 4 hours.
In a baking try, dust a layer of dusting mix, invert the tray and tip
out the marshmallow onto it. Cut up the marshmallows and dust all exposed
sides. Shake off the excess and store in airtight containers in a cool dark
place. Should last around 3 weeks. If you live in a humid area (such as Perth
where it’s April and still 35C), store in the fridge.
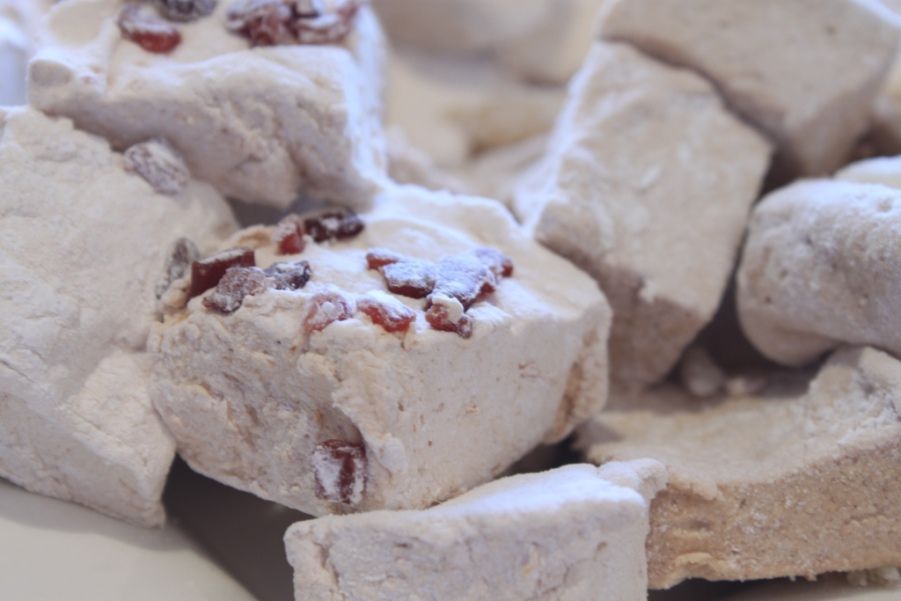
Rum and Raisin Marshmallows
Liquid Mix
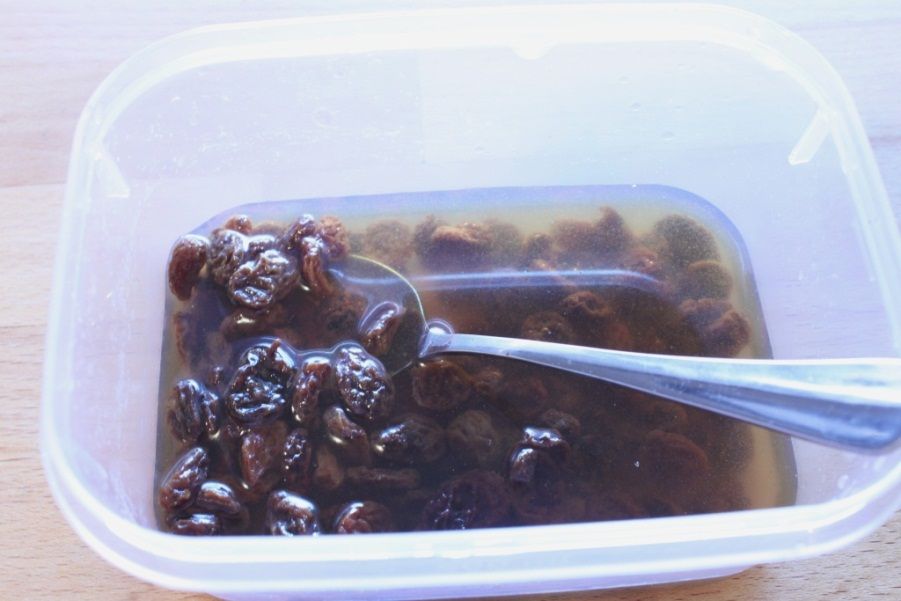
½ cup water
2 tsp rum essence
1/3 cup raisins
23g gelatin
Sugar Mix
1 ½ cups white sugar
150mL golden syrup
½ cup water
Dusting powder mix
Add the sultanas and rum essence to ½ cup of hot water and leave aside
to steep until it’s completely cold. Puree until a combined raisin moosh.
Line a lamington tray or baking dish with baking paper or cling film.
Make it big enough to overhang on all sides. Spray with oil to prevent
sticking.
In your standmixer bowl, put the cold raisin liquid and sprinkle the
gelatin over the top. Leave to stand.
In a medium saucepan with tallish sides to cope with the bubbling,
combine the golden syrup, salt, sugar and ½ cup of water. Cook over a medium
heat and stir gently to dissolve the sugar. Raise the heat and boil until it
reaches 130C on your candy thermometer. Keep it moving by swirling the handle,
but don’t stir. When it reaches 130C, remove from the heat.
Attach the whisk to your standmixer and turn on low, mix the gelatin
mixture for 1 minute, then turn the mixer up a bit faster and slowly drizzle
the hot sugar mix down the side of the bowl with the mixer still going. Don’t
let it touch the whisk. Increase the speed to medium/high and leave it to whisk
until the mixture is pale and fluffy and looks like really sticky meringue.
This will take at least 5 minutes. As it whisks, it’ll have bubblegum looking
strands pull away.
Pour the mix into the lined pan and use a spatula to smooth the top. I
sprayed oil on the spatula to help it not stick. Sprinkle candied ginger on
top, then dust with the dusting mix generously on top. Set aside to set, it’ll
take around 4 hours.
In a baking try, dust a layer of dusting mix, invert the tray and tip
out the marshmallow onto it. Cut up the marshmallows and dust all exposed
sides. Shake off the excess and store in airtight containers in a cool dark
place. Should last around 3 weeks. If you live in a humid area (such as Perth where
it’s April and still 35C), store in the fridge.