Tuesday, February 10, 2015

Sweets for your Sweet - Buttermilk Pudding with Sangria Jelly and Nut Wafers

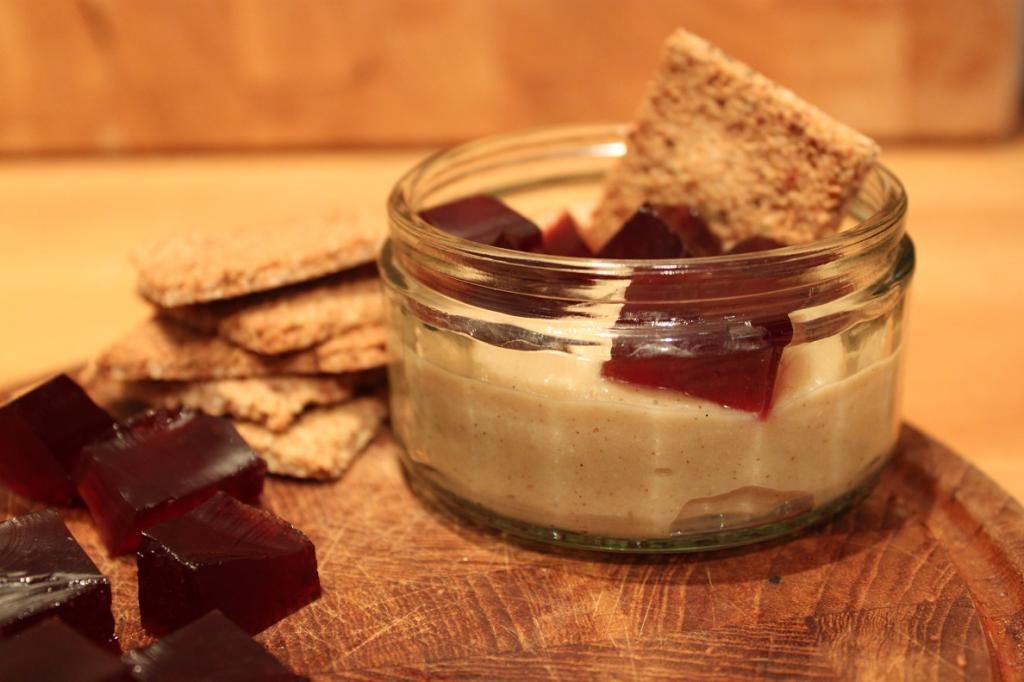
Buttermilk Pudding with Sangria Jelly and Nut Wafers
Do you celebrate Valentine’s Day? We don’t. Not really. I’ve never been a flowers and chocolates and teddy bears with hearts kinda girl. But I do love love, and Lance and I are romantic just in general, so I’m all for people taking the opportunity to tell that special someone that you love them. Lance and I are actually going to a comedy show for the Fringe Festival on Valentine’s Day. But we’ll have a nice dinner beforehand. Not sure what yet. All I know is that this is our Valentine’s Day dessert. It’s a little different, a little quirky and is most importantly, a little bit lighter and not too sweet in this summer heat! As an added bonus the components are made early(ish) with chilling time, or can be made a day or so in advance and assembled before serving, making it great for dinner parties. Or romantic dinners, where less cooking time means more couple time!
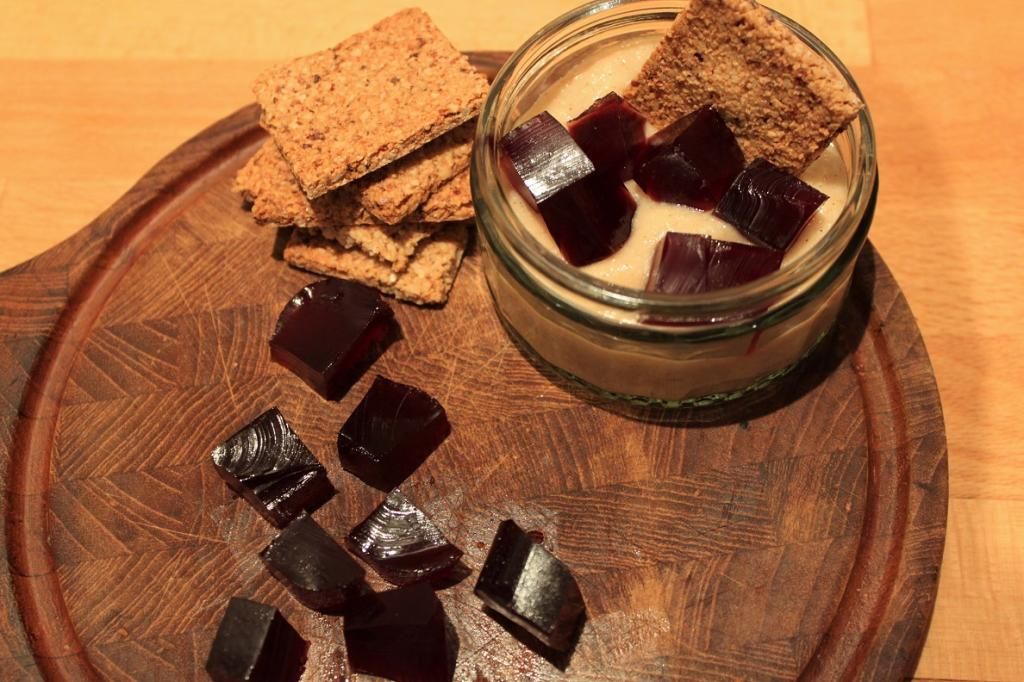
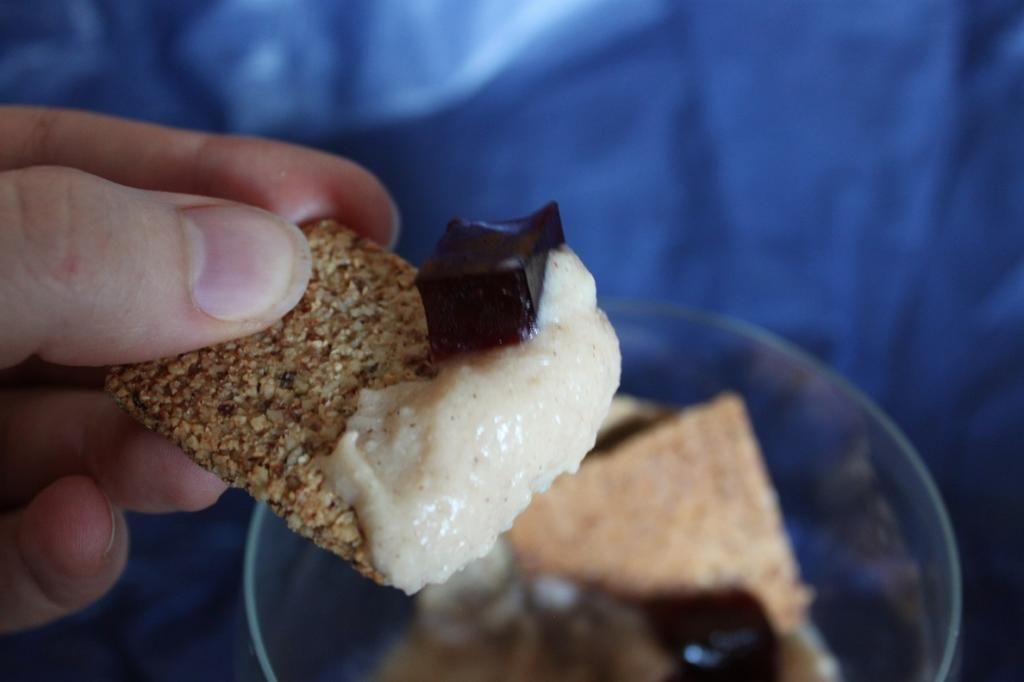
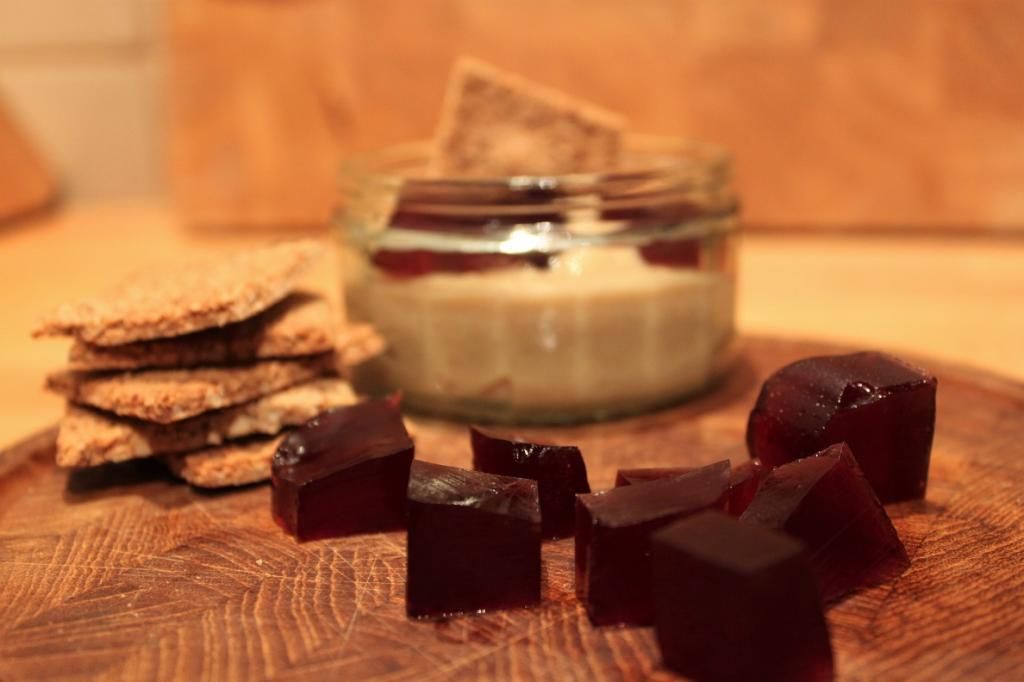
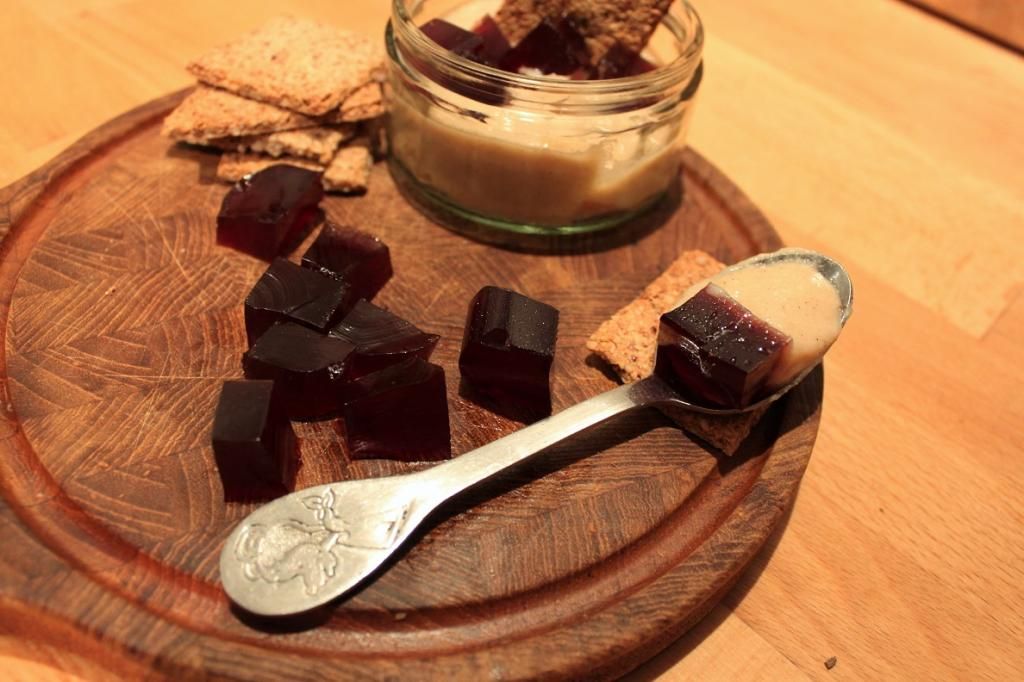
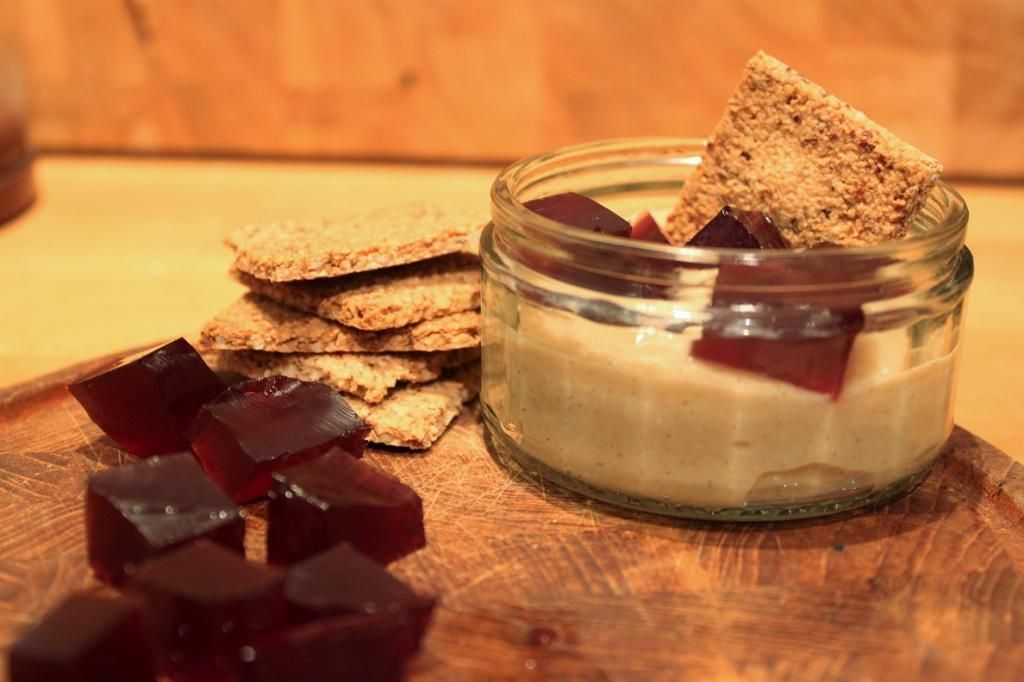
I am a huge fan of sangria. And buttermilk. And nuts. So this dessert is a combination of all of those things. Luckily, Lance is too – so it can feel like I’ve made it for him. Each element here has a small level of sweetness, which combine for a lovely dessert with a fun play on textures – without overwhelming you with sweetness. The buttermilk pudding is smooth and creamy, the sangria jelly has a little chew – not quite jube, but a bit denser than a normal jelly. Add the crunch of the nut wafers and you’ve got a party going. They, by the way, are the easiest crackers to make. And so delicious!
The jelly and wafers make more than you need for the buttermilk pudding portion, but the crackers in particular are so moreish that you won’t find a problem eating the rest of those by themselves! But they both make the best addition to a cheese platter. And I might’ve had some of the jelly with my breakfast granola. And it might’ve been absolutely delicious!


Buttermilk Pudding with Sangria Jelly and Nut Wafers


Sangria Jelly

500mL dry red wine (such as Cab Sauv, or Shiraz)
50 gm caster sugar
8 gelatin leaves
Juice and peel of one orange (peeled in large strips)
Juice and peel of one lemon (peeled in large strips)
2 bay leaves
2 cardamom pods
4 cloves
1 stick cinnamon
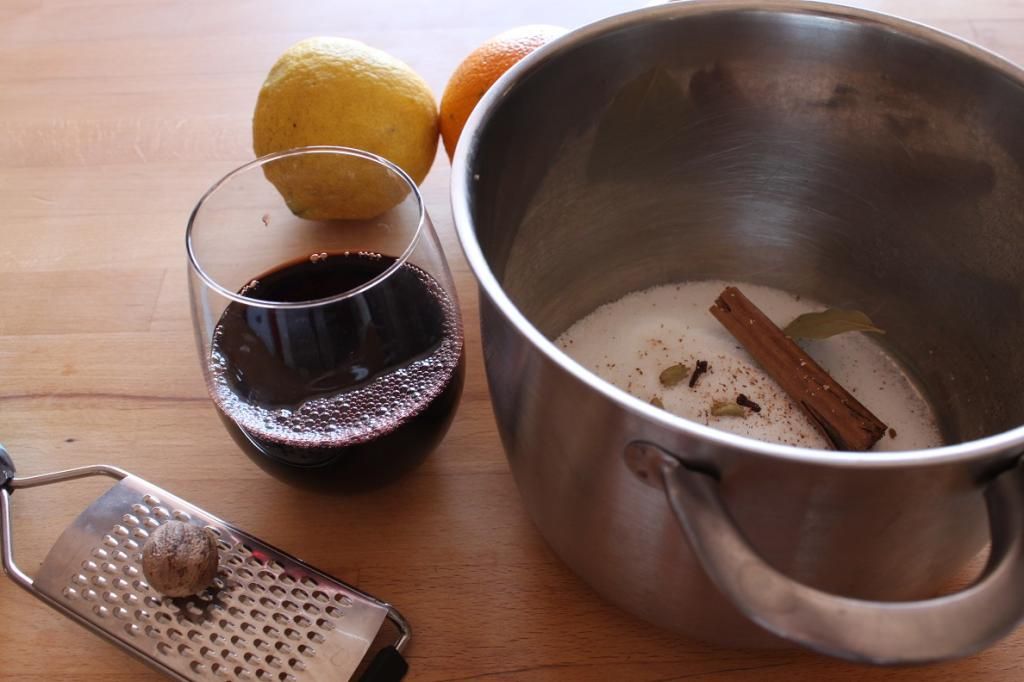
Lightly oil a shallow rectangular dish that can will hold 500mL and set aside until required. In a medium pot, bring red wine, sugar, citrus juice and peel, and spices to a simmer and stir to dissolve sugar. Set aside for the flavours to infuse for an hour. Strain through a fine sieve into a clean pot and bring back to a simmer. Place the gelatin into a bowl of cold water and leave to soften. When the wine mixture comes to a simmer, squeeze excess water from the gelatin and gently drop into the wine. Stir to dissolve the gelatin then set aside for 15 minutes to cool slightly.
Gently pour the jelly into the prepared container and refrigerate until set – around half an hour. When ready to serve, turn out of container, and cut into small cubes.
Buttermilk Pudding with Sangria Jelly and Nut Wafers

Buttermilk Pudding

(makes 4 serves)
1tsp vanilla bean paste
1/2 teaspoon ground cinnamon
1 1/2 cups buttermilk
3 egg yolks
1/2 cup caster sugar
2 tablespoons corn flour
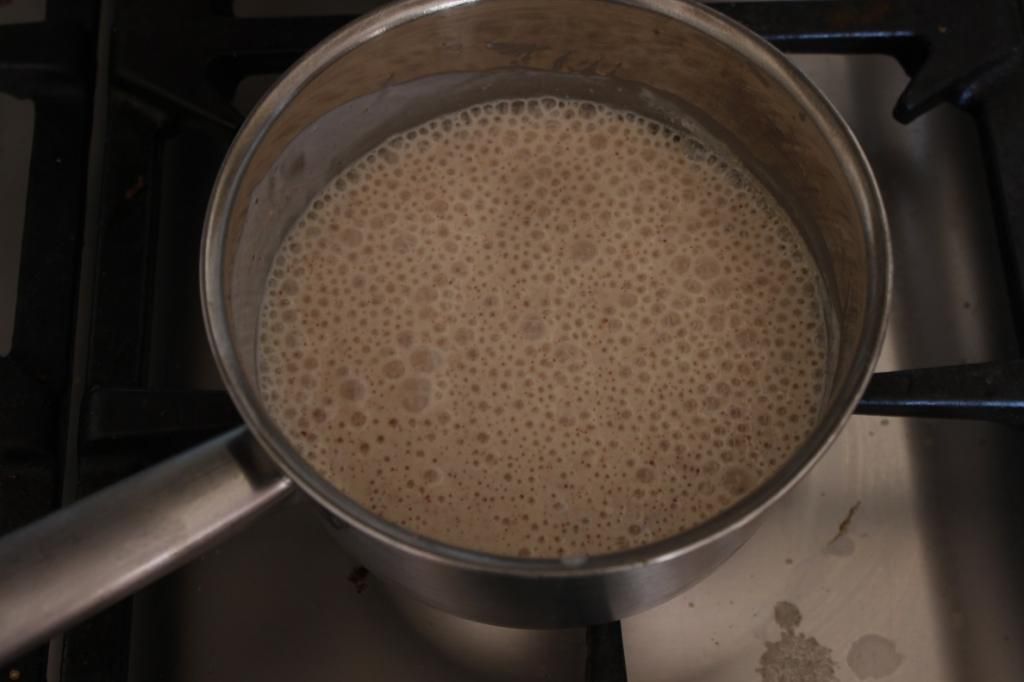
Combine the vanilla bean, cinnamon and buttermilk in a medium saucepan over medium heat. Cook, stirring, for 5 minutes or until mixture is almost at a simmer. You want it to come to temperature very slowly, so the buttermilk doesn’t separate. It’s much more temperamental when heating than normal milk.
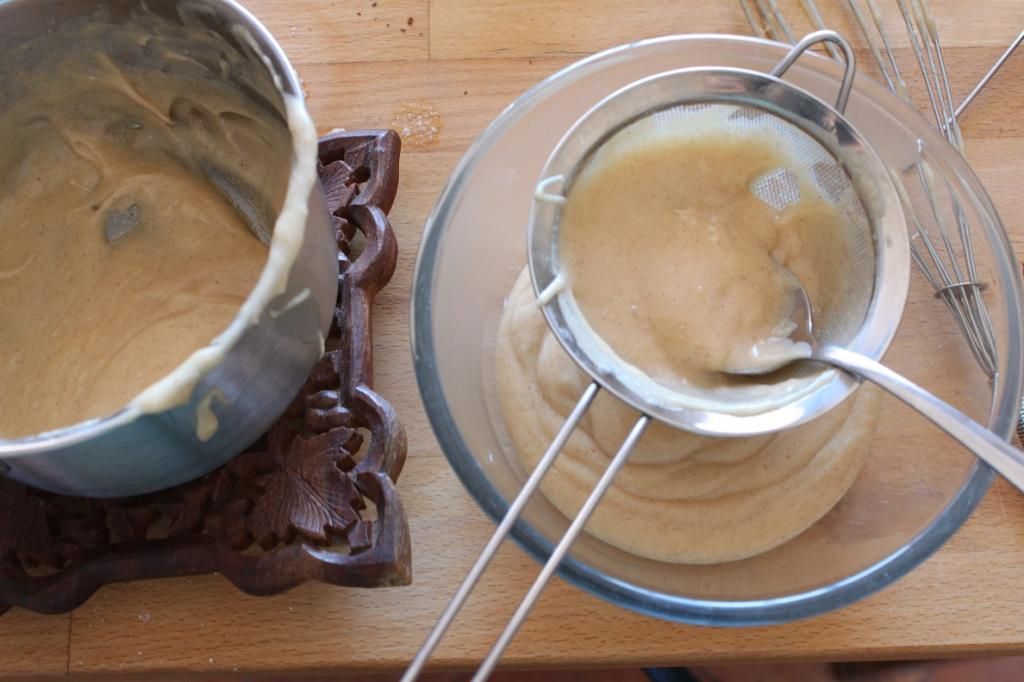
Whisk egg yolks, caster sugar and corn flour in a bowl. Slowly pour the milk into the egg mix whilst whisking. Once it’s all combined, pour into a clean saucepan and put back over medium heat. Cook, stirring, for 4-5 minutes or until mixture thickens. Strain through a fine sieve into a container with a spout, then pour into your desired serving vessels. Tap onto the counter to get rid of air bubbles. Wrap with cling film and pop in the fridge to chill and set, at least an hour.
Buttermilk Pudding with Sangria Jelly and Nut Wafers

Hazelnut and Almond Wafers

¾ cup almonds
¾ cup hazelnuts
3 heaped tablespoons brown sugar
Zest of one orange
¼ tsp ground cardamom
2 egg whites
Preheat oven to 180C
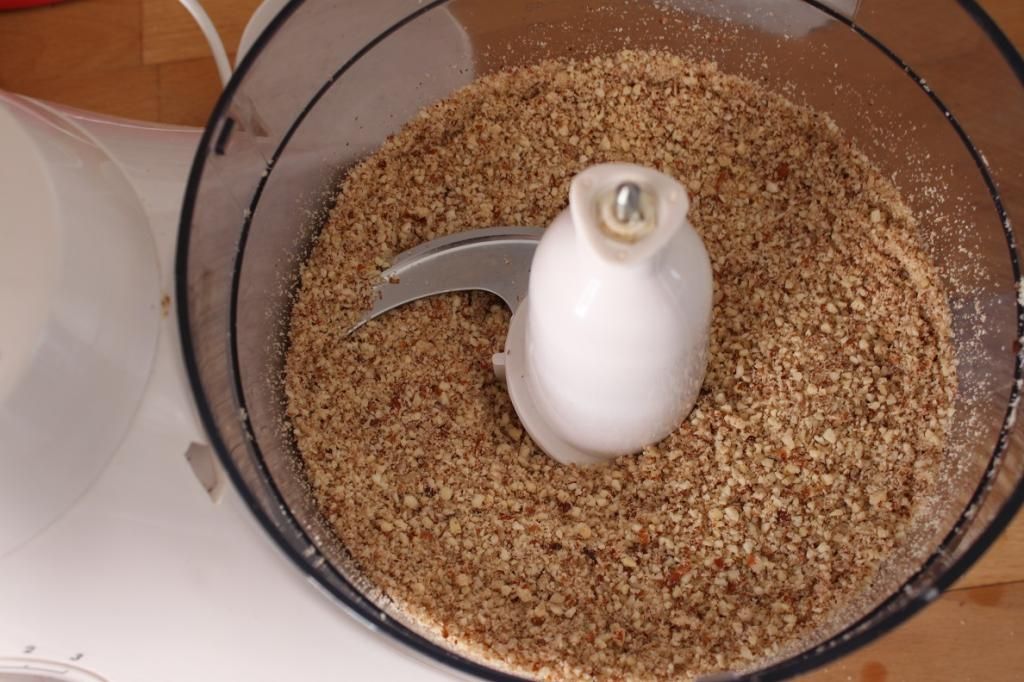
Put the almonds and hazelnuts into the bowl of your food processor and pulse until broken up into tiny pieces. You want mainly ‘meal’ texture, but a few bits a little larger is fine. Add the brown sugar, cardamom and orange zest, and pulse to mix. Add the egg whites and pulse until it comes together in a ball. It’ll be fairly sticky.
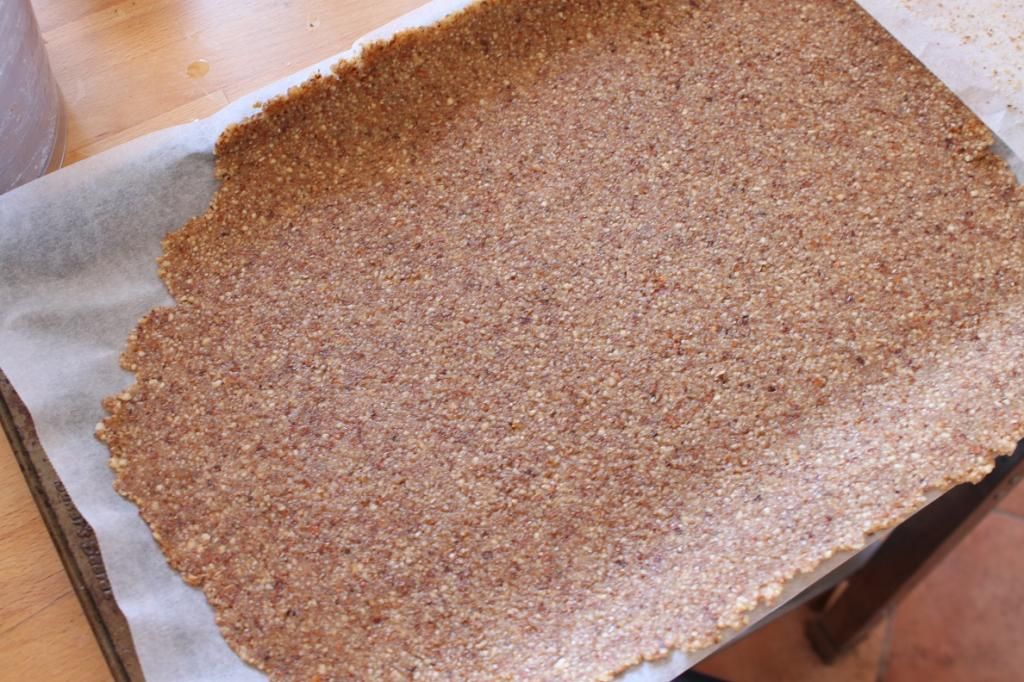
Lay out a piece of baking paper the size of your baking tray, put the ball of dough on it, then place another piece of baking paper over the top. Roll the dough out evenly, and thinly (around 2mm) to spread across the size of your whole baking tray. Carefully peel off the top layer and put in the oven.
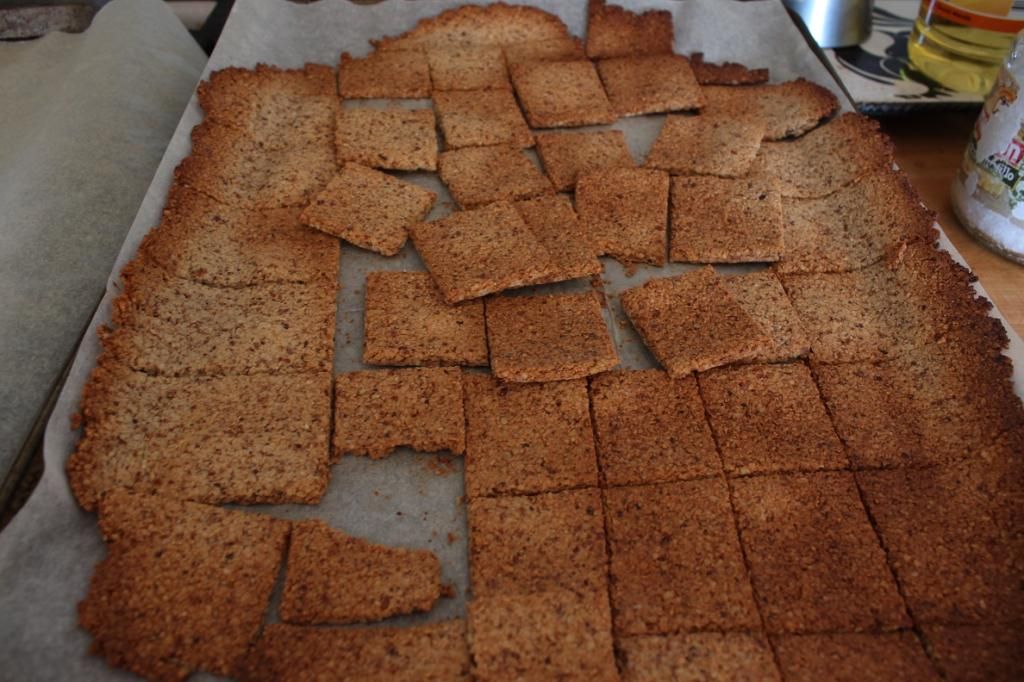
After about 10 minutes, it will have dried fairly considerably and will have turned paler in colour. Remove from the oven and cut into squares/rectangles with a pizza cutter or sharp knife (pizza cutter is a much easier and neater way of doing it). Place back in the oven for another 10-12 minutes or so until golden. The pieces will have shrunk away from each other and formed individual wafers. Watch them carefully this second time as they can burn easily.
Set aside to cool on the tray and finish drying out for half an hour before putting on a cooling rack to cool completely. Store in an airtight container.

Assemble the three components however you artistically like!
Buttermilk Pudding with Sangria Jelly and Nut Wafers


Thursday, January 29, 2015

Summer Eating - Prawn Burgers with Tomato Mango Salsa

Summer Eating - Prawn Burgers with Tomato Mango Salsa

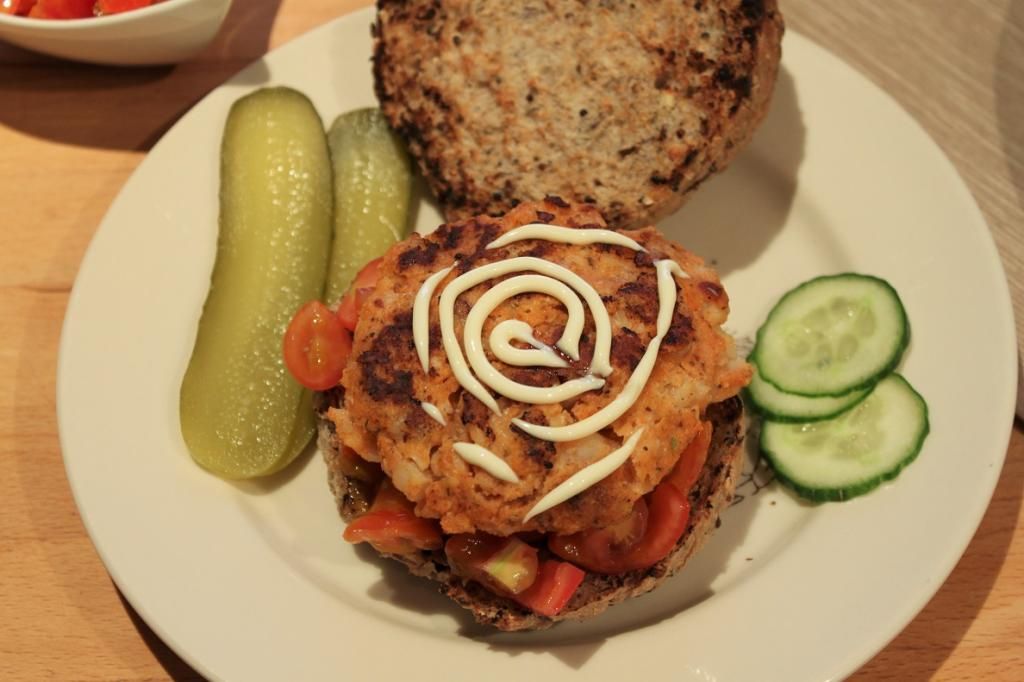
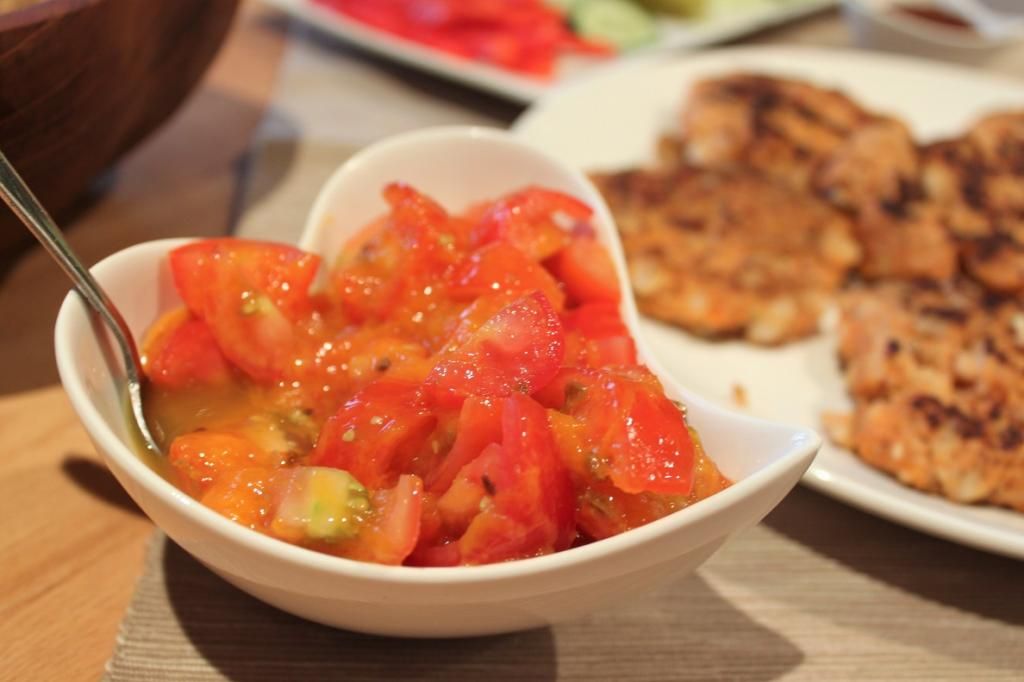
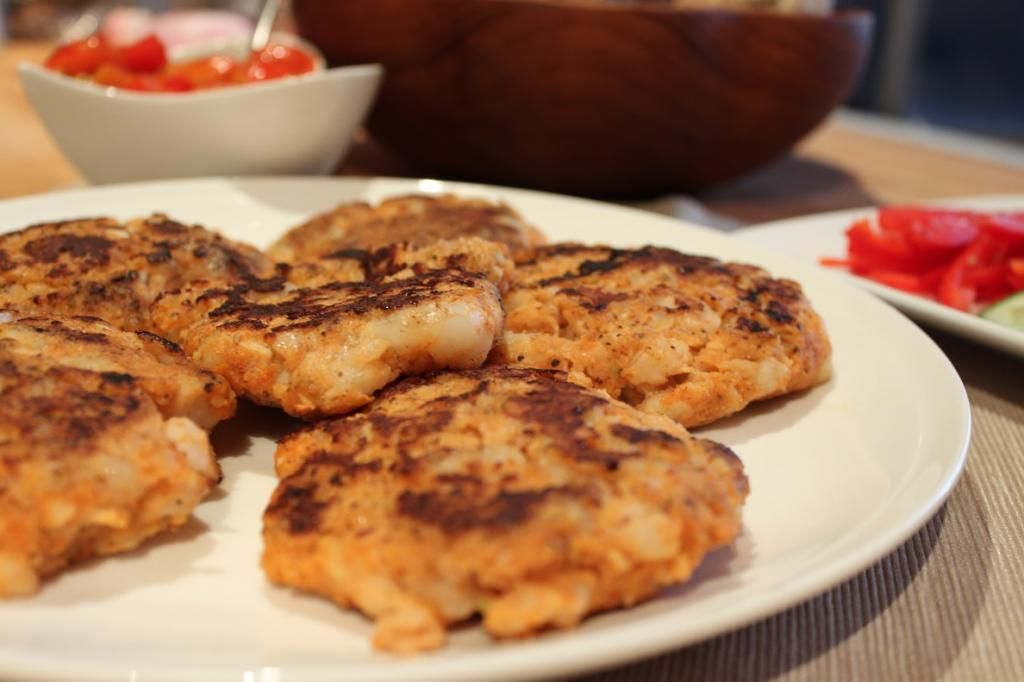
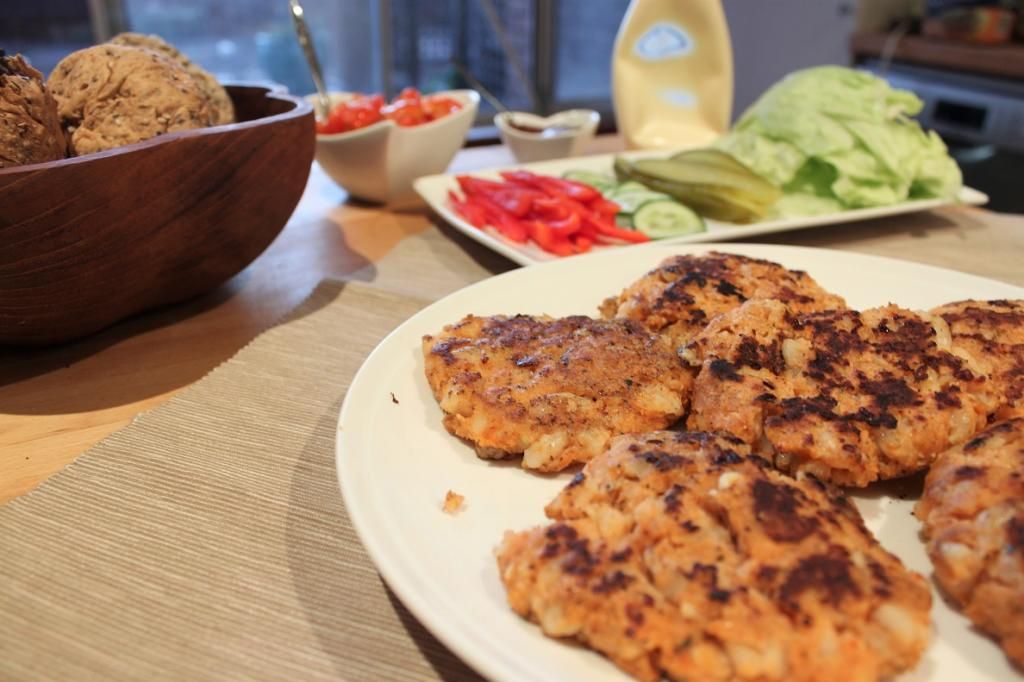
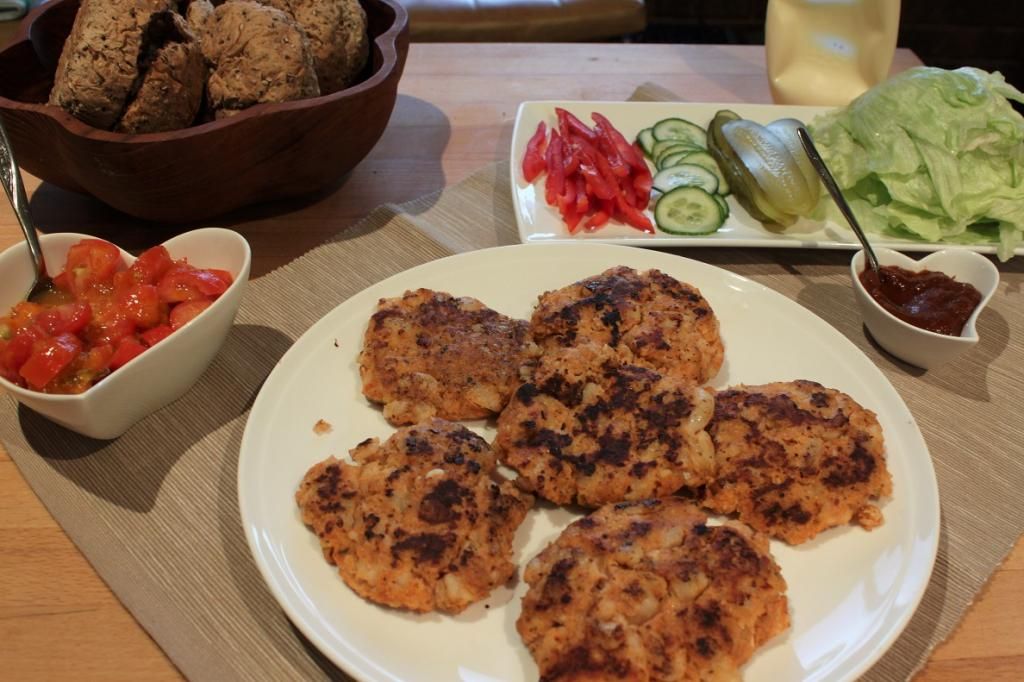
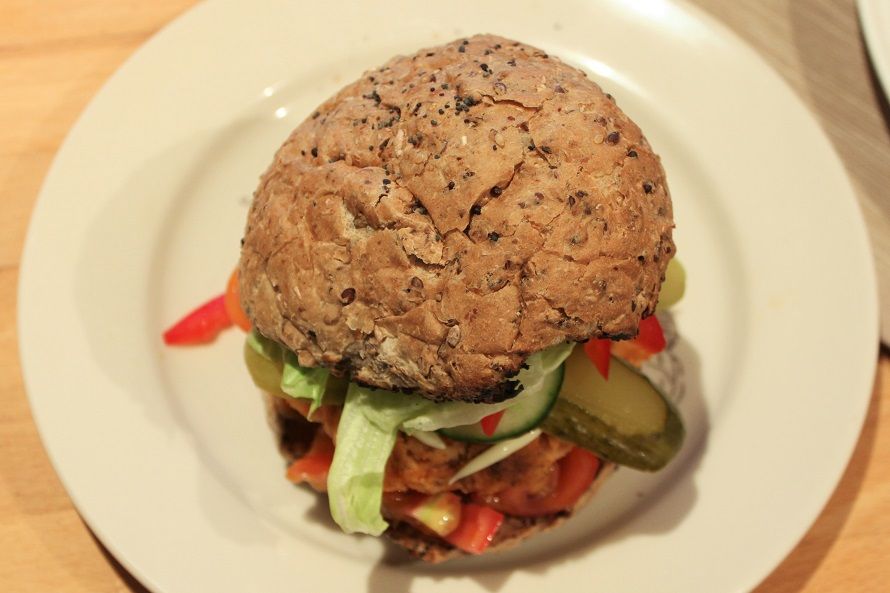
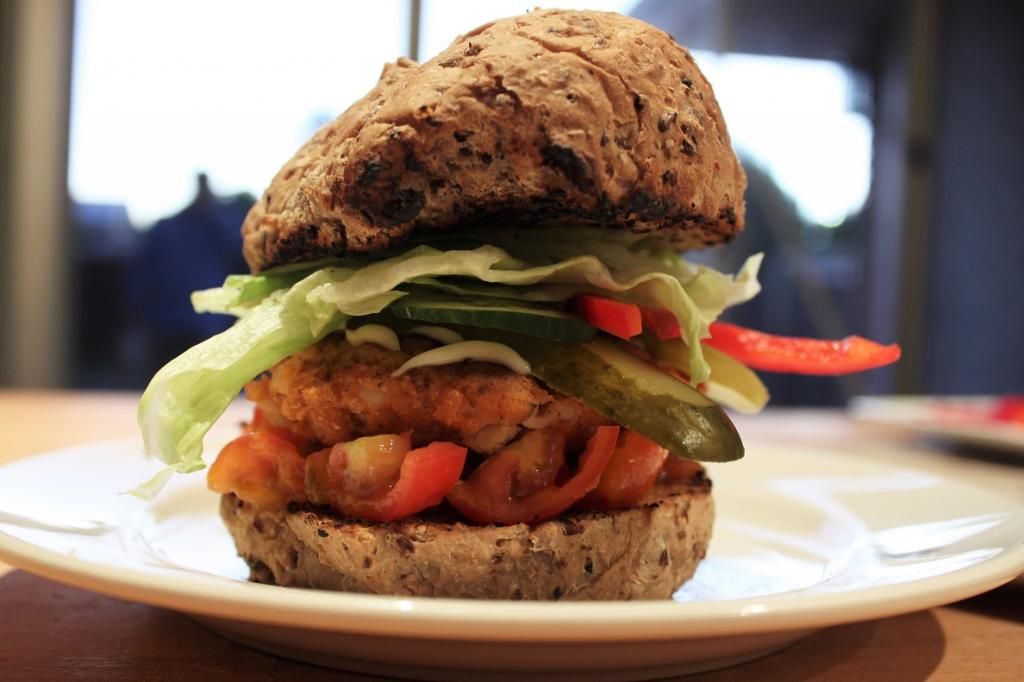
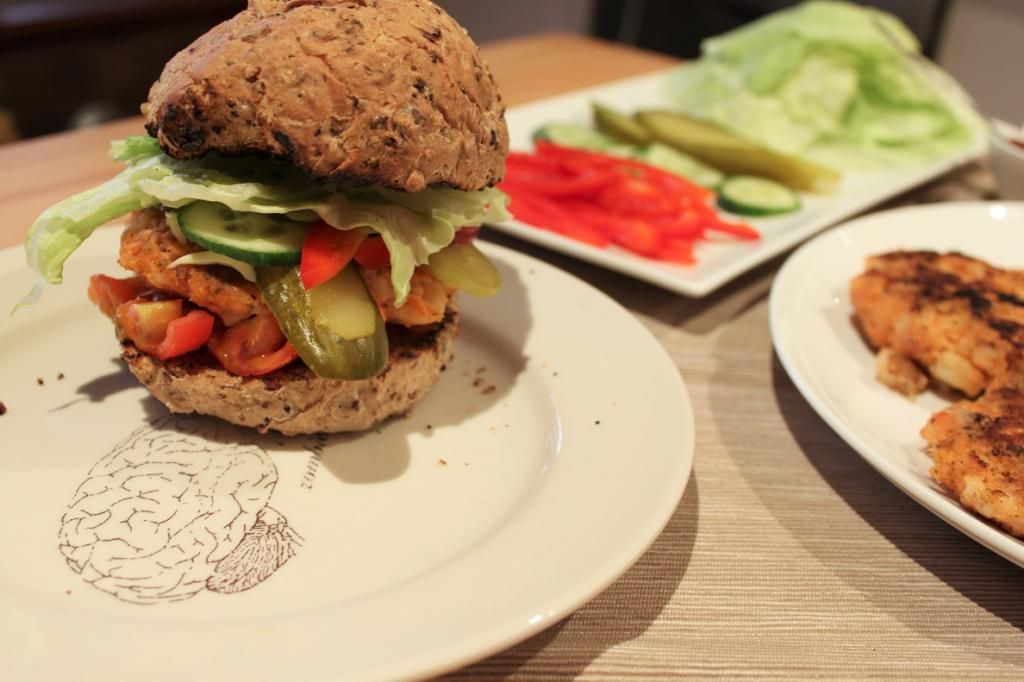
Remember my badly photographed DIY Slider Bar party that my friend and I hosted last year? We had 4 different types of burgers, with a table full of salads and condiments so you could build your own set of sliders. And it was brilliant. One of the slider options we had that day were prawn burgers. And that same prawn patty is still my favourite non-beef burger. And it’s probably my most made burger at home. I’m not going to lie, this recipe is really, really similar to the KrabbyPatties recipe that I posted last year. But these prawn burgers are where it all started. These are my favourite burger patty. The sweetness of the prawn, the smokiness of the paprika. I love mango added into that flavour profile, but instead of a mango guacamole, I made a simple mango tomato salsa to go with it. Lance has been growing me some grape tomatoes and they are no good for slicing up into burgers, but make for a delicious condiment in them!
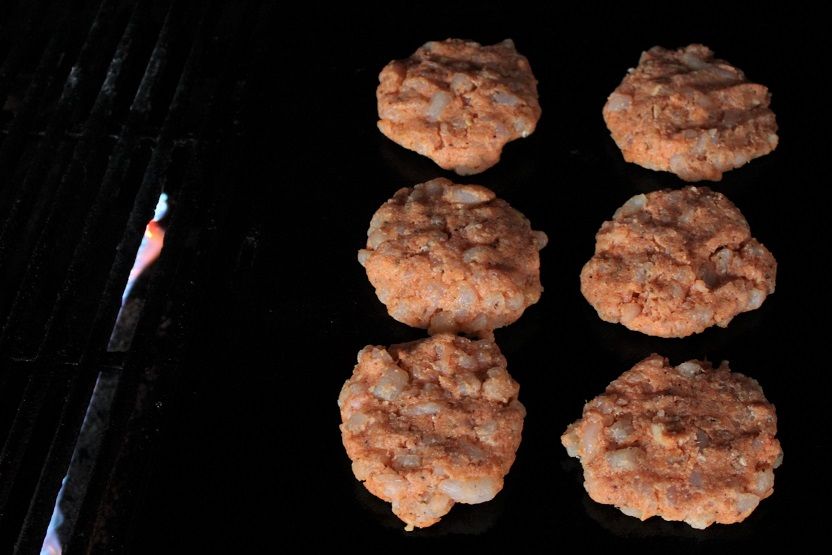
It was crazy hot the day I cooked these, so they were done outside on the BBQ. You do need to add a little oil to your cooking surface. I don’t always bother when BBQing, but prawns are practically devoid of fat, so it helps to make a nice crisp outer layer and stop it sticking. Something that’s not as big a deal when cooking beef or lamb patties.

Summer Eating - Prawn Burgers with Tomato Mango Salsa

Mango Tomato Salsa

1 small mango, diced
Half punnet grape tomatoes, diced
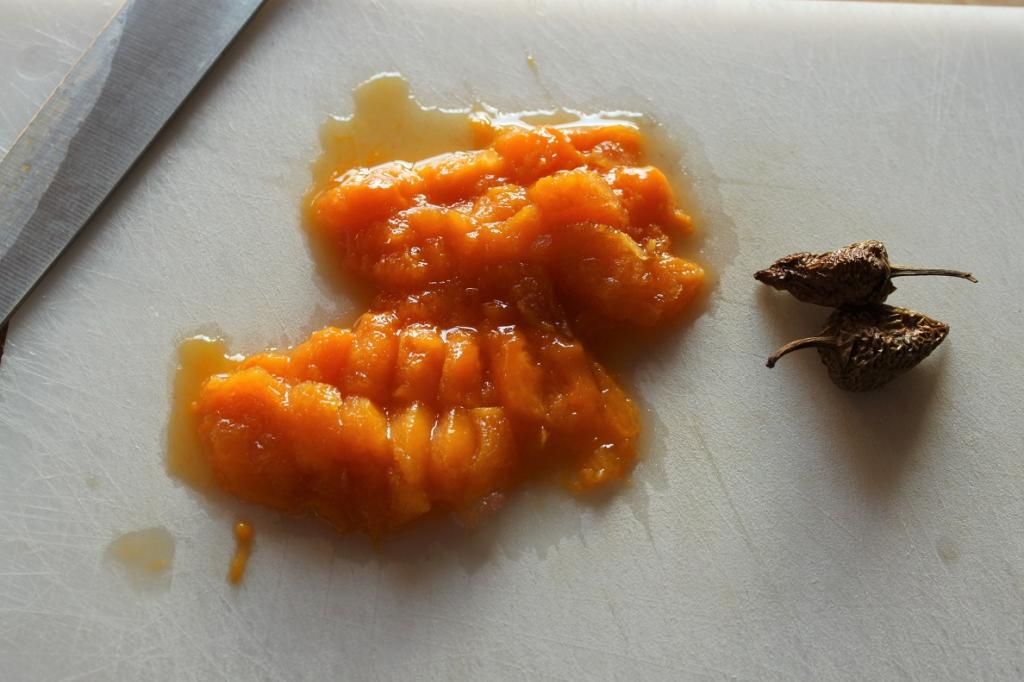
2 chipotle pepper, finely chopped
Pinch salt and pepper
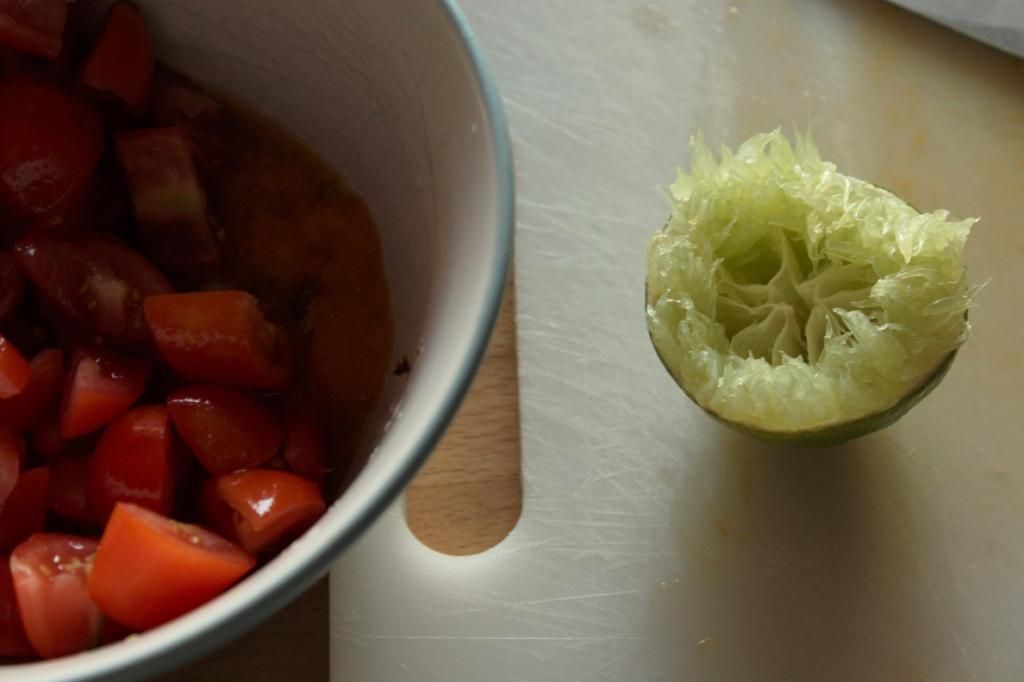
Juice of one lime

Mix all ingredients together. Set aside for the flavours to meld while you cook your burgers.


 Summer Eating - Prawn Burgers with Tomato Mango Salsa
Summer Eating - Prawn Burgers with Tomato Mango Salsa
 Summer Eating - Prawn Burgers with Tomato Mango Salsa

Prawn Burgers

(makes 6 patties)
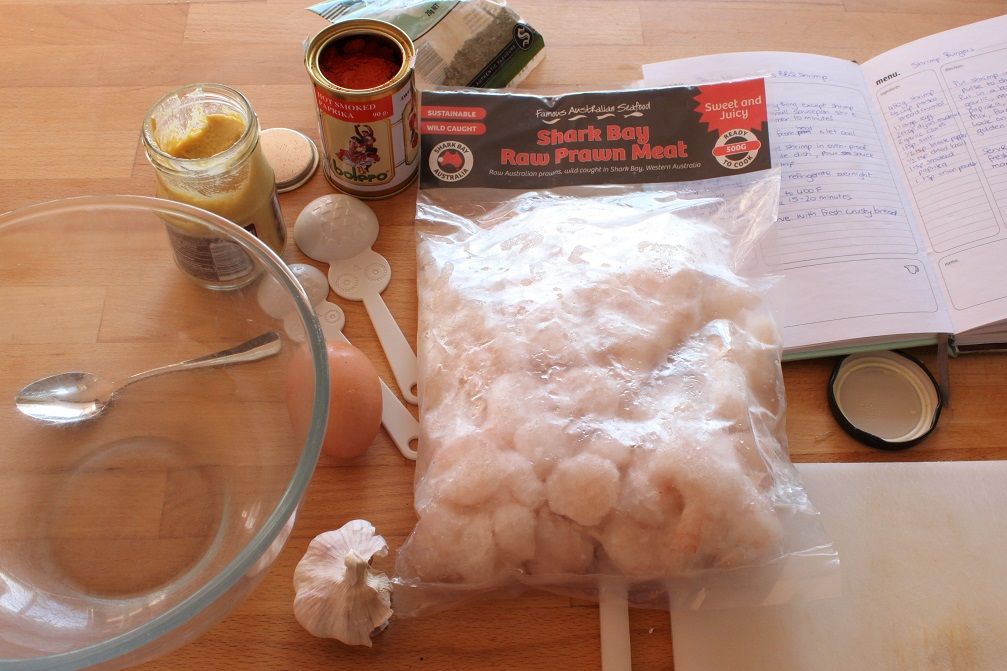
500g prawns
1/2 cup panko breadcrumbs
1/2 cup coconut flour (or fine shredded coconut - unsweetened)
1 egg
2 tbsp dijon mustard
2 garlic cloves, minced
1 tsp salt
1/2 tsp black pepper
1/2 tsp basil
1tsp smoked paprika
to serve
6 buns (toasted, if desired)
mayo
salad ingredients
mango tomato salsa

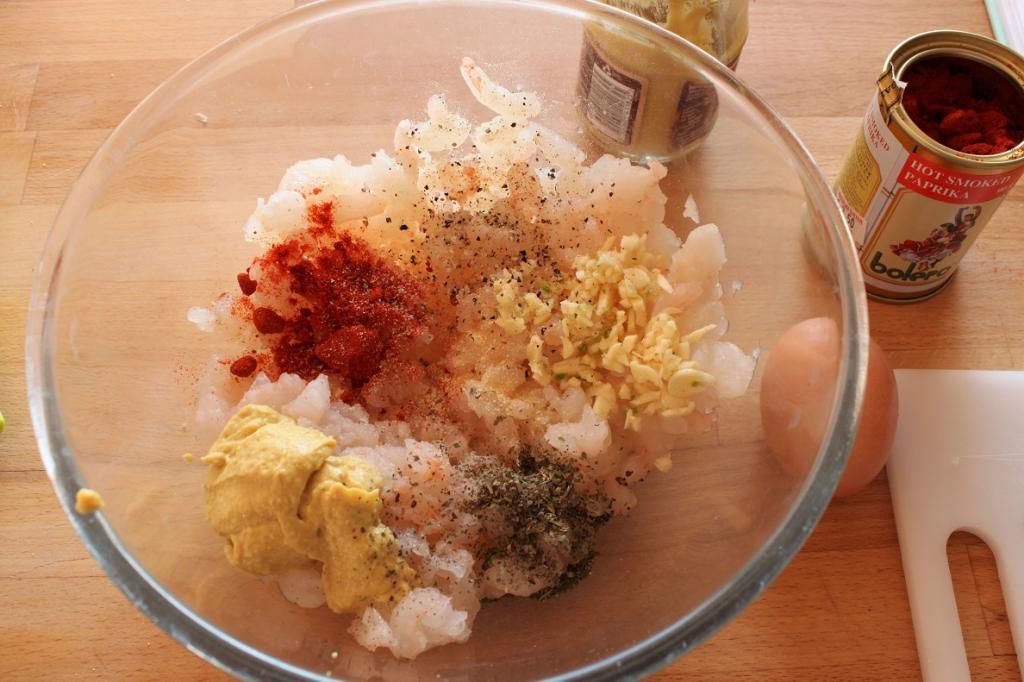
Dice the prawns into small pieces and throw in a bowl. Mix the mustard, garlic, salt, black pepper and basil until all the prawn pieces are well coated. Mix through the egg to get everything wet, and finally add in the breadcrumbs and coconut.

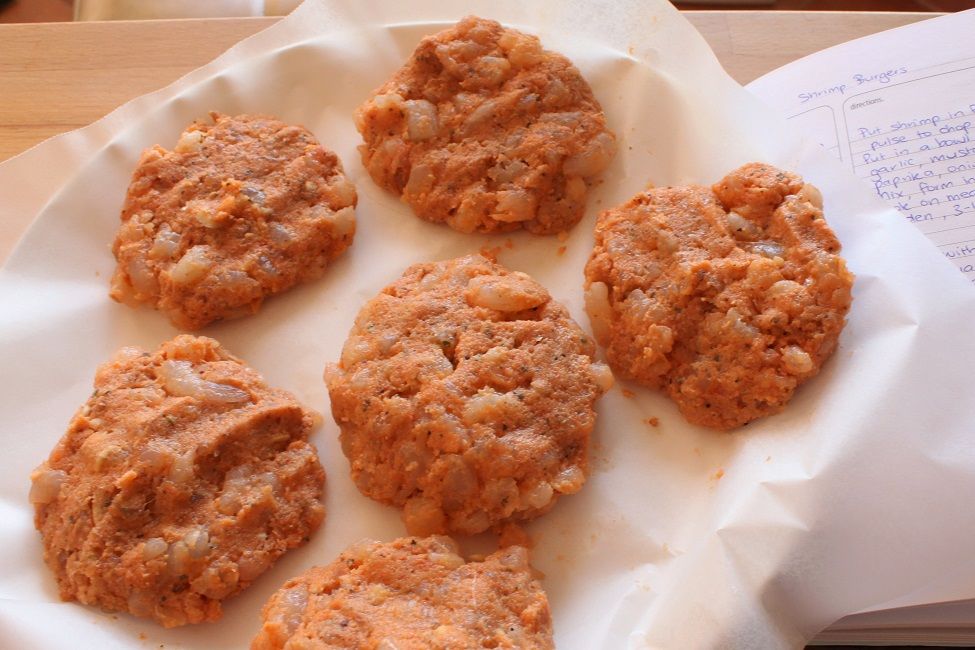
Divide into 6 equal portions and, using clean hands, form into round patties and squish to flatten. Set aside in the fridge for 30 minutes.

Heat a pan or BBQ plate to medium high and lightly coat with oil. Cook each patty for around 5 minutes, or until golden. Flip over and cook for a further 3-5 minutes until cooked through.

Serve with Mango Tomato Salsa and your favourite burger ingredients.

Summer Eating - Prawn Burgers with Tomato Mango Salsa

Monday, January 26, 2015

Australia Day - Dessert Nachos with Chipotle Marshmallows and Vegemite Salted Caramel

Australia Day - Dessert Nachos with Chipotle Marshmallows and Vegemite Salted Caramel


Happy Australia Day! For you today, on this most celebratory of summer days, I have something special. Something very different. Something I want you to trust me on. It is a bit weird, but it’s also very, very good.  Dessert nachos.


Over the Christmas period I attended a few gatherings where the subject of my blog and recipes was brought up by other people. It was actually quite interesting to hear friends and family discuss what they thought of my blog and in a way, ‘sell’ it to others. I am quite passionate about the food I create and eat, and it was quite lovely to hear other people discuss some my recipes animatedly! Made me feel a little like a rock star! The number one recurring word used to describe my food was ‘quirky’. I’m quite happy to wear that badge. I love mixing combinations of food together to create something unique and amazing. Something that might take you by surprise, but you fall in love with. For me, cooking is imagination. For others, that means my cooking is quirky. I like that!


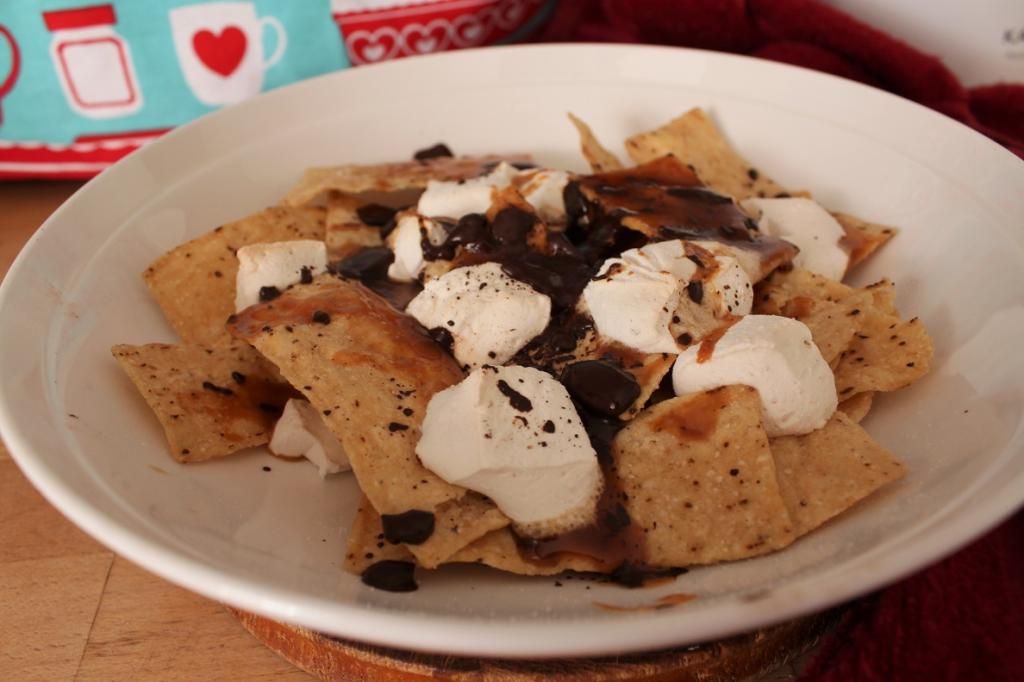
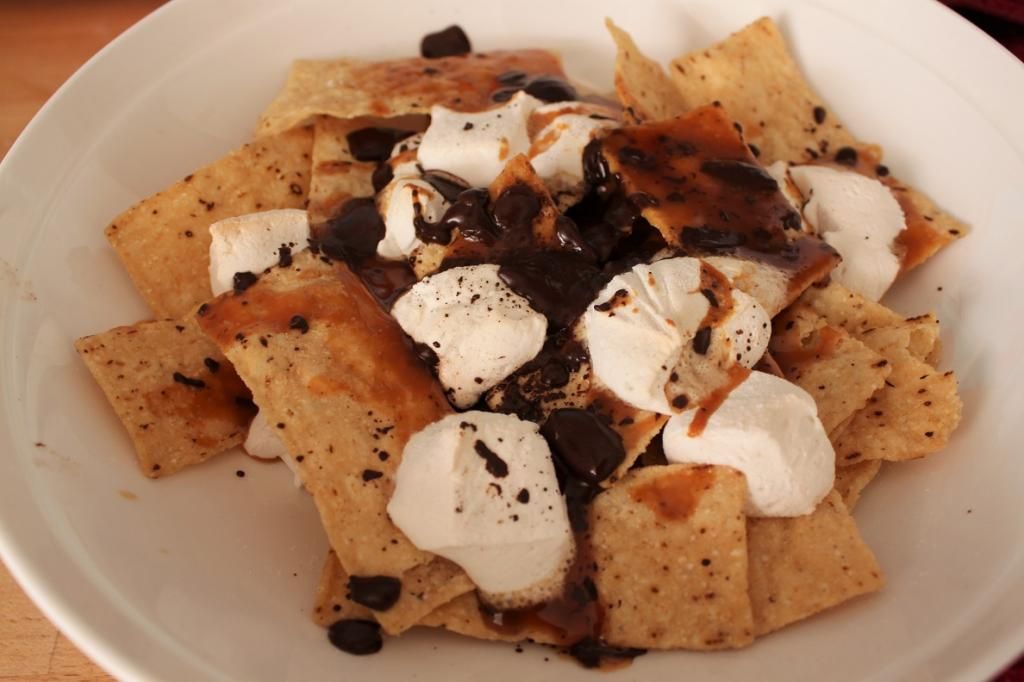
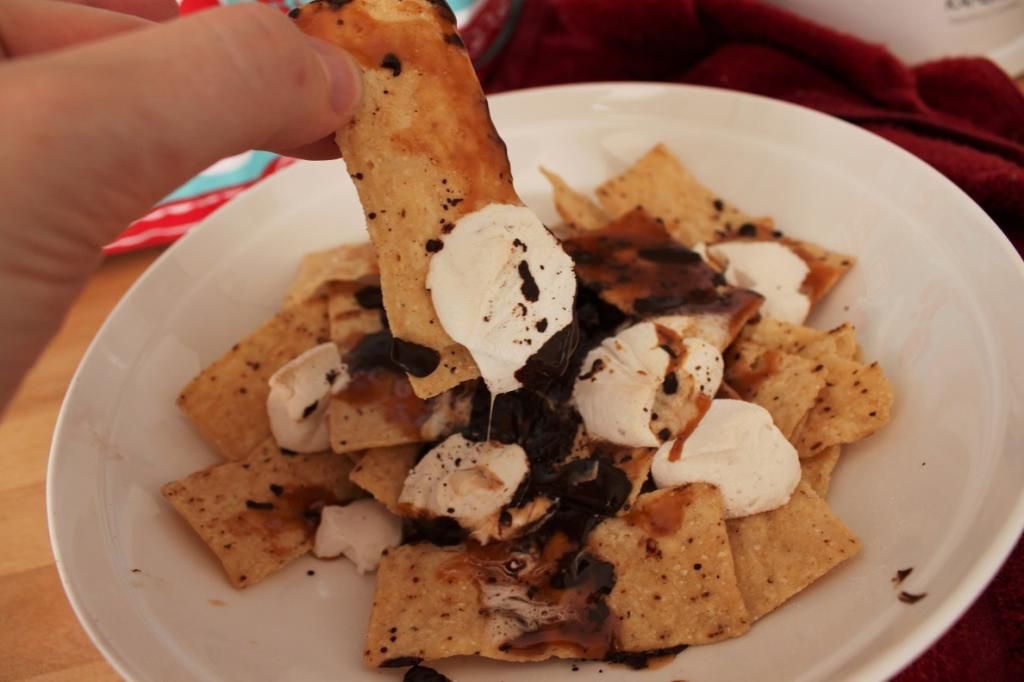
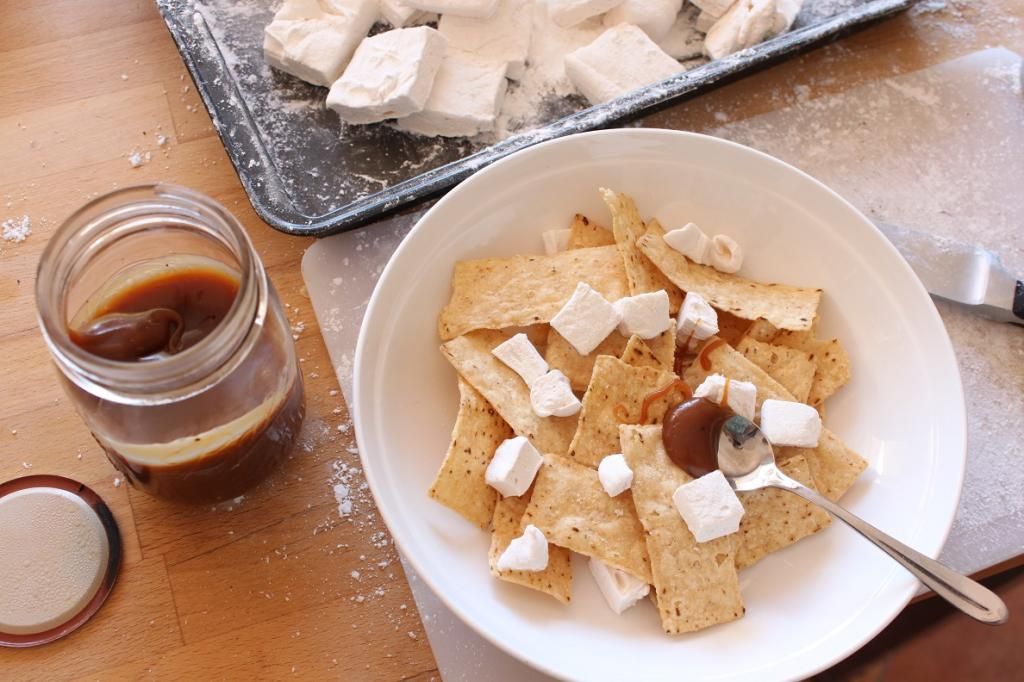
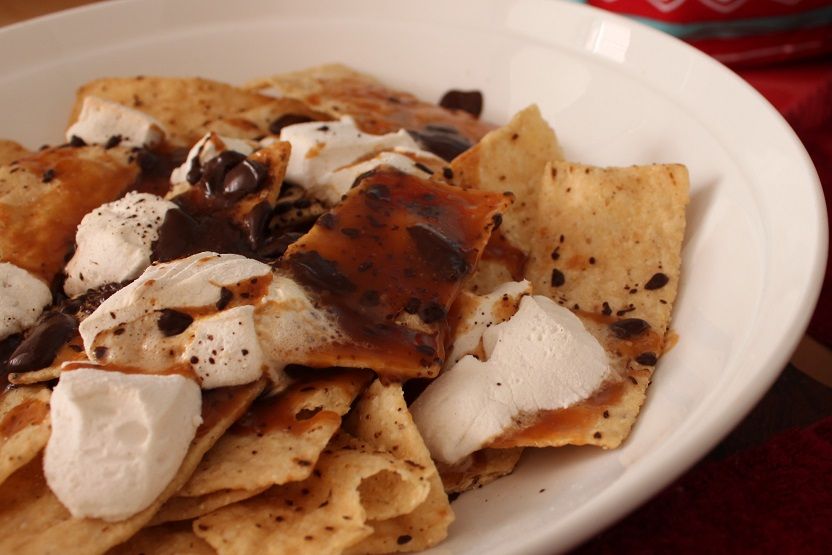
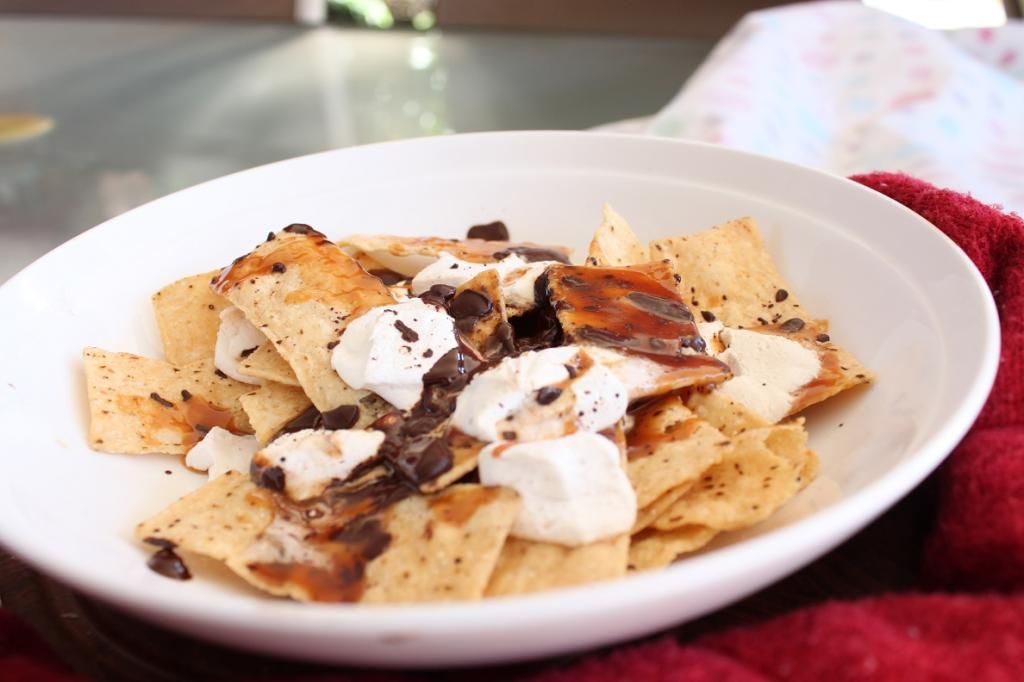
So this is my quirky take on dessert nachos. I’ve already brought you dessert tacos, it’s time for nachos. The basic combination for these nachos is simple to replicate without any cooking, just using bought components. Corn chips + caramel + marshmallow + chocolate. That by itself is a seriously indulgent and wonderful movie night snack. However, if you want a slightly quirkier take, with a little extra work, you make your own marshmallow. And you flavour it with smokey chipotle powder. And you make your own caramel. Salted caramel. Using Vegemite as the salt.


I already use vegemite as a substitute for salt in many savoury dishes. It works great as a ‘stock’ in casseroles, stews and soups. It is absolutely delicious on toast and eggs. Even better with avocado. It adds a deeper savoury flavour than ‘just’ salt. Why could the same not be applied to sweet dishes? Salty and sweet as a combination is now well in the general conscience, with salted caramel being the most popular incarnation of this. So, let’s make it with a little vegemite. Trust me on this. Make this caramel. Make these nachos. Thank me later.


Happy Australia Day!
 
Australia Day - Dessert Nachos with Chipotle Marshmallows and Vegemite Salted Caramel


Dessert Nachos

(makes 4 serves)
1 packet lightly salted Tortilla chips (I like Mission brand)
10 tsp Vegemite Caramel (recipe to follow)
1/2 batch chipotle marshmallows (recipe to follow)
4 squares dark chocolate

Heat the oven to 190C

In ovensafe bowls or plates, scatter tortilla chips over 4 plates, drizzle a few teaspoons of caramel over each plate, and tuck in some marshmallow bits. Coarely chop the dark chocolate squares and scatter over the top.

Bake 10 minutes, or until marshmallows are gooey inside and the chocolate is melted.

Australia Day - Dessert Nachos with Chipotle Marshmallows and Vegemite Salted Caramel


Vegemite Salted Caramel

1 cup sugar
4 tbsp water
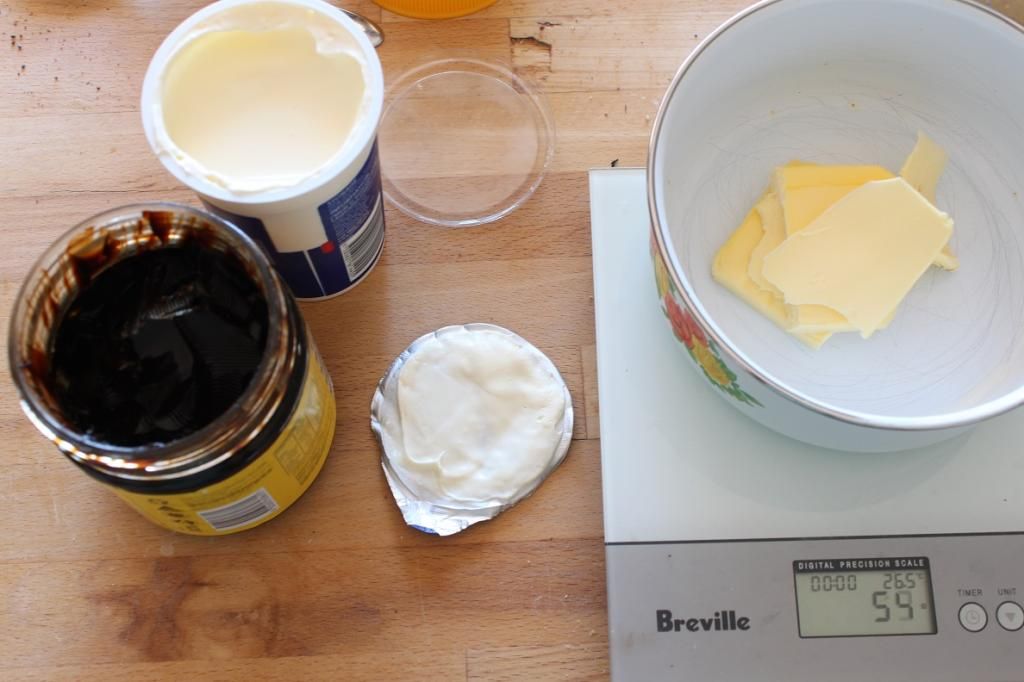
55 g butter
100mL cream
1 tsp vegemite (warmed slightly if hard)

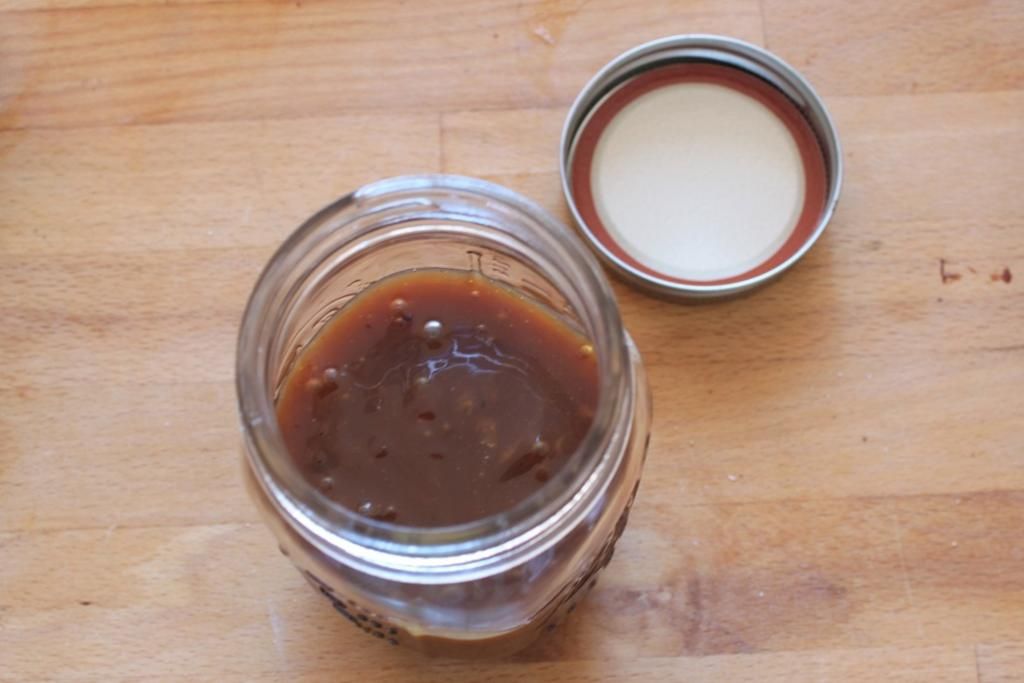
Add sugar and water in a medium pan over low heat. Stir until the sugar dissolves. Increase heat to high and every so often, swirl the pot to keep the mixture moving. Do not stir. The mixture will start turning a nice caramel colour, when this happens, remove from the heat immediately and add the butter, vegemite and cream. Watch out, it will spit. Whisk to combine, then set aside to cool and thicken slightly before pouring into jars to store

Australia Day - Dessert Nachos with Chipotle Marshmallows and Vegemite Salted Caramel


Chipotle Marshmallows

1/2 cup water
1 1/2 tsp chipotle chilli powder
1/4 tsp cayenne
23g gelatin powder

1 1/2 cups white sugar
150mL glucose syrup
1/2 cup water

dusting mix
1/2 cup icing sugar
1/4 cup corn flour

Add the first half cup water to the bowl of your stand mixer, whiskn in the chilli powder and cayenne and sprinkle the gelatin over the top. Leave until the gelatin is absorbed and becomes gel-ly.

Line a lamington tray or baking paper with cling film, allow for overhang on all sides. Dust a few tablespoons of the dusting mix along the bottom.

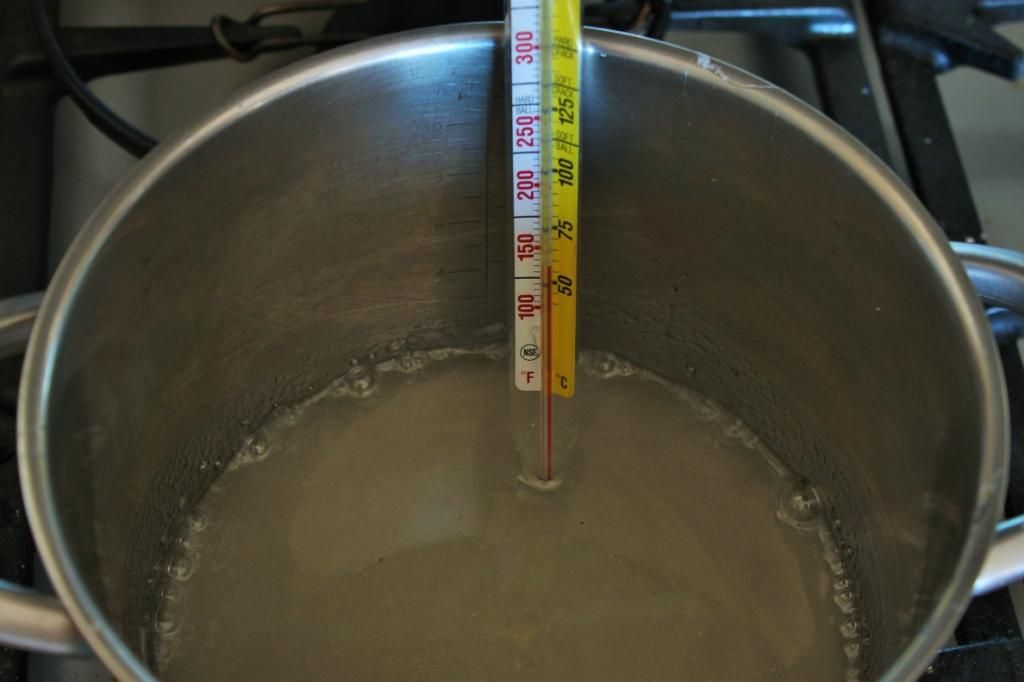
In a large saucepan, combine the glucose syrup, water and sugar. Cook over a medium heat, stirring gently to help the sugar dissolve. Raise the heat and boil until it reaches 130C on a candy thermometer. Swirl the mixture, but do not stir. When it reaches 130C, immediately remove from heat.

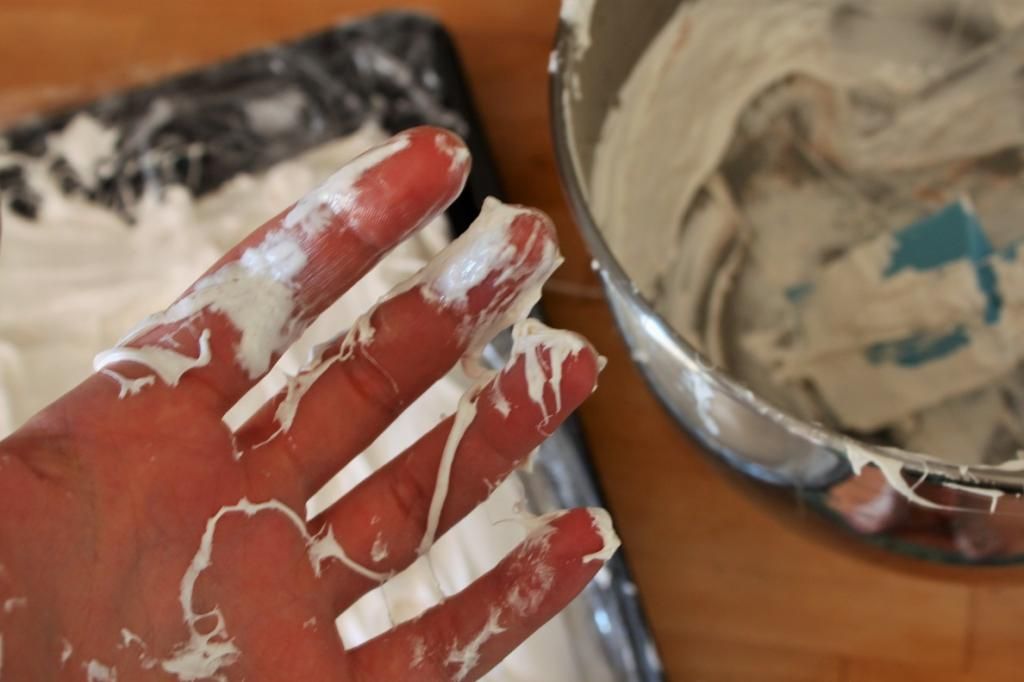
Whisk the gelatin mixture on low for 1 minute, then turn the mixer up to around 3/4 top speed and slowly drizzle the hot sugar mix whilst it's still going. Don't let the stream touch the whisk. Increase the speed to high and leave it whisking until the mixture is pale and fluffy and looks like glossy meringue. It'll take at least 5 minutes. It's ready when strands pull from the sides like bubblegum.

Pour the mix into the lined pan and use a greased spatula to smooth the top. Dust with more dusting mix and pop aside in a cool spot to set. It'll take a few hours, depending on the heat & humidity.

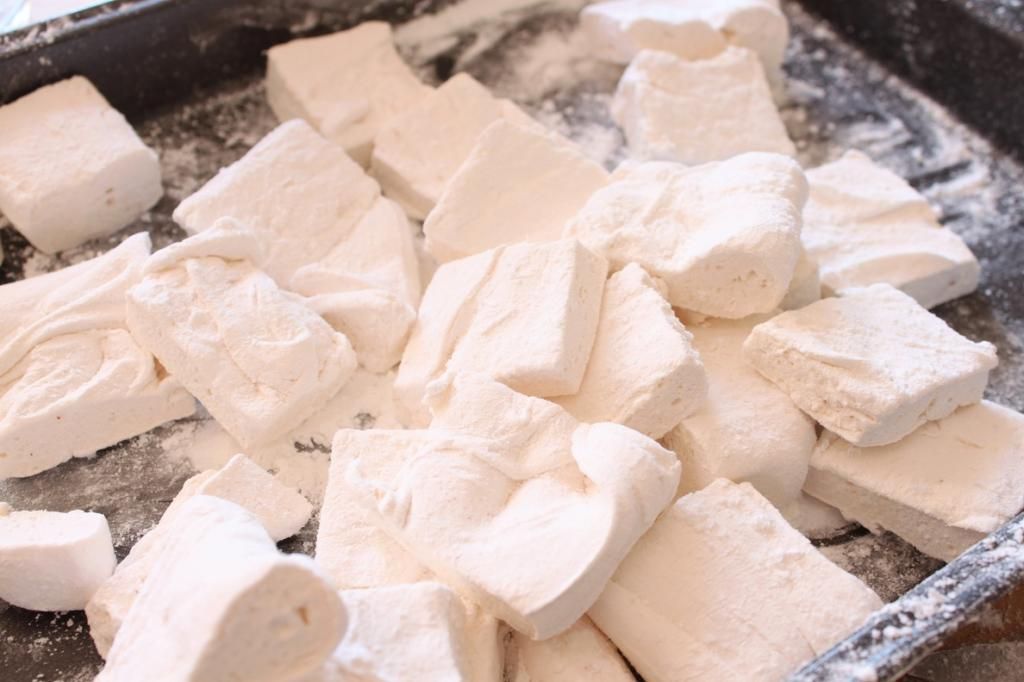
Cut the marshmallows into squares and dust the newly exposed sides with more dusting mixture. Store in airtight containers.

Australia Day - Dessert Nachos with Chipotle Marshmallows and Vegemite Salted Caramel

Tuesday, January 20, 2015

Easy Dinner - Chickpea Dutch Baby with Gin and Blood Orange Ratatouille


Easy Dinner - Chickpea Dutch Baby with Gin and Blood Orange Ratatouille

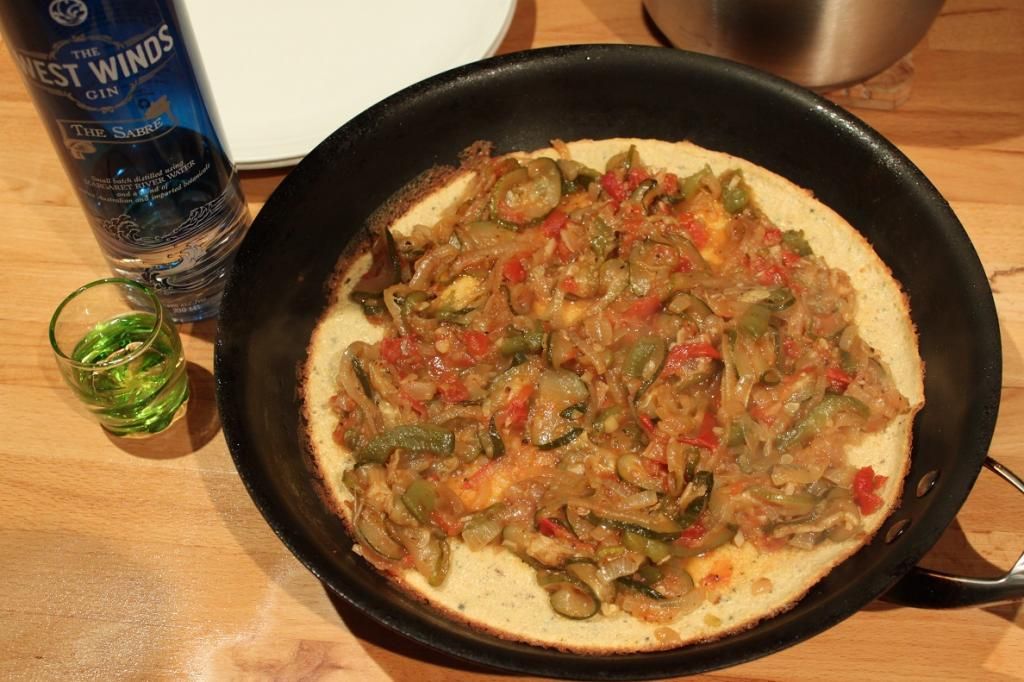
Have you ever had a dutch baby? It’s not the most common of dishes here in Perth, but I absolutely love them because of how versatile and easy they are. It’s essentially one large baked pancake. And like normal pancakes, you can flavour them up in any way you want. But unlike normal pancakes that require cooking in batches, this is all done in one go. That makes it one of my go-to dinner dishes for something quick after the gym. I’ll serve it with some form of vegetable concoction to go on top. It’s also one of my go-to breakfast/brunch dishes. It is a super quick dish to prep, and you can chuck it in the oven while you shower, or sitting and quietly having your morning coffee…and before you know it, you have deliciousness. If I’m making a savoury Dutch Baby, then I love making them with chick pea flour. Both for the added protein it adds, and more importantly, for the flavour profile it adds. Just by swapping out the flour, you add that specific slightly smokey, slightly nutty flavour that chickpeas have. It also makes it gluten free, if that’s an issue for you.

I didn’t get any meat out for dinner when I cooked this dish, so I thought I’d make a ratatouille to go with it. I always have tomatoes and zucchini in the house. Always. And, it has been pointed out to me that I cook with booze a lot. Which I did here. I added some gin and blood orange marmalade to add a little oomph.

If you want my favourite version of a chickpea dutch baby, you’ll need to grab a copy of the Recipes and Ramblings III cookbook. In it, it has the recipe for a Spicy Chickpea Dutch Baby with a Tomato Bacon Jam.
Easy Dinner - Chickpea Dutch Baby with Gin and Blood Orange RatatouilleEasy Dinner - Chickpea Dutch Baby with Gin and Blood Orange Ratatouille

Easy Dinner - Chickpea Dutch Baby with Gin and Blood Orange Ratatouille


Easy Dinner - Chickpea Dutch Baby with Gin and Blood Orange Ratatouille


Gin and Blood Orange Ratatouille

(serves 2)
1 tbsp olive oil
2 brown onions, thinly sliced
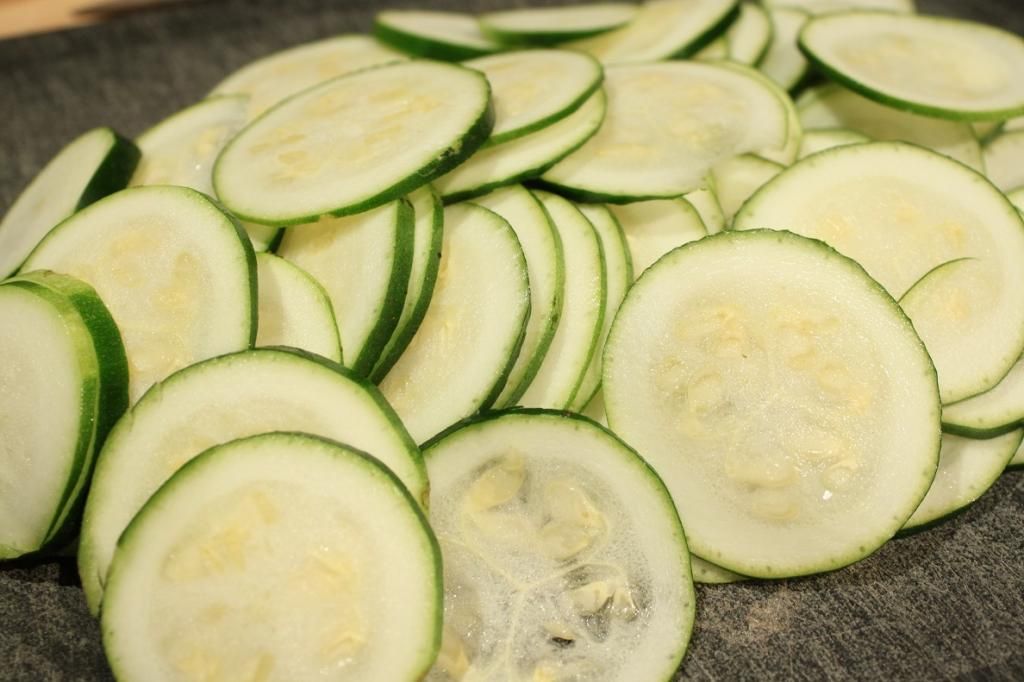
1 zucchini, thinly sliced
3 cloves garlic, crushed
2 tbsp blood orange marmalade
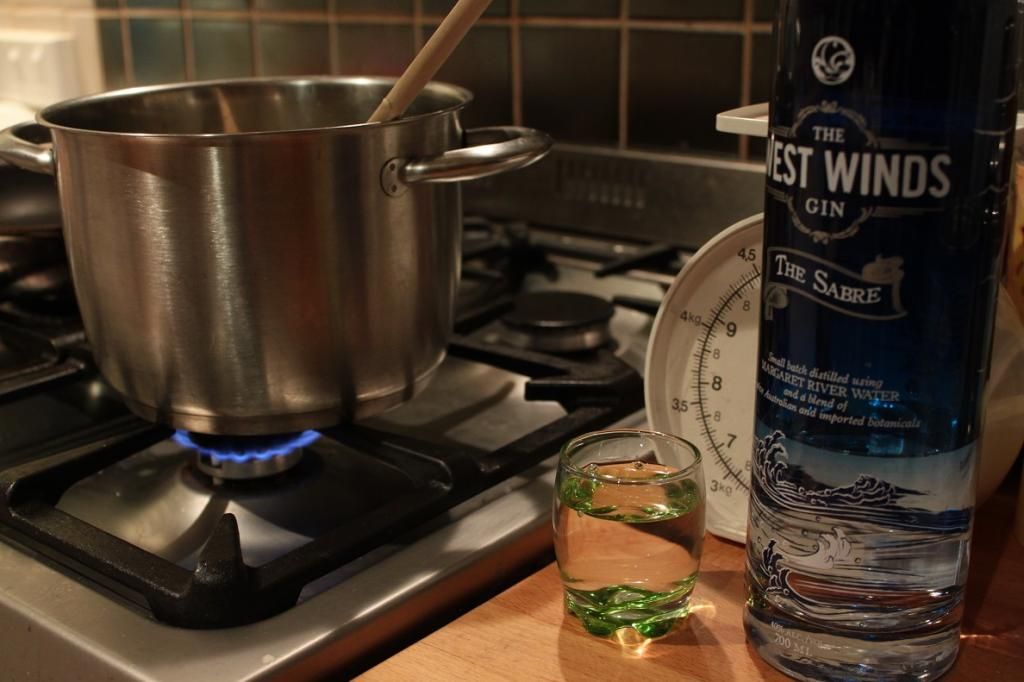
1 shot Gin (I like West Winds Sabre or Gin Mare flavours in this)
3 roma tomatoes, roughly chopped

1 roasted capsicum, roughly chopped
¼ tsp thyme leaves
½ tsp salt
Pepper

Chickpea Flour Dutch Baby

½ cup chickpea flour
¼ tsp salt
½ tsp pepper
½ cup milk (soured with ½ tsp lime juice)
2 eggs
1 tbsp butter.

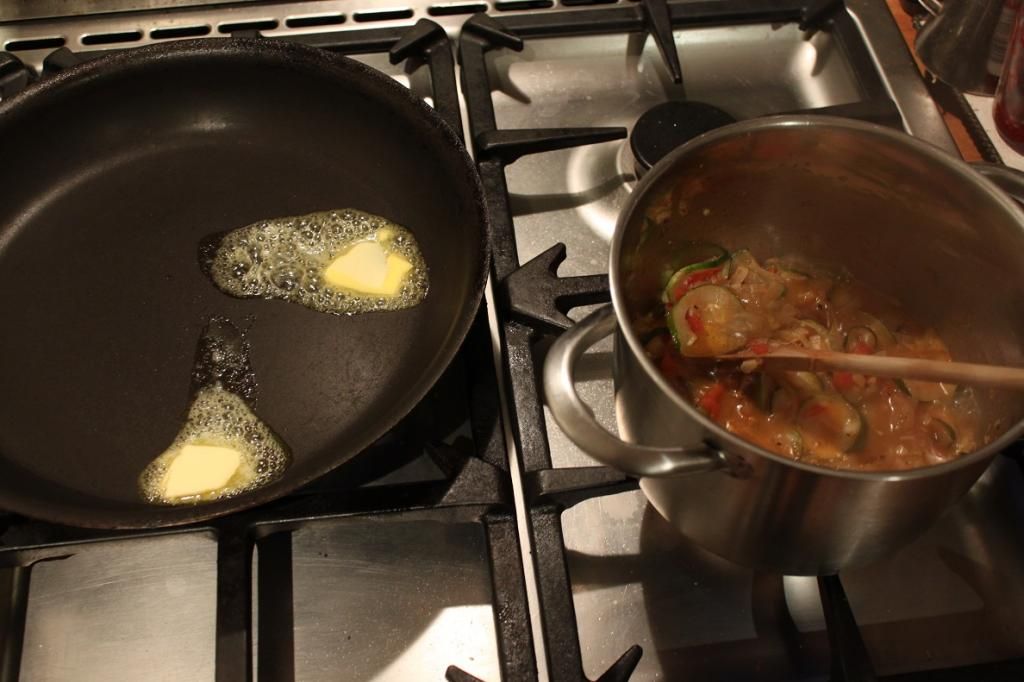
Warm the olive oil to medium in a pot. Add the onions and cook until translucent, but not coloured – around 5 minutes. Add the minced garlic and cook a further 2 minutes until that is translucent. Add the rest of the ingredients and reduce to a simmer and leave for half an hour or so until all the vegetables are soft and the flavours have intensified. About the time it takes to make the dutch baby!

Heat the oven to 180C

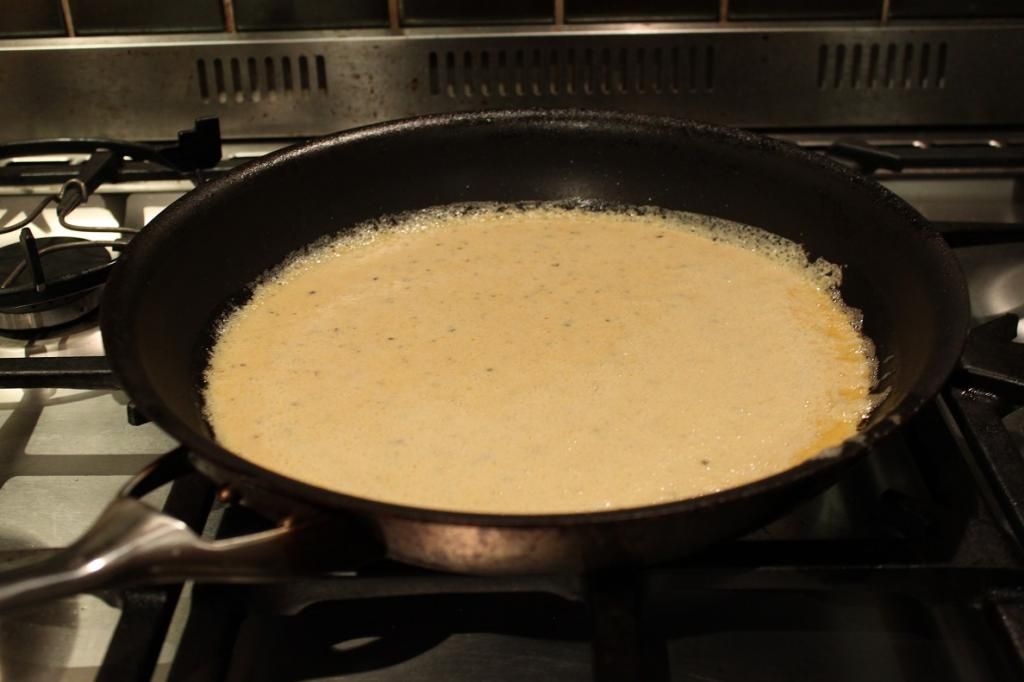
Heat a frypan that can go into the oven to a high heat. In a large bowl, whisk together the salt, pepper and chickpea flour. Beat the eggs until light and fluffy. Then beat in the soured milk. Pour the liquid into the dry ingredients and whisk until completely combined.

Add the butter to the pan and swirl to coat the whole bottom of the frypan. Carefully pour the pancake batter into the pan and tilt back and forth to coat the pan. Place in the oven.

Bake for 20-25 minutes or until the dutch baby puffs up and is golden.
 
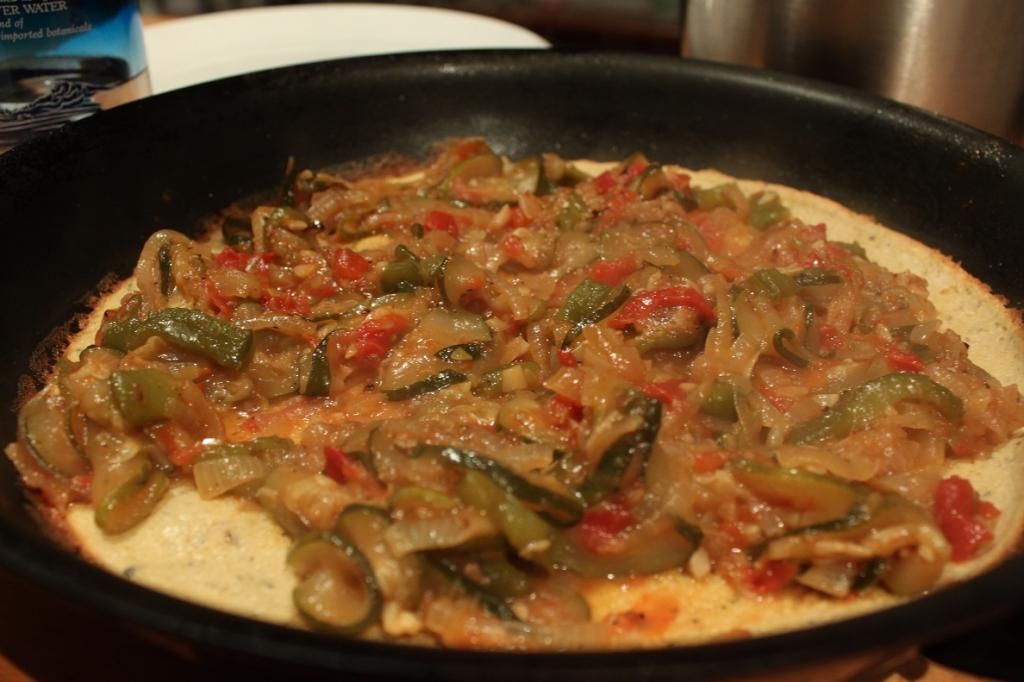
Remove from the oven carefully (the handle will be HOT. I have learnt this the hard way!). It will deflate once removed from the oven. Spoon over the ratatouille and a scoop of fresh ricotta or Greek Yoghurt

Easy Dinner - Chickpea Dutch Baby with Gin and Blood Orange Ratatouille