Sunday, September 1, 2013

Fathers' Day - Chocolate Beer Ice Cream


One of the funniest memories I have of my dad was from when I was in high school. As part of the Home Economics course, students used to occasionally sell their cooking to the teachers and staff at the high school. It used to raise money for the department and school, so my mum who worked in the high school library would often bring home various things they'd cooked. Generally, the food was pretty good.

One time, they did a proper fundraising drive and took orders for various individual sized pies by the dozen. Mum bought a dozen chicken, a dozen beef and a dozen apple pies that went into the freezer and as needed, would get taken out and heated in the oven. I came home late one night and felt like a chicken pie for dinner and going through the freezer, couldn't find any. Mum told me not to be ridiculous, they'd left one there for me. She came over to have a look and lo-and-behold, there was no chicken left, only apple. You could tell by the pastry shape cut and stuck to the top pie crust. Mum was completely flummoxed. Where had it gone? Which was when dad piped up, "I think I'm eating it."
"What do you mean, you're eating it? I just gave you dessert!"
"Yeah, it's a chicken pie."
"No, it's apple pie and ice cream."
"No. It's a chicken pie. With ice cream. I did think it was weird when you gave it to me."
"So why didn't you say something?"
"I don't know, it's good, so I ate it."

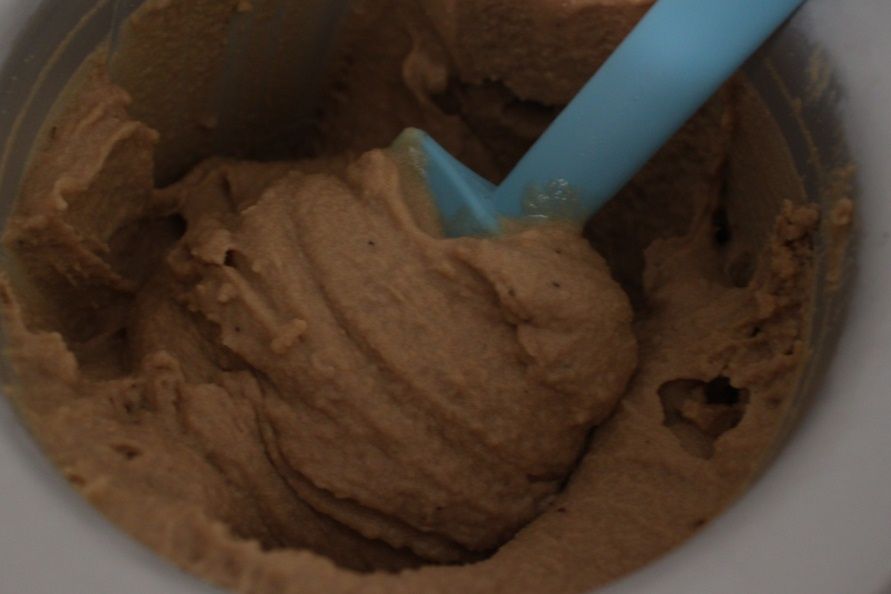
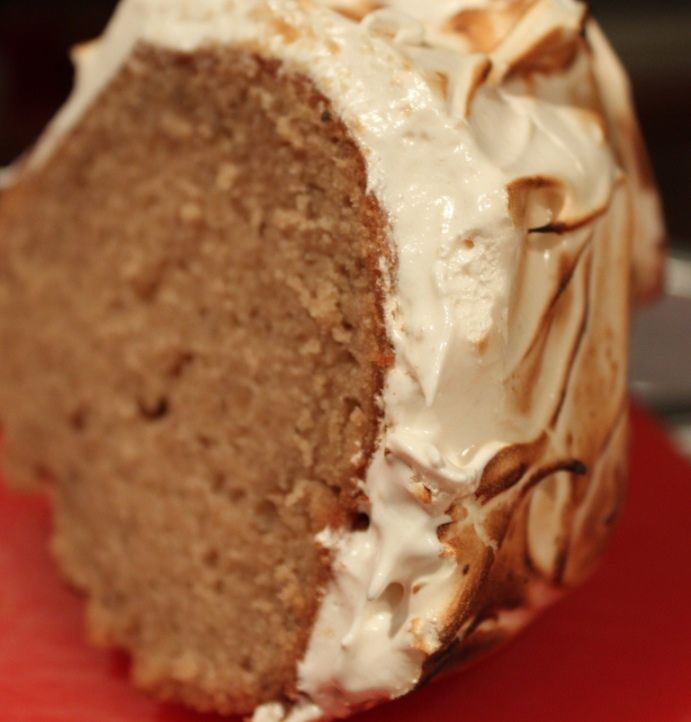
Now whenever I see chicken pies on a menu, I think of dad and his unusual dessert and can't help but laugh. So in honour of Fathers' Day, I'm making him this beer ice cream. I think it'll go better with chicken pies than vanilla ice cream! It's malty and rich and all sorts of delicious! Happy Fathers' Day!!


Chocolate Beer Ice Cream
adapted from here
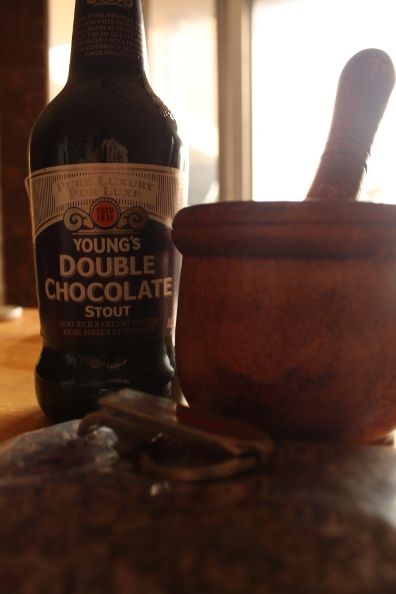
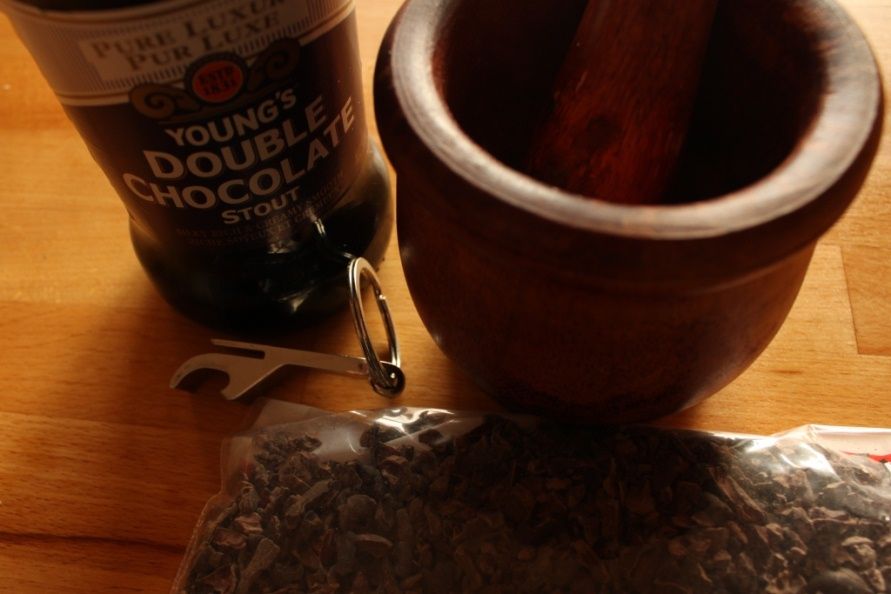
355mL chocolate stout
2 tsp vanilla extract
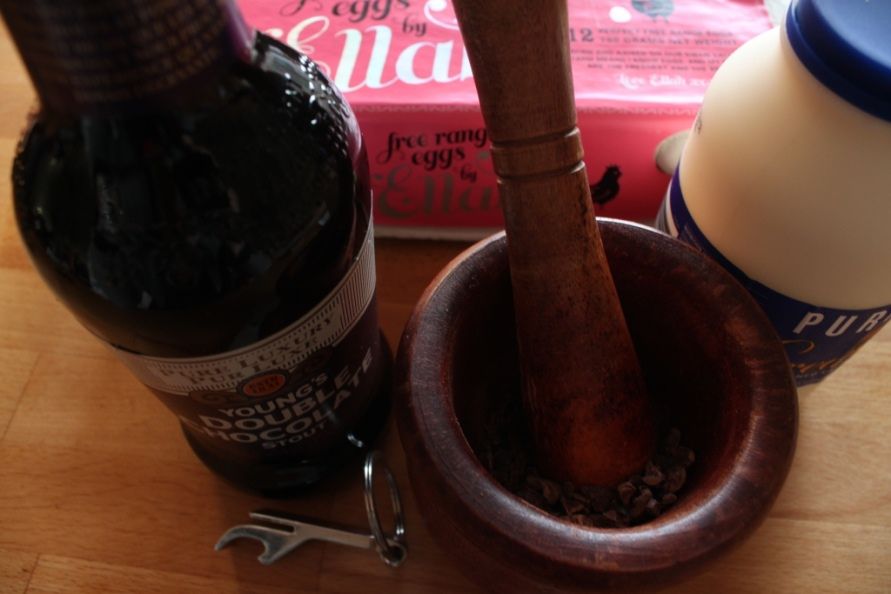
1 tbsp cacao nibs, lightly crushed in a mortar & pestle
3/4 cup white sugar
1/2 tsp salt
6 large egg yolks
2 cups thickened cream

Simmer 235mL of the chocolate stout in a frypan until it has reduced by half, set aside to cool slightly. Put the remaining beer, vanilla, cream and crushed cacao nibs in a bowl, stir to mix. Add the reduced beer and mix well.

Prepare an ice bath, and place a large bowl in it with a fine mesh sieve over this.

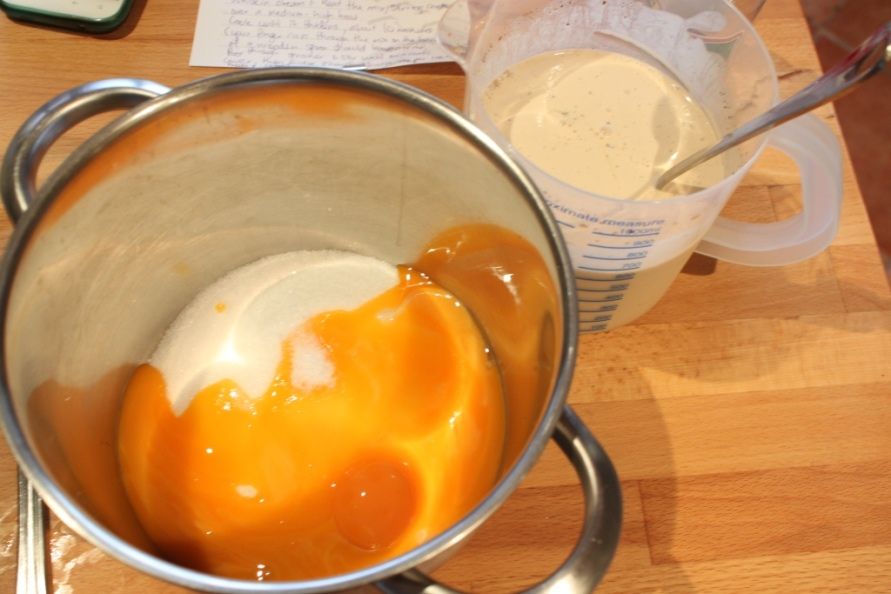
Whisk the sugar, salt and eggs in a large saucepan until smooth. Then whisk in the cream & beer mixture. Slowly heat the mixture to medium high, constantly stirring until the mixture thickens. About 10 minutes.

Pour the cooked mixture through the sieve into the bowl in the ice bath and stir constantly until the mixture cools. Cover with plastic wrap and refrigerate for 8 hours until cold.

Churn in ice cream maker as per manufacturer's instructions, then freeze again until firm. At least a few hours. I did mine overnight due to time restraints.

Wednesday, August 28, 2013

Red-sotto - Mushroom and Beetroot Buckwheat Risotto

My cousin told me off the other day for posting yummy stuff on my blog, instagram and facebook page and not inviting her over to eat it. So I organised a cousin's catch up to rectify that. Pretty much everything that I post are just the dishes I cook for my my husband and I day-to-day. We both love food, so I try to keep our daily meals interesting. However, when it comes time to cook for other people, I get quite anxious. I know what I like, I know what Lance likes...but what if other people don't like it? If a dish misses with the two of us, there's always grilled cheese as a back-up. You can't really do that with guests. So I get complete mental blanks when I have to decide what to cook for other people.

My two go-to styles of dishes for dinner parties are pastas and risottos. The main reason being that they're easy to cook enough to feed a large amount of people all at once. Because this dinner party was family, I thought instead of playing it safe and making a chicken and corn risotto or chicken and pumpkin risotto - two of my favourite delicious and generally inoffensive flavour combinations, I thought I'd be a little more adventurous and use beetroots to make this "red-sotto".


The first time I made this, I already had some roasted beetroots and leftover lamb from a weekend roast. I actually roasted extra beetroots after seeing a similar recipe on Potlicker and falling in love with the colour. Knowing I needed a red risotto in my life. I then stirred some shredded lamb through at the end for extra oomph. But it's delicious just as a vegetarian risotto. The beetroot really is the star here. But because the lamb/beet combo worked so well, I chose to serve it with lamb steaks on the side for my cousins. Then, because I was feeling playful, I crumbled sheep's milk fetta over the top. Lamb and sheep's milk - get it? Just like I used red onion and red wine to go with the red beets. I used buckwheat instead of arborio rice, which means it needs to cook a little bit longer and isn't quite as 'creamy', but on the positive side, you can pop the lid on and let it simmer away while you socialise.

It's a very rich, earthy dish, perfect for the current warm days and chilly nights. It also pairs beautifully with the reds we just re-stocked from my favourite winery in the entire world - Cape Naturaliste. The Cab-Sauv has a boldness that holds up to these strong flavours really well.


Note the stained pink fingers!


Mushroom and Beetroot Buckwheat Risotto
4-5 med red beets
splash balsamic vinegar
1/4 tsp caraway seeds
8-9 small field mushrooms
2 tbsp olive oil
2 cloves garlic, minced
1 large red onion, diced
1 tbsp finely chopped fresh rosemary
1 tbsp finely chopped fresh sage
1 cup buckwheat
1 cup water
3 cups vegetable stock
1 cup red wine
1 tbsp butter
sheep's fetta to serve

Preheat the oven to 175C. Trim the tops and tails of the beets, place in a roasting tray, splash with balsamic vinegar and caraway seeds, then cover tightly with foil. Roast until tender, about 45 minutes. Allow to cool.

Heat the oil in a suitable risotto pan, then add the onion, garlic and a pinch of salt. Cook until the onion is translucent, then add the herbs. Stir well until fragrant, then add the buckwheat and stir to coat each grain in the oil and onion mixture. Should take a few minutes.

Add the wine and cook while stirrying until the wine is absorbed.

Put the mushrooms in a food processor and pulse until roughly chopped, stir into the buckwheat mix.

Peel the beets and place in the food processor with 1 cup of water. Puree until mainly smooth. Stir this into the buckwheat mixture, cooking until the liquid is absorbed.

Your choice here is to then cook like a traditional risotto, adding a little stock at a time. Personally, I added all of the stock, covered with a lid and simmered it for 30 minutes untl the liquid was all absorbed. Opening here and there to stir and check that it had sufficient stock.

At the end, stir through 1 tbsp butter to make it all glossy and serve with the sheep's milk fetta. Also pictured here, lamb steaks and a dressed kale salad.

Wednesday, August 21, 2013

Comfort Food - Avocado Soup

Have I told you about "The Nanna Shop" before? I'm not sure, but it's very likely as I shop there all the time. It's actually called Cannington Fresh Markets, but my nanna used to live just down the road from there. Growing up, my siblings and I used to walk with her down to The Nanna Shop to buy her a newspaper and us some lollies. It's changed a lot over the years, it used to have a butcher and bakery inside the store but now it's just the one big shop. It has lots of good fresh produce, imported sauces, tinned goods, continental fare, cheese and smallgoods. Usually, if a recipe calls for a slightly left-of-centre ingredient, my first port of call to try find it is The Nanna Shop. Funnily, now my husband and his sister, along with various friends and even my work receptionist now refer to it as The Nanna Shop as well!

The main reason I shop there frequently is for the fruit and veg. And one of the best things they have a buckets of produce at the back of the store. If you can use it, these bulk buy buckets are excellent value. Especially for those things that are a little on the expensive side normally, like mangoes, mushrooms and avocadoes. Usually the produce in the buckets are slightly smaller than what is normally sold in the per kilo section, but is still excellent quality. As summer approaches, I always head straight to the back first, hoping that mango season has started. It's one of my signals that summer is on it's way.

One thing I always buy there is bags of avocadoes. Always. I love avocadoes. Occasionally, I end up with too many and the two of us can't finish them before they've gone a little too soft. Which is where this soup came in. Creamy and subtle and oh-so-easy, this is a great vegetarian soup by itself, or as served here, awesome with the chipotle chicken as an extra kicker. Especially in this got-cold-again weather. And it would be remiss of me to not mention that crispy bacon would then make it a Vegetarian Recipe Improved By Bacon.

The wine in the last photo is from Darlington Estate. I highly recommend you eat there at some point. Awesome food.


Chipotle Chicken
2 chicken thighs
1/4 cup chipotle sauce
1 tbsp rice bran oil

Avocado Soup
adapted from here
1 tbsp rice bran oil
1 onion, finely chopped
1 garlic clove, minced
5 cups vegetable stock
3-4 small ripe avocadoes
2 stalks silverbeet, centre white bit removed and shredded.
Handful coriander leaves for garnish
2 jalapenos, sliced, for garnish

Pour the chipotle sauce over the chicken thighs and allow to marinade for 20 minutes or so. Heat the oil in a frypan, BBQ or grill and cook the thighs until done, about 5 minutes per side. Set aside, but keep warm.

Heat the second lot of oil in a pot over a medium heat. Add the onion and cook until translucent. Add the garlic and cook another few minutes until very fragrant.

Add the stock and bring to the boil. Reduce heat to low, add the silverbeet and simmer for 5 minutes. Take off the heat.

Add the avocado and blend the whole thing with a stick blender until smooth. Return to a low heat and simmer for 5 minutes, or until warmed through.

Slice chicken, then put in the bottom of the serving bowls and pour the soup over the top. Garnish with jalapenos and coriander.

Serve with corn chips, if desired.


Wednesday, August 14, 2013

Obsession - Pretzel Rolls


Pretzel Rolls. If you are like me and love nothing more than sitting down to freshly baked bread, still warm from the oven , smeared with butter - then these two words are going to change your life. One of the sponsors of the Sweet Escape retreat was LaBriola bakery, and they gave Alejandra (and hence us) a whole bunch of pretzel rolls. And they were good. Addictively good. Can't eat just one good. When I got home, I immediately googled recipes for pretzel rolls, needing them in my life. I've made these twice now and love them. They're not quite as good as the La Briola ones, but they are definitely an adequate at-home substitute! Both batches were gobbled up by my guests pretty quickly, so that's a fairly good indication of yumminess.

The first time I made them, I made the dough in a stand mixer that is woefully poor at actually mixing more than the small centre of the bowl where the blade sits and had to knead the rest in by hand. I can't wait til I finally get around to saving enough for a KitchenAid! The second time I made them, I used a breadmaker to mix the dough. This method worked well, but the dough ended up a bit sticky, so I needed hand-knead in some extra flour. Until I get my KitchenAid, I will be sticking with the breadmaker method, and checking earlier on to see if the dough is sticky. If you have a good stand mixer, then that will work.

As I said, these are perfect with just some butter, but also great as slider buns. Let's face it - any time you need a bun these are perfect. I realised I forgot to take a photo of them sliced up with said butter or fillings - but I was too busy eating them. Maybe next time, I'll pop it on instagram


Pretzel Rolls
adapted from here

1 1/2 cups warm water (as hot as your tap gets)
1 tbsp dry yeast
2 tsp sugar
4 1/2 cups plain flour
1 tsp salt
4 tbsp melted butter
1 beaten egg for glazing

Poaching:
8 cups water
1/4 cup bicarb soda

Start by melting the butter, and setting aside to cool slightly.

Pour the warm water, sugar and yeast into the bowl of the breadmaker, stirring together. Leave it to sit for about 10 minutes until it's foamy.

Add the flour, salt and butter, then set the breadmaker on the dough setting. Watch as it comes together, and once it's all combined (about 10 minutes into kneading for mine), gently and safely touch the dough to see if it's 'sticky' to the touch. If it is, add a tbsp of flour at a time until it's not sticky. I added an extra 4 tbsp to mine.

Once the dough is a good consistency, leave the dough setting to finish and it will do it's first rise in the bowl of the machine.

For standmixer, follow the breadmaker instructions as above up until the rise - it'll need around 5-10 minutes of kneading time. Then cover bowl with plastic wrap and place in a warm position for 1-2 hours until doubled in size.

Lightly flour your work surface and drop the ball of rised dough out onto it. Knead lightly into a flatter disc and cut into 16 equal pieces for slider sized buns. Take each piece and roll around in both hands, so you have a smooth ball. Place on a baking sheet lined with baking paper. Repear with all the pieces of dough, leaving room on the tray for them to rise again. Place in a warm spot 30mins to an hour. They won't quite double again, but will look puffier.

Now it's time to prepare for baking! Preheat oven to 225C. Place the water and bicarb soda into a large pot and bring to a simmer. Beat the egg for the glaze.

Carefully slide each roll "flat" side down into the poaching water, let it sit for 30 seconds, flip it over and let it sit "round" side in the water for another 30 seconds. Flip it back over and fish it out with a slotted spoon and pop it back on the baking sheet, flat side down.

Brush each poached roll with the egg wash and slash a deepish line across the middle with a knife (if desired, you can sprinkle salt on top, too).

Bake the rolls in the oven for 15-20 minutes, rotating trays half-way through, so the rolls are an even golden brown and sound hollow when you tap the base. Allow to cool slightly before eating. Best served warm!


Friday, August 9, 2013

Entertaining - 30 Sucks Party

I had all sorts of good intentions of cooking something awesome this week AND taking proper photos of it. I really, really want to get better at doing that and stop using phone photos. But I also want to maintain a vaguely weekly post on this blog. Seeing as this whole week has been a blur of after work activity, full of bottom-of-the-fridge soup, baked beans and toasted cheese sandwiches - no real cooking for real photos eventuated. So I thought I'd do a post on a party my husband and I threw. We absolutely love entertaining and having people over, so I thought I'd add a few posts of our past parties to maybe inspire you when I don't have any recipe photos lined up. I thought I'd start with a party we threw for a friend almost exactly a year ago. Maybe you can use some of the details in a party of your own!


Last year, a whole bunch of my usual crew turned 30. And all over pinterest were photos of "30 Sucks" lollipop bouquets. Seriously, how did it know? Did the whole world turn 30 last year?? Seeing this, and having had many a Buffy conversation over the years with the birthday boy - the theme was born...30 Sucks. Double-meaninged "sucks". Perfect, right? Theme chosen, we got to work.


Front of the invitation
And when you open it up...
We were lucky enough that after the theme was picked, the party supply shop down the road were having a chuck-out sale of all their old Halloween stuff, in preparation for new stock. We were able to turn our games room into a haunted castle without a huge expense. I then made blood-rimmed wine glasses and little coffin treat boxes (complete with lollipop 'skeleton'). I also made jelly worms and labelled reddish juices as various blood types to go with the usual party fare.


We played vampire themed versions of normal kids party games. I love playing games at parties - even as an adult. I don't think it's nearly encouraged enough, except for at Kitchen Teas! Our games were "Pin the Bite Mark to the Victim", "Suck it til it Fits", "Pass the Suspicious Looking Parcel" and a version of musical statues, using horror poses as the "freeze".


A friend who couldn't make it came as a staked vampire!

And when it was time to make the cake, I went to my favourite go-to cupcakes - red velvet. Delicious and the colours suited the theme.


If you want any more details about any of this party, send me an email!

Tuesday, July 30, 2013

You Only Get One - Mexican Hot Chocolate Snickerdoodles

These are my husband's favourite biscuits. We both love the choc/chilli combination, so when I came across this recipe a few year's back on MlovesM blog, I gave it a go almost immediately. From first bite, my husband was obsessed. I've told you before that he takes biscuits to work for lunch - well, this is the biscuit that started it. He would call me from work and claim I hadn't given him any, because he'd eaten them all before lunch time. He would tell everyone that would listen that these were the most amazing biscuit in the entire world, that you'd have one and just constantly want more. That he was torn, between wanting the wholed world to taste them, but wanting to keep them all for himself. So he came up with a compromise - you only get one.

Just before he'd give someone one of these biscuits he'd tell them he was going to give them the best biscuit ever, but you only get one. You will only ever get one. And that's all they ever got. So, if you want more than that, you'd best make them yourself.

These are best baked just until cracking point, that way when they cool, they are slightly fudgy on the inside and crisp on the outside. My husband told me to point out that these biscuits are also one of the few he's ever eaten that are best eaten cold, not warm from the oven. This last batch I made with spelt flour, to increase the nutritional value. I haven't used spelt much before, but have read that you need to be a bit more careful with it, so when mixing the wet and dry, do it gently and stop as soon as it's completely mixed. Taste, texture and cooking-wise, they were identical.

As a disclaimer, I don't necessarily think these are the *best* biscuit in the entire world, but they are in my husband's world and they are pretty delicious!


Mexican Hot Chocolate Snickerdoodles
(makes about 24)
1 and 2/3 cups spelt flour
1/2 cup cocoa powder (I use Cadbury Bournville Cocoa)
1 tsp bicarb soda
1/2 tsp cinnamon
1/2 tsp cayenne pepper
1/4 tsp salt
1/2 cup grapeseed (or other neutral) oil
1 cup white sugar
1/4 cup pure maple sugar
3 tbsp milk
2 tsp vanilla

Sugar coating
1/3 cup white sugar
1 tsp cinnamon

Preheat oven to 170C

Whisk together flour, cocoa powder, bicarb soda, cinnamon, cayenne and salt.

In another bowl, whisk together oil, sugar, maple syrup, milk and vanilla. Pour this mixture into the dry ingredients, stirring gently with a wooden spoon until just combined.

In a small plastic container or jar with a lid, combine the cinnamon and sugar and shake to combine. Your biscuits will be dunked in this, so if you can't use it straight from the container, spread it back out in a shallow dish. I always have a container of cinnamon sugar ready for making these snickerdoodles!

Roll dough into small balls, then gently flatten into discs around the size of the biscuits you want. Gently push one side of the disc into sugar coating. Then place sugar side up onto lined baking trays. They spread a little, so give them room.

Bake until the cookies have spread and are crackly on top, around 9-12 minutes. Cool, then eat!


These also make amazing ice cream sandwiches!

Thursday, July 25, 2013

Inventing - Chick Pea Pancakes


Have you ever had that amazing feeling of thinking of something awesome for the first time? You feel like you've made this immense world-changing discovery because for you, it wasn't there, then you thought of it and it was. I've gotten it a few times in my lifetime. Sometimes for almost child-like discoveries of working out how something works without being shown. Sometimes for thinking of a novel way of using an ordinary household item. And sometimes for inventing recipes that blow my mind.

I know the I wouldn't be the first person to make these. I know that they possibly even exist as a traditional dish that's been around for generations. I also know that I invented them. In my world, anyway. In a food-related email discussion (I have a lot of those. A lot), we were talking about chick pea fritters and their awesomeness when I had a lightbulb moment. Chick pea pancakes. Savoury pancakes are already awesome, how about I make them with chick pea flour? I already had a Moroccan stew in the slow cooker that was requiring some form of side when I got home. What would be better than chick pea pancakes to dip in the saucy deliciousness? Armed with just this thought and an off-by-heart pancake recipe (more pikelet than crepe). I thought I would try it for the first time almost identically, minus sugar. I ramped up the baking powder and bicarb to ensure fluffiness with the new flour and voila. They were good. Really good.

This is pretty much going to be my go-to 'bread' recipe for all Middle Eastern and Indian dishes I make from now on, I'd say. My husband says they are like a cross between a pappadum and a paratha. So whilst it's probably not a new dish out there in the big wide world - I invented these. 100% from idea to finished product. And I'm pretty darned proud!


Chick Pea Pancakes
serves 4 as a side
1 cup chick pea flour
1 tsp baking powder
1 tsp bicarb
1/4 tsp salt
1 large egg, lightly beaten
1/2  cup water
1 tbsp butter (I actually use olive oil spread)
More butter/spread for frying

Whisk chick pea flour, baking powder, bicarb and salt together to fully combine.

Make a well in the middle of the dry ingredients and add the egg and water, whisk until a smooth batter is obtained.

Melt the butter in a fry pan on a low heat. Pour this into the batter whilst whisking and make sure it is fully incorporated.

Put the pan back on the heat and a minute or so later, pour the batter into the pan for making pancakes to your desired size. The first time I made big ones, the next time I made pikelet size ones.

Fry until bubbles start forming on the surface, around 3 minutes. Then flip over and cook for another 1-2 minutes or lightly golden on the other side.

Store on a plate in a really low oven to stay warm as you repeat the process until all cooked.

Sunday, July 21, 2013

Joining Bloglovin

So, a reader requested that I join bloglovin so she could keep up-to-date with my posts now that google reader doesn't work. I'm so not with it, in the world of social media these days! But I will, so that people who want to can keep seeing and reading my blog. Apparently that means adding this line, to show that I am me!

<a href="http://www.bloglovin.com/blog/9942659/?claim=n7twjrqhdxx">Follow my blog with Bloglovin</a>

I hope this helps everyone :)

Jenn xx

Summer dreaming - the Lychaloechee


When I got up this morning, there was ice on my windscreen and a bitter chill in the air. It was minus 0.6C. Two weeks ago, I was enjoying days in the low 30's. Now, well, now it's cold. Meanwhile, my newsfeeds on blogger and pinterest and instagram are full of fruity cocktails and balmy summer nights. So whilst I don't have the fresh watermelon or mango or berries to whip up a delicious summer cocktail, I thought I would console myself a little bit with the first cocktail I ever created - the Lychaloechee.

Being in New York, I really took to all the readily available and amazing Latin restaurants about. We don't have a great deal of Latin cuisine in Perth, although there was somewhat of a Mexican food revolution of late which I heartily support! But something we do have lots of here due to our proximity is good Asian food and good Asian grocers. One of my favourite things to have discovered back in my uni days was Aloe Vera juice. This is now readily available in most supermarkets. It's a sweet, still juice with little floaty bits of goodness in it. I usually get the plain one, but it also comes flavoured or sweetened with honey.

When my husband and I first moved in together, I introduced him to one of my favourite summer fruits - the lychee. Seriously love those little fellas! The texture and sweetness and flavour is just sensational. And in turn, he excitedly brought home a present a short time later - a bottle of Paraiso lychee liqueur. I sampled it by itself and immediately knew what it needed. It's like I could already taste it - aloe juice. I was making a margarita pie at the time, so I had an abundance of limes which would make the perfect kick through the sweetness.

I've experimented with different versions of this, adding a white rum to ramp up to booziness (the liqueur is weak in strength, strong in flavour) or soda water for a bit of spritzy freshness, but I always go back to the original. The tropical lychee and aloe flavour combination is remiscent of summer, and in this presentation, drinkable in winter!

So tonight, I sit in front of the heater, ugg boots on, and sip my Lychaloechee and dream of the balmy nights ahead! Cheers!


Lychaloechee
1 part Paraiso (or other lychee liqueur)
5 parts aloe vera juice
wheel of lime

Pour the Paraiso and aloe vera juice into a high ball glass, stir well to mix
Lightly squeeze the lime wheels into the glass, then drop in as a garnish


Sunday, May 26, 2013

One Dish, Two Ways - Italian Potato Salad/Italian Potato Bake

My cousin is about to head off on a European adventure, and seeing as she will be away for her birthday, she decided to have a bit of a get together before she went. I offered to bring a dish and was told maybe a potato salad. The rest of the food being served was going to be Italian, which got me thinking. Italian Potato Salad? Does such a thing exist? I've never eaten a potato salad made with Italian flavours - sounds like experiment time!

I guess I should say up front, that I've never been the hugest fan of potato salad. I think because a lot that I've eaten have had a really strong, overly 'mayonnaise-y' ness to them, and not a lot of content beyond boiled potatoes and peas. And boiled potatoes are one of the blandest foods in the world. I like to pimp mine out a bit more. 

The previous night I had fried up some hot salami with slices of garlic for a different dish and thought that was the perfect start for Italian Potato Salad. I didn't have enough potato to make a salad large enough to share, so I added some sweet potato to the mix. And I had an abundance of red capsicums, so I roasted up a few to add a lovely sweetness and new texture to the mix. The sauce was made simply with greek yoghurt, dried oregano, sun dried tomatoes and seeded mustard. The result was pretty darn impressive. Something I would eat a whole plate of as a meal.

Unfortunately (but luckily for me), it was forgotten in the fridge at the party, and I got to take it home with me. Being a cold night, and my husband hoping for a hot dinner asked - could it be heated? Well...yes. The sauce is just greek yoghurt. I don't see why not! I poured the whole thing into an oven dish, added some thinly sliced Provolone cheese and baked it for 20 minutes until warmed through and the cheese was golden. Heaven!

So here's a dinner perfect two ways - Italian Potato Salad and Italian Potato Bake. (I forgot to take photos of it until it was out of the oven. Sorry!)


Italian Potato Salad/Bake
6 baby potatoes, quartered
2 small sweet potatoes, cut to similar size
2 small red capsicum
half hot salami sausage, thinly diced
2 large cloves garlic, sliced
300g Greek Yoghurt
1/2 teaspoon dried oregano
1/2 teaspoon smoked paprika
5 sun-dried tomatoes
2 teaspoons whole-seed mustard

Put the potatoes into a pot of water and bring to the boil. Once boiling, add the sweet potato. When potatoes are tender, but not completely soft, strain out water and rinse with cold water to stop cooking. Store in fresh cold water until ready to assemble.

Meanwhile, roast the capsicums in a hot oven until the skin starts blistering. Place in a bowl and cover with plastic wrap to sweat a few minutes so you can peel the skin off. Discard innards and slice into strips. Set aside to cool.

Fry the salami in a medium hot pan, once starting to crispen and release oils, add the garlic slices and cook until everything is toasty. Drain really well on paper towels.

To make the sauce, blend the greek yoghurt, oregano, paprika and sundried tomatoes in a food processor or blender until well mixed and the tomatoes are chopped. Add the mustard and pulse a few times to distribute.

Combine all of the ingredients and add the sauce a bit at a time to ensure it's not too saucy. I ended up with too much sauce. Serve as potato salad.

To make the bake:
Heat oven to 180c
Pour potato salad into a casserole dish, add Provolone slices or thinly sliced/grated cheese of choice over the top and bake for 20 minutes or so until cheese is toasty and the sauce bubbles slightly add the edges.

This photo is of it served to the rear with a super-quick seafood marinara pasta I cooked while the potato salad became a potato bake!

Monday, May 20, 2013

Mothers' Day Celebration Cake - Gâteau de Bayou with Toasty Salted Caramel Meringue


On top of forgetting to write down recipes I concoct for repeat cooking, I also have a huge stash of 'one day' recipes. These usually fall into two categories; difficult or time consuming to make - such as the slow cooked Puerco Pibil I discussed here. And cakes. Because when there's only two of us at home, we don't ever really need a whole cake. And I don't really want to be that person who constantly brings cake to work, so I usually limit my baking exploits to biscuits that my husband can take to work. But my brother, husband and I were putting on a late lunch/early dinner (linner!) for Mothers' Day a few weekends back. What more perfect reason to go through my 'one day' cake recipes?

This recipe I 'filed' away by copying the link and saving it in an email draft in 2011. Almost 2 years later (and after having received a creme brulee torch as a gift), it was time to bring it out. This was one of the birthday cakes on Oprah's 10th Birthday Season special and it appeals to two of my favourite sweet flavours - ginger and salted caramel. I made the cake Saturday afternoon and then the meringue the next day. And it was a huge hit. Visually, it's impressive, but tastewise it is too! The sweet of the meringue balances out against the spice of the ginger perfectly. But to be honest, the cake was at it's best for morning tea on Monday. I'm not sure if it was legitimately because the flavours develop more, or I hadn't stuffed myself full of food already, or because cake makes my work day better, or a combination of all of them. Either way, stored in an airtight container, it definitely stayed moist and delicious for a few days.

As with a lot of American recipes, I've had to make some substitutions due to lack of availability in Perth, but apart from that, it's just the recipe found on Oprah's site


Gâteau de Bayou with Toasty Salted Caramel Meringue
2 tbsp fresh grated ginger
3 3/4 cups plain flour
1 tbsp baking soda
2 tsp salt
1 tsp ground cinnamon
1 tsp freshly ground black pepper
1 2/3 cup maple syrup
1 1/3 cups rice bran oil
1 1/4 cups brown sugar
3 large eggs
2 tsp Tabasco sauce

4 large egg whites, at room temperature
1 tsp salt
1 cup sugar
1/2 cup light corn syrup

To make cake
Combine ginger and 1 1/3 cups of water in a small saucepan. Bring to a boil over medium-high heat. Remove from heat and let stand for 5 minutes for the ginger to infuse. Set a sieve over a bowl and strain, pressuing the pulp with a spoon to get all the liquid out. Discard the pulp and let the ginger water cool.

Preheat oven to 170C. Grease a 10 inch Bundt pan with butter. Dust with a few tbsp plain flour, tapping out the excess.

Whisk together 3 3/4 cups flour, baking soda, salt, cinnamon and pepper in a bowl.

Combine 1 1/3 cups maple syrup, oil, brown sugar and ginger water in another bowl. Whisk until blended. Whisk in eggs, one at a time, and then the hot sauce. Add flour mixture and beat together with a hand mixer on low until it's smooth. Pour into the Bundt pan.

Bake 50-55 minutes of until a toothpick comes out clean. Cool in the pan for 10 minutes, then unmold onto a cake rack. Poke holes into the cake with a long wooden skewer and brush the warm cake with the remaining 1/3 cup of maple syrup. Let cool.

To make meringue
It's best if you have a stand mixer - I don't, so this is sort of a two-person job.

Using a hand beater with whisk attachment, beat egg whites, salt and 1/4 cup sugar on medium high until soft peaks form.

Combine remaining 3/4 cup sugar and 1/3 cup water in small saucepan. Bring to a boil over medium-high heat, swirling pan occasionally to dissolve sugar. Cook until syrup is dark amber - about 10 minutes. Stir in corn syrup, mixture will bubble. Cook, without stirring, until the syrup is 240F on a candy thermometer.

Two people part! One person holds the bowl and beats the egg white mixture on low speed. Second person pours the caramel into egg white mixture in a thin stream. Don't let syrup touch whisk. Once all incorporated, increase speed and beat until thick enough to spread. About 2 minutes. While meringue is still warm, spread over cake with a large spatula, making peaks and swirls. With a creme brulee torch, brown the meringue.

Serve at room temperature.