
Sometimes, you
have multiple things to celebrate in a short space of time. Like having an
award winning Chocolate Beer Jam. Or having it confirm that your recipe will be
included in a cookbook. Or having a birthday. And all of those things
individually might require a toast…but together, they definitely do. And
sometimes, you somehow are left with a half bottle of bubbles when such an
occasion arises. I am a little funny about drinking bubbles after the day I
open them. Even though we have an incredible re-corking stopper, it’s just
something I don’t enjoy as much after the fact. And so I was left with a little
champagne (in reality, sparkling wine, but I’m gonna be fancy and call it
champagne) that I couldn’t bear to waste. Well, cooking with it seems like the
best use!
I’d seen (and
eaten) quite a few champagne cupcakes in the last few months. Seems like quite
the trend in Perth at the moment! But I wanted dinner, not cupcakes!
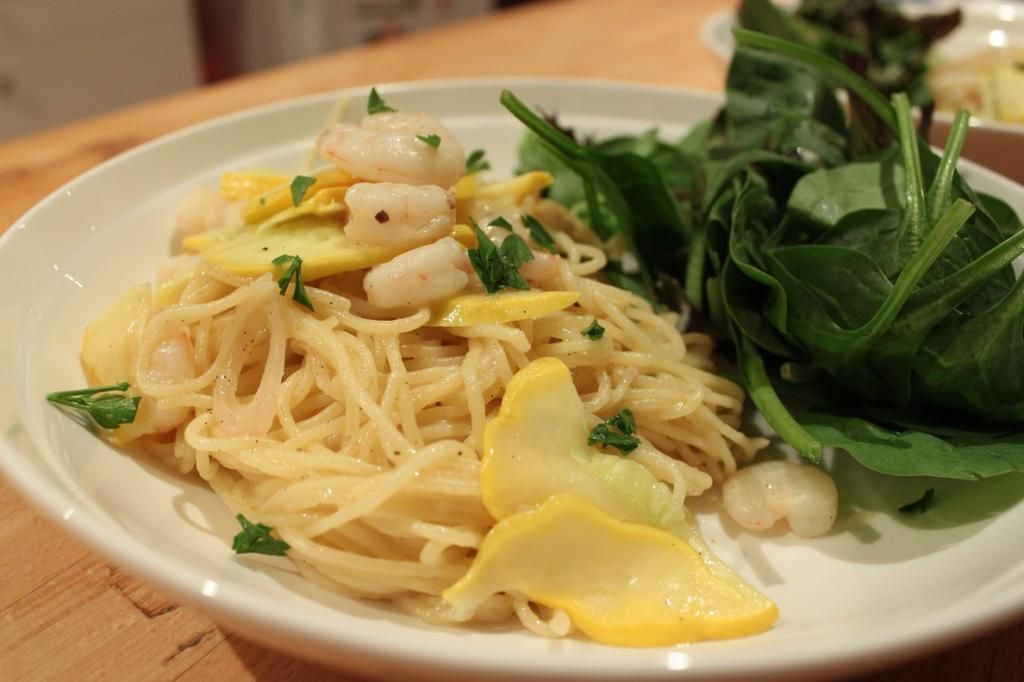
My next
thought went to my gin and crab pasta, and then to the good deal of seafood
pastas with vodka sauces over the years and thought that a seafood pasta sauce
was definitely the go. But, I wanted the flavour of the champagne to shine
through. It’s not as strong a flavour as the gin, so I didn’t want a thick
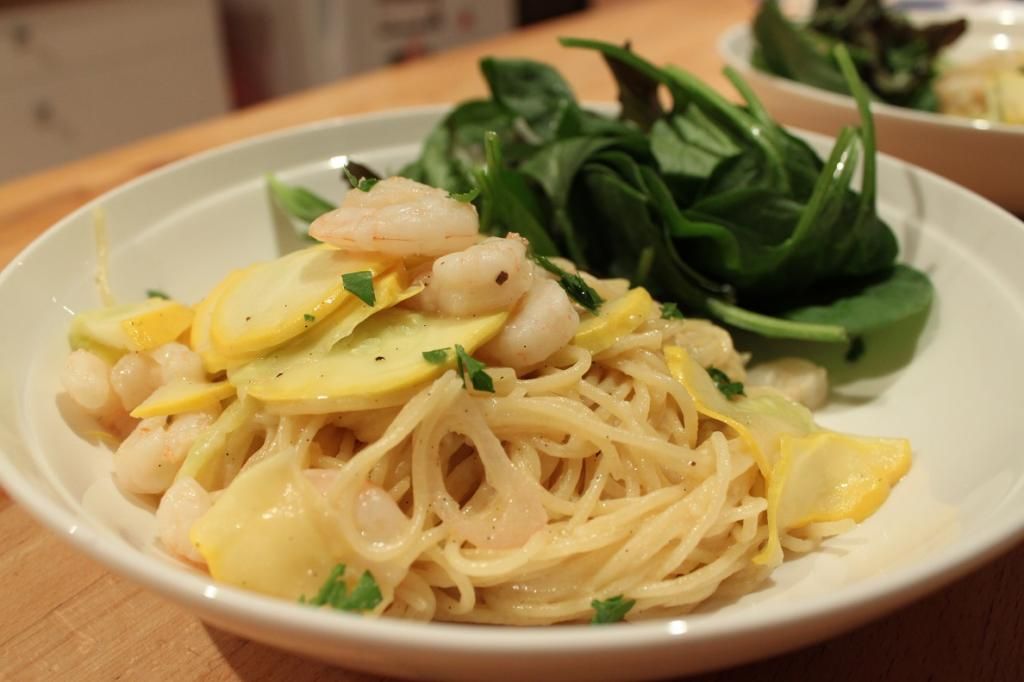
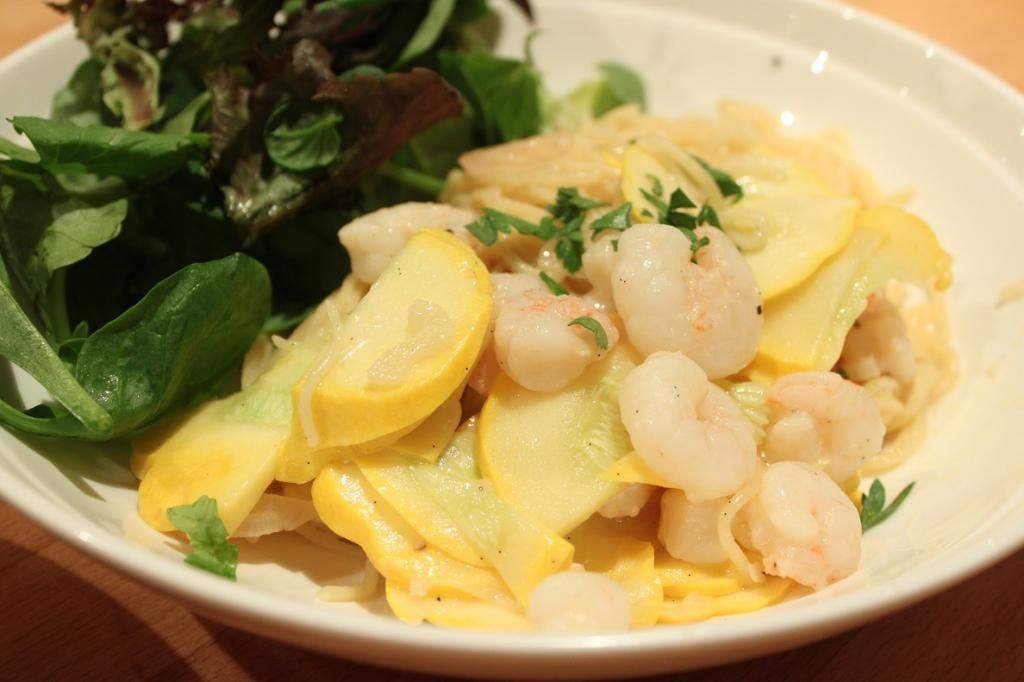
creamy sauce, so I went with a buttery base. I added some delicious Shark Bay
Prawns, and some finely sliced yellow squash for a mellow, summery addition.
All complimentary, but subtle flavours. And here’s the kicker. Vanilla. Adding
a vanilla bean to the reducing champagne takes this from tasty to next level
delicious. It adds a sweetness that you can’t quite put your finger on, but
you’d immediately notice it’s absence. Trust me on this. Then you’ll probably
want to open another bottle of bubbles to drink with the dish. And you might
end up with a little leftover…
This is a very
simple dish with very few ingredients, so it pays for them to be good quality.
I recommend using fresh spaghetti if you can, and although my champagne was day
old, it was still good champagne. You can use anything you would ordinarily
drink. It doesn’t have to be expensive, but given the scope of sweetness and
dryness you get in sparklings, make it something you enjoy drinking.
Oh, and the
last note I will add is that this dish comes together really quickly once you
start cooking. I’d say it’s maybe a 15 minute meal. So prep all your
ingredients first, get your pasta water boiling (especially if you have dried
pasta) and then begin cooking. I used salted butter as that’s what I had, so I
needed less salt than you will if you use unsalted.
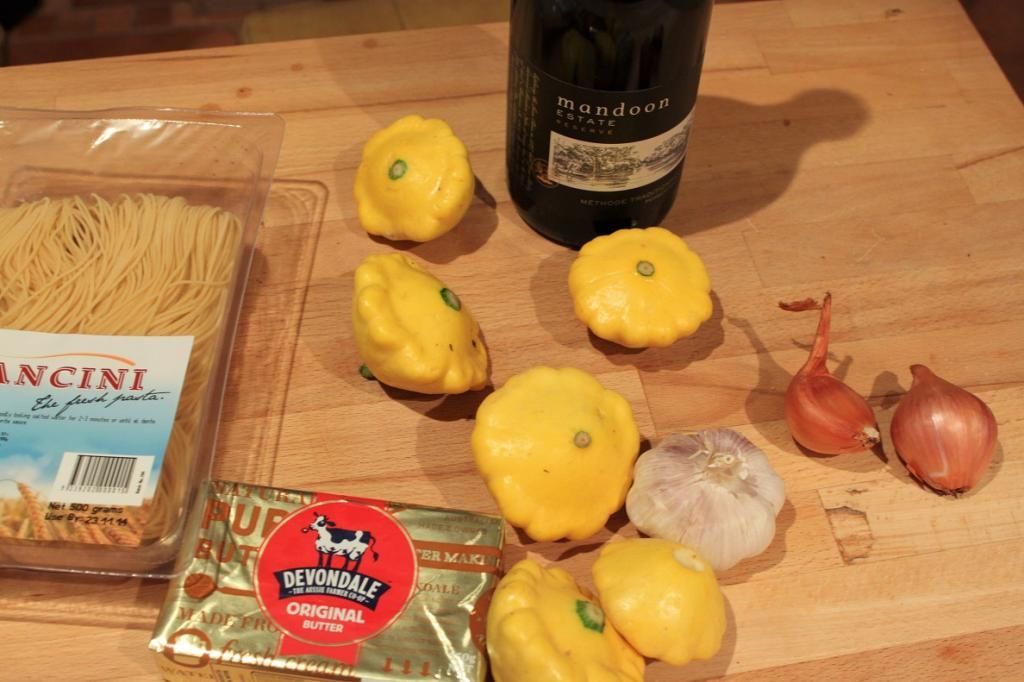

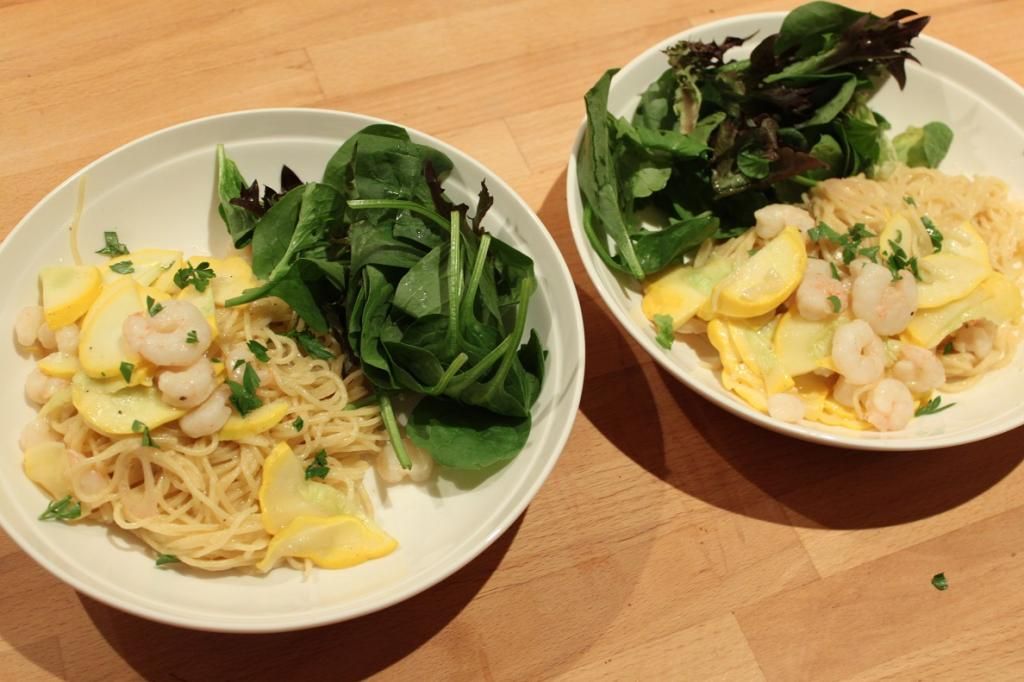
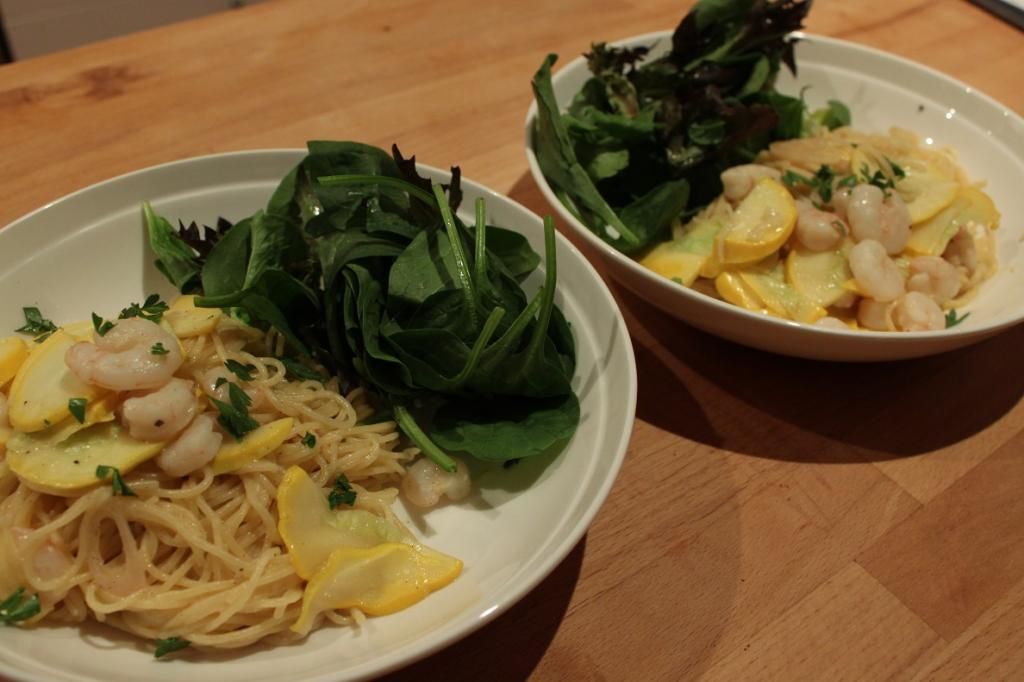
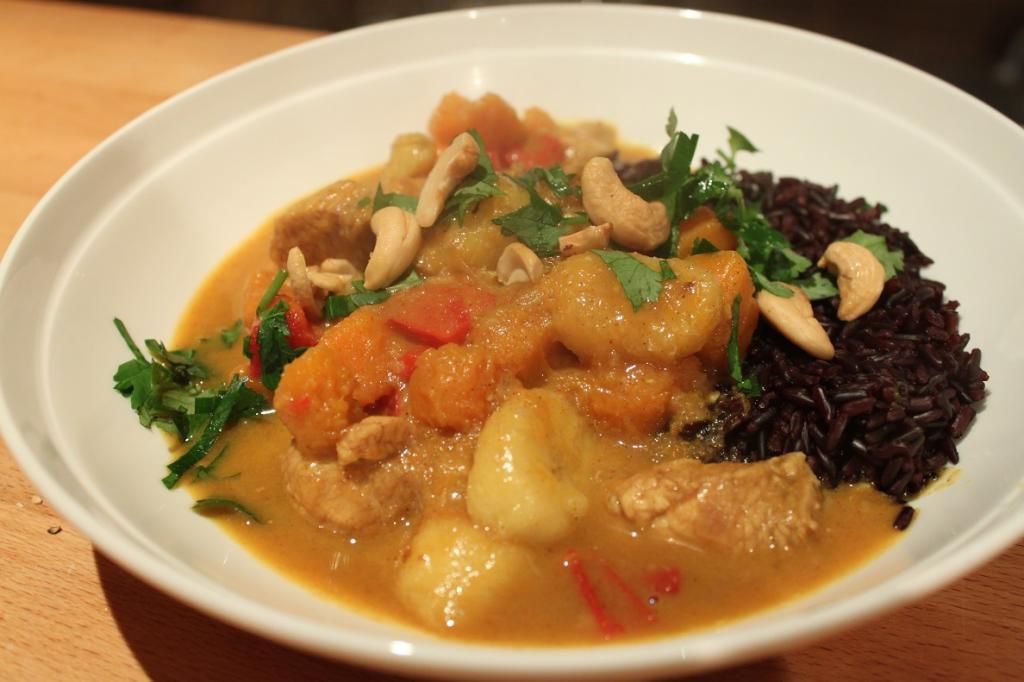
Prawn and Squash Spaghetti with Champagne Sauce
1 ½ cups
champagne (sparkling wine)
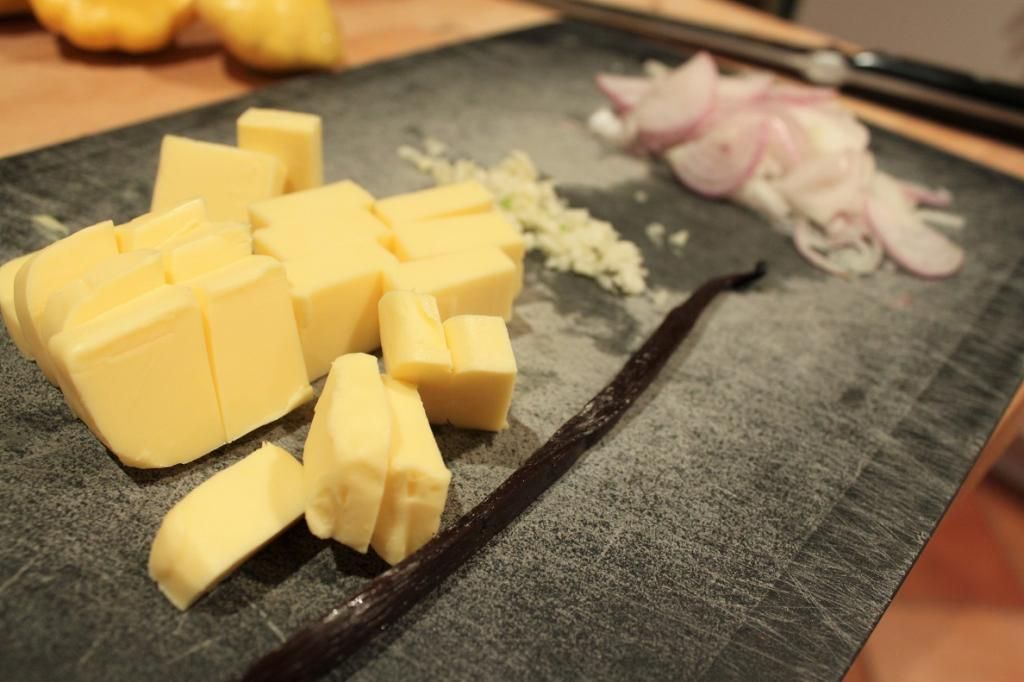
2 shallots,
finely diced3 small cloves garlic, minced
1 vanilla bean
125g butter, cubed.
Salt and pepper
500g fresh pasta
250g peeled prawns
4 yellow squash, very finely sliced
Chopped parsley to serve
Red chilli flakes (optional)
More champagne to drink with it!
Bring a large
pot of salted water to the boil.
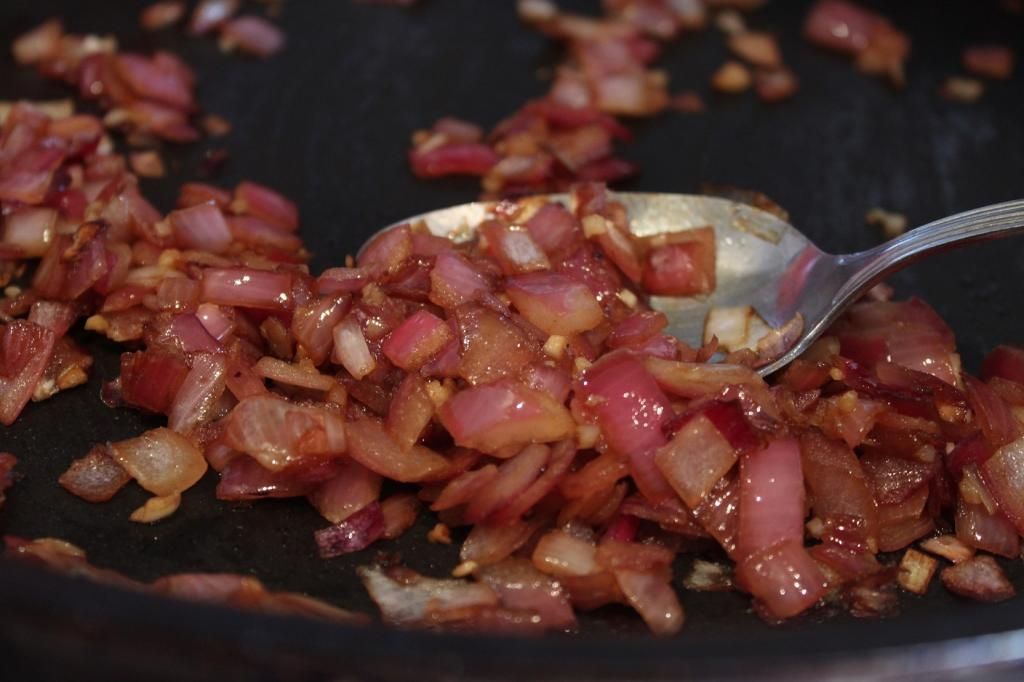
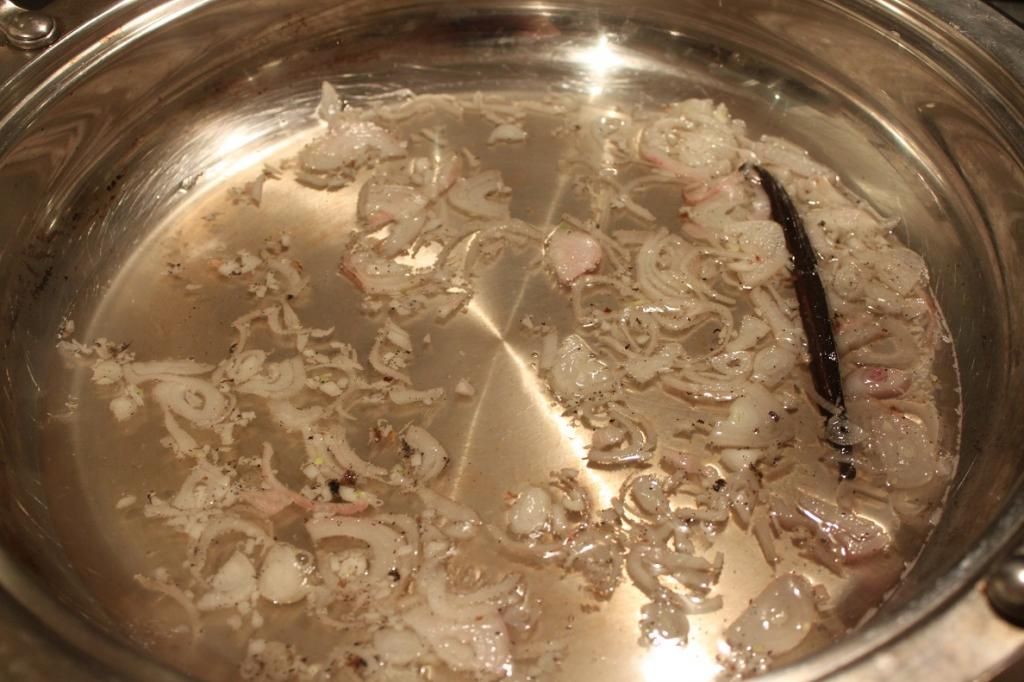
In a large
sautee pan, pour in the champagne, shallots and garlic and a little pepper.
Split the vanilla bean and scrape the seeds into the pan, then throw the pod in
too. Bring to the boil over a medium heat and keep it simmering until it’s
reduced by half. Add the butter, a few cubes at a time, and whisk well
after each addition to blend into the sauce. Stir well for a further 1-2
minutes to thicken the sauce, then discard the vanilla pod and add the squash
slices and prawns. Check for seasoning.
Put the fresh
pasta into the boiling water.
Stir the
prawns and squash into the sauce well, coating in the sauce and allowing to
cook through. 2-3 minutes. At this point, your pasta should also be cooked,
using tongs, pull the spaghetti into the sauce, allowing some (not too much)
cooking water to come with it. Stir well to coat all the noodles in the sauce
and blend the cooking liquid in.