Tuesday, July 22, 2014

Slow Cooker Love - Lamb Ragu

Slow Cooker Love - Lamb Ragu

I love slow-cooking in this weather. Especially meat. The flavours of slow-cooked meat are incredible, as is the ease and versatility of cooking a big hunk of meat. My go-to meat for slow cooking is pork. But when I saw a recipe for Italian pulled pork sandwiches I thought that a leg of lamb would suit the flavours so much better. And wondered why I hadn’t done it before. Slow cooked Italian lamb. Perfect, right? Having a weekend of baking for my brother’s Cake Club and having my parents over for dinner the same day was the perfect opportunity to give it a go. I’ve used the herbs that I add to my usual bolognaise sauce, and used tomato in the braising liquid to give it a real Italian richness.

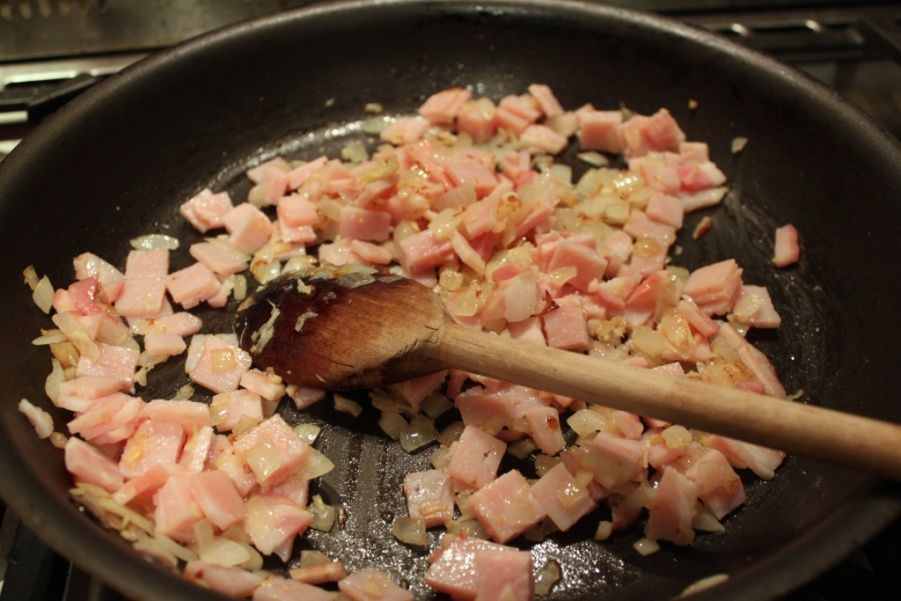
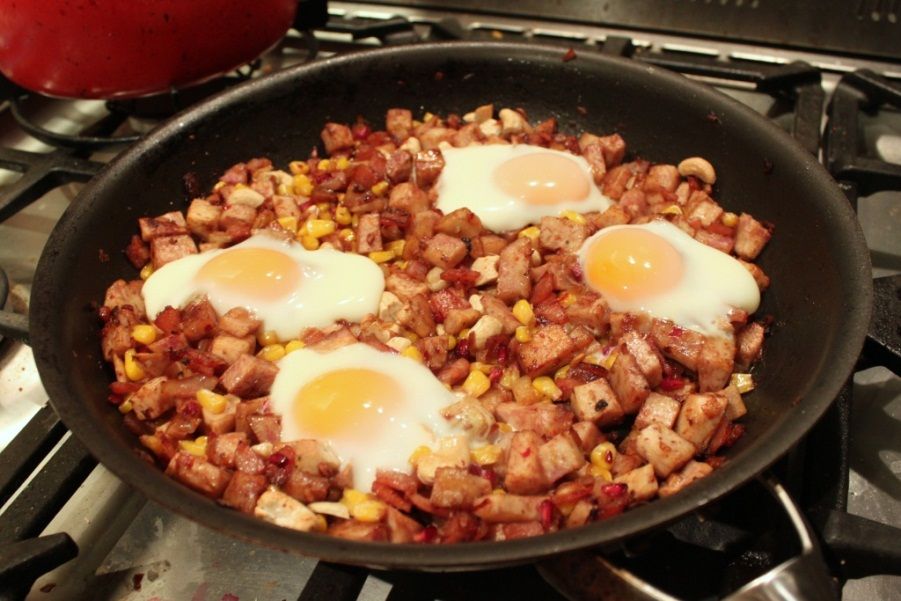
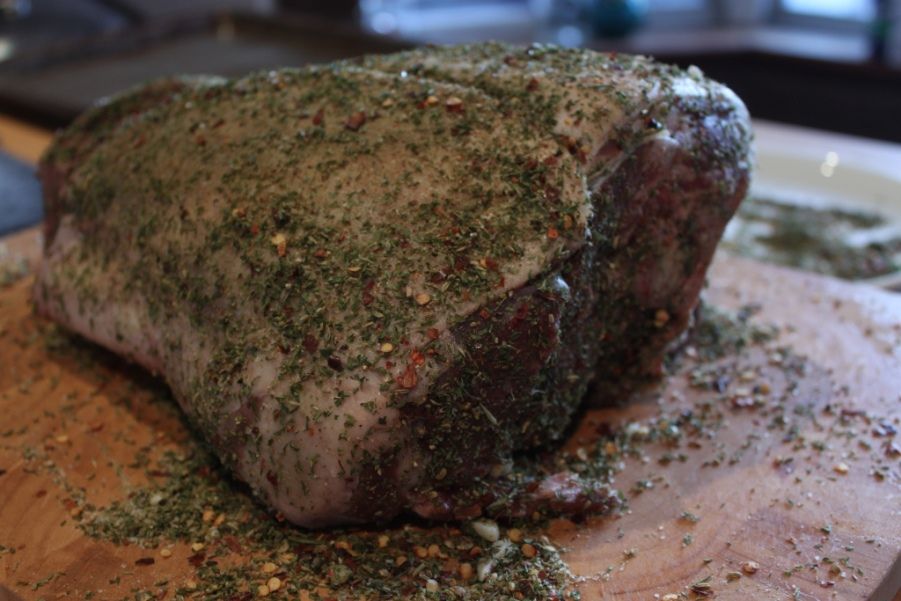
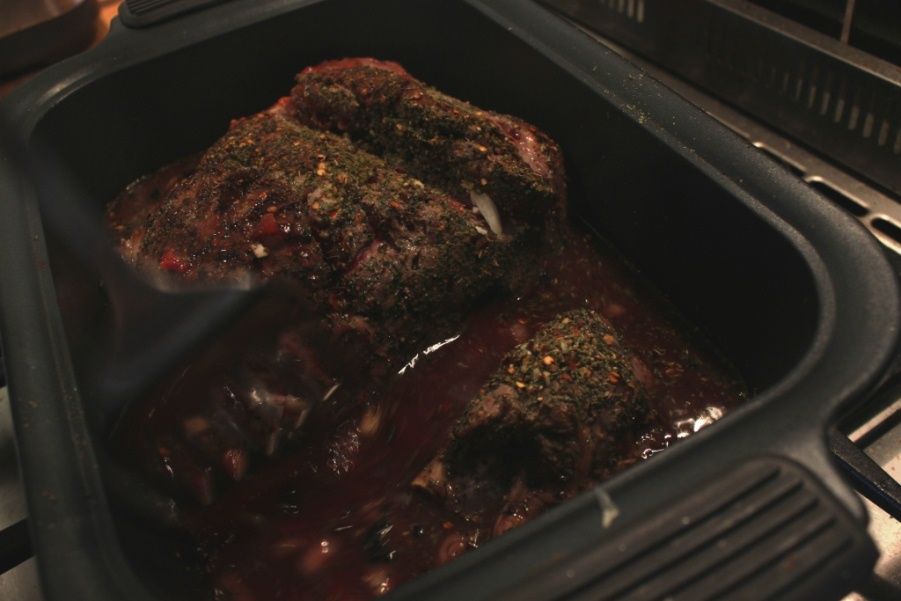
In the morning I rubbed the meat with the herb mix, browned the meat, then left it to do it’s thing while the oven was full of biscuits. The cooling/skimming the fat step is fairly crucial, seeing as a lamb leg is quite a fatty cut.

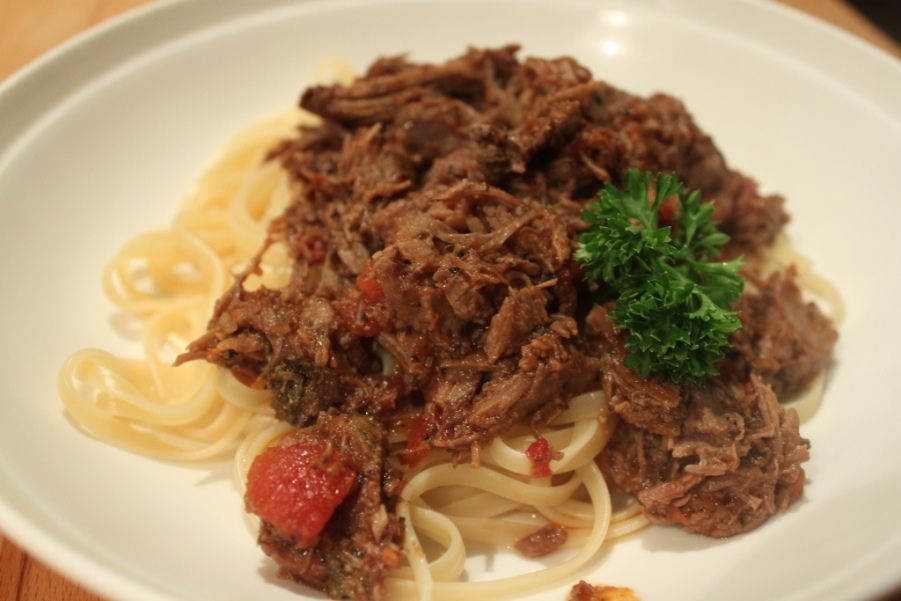
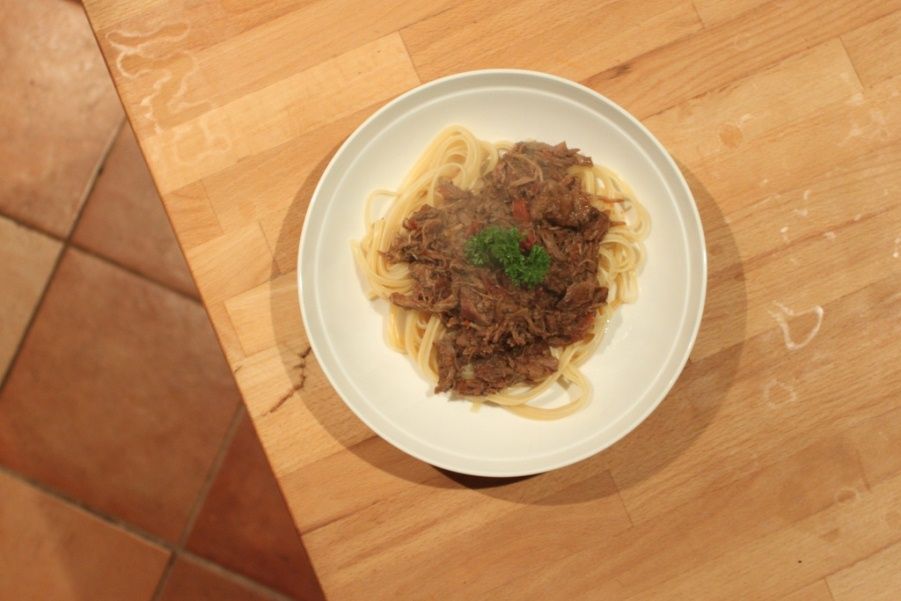
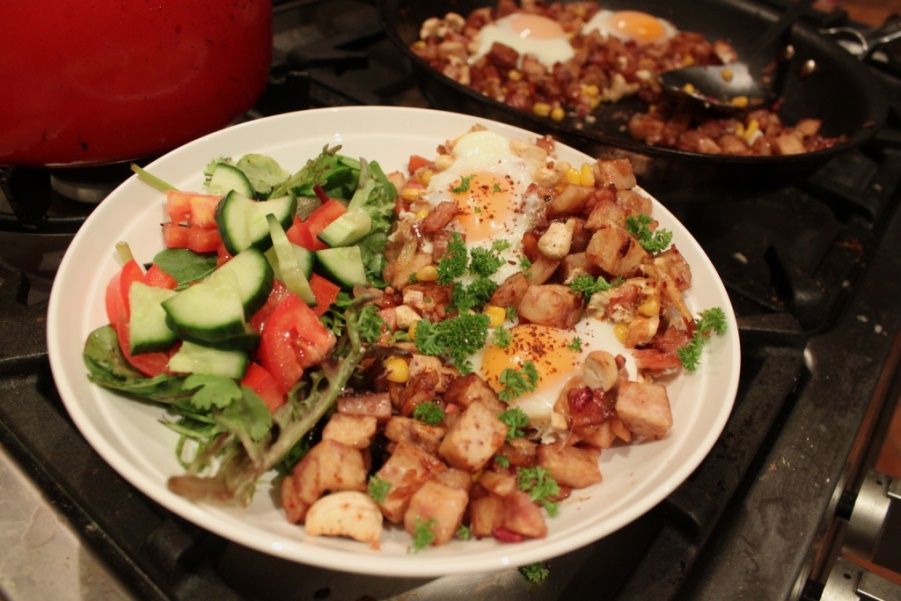
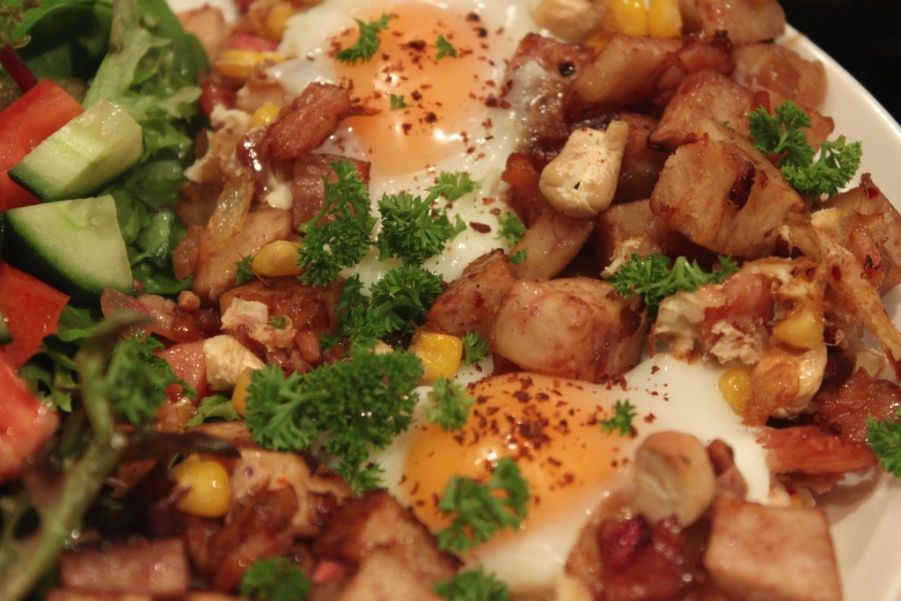
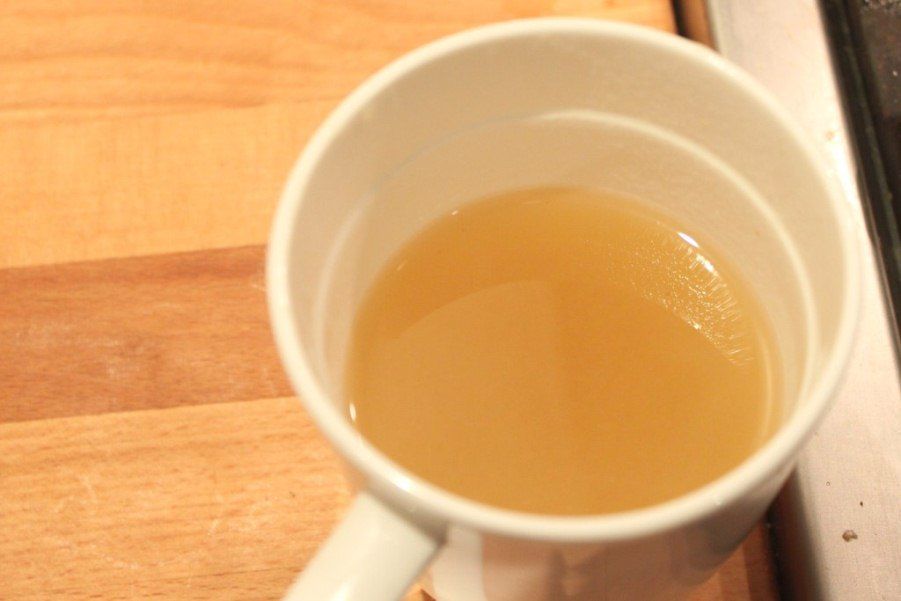
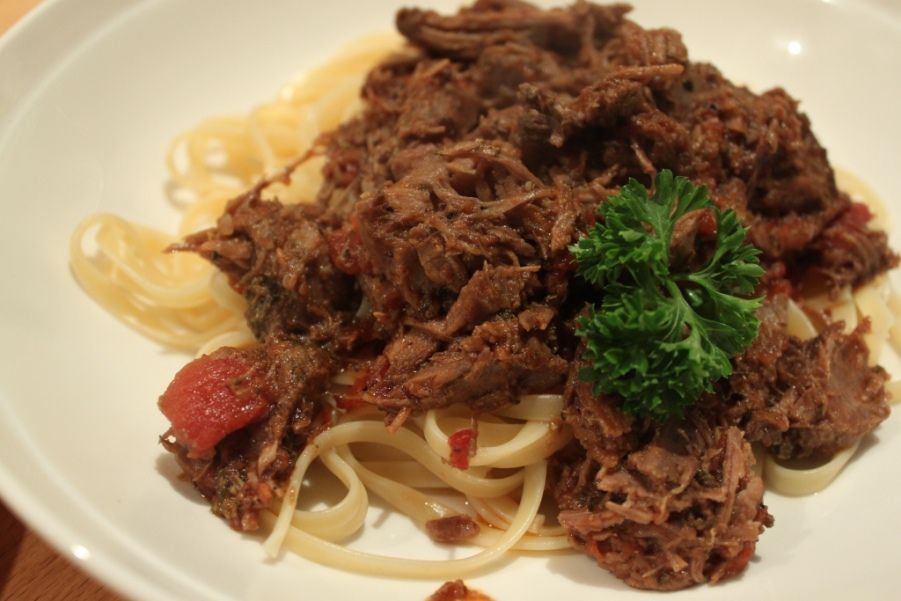
The end result is a rich, meaty dish. A dish that warms you the whole way through. A dish that leaves you satisfied but still wanting more. Wanting a 
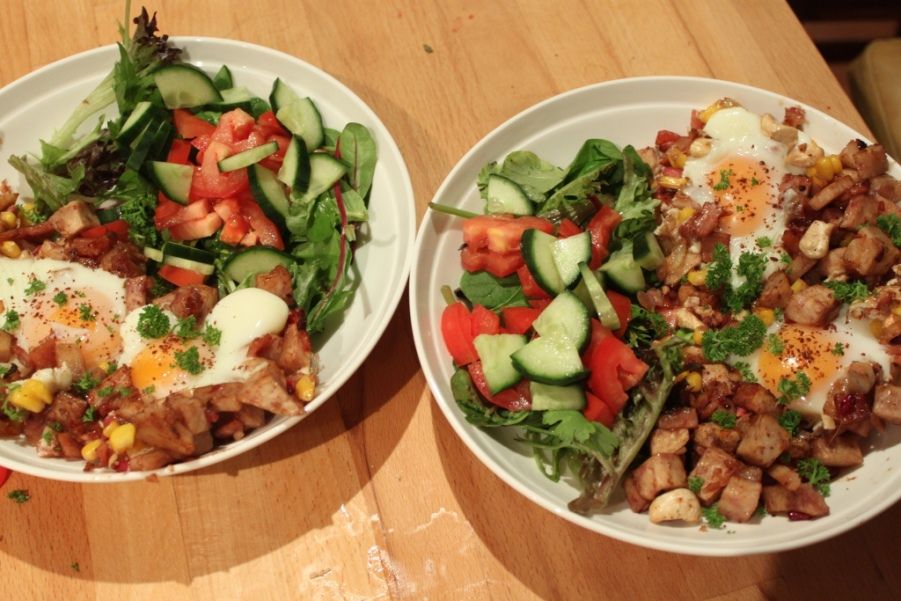
chunk of bread to clean the bowl with. A dish that serves five big eaters, with leftover lamb for Lance and I for the next two days – realistically it could have done 3 nights if it wasn’t so delicious! Sometimes that can be the best part of slow-cooked food. The leftovers make brilliant sandwich or taco filling, or poured over more pasta or couscous or your other favourite grain.

Slow Cooker Love - Lamb Ragu

Lamb Ragu

3 tbsp. ground fennel seeds
3 tbsp. dried parsley
2 tbsp dried oregano

1 tbsp. dried thyme
1 tbsp dried basil
1 tbsp pepper
1 tbsp salt
3 tsp. red chilli flakes
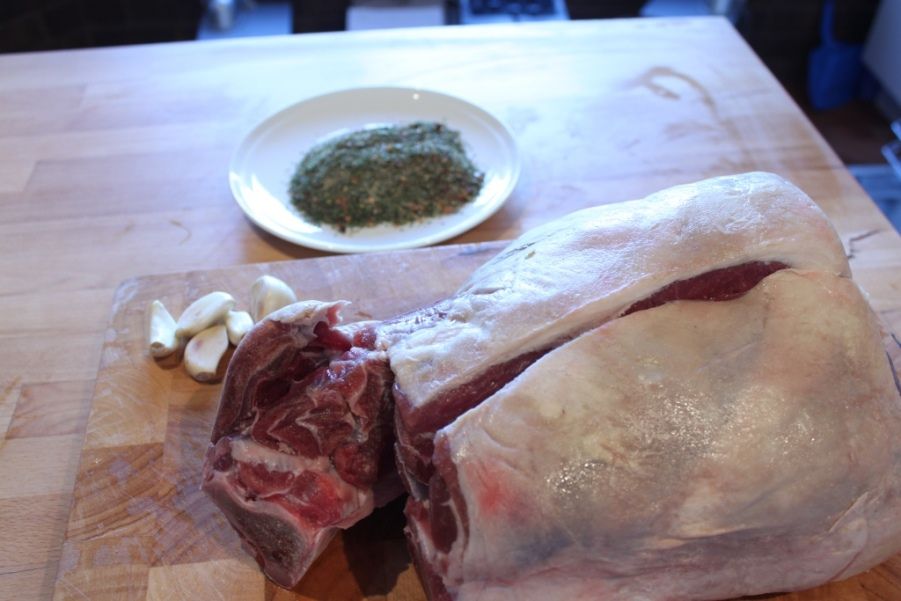
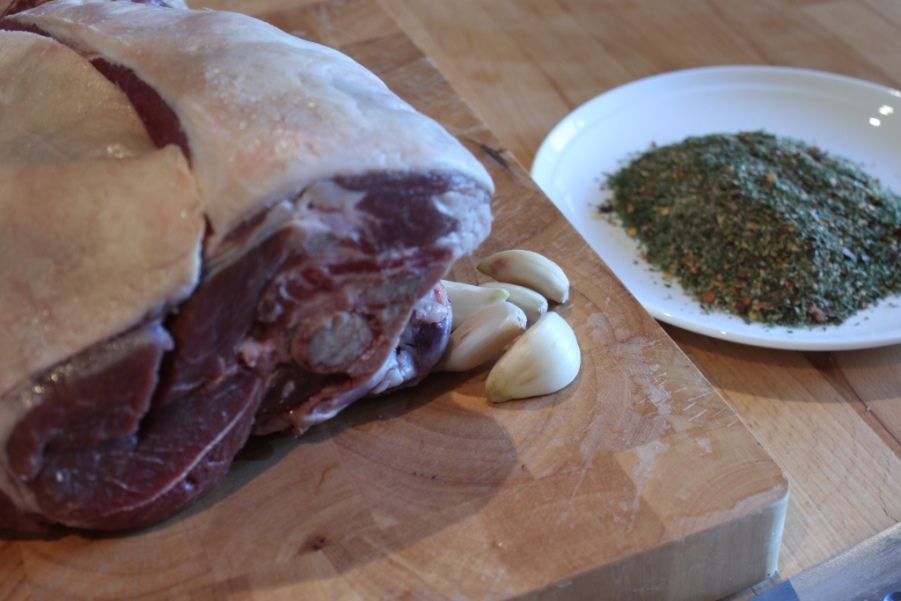
1 lamb leg – approx 2kg
6 cloves garlic, minced
2 tins crushed tomatoes

2 cups vegetable stock
2 cups water
1 (generous) cup red wine
1 brown onion, diced

2 tsp sugar
pasta to serve


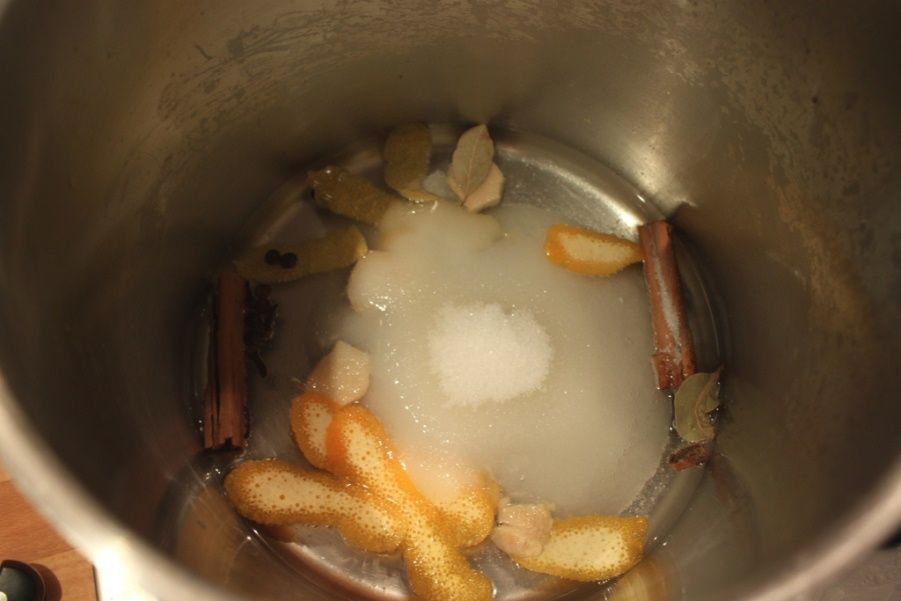
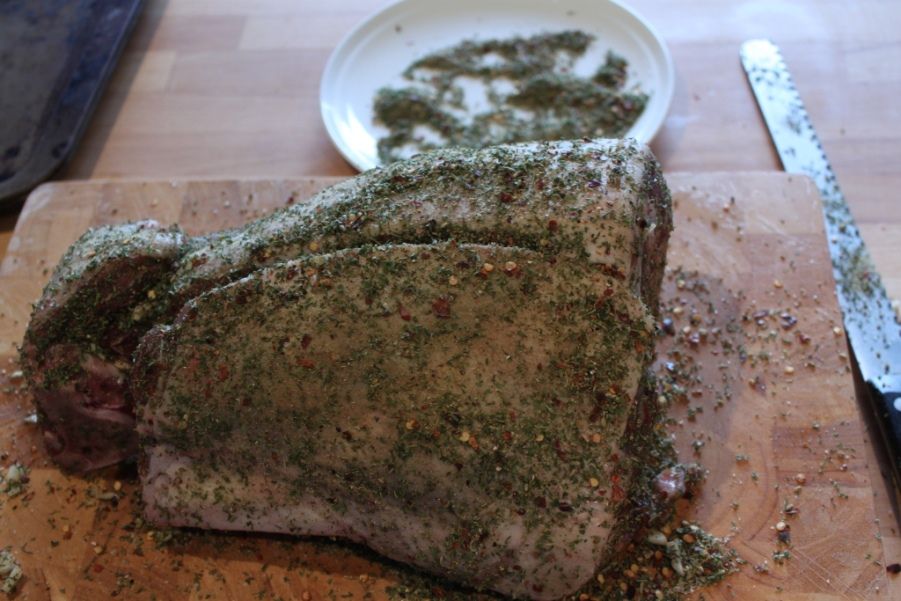
Combine fennel seeds, parsley, oregano, thyme, basil, chilli flakes, salt and pepper. Cut a long line down the lamb leg to open it up. Rub the inside with the herb mixture, then half of the minced garlic. Pull back together. Rub the entire outside with a generous amount of the herb mix, you might not need all of it.

Heat the base of your slow cooker (or a pan if your insert can’t be heated) to medium high heat and generously coat the bottom with olive oil. Brown the lamb on all sides. 5-10 minutes per side. Remove to a plate. Add the onion, remaining garlic and 1 tin of the crushed tomatoes to the slow cooker base and cook for 10 minutes or until the tomatoes are reduced by about half and caramelized.

Add the stock, water and wine. Mix well then add the lamb back to the base.

Put into your slow cooker and cover. Cook on high for 5 hours or until the meat is falling off the bone.

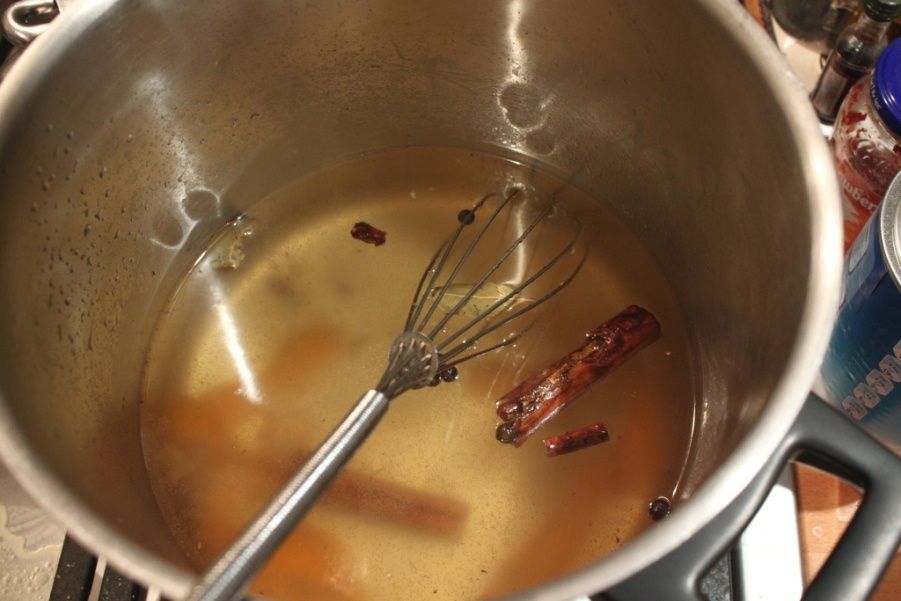
Transfer the lamb to a tray and shred with two forks, removing the skin, bones and as much fat as you can. Set the meat aside. Allow the cooking liquid to cool and then skim the fat off the top of it.

When ready to serve, prepare your pasta as per cooking instructions. Put the cooking liquid back on the stove top over medium heat. Add the second tin of crushed tomatoes, half fill the tin with water to rinse it out and add that to the sauce. Add sugar and mix well. Bring to the boil, then reduce to low and simmer for 15 minutes until the sauce is reduced by a quarter. Add the shredded meat back in and stir well.

Serve with freshly cooked pasta and a side salad

Slow Cooker Love - Lamb Ragu

Wednesday, July 16, 2014

Hot Damn - Tasty Hot Vegan Dips

Hot Damn - Tasty Hot Vegan Dips - White Bean Dip and Roast Beet Dip

On a ‘oh-my-god-these-are-so-cute-AND-on-sale’ whim…I bought a set of individual casserole dishes. And I LOVE them. But to justify my purchase of said cute-but-not-entirely-necessary dishes, I want to use them all of the time. We were having people over for some casual drinks one cold night and I thought of the perfect plan for using the casseroles and having a delicious snack to go with said drinks. Hot dips. In my experience, if you get served a hot dip it’s invariably cheese based. Often served in a cobb loaf. Nothing terribly wrong with that…but we were having mac and cheese for dinner. Didn’t want to over-do the cheese. Plus one attendee doesn’t really do cheese. My mind was blown when I was first served warm hummus – essentially chick pea mash and now it’s become a frequent side dish in my house. Which made me think of my white bean dip. I love it because it only contains a handful of ingredients, all of which are always in my pantry so it can be made in under 5 minutes when unexpected guests come around. That is pretty much flavoured white bean mash if you heat it up!

Knowing a few of my readers are vegan, and already rebelling against the hot cheese dip in my head, I thought I would make the second dip vegan too, seeing as my first one was by sheer coincidence. I had some roasted beets waiting for me in the fridge and basically came to the same conclusion as with the white bean dip. I could make a beetroot mash and serve it as a dip. To the beets I added coconut cream to help loosen the mixture while adding that sweetness that pairs beautifully with the earthiness of beetroot, and then chia seeds to help it gel and give it a lovely texture.

Pop both in casserole dishes, heat in the oven for 30 minutes and voila!

Hot Damn - Tasty Hot Vegan Dips - White Bean Dip and Roast Beet Dip


White Bean Dip

One tin white beans
5 sundried tomatoes in olive oil
1 tsp mixed dried Italian herbs (basil, thyme, oregano, parsley)
1-2 tsp sriracha (to taste)
Salt & pepper to taste

Preheat your oven to 150C

In a food processor, combine the white beans, sundried tomatoes, sriracha and herbs. Process until a smooth paste. Add olive oil from the tomatoes if you need more liquid to form a proper dip consistency. Taste and add salt and pepper.

Put in a casserole dish and heat for 30 minutes or until warm through.

Hot Damn - Tasty Hot Vegan Dips - White Bean Dip and Roast Beet Dip

 Roast Beet Dip

2 roasted beetroots
¼ cup coconut cream
¼ tsp caraway seeds
2 tbsp chia seeds
Salt & pepper to taste

Preheat oven to 150C

Chop the beets into quarters and add to your food processor with the coconut cream and caraway seeds. Process until smooth. It will be fairly liquid at this point. Add salt and pepper to taste. Add the chia seeds and pulse to distribute.

Put in a casserole dish and leave to sit for 15 minutes while the chia seeds absorb some of the liquid and makes it a more dip-like texture. Heat in the oven for 30 minutes or until completely warm through.

Hot Damn - Tasty Hot Vegan Dips - White Bean Dip and Roast Beet Dip

Monday, July 14, 2014

Produce Experimenting - Taro and Bacon Hash

Produce Experimenting - Taro and Bacon Hash

I bought a taro the other day. I saw it at the greengrocers and had never seen one before in the shops, so I got excited and bought one. Then realised I had absolutely zero idea of what I was supposed to do with it. I remember seeing it in recipes and on menus, but I couldn’t pick enough of a memory to know what to do with it. A quick google search indicated that as a tuber it can be cooked pretty much like a normal potato. But that it absolutely must be cooked to get rid of a chemical that has a toxicity that causes gout-like issues. Not a problem, I prefer my tubers cooked. It’s also used extensively to make desserts. Before I contemplate getting into taro desserts, I thought I’d cook one up in a more traditional-potato manner in order to get a feel for what it’s taste and texture is like. That also meant curries and stews were out.

So, that somewhat narrowed down what I was going to do with it. And it was another cold, rainy night which automatically lends itself to comfort food. I have said it before and I’ll say it again…I love breakfast. So breakfast for dinner is a pretty huge comfort food for me. Taro Hash with eggs it was. Add some bacon – because it’s bacon. And some ginger, pomegranate and chilli for a pop of brighter flavours and you have a pretty amazing dish.

Serve with some fresh parsley and sumac scattered over the perfect yolks. Then eat with hot sauce. The taro cooked this way developed a slightly chewy texture and it has a nutty, somewhat earthy flavour which worked really well. I’m thinking I might need to try some more taro recipes in the future. Have you tried taro before? What’s your favourite way of preparing it? Comment below or email me!
Produce Experimenting - Taro and Bacon Hash

Taro and Bacon Hash

(serves 2 big servings)
1 large taro, peeled and cut into 2cm dice
1 brown onion, diced
2 cloves garlic, minced
Generous grind salt and pepper
Thumb sized piece of ginger, peeled and grated
Juice of 2 limes
1 pomegranate, seeded
4 rashers eye bacon, diced
2/3 cup corn kernels
1 chilli, minced (or to taste)
4 eggs

Heat a tall-sided pan that can also go into the oven to medium heat and add a generous splash of olive oil. Stir in the onions and salt and pepper, and cook 10 minutes or so until caramelising and soft and sweet. Stir here and there to make sure it doesn’t catch. Add the minced garlic and bacon and stir through.

Heat the oven to 175C

When the bacon is starting to colour and render out it’s fat, add the grated ginger, chilli and lime juice. Stir through the taro and corn, coating it in the oniony-mixture. Pop the pan into the oven and cook for 20 minutes or until the taro is mostly cooked and softer. Stir through the pomegranate seeds, then carefully crack the eggs into each ‘quarter’ of the pan. Pop back in the oven for 10 minutes or until the egg is cooked to your liking. I like runny yolks!

Sprinkle with some fresh parsley and sumac. Eat, curled up on the couch watching your favourite show!


Produce Experimenting - Taro and Bacon Hash

Saturday, July 12, 2014

Christmas in July - Cloudy Mulled Apple Cider


Christmas in July - Cloudy Mulled Apple Cider


This mulled apple cider is all Lance’s design. Traditionally we’ve made a mulled wine for Christmas in July, but having had mulled cider a few times over the last couple of winters, and loving it, Lance decided he wanted to give that a go. He wanted it to be a delicious cloudy cider and achieved this by adding apple puree. The spices are the same traditional mulled wine spices, but with more emphasis on the ginger and vanilla. I used homemade vanilla vodka, but use whatever you have at hand. Or, in a pinch, you can use vanilla extract (or add a vanilla bean in the mulling spices). Choose a drier style cider so it's not overpoweringly sweet.


I like this as the first drink of the night. It’s quite sweet, but it is a very warming welcome in to your home for a Christmas in July party. If you reheat it or make it in the slow cooker and keep it warm, it also makes a good end-of-the-night, most people have gone home, sit on-the-couch warming your hands in a mug and chat til 4am drink.

Christmas in July - Cloudy Mulled Apple Cider


Christmas in July - Cloudy Mulled Apple Cider
 Christmas in July - Cloudy Mulled Apple CiderChristmas in July - Cloudy Mulled Apple Cider
Christmas in July - Cloudy Mulled Apple Cider

Christmas in July - Cloudy Mulled Apple Cider

Christmas in July - Cloudy Mulled Apple Cider
 Christmas in July - Cloudy Mulled Apple Cider


Mulled Cloudy Apple Cider

(serves 8-10 depending on glass size)
1 pink lady apple (or granny smith), peeled, cored and finely diced
90mL vanilla vodka (3 shots)
1 cup + 2 tbsp sugar (divided)
juice and peel 1 lemon
juice and peel 2 oranges
2 cinnamon sticks
5 cloves
2 bay leaves
thumb size piece of ginger, peeled and sliced
1 tsp whole allspice berries
8x 330mL bottles apple cider


Put the apple pieces, vanilla vodka, citrus juices and sugar into a small pot and bring to the boil. Simmer for 20 minutes until the apple has completely softened. Carefully blend this mixture to a puree in your blender. You can leave it to cool first if you want it to be safer to blend.


In a large pot, add I cup sugar, peel, cinnamon sticks, cloves, bay leaves, ginger, all spice berries and one bottle of cider. Stir over a medium-high heat until the sugar dissolves, then simmer on low until the mixture becomes syrupy and all of the spices infuse – around 20 minutes. Stir through the puree and remaining apple cider and keep on the low heat until the drink is warm. Serve in mugs, with cinnamon sticks for swizzle sticks. Try avoiding the spices when ladeling into mugs.

For an extra kick, try adding a shot of spiced rum such as Coruba or Captain Morgan!

This can also be made in a slow cooker. Follow the above stages with the insert on burners and at the stage of adding the puree and extra cider, put the insert into the slow cooker and leave it on low for the duration of the party to keep it warm.


Christmas in July - Cloudy Mulled Apple Cider

Wednesday, July 9, 2014

Christmas in July - Chocolate Salted Caramel Pavlova

Christmas in July - Chocolate Salted Caramel Pavlova
This is Lance’s current favourite food. I first made it for Mothers' Day and now he requests I make it all the time. If it didn’t mean I ended up with 8 egg yolks to deal with, I probably would! It is a brilliant dinner party dessert because it can all be pre-made and assembled on the day. The caramel and peanut praline can be made a few days in advance, the meringue is best made the day before to allow it to cool fully. I have made the meringues 3 days in advance too, as long as you store them in airtight containers, it works fine. Just don't assemble until a maximum of a few hours before serving.
The pavlova is rich and sweet and creamy, with the best combination of crispy meringue, sticky caramel, silky cream and crunchy praline. You only need a small slice, but then you go back for more. It’s so addictive! It looks both impressive and rustic at the same time.
Christmas in July - Chocolate Salted Caramel Pavlova
 Christmas in July - Chocolate Salted Caramel Pavlova
Christmas in July - Chocolate Salted Caramel Pavlova
 Christmas in July - Chocolate Salted Caramel Pavlova

Chocolate Salted Caramel Pavlova

(serve 8-10)
8 egg whites
400g caster sugar
4 tbsp cocoa powder (unsweetened)
1 tbsp balsamic vinegar
60g dark chocolate (I use Chilli Lindt, which happens to be equal to 6 squares), finely chopped)
600mL heavy cream (alternatively, 500mL whipping cream, whipped to firm peaks)
1 batch salted caramel (recipe below)
1 batch peanut praline (recipe below)
Position your oven racks in the middle two rows. Preheat oven to 180C
Line 3 baking trays with baking paper. On the back of them, trace a circle around a dinner plate around 24cm in diameter with a thick dark pen. Lightly spray the inked side with cooking spray and place ink side down on the trays. This helps stop them moving when you are adding the meringue.
Put the eggwhites in the bowl of your standmixer with the whisk attachment and whisk until soft peaks form. With the mixer still running, add a tablespoon of sugar at a time and continue beating until it goes stiff and glossy. It’s ready when you can lift the head of the mixer and the eggwhite mixture doesn’t drop off the whisk.
Take the bowl out of the machine and sift the cocoa powder, vinegar and chocolate. Gently fold this through the eggwhite mixture until it is an even pale brown colour.
Divide the mixture evenly between the 3 circles and then smooth with a spatula or back of a spoon to create flat, even layers.
Pop the trays in the oven and reduce the temperature straight away down to 140C. Cook for an hour. Don’t open the door at all during this time. When it’s ready, it will be crunchy on the outside and a little golden on the edges. Turn the oven off and leave the door of the oven ajar (use a wooden spoon to prop it open if necessary) and leave to cool completely inside. This will take a few hours.
To assemble, place one meringue on your serving plate and spread ½ of the caramel sauce over it. You’ll need to be very gentle so you don’t crush the meringue. Spoon 1/3 of the whipped cream on top of the caramel and spread. Top with a second meringue, then caramel, then cream. Finally add the third meringue, spread the remaining cream and sprinkle the chopped peanut praline over the top.


Christmas in July - Chocolate Salted Caramel Pavlova

Salted Caramel Sauce

1 cup sugar
4 tbsp water

55 g butter
100mL cream
½ tsp fine sea salt

Add sugar and water in a medium saucepan over low heat. Stir until sugar has dissolved. Increase the heat to high, every so often, swirl the pot to keep mixture moving, but do not stir. The mixture will then start turning a nice caramel colour, when this happens, remove from the heat and add the butter, salt and cream. Whisk to combine, set aside to cool.

Christmas in July - Chocolate Salted Caramel Pavlova

Peanut Praline

¾ cup raw peanuts
1 tbsp butter
1 tbsp brown sugar
¼ tsp salt
Melt butter and sugar in a frypan and stir until the sugar dissolves into the butter. Add the salt and stir through, too. Add the peanuts and stir to cover in the sugar mixture. Leave to toast for 2 minutes or so, then toss to toast the other side of the nuts. When the mixture smells toasty and nutty, spread out onto a lined baking tray and leave to cool and harden.
Break up/cut into smaller pieces to put on top.

Christmas in July - Chocolate Salted Caramel Pavlova
 Christmas in July - Chocolate Salted Caramel Pavlova
 Christmas in July - Chocolate Salted Caramel Pavlova
 Christmas in July - Chocolate Salted Caramel Pavlova
Christmas in July - Chocolate Salted Caramel Pavlova